In this Closer Look At we are going to be taking a closer look at the Otter2D game engine. The Closer Look At series is a combination of an introduction, overview and getting started tutorial that is designed to help you quickly decide if a game engine/framework/library is right for you. Otter2D is an open source
As always there is an HD video version of this guide available here.
Doing what I do for a living I generally am surprised by a game engine or tool. If I haven’t used it personally I have at least heard of it. Otter on the other hand took me completely by surprise and for the most part it’s been a fun (and quick!) journey. There isn’t a ton to Otter2D, it’s a code only framework built over a framework I am already familiar with. If you have prior SFML experience, Otter2D will come quickly to you. Due to the composition of Otter2D, this closer look is going to lean much more toward the code/tutorial side. Let’s jump in.
Getting Started
Otter2D is available as a zip file (direct download link) or you can build from current source on Bitbucket. The code is distributed under this license, excerpted below:
Permission is hereby granted, free of charge, to any person obtaining a copy of this software and associated documentation files (the “Software”), to deal in the Software without restriction, including without limitation the rights to use, copy, modify, merge, publish, distribute, sublicense, and/or sell copies of the Software, and to permit persons to whom the Software is furnished to do so, subject to the following conditions:
In case you are wondering, there are no conditions after the colon. So basically it’s a license that lets you do pretty much whatever you want so long as you keep the license intact.
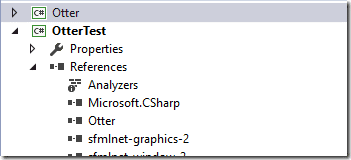
Getting set up is easy but could be better. Unfortunately Otter2D is not configured to be used as an external library which is a bit of an odd choice. Instead you add the Otter2D project to your solution and link to it as a dependency in your project, like so:
Full instructions on getting started Visual Studio are available here.
Your First Application
Now that you’ve got Otter downloaded and configured, let’s create our first application.
using Otter; namespace OtterScratchPad { class Program { static void Main(string[] args) { Game game = new Game(); game.Color = Color.White; Scene scene = new Scene(); Entity entity1 = new Entity(); entity1.AddGraphic(Image.CreateCircle(90,Color.Red)); scene.Add(entity1); game.Start(scene); } } }
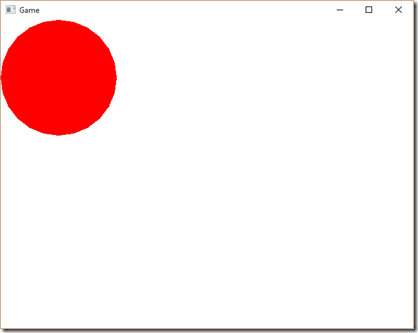
When you run this example you get:
Otter2D code is very similar to a traditional Entity Component System (ECS) in it’s approach. Game is the heart of your application, while scene represents your game world. The scene itself is composed of entities, which in turn contain defined components like Graphic we used above, or actual components, which we will see later. A more common approach to the above solution is to derive your game objects from Entity instead, like so:
using Otter; namespace OtterScratchPad { class Player : Entity { public Player(float x, float y) : base(x, y) { this.AddGraphic(Image.CreateCircle(120, Color.Red)); } } class Program { static void Main(string[] args) { Game game = new Game(); game.Color = Color.White; Scene scene = new Scene(); Entity entity1 = new Player(0,0); scene.Add(entity1); game.Start(scene); } } }
Those two examples are functionally equivalent. As you can see in the second example when we pass coordinates to our Player Entity the origin by default is the top left corner, both of the screen as well as the sprite. We will look at changing this shortly. Congratulations however, you just created your first successful Otter2D application. Easy eh? Let’s move on and add some sophistication.
Input and Image Loading
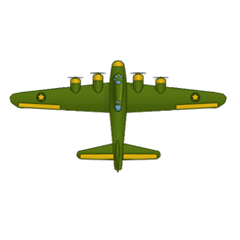
In our next example, instead of creating a graphic procedurally, we are instead going to load a sprite. For the source images, I am using the freely available sprites announced here. Specifically I am using this sprite of a B17 bomber.
Obviously you can use whatever image you wish, so long as the file format is supported. Keep in mind, Otter2D is built over SFML so it has the same graphics support as SFML which means your sprite can be in bmp, hdr, gif, jpg, png, pic, psd, tga formats. Additionally in this example we are going to look at handling keyboard input to move our image left and right in response to key presses. Alright, on to the code:
using Otter; namespace OtterScratchPad { class PlayerImage : Entity { public PlayerImage(float x, float y) : base(x, y) { this.AddGraphic(new Image("1.png")); } public override void Update() { if (Input.KeyDown(Key.Right)) { this.X++; } if (Input.KeyDown(Key.Left)) { this.X--; } base.Update(); } } class Program { static void Main(string[] args) { Game game = new Game(); game.Color = Color.White; Scene scene = new Scene(); Entity entity1 = new PlayerImage(0,0); scene.Add(entity1); game.Start(scene); } } }
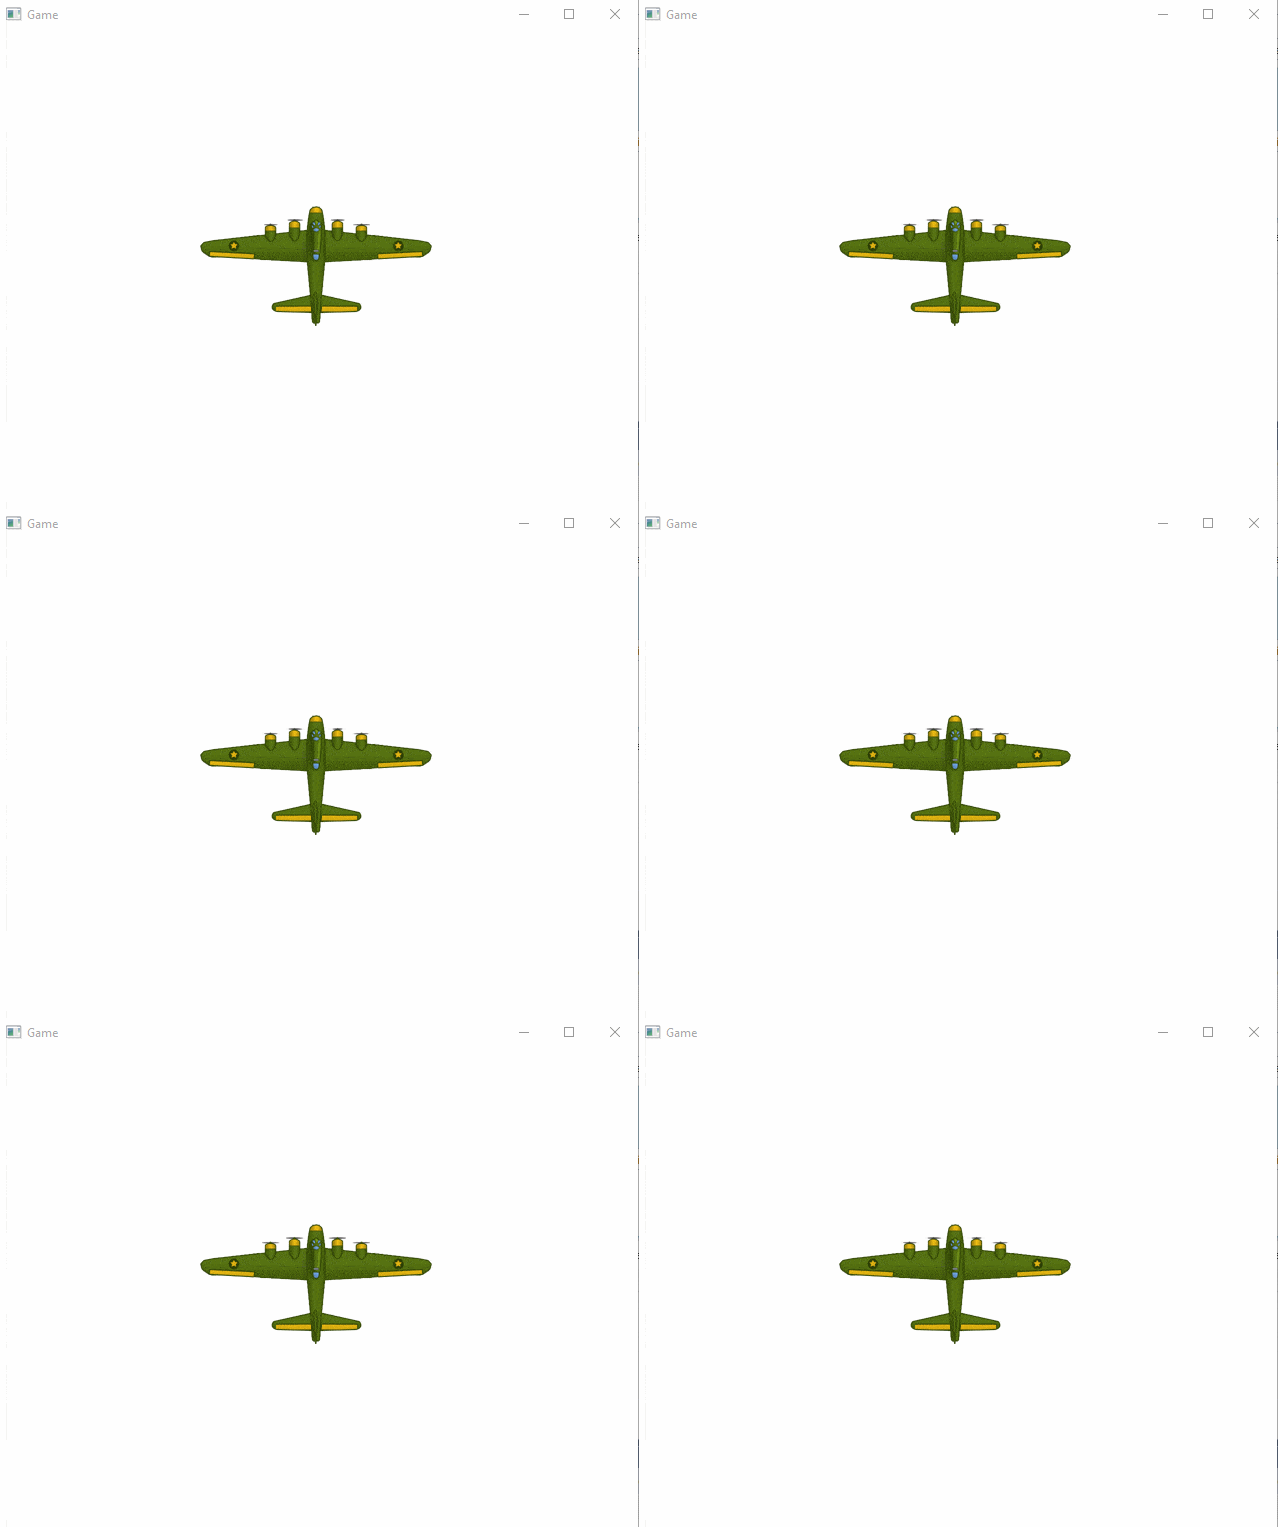
And when you run it:
Note when you launch an Otter2D application, it doesn’t have focus and thus wont receive keyboard events. This seems to be a bug in the underlying SFML libraries. I spent a few minutes trying to fix it and sadly couldn’t. Shouldn’t be a big deal as a production game wont use a console window to construct the main window, so this shouldn’t occur. As you can see from this example, loading sprites and polling input are both trivial exercises, so let’s move on to animations.
Sprite Animations
In this example I’ve taken the three different frames of the B17 bomber and created a single 3×1 768×256 using ImageMagick. The end result was:
Not very exciting an animation, but each frame the propeller has turned slightly. Let’s look at the process in Otter2D of using an animated sprite from a single sheet. In this example we also show how to move the sprites origin or pivot point to it’s middle.
using Otter; namespace OtterScratchPad { class PlayerSpriteMap : Entity { enum Animations { Idle }; Spritemap<Animations> spriteMap = new Spritemap<Animations>("ss.png", 256, 256); public PlayerSpriteMap(float x, float y) : base(x, y) { this.AddGraphic(spriteMap); spriteMap.CenterOrigin(); spriteMap.Add(Animations.Idle, new int[] { 0, 1, 2 }, new float[] { 9.0f, 4.0f, 10.0f }); spriteMap.Play(Animations.Idle); } public override void Update() { if (Input.KeyDown(Key.Right)) { this.X += 300f * this.Game.RealDeltaTime / 1000; } if (Input.KeyDown(Key.Left)) { this.X -= 300f * this.Game.RealDeltaTime / 1000; } base.Update(); } } class Program { static void Main(string[] args) { Game game = new Game(); game.Color = Color.White; Scene scene = new Scene(); Entity entity1 = new PlayerSpriteMap(game.HalfWidth,game.HalfHeight); scene.Add(entity1); game.Start(scene); } } }
Run it and:
You may have to squint to see it, but that is certainly an animated sprite. Instead of using Image we instead use a SpriteMap which takes the individual sprite dimensions as well as the spritesheet file name in it’s constructor. The entity is then centered with a call to CenterOrigin(). Animations is simply a user defined enum that is used as the key within the sprite map. When the map is added we pass in an array of ints or strings representing the frames offset within the source image as well as the duration for each frame of animation.
Collisions
Next we will modify the earlier example so we now have two airplane sprites that can collide with each other. In addition to adding two sprites to the world, the example has also been changed so you can create both a player and non-player sprite, so only one responds to keyboard input. Additionally instead of simply moving via X++, we change it so we move at a fixed frame rate depending on the elapsed time since the last frame.
using Otter; namespace OtterScratchPad { class PlayerSpriteMapWithCollisions : Entity { enum Animations { Idle }; Spritemap<Animations> spriteMap = new Spritemap<Animations>("ss.png", 256, 256); enum ColliderTypes { Planes }; bool isPlayer; public PlayerSpriteMapWithCollisions(float x, float y, bool player) : base(x, y) { isPlayer = player; this.AddGraphic(spriteMap); spriteMap.CenterOrigin(); spriteMap.Add(Animations.Idle, new int[] { 0, 1, 2 }, new float[] { 9.0f, 4.0f, 10.0f }); spriteMap.Play(Animations.Idle); this.AddCollider(new BoxCollider(256, 256, ColliderTypes.Planes)); this.Collider.CenterOrigin(); } public override void Update() { if (isPlayer) { if (Input.KeyDown(Key.Right)) { this.X += 100f * this.Game.RealDeltaTime / 1000; } if (Input.KeyDown(Key.Left)) { this.X -= 100f * this.Game.RealDeltaTime / 1000; } // Check for collisions if (this.Collider.Overlap(X, Y, ColliderTypes.Planes)) this.X = 0f; } base.Update(); } } class Program { static void Main(string[] args) { Game game = new Game(); game.Color = Color.White; Scene scene = new Scene(); Entity entity1 = new PlayerSpriteMapWithCollisions(0,game.HalfHeight,true); Entity entity2 = new PlayerSpriteMapWithCollisions(game.Width - 128, game.HalfHeight, false); scene.Add(entity1); scene.Add(entity2); game.Start(scene); } } }
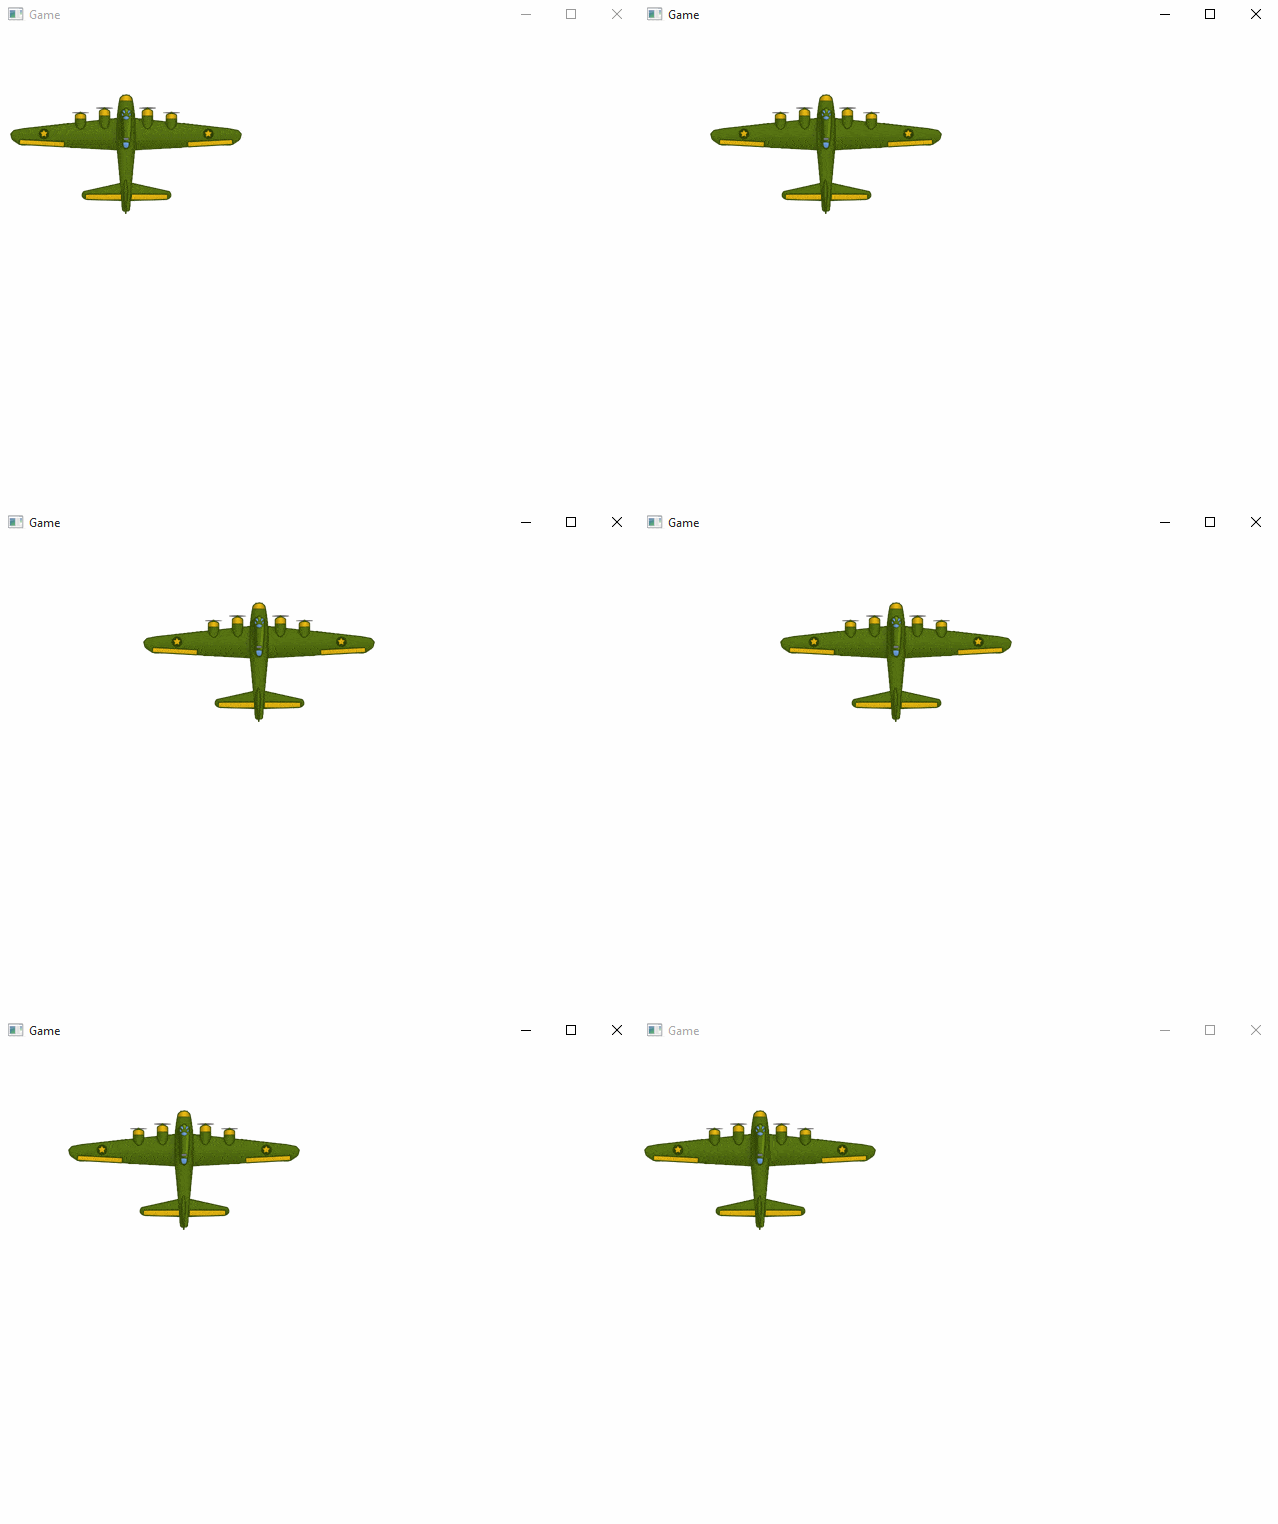
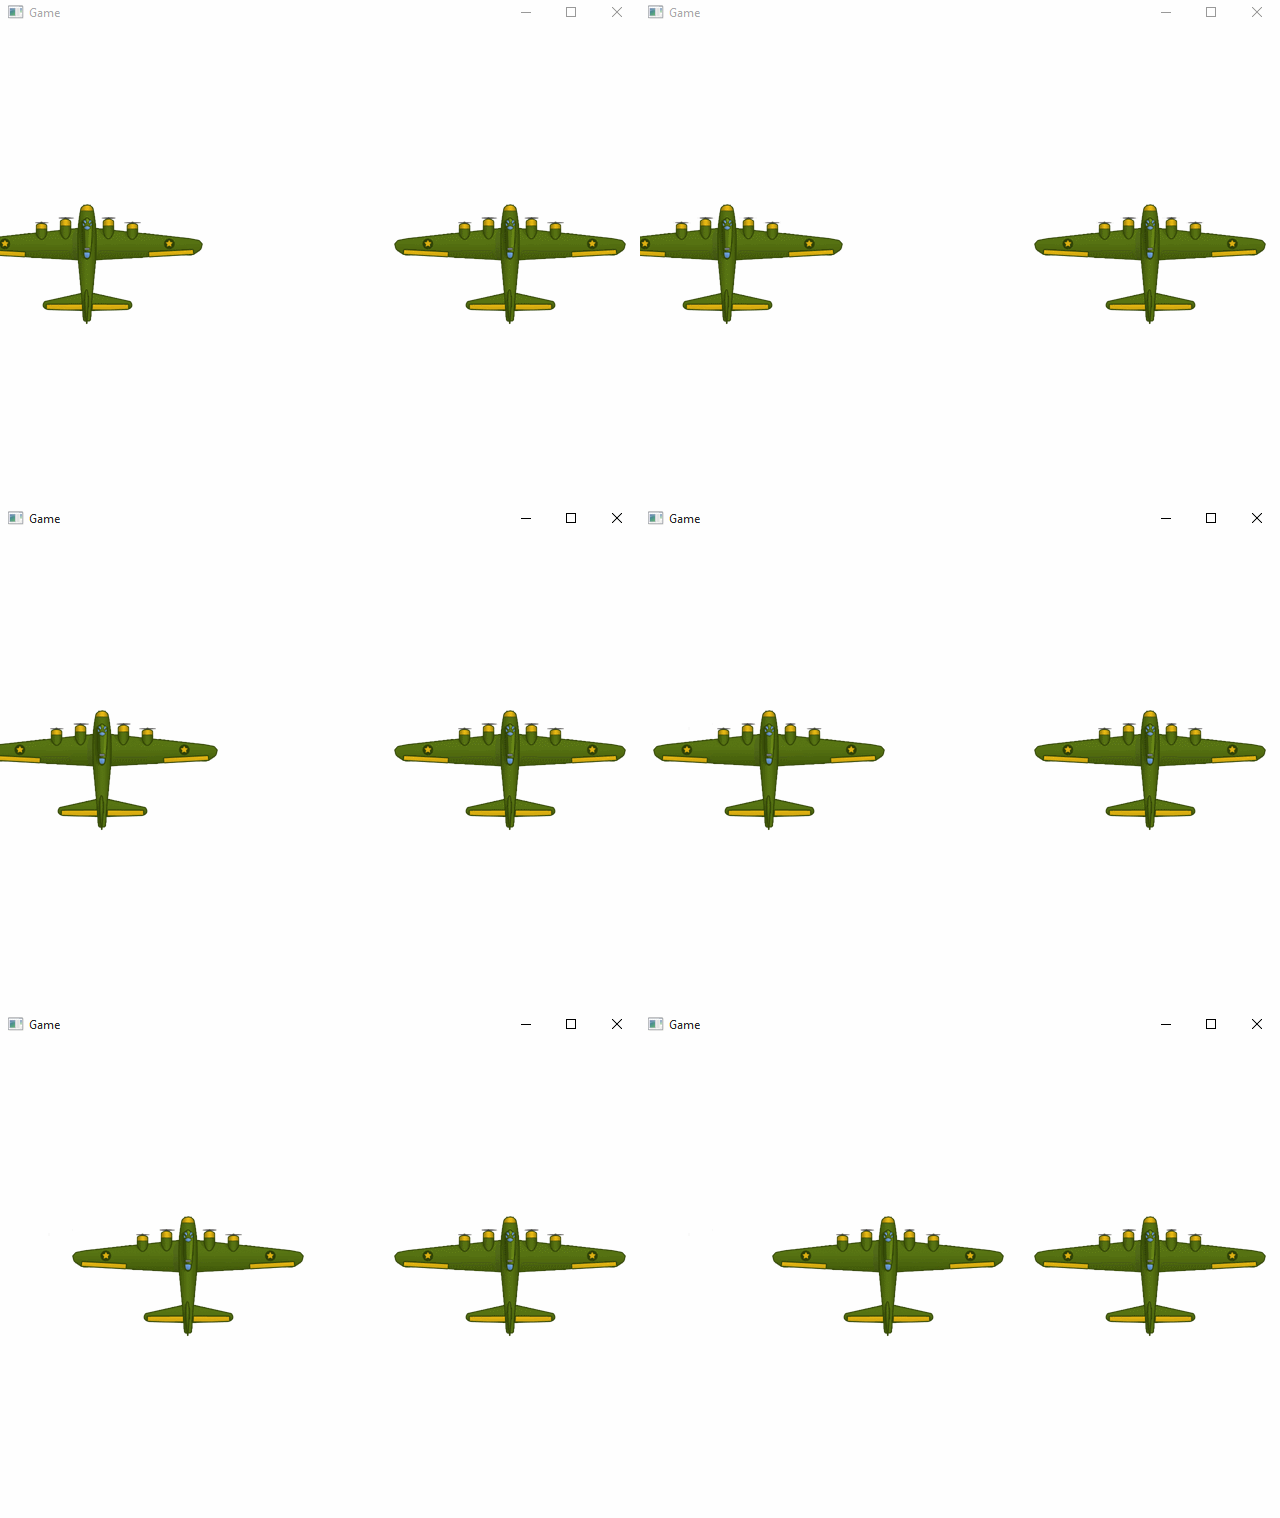
And run it:
You may notice the collision isn’t amazingly accurate. This is because in this example we used a box collider but there is some dead pixel space between our wing and the end of the image. If you require increased accuracy you could instead us a pixel collider, but it will have a profound effect on performance.
Sound and Music
Next lets look at adding audio support to our game. Let’s start by adding some sound effects to our player:
class PlayerImageWithSound : Entity { // 30 cal burst:: http://www.freesound.org/people/Hamp999/sounds/151620/ Sound sound1 = new Sound("sound1.wav"); // Bomb drop http://www.freesound.org/people/sunch/sounds/274090/ Sound sound2 = new Sound("sound2.wav"); public PlayerImageWithSound(float x, float y) : base(x, y) { this.AddGraphic(new Image("1.png")); //Center within and without this.Graphic.CenterOrigin(); } public override void Update() { if (Input.KeyDown(Key.Num1)) { sound1.Play(); } if (Input.KeyDown(Key.Num2)) { sound2.Play(); } base.Update(); } }
When you hit the 1 key a certain sound effect plays, hit the 2 key a different sound effect plays. There are two important things to note with audio in Otter2D. Once again, it depends on SFML for the audio code so Otter supports the file formats that SFML supports ( which are too many to list ). Additionally playing a sound halts earlier versions of that sound, so if you want multiple concurrent plays of the same sound, you need to create multiple instances.
Now let’s take a look at a music example. Instead of extending another Entity, we will be creating our own Scene this time.
using Otter; namespace OtterScratchPad { class PlayerImageWithSound : Entity { // 30 cal burst:: http://www.freesound.org/people/Hamp999/sounds/151620/ Sound sound1 = new Sound("sound1.wav"); // Bomb drop http://www.freesound.org/people/sunch/sounds/274090/ Sound sound2 = new Sound("sound2.wav"); public PlayerImageWithSound(float x, float y) : base(x, y) { this.AddGraphic(new Image("1.png")); //Center within and without this.Graphic.CenterOrigin(); } public override void Update() { if (Input.KeyDown(Key.Num1)) { sound1.Play(); } if (Input.KeyDown(Key.Num2)) { sound2.Play(); } base.Update(); } } class SceneWithMusic : Scene { // Sound file is http://www.freesound.org/people/Diboz/sounds/216071/ // Play, not looping public Music song = new Music("music.ogg", false); public SceneWithMusic() : base() { song.Play(); } public override void Update() { base.Update(); if (Input.MouseButtonPressed(MouseButton.Left)) Music.GlobalVolume -= 0.1f; if (Input.MouseButtonPressed(MouseButton.Right)) Music.GlobalVolume += 0.1f; if (Input.KeyPressed(Key.Space)) { // Fast forward 10 seconds on spacebar if 10 seconds remain in play time if ((song.Offset + 10000) < song.Duration) song.Offset += 10000; } if (!song.IsPlaying) { System.Console.WriteLine("Music stopped"); Game.Close(); } } } class Program { static void Main(string[] args) { Game game = new Game(); game.Color = Color.White; Scene scene = new SceneWithMusic(); Entity entity1 = new PlayerImageWithSound(0,game.HalfHeight); scene.Add(entity1); game.Start(scene); } } }
In this example there is now music playing when you start your game and you can fast forward the song by pressing the space bar. Additionally global (all sound effects and music ) volume can be increased and decreased using the left and right mouse button, also illustrating how easy it is to poll the mouse for input as well.
Components
I mentioned earlier that Otter2D has component support? Well we saw a bit of it in action with the addition of Graphic objects to our Entity. In this case though we are going to drop in slightly more advanced components, as well as create one of our own.
class CustomComponent : Component { public override void Update() { base.Update(); float alpha = Entity.GetGraphic<Image>().Alpha; alpha -= 0.005f; if (alpha <= 0.0f) alpha = 1.0f; Entity.GetGraphic<Image>().Alpha = alpha; } } // A Player Entity with components attached class PlayerWithComponents : Entity { public PlayerWithComponents(float x, float y) : base(x, y) { this.AddGraphic(new Image("1.png")); Axis axis = Axis.CreateWASD(); BasicMovement movement = new BasicMovement(100, 100, 20); movement.Axis = axis; AddComponents( axis, movement, new CustomComponent() ); this.Graphic.CenterOrigin(); } }
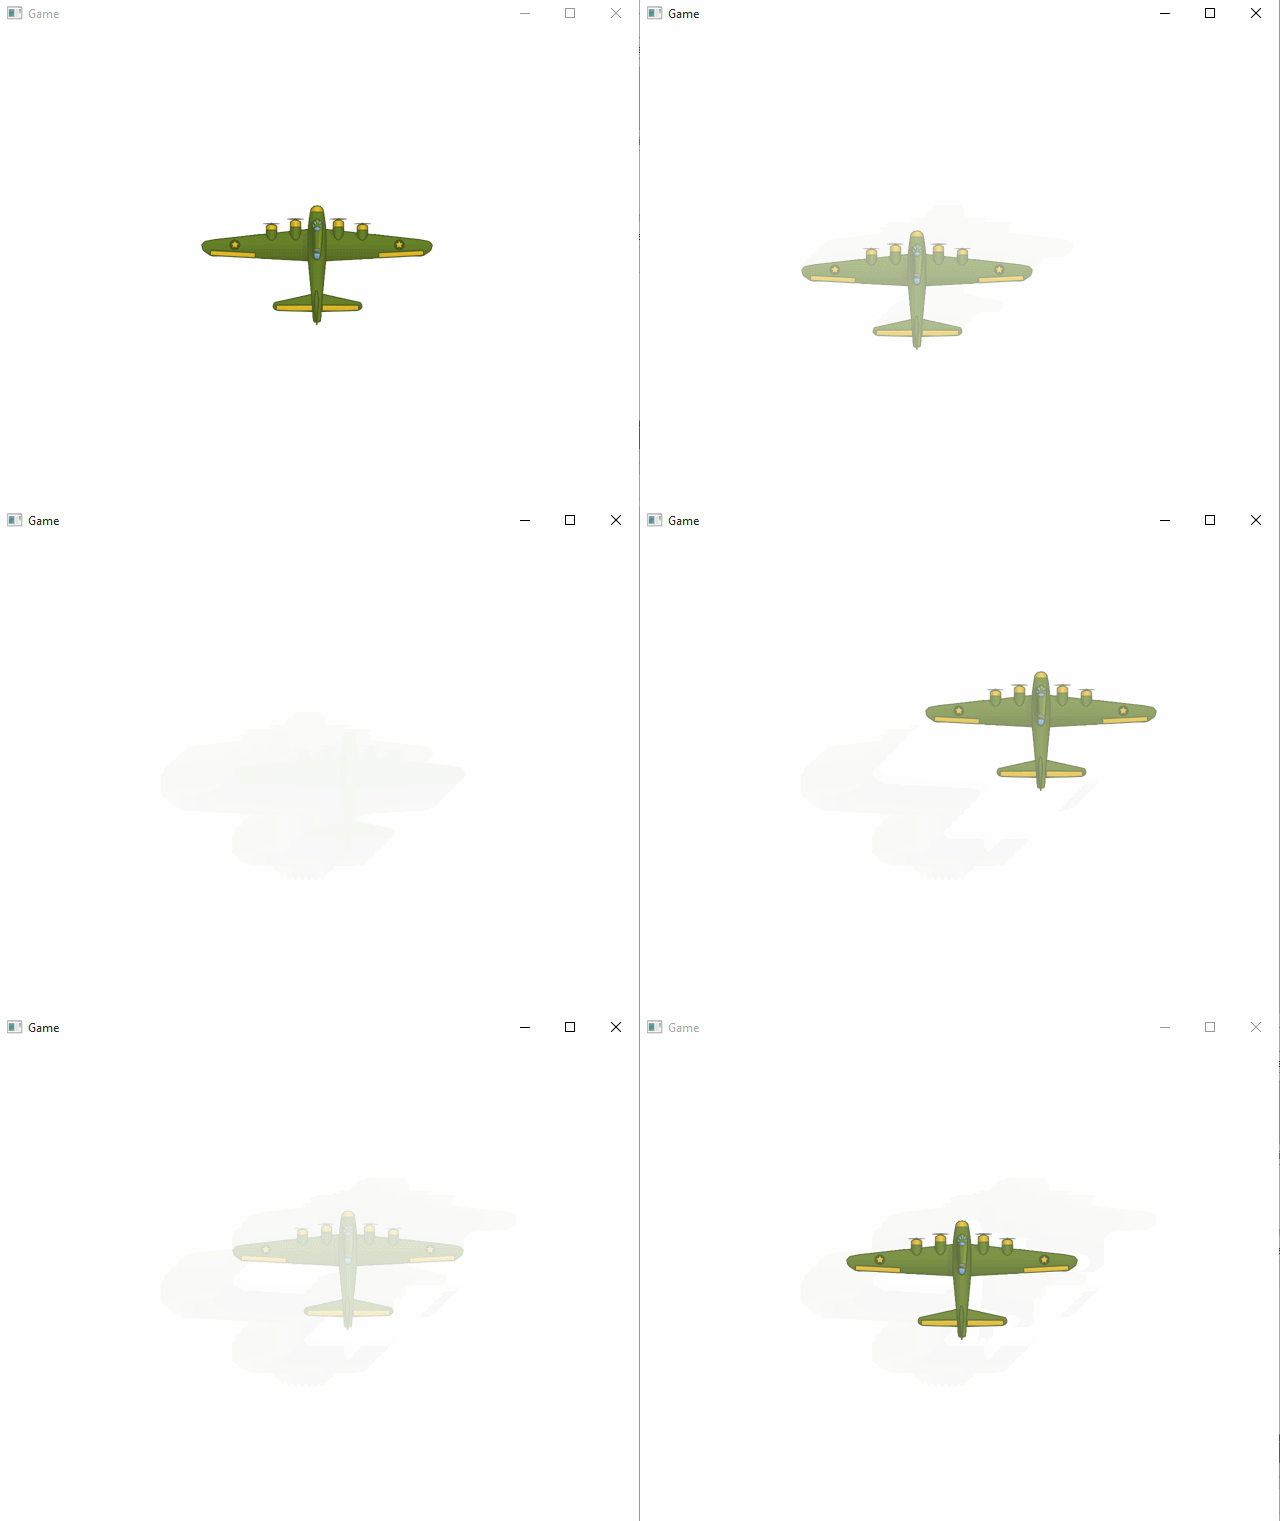
And when you run it:
Here we’ve used a set of built in keys, one for applying movement to your entity. The parameters passed in limit x and y velocity as well as the rate of acceleration. Then we create another component that maps the WASD keys to an axis, which can be used to drive our movement component. Finally we create a custom component that changes our alpha over time.
Documentation and Community
Otter2D’s documentation consists of a collection of examples here and a generated reference manual available here. It’s not a huge body of work however Otter2D is extremely simple to use so doesn’t really need much more. Additionally it is built on top of SFML, so that underlying documentation and community are also available. That said, it is built on the C# bindings of SFML and that community is much smaller than the main SFML community.
In terms of community there is a small forum available here. It’s not extremely active but it is a place to get your questions answered. There are a handful of tutorials on the web but not a huge amount by any definition of the word.
Conclusion
Otter2D is a pretty solid 2D game engine built over top of a well established framework. It was extremely easy to learn and use, the design is clean enough you can intuit most of the process. On major flaw I never discussed was the support for the Ogmo level editor, which IMHO was a very bad choice. First off, it simply doesn’t work, loaded levels are mangled. Worse though, Ogmo itself was a frustrating mess to work with… every single change to the map (adding a layer, changing size, tile format, etc. ), completely destroyed everything you had done up to that point. Adding support for a better editor such as Tiled would be relatively short work, but this was by far the most frustrating part of working with Otter2D.
Otherwise it is exactly what it is. A clean, easy to use, fairly full featured 2D C# game engine. As it is built over SFML and in C# deploying to platforms such as Android or iOS is most likely going to be painful ( no documentation exists ) and will most certainly require a Xamarin license. For a 2D desktop title or as a learning game engine however, Otter2D would be a very solid choice. As odd as it sounds, Otter2D was simply fun to work with, somewhat like Love2D, especially after dealing with much more complex engines or even SFML itself.
The Video

