I have decided to take a closer look at the Loom game engine that I mentioned recently, as I am an absolute sucker for new game engines, especially ones that are currently free. You can consider these posts a cross between a diary and a review as I dive in to what it’s like using Loom. Of course, I am also documenting the process, so if you are just getting started with Loom hopefully these posts prove useful for you.
Alright, let’s jump right in.
Quick summary to those that didn’t read the above link. Loom is a 2D game engine, based around a custom scripting language Loomscript, which is a bastard love child of ActionScript and C#. Behind the scenes it is written in C++ over the Cocos2D-x library (and others) and you can get full access to the source code. Full disclosure, I’ve never actually used ActionScript before, but I have a fair bit of JavaScript and C# experience as well as a copy of the book The ActionScript 3.0 Bible so hopefully I can puzzle things out as I go.
Getting Started — Installation and creating your first application
First things first head on over to TheEngine.co site sign up and download Loom. Be sure to use a valid email address and password, you are going to need them later. Log in and download the version most applicable to you.
In this particular case, I’m using MacOS, but it should simply be a matter of substituting the words “command prompt” wherever you see “Terminal”.
Now that it’s installed, welcome to an interesting part of Loom. It is command line driven. During installation it will have installed itself to somewhere in your systems path (/usr/bin/loom in my case on Mac OS), simply open a terminal/command prompt and change to the directory where you want to create a Loom project.
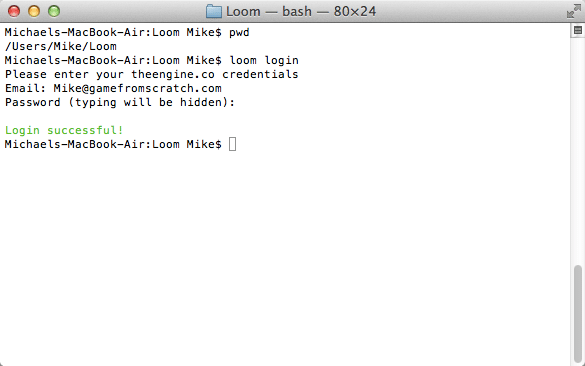
Now type loom login
When prompted for credentials, use the username and password you signup with. If all went well you should see:
If you don’t get Login successful! well, good luck finding out if TheEngine.co has good support or not. 🙂
Now we actually want to create a project. From the same terminal window type:
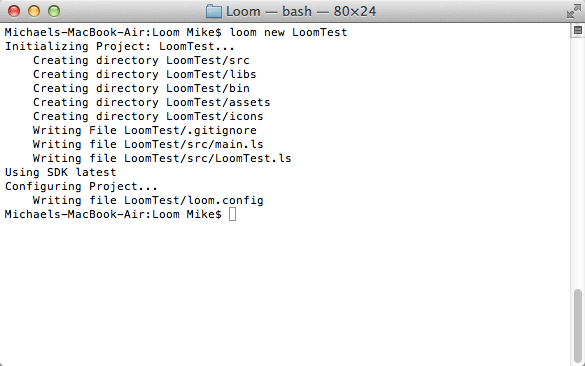
loom new ProjectName
like so:
Voila, a new project should have just been created for you.
Now simply change into your project directory and type loom run
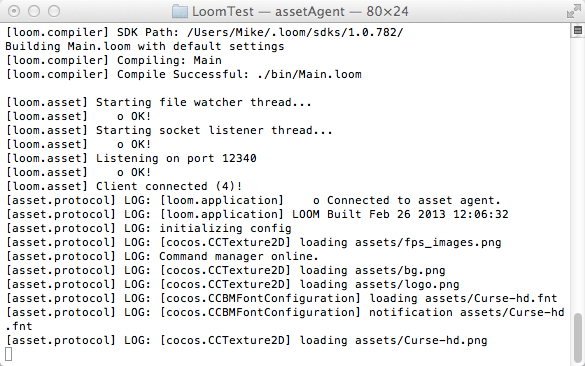
Loom will now download the latest SDK and compile your code like so:
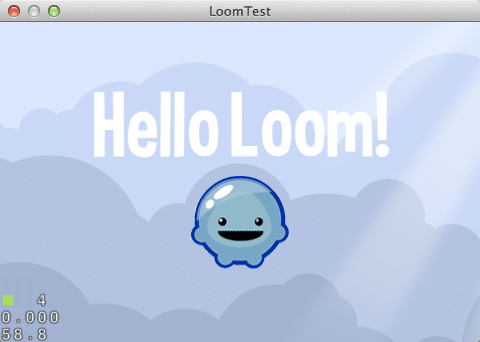
And assuming everything went well, your skeleton application will run:
And you’ve just created and run your first loom application in about 4 minutes work.
Now for the first annoyance… for some reason, after calling loom run once you close your application window, the script is hung. You need to CTRL+C to stop execution of the script in your terminal window. Small oversight, but kinda irritating… at first it just seemed like it was simply hung up, especially as my LoomTest application didn’t get focus on execution, so I wasn’t even aware it was running at first!
Anyways, that’s a pretty small beef and something easily fixed in time.
Setting up an Editor
Command line tools are all nice and good, but I am spoiled from years of Visual Studio development… I like working in an IDE or at least an editor. Fortunately Loom has configurations for a very good one available, Sublime Text.
This part is completely optional, but I am now going to configure Sublime Text to work with Loom.
Initially all I am going to do is add LoomScript syntax highlighting, I don’t really mind switching to a terminal window to build/run my application. To do so, head over to this thread and download the linked bundle zip file. I assume you have already installed SublimeText, if not, do so now.
Extract the zip file. Inside the extracted folder is another folder called LoomScript. Copy it.
(The following is MacOS specific)
Open Finder then hit Command Key + Shift + G
In the field enter ~/Library/Application Support/Sublime Text 2/Packages/
Paste the folder LoomScript in this directory.
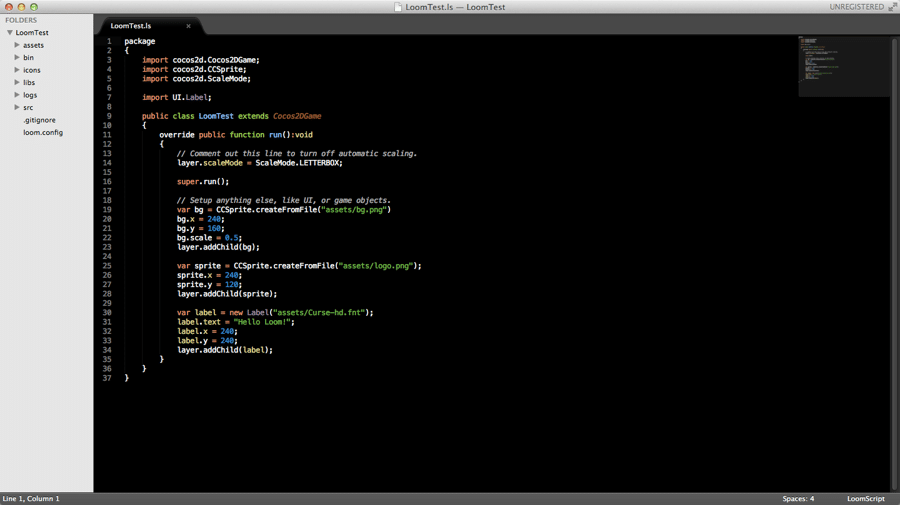
Now start Sublime Text and select File->Open… and navigate to the folder you created your Loom project in. If should look like this with complete syntax highlighting.
This mostly just gives pretty syntax, if you want closer to a full IDE experience, be sure to read this post!
TheEngine.co apparently have a full IDE in the works, but for now, IDE should prove a usable solution. I am going to continue investigating getting code completion working though, a feature I really like.
Learning Loom
This part may not seem immediately obvious… so now you have your game created, how do you actually go about learning Loom?
Well, there are two ways. First off, there are a series of examples you can download and dissect from right here.
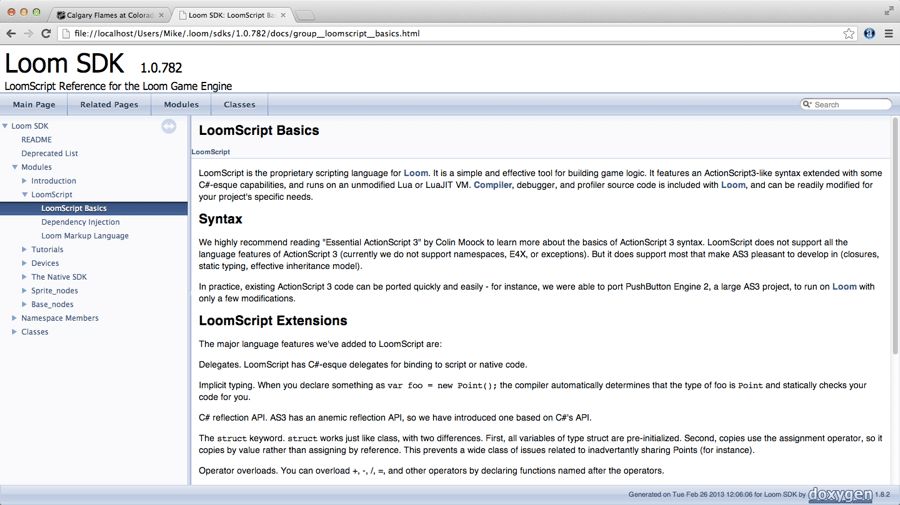
Second, in your terminal, change to your project directory and simply type loom docs
The documentation will then be loaded in your default browser like so:
Well, we are now setup and running with our first primitive app. That’s enough for now, in the next part I will get down to writing some actual code.
You can read the next part right here.

