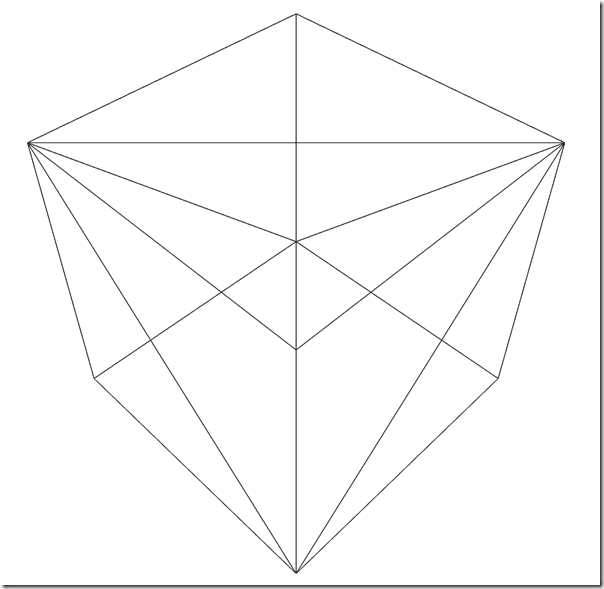
In our previous tutorial we covered lighting in our ongoing Babylon Tutorial Series but the objects in our game are still remarkably drab. A big part of this is the lack of materials applied to them. In this tutorial we are looking at using the StandardMaterial which handles all the grunt work for you. You can think of StandardMaterial as a container for several different kinds of textures (diffuse, opacity, etc. ) that can be applied to an object. It also has some built in attributes such as diffuse (color), emissive (self lighting) and more. Let’s start straight away with an example that we covered in a previous tutorial. Applying a simply wireframe to our cube:
<!DOCTYPE html> <html lang="en"> <head> <meta charset="UTF-8"> <title>Title</title> <script src="../Common/Lib/babylon.max.js"></script> <style> #canvas { width:100%; height:100%; } </style> </head> <body> <canvas id="canvas"></canvas> <script> window.addEventListener('DOMContentLoaded', function(){ var canvas = document.getElementById('canvas'); var engine = new BABYLON.Engine(canvas, true); var createScene = function(){ var scene = new BABYLON.Scene(engine); scene.clearColor = new BABYLON.Color3.White(); var box = BABYLON.Mesh.CreateBox("Box",4.0,scene); var camera = new BABYLON.ArcRotateCamera("arcCam", BABYLON.Tools.ToRadians(45), BABYLON.Tools.ToRadians(45), 10.0,box.position,scene); camera.attachControl(canvas,true); var material = new BABYLON.StandardMaterial("material1",scene); material.wireframe = true; box.material = material; return scene; } var scene = createScene(); engine.runRenderLoop(function(){ scene.render(); }); }); </script> </body> </html>
When you run it:
Simple enough. We create a StandardMaterial, passing in it’s identity and the scene to create it in. We set the materials wireframe property to true, then apply the material to our object’s material property. Note each object can only have a single material, although a compound material exists if you need to mix multiple materials together. Now let’s look at a slightly more colourful example, this time using more of the built in properties of StandardMaterial.
<!DOCTYPE html> <html lang="en"> <head> <meta charset="UTF-8"> <title>Title</title> <script src="../Common/Lib/babylon.max.js"></script> <style> #canvas { width:100%; height:100%; } </style> </head> <body> <canvas id="canvas"></canvas> <script> window.addEventListener('DOMContentLoaded', function(){ var canvas = document.getElementById('canvas'); var engine = new BABYLON.Engine(canvas, true); var createScene = function(){ var scene = new BABYLON.Scene(engine); scene.clearColor = new BABYLON.Color3.White(); var box = BABYLON.Mesh.CreateBox("Box",4.0,scene); var camera = new BABYLON.ArcRotateCamera("arcCam", BABYLON.Tools.ToRadians(45), BABYLON.Tools.ToRadians(45), 10.0,box.position,scene); camera.attachControl(canvas,true); var light = new BABYLON.PointLight("pointLight",new BABYLON.Vector3( 5,5,0),scene); light.diffuse = new BABYLON.Color3(1,1,1); var material = new BABYLON.StandardMaterial("material1",scene); material.diffuseColor = BABYLON.Color3.Blue(); material.emissiveColor = BABYLON.Color3.Red(); material.specularColor = BABYLON.Color3.Red(); material.specularPower = 3; material.alpha = 1.0; box.material = material; var plane = BABYLON.Mesh.CreatePlane("plane", 10.0, scene, false, BABYLON.Mesh.DOUBLESIDE); plane.material = new BABYLON.StandardMaterial("material2",scene); plane.material.diffuseColor = new BABYLON.Color3.White(); plane.material.backFaceCulling = false; plane.position = new BABYLON.Vector3(0,0,-5); return scene; } var scene = createScene(); engine.runRenderLoop(function(){ var material = scene.getMeshByName("Box").material; // material.alpha -= 0.01; // if(material.alpha < 0) material.alpha = 1.0; scene.render(); }); }); </script> </body> </html>
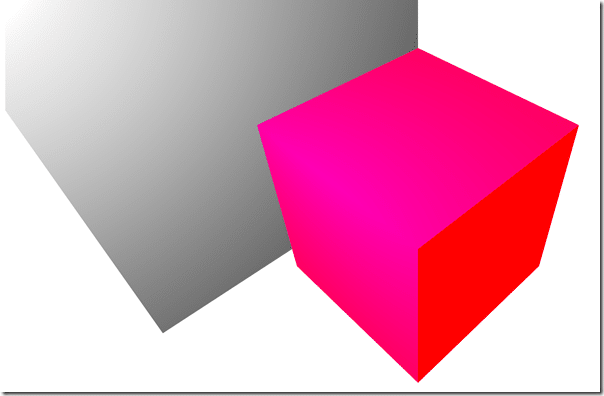
Running this example results in:
Here you can see we’ve set the diffuse, emissive and specular values of the cube. I also created a plane so you can see the emissive value of our cube has no effect on it. The diffuse property can be thought of as the colour in the traditional sense. Emissive on the other hand is a value for an internal light of the material, there aren’t actually that many emissive parallels in the real world, but some mosses and a few creatures have an emissive property to them. Specular color determines how external light sources interact with the surface. If you look at the commented code in the main loop you will also see commented code affecting the alpha channel of the material. Alpha can be thought of transparency, with a value of 1 being fully opaque, while 0 is fully transparent.
What the majority of people think of when they work with materials is textures. Textures are simply images that are applied the surface of an object like virtual wallpaper. There are different types of textures as well, some effect the color of a surface, others affect the transparency or normals. Here is an example:
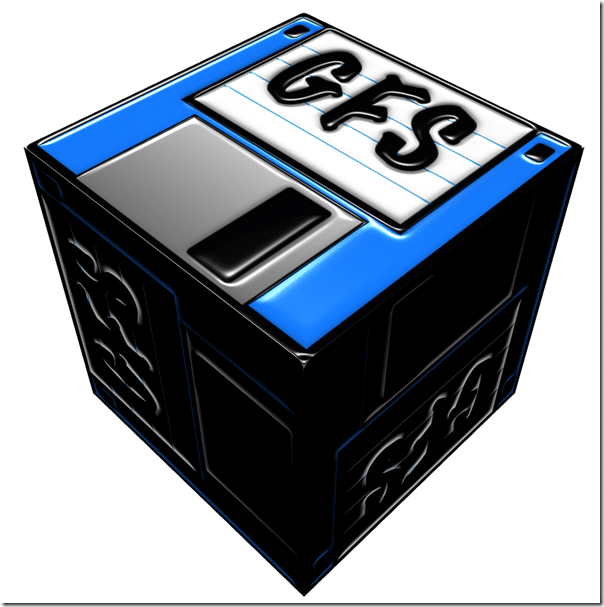
<script> window.addEventListener('DOMContentLoaded', function(){ var canvas = document.getElementById('canvas'); var engine = new BABYLON.Engine(canvas, true); var createScene = function(){ var scene = new BABYLON.Scene(engine); scene.clearColor = new BABYLON.Color3.White(); var box = BABYLON.Mesh.CreateBox("Box",4.0,scene); var camera = new BABYLON.ArcRotateCamera("arcCam", BABYLON.Tools.ToRadians(45), BABYLON.Tools.ToRadians(45), 10.0,box.position,scene); camera.attachControl(canvas,true); var light = new BABYLON.PointLight("pointLight",new BABYLON.Vector3( 0,10,0),scene); light.parent = camera; light.diffuse = new BABYLON.Color3(1,1,1); var material = new BABYLON.StandardMaterial("material1",scene); material.diffuseTexture = new BABYLON.Texture("gfs.png",scene); material.bumpTexture = new BABYLON.Texture("gfs_normal.png",scene); material.roughness = 0.5; box.material = material; return scene; } var scene = createScene(); engine.runRenderLoop(function(){ scene.render(); }); }); </script>
And when you run it:
This example uses two different textures, a diffuse texture:
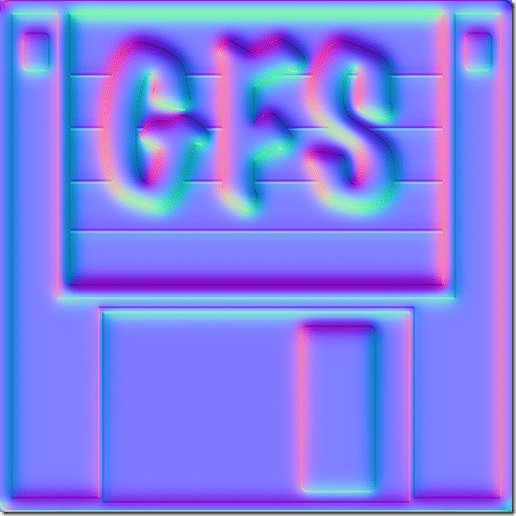
And a normal map:
For more details on Normal Maps, check this video on Normal Map 101. Somewhat confusingly, BabylonJS refers to normal maps as bump textures. This only scratches the surface of the material and texture options available, you also have options like ambient, opacity, reflection, light and specular textures, but you will find they almost all work exactly the same way.


