EDIT: You can download the precompiled binaries here. The Mac binaries are in fbx-conv.zip. The reason for the failed build is LibGDX used a previous build of Autodesk’s library.
If you want to convert 3D models to LibGDX’s native file format G3DB you need to use fbx-conv. The general instructions for the entire process is available here. If you are working on Windows, you are in luck, as there are pre-compiled binaries. If you are however working on MacOS, like I currently am, there is a bit more of an adventure ahead.
Simply put, you need to compile from scratch and that requires a few hoops to be jumped through, especially if you are used to working only in Java, as the source is actually C++. I will run through the process I went through.
First and foremost, you need to install Xcode if you haven’t already. You can get Xcode in the App Store, or here.
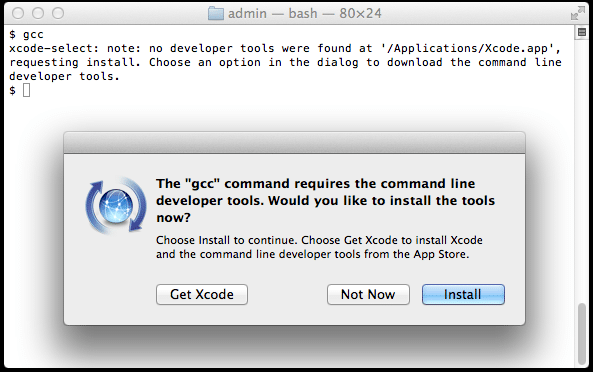
Make sure command line tools are installed. Simply open a terminal and type “gcc”. If a prompt appears asking you to install the tools, do it.
If it doesn’t, yay, you have them installed.
Run gcc from the terminal one more time after install is completed and agree to the EULA.
Ok, Xcode is configured. Now you need to set up the Autodesk FBX sdk. From this link locate and download FBX SDK 2014.2.1 GCC. Once downloaded, in Finder double click to extract, then double click the extracted file to install.
By default it will install to Application/Autodesk/FBX SDK/2014.2.1. Obviously if you do this at a later date, the version number will be different. You need to add FBX_SDK_ROOT to your environment. To do so open a terminal window and cd to your home ( ~ ) directory. Type:
pico .profile
Add the line:
export FBX_SDK_ROOT=’/Applications/Autodesk/FBX SDK/2014.2.1′
to the end of the script. Then hit CTRL+X to exit, and chose Y when prompted. Now you need to create a new terminal window for the updated settings to be valid.
Next you need to install Premake. Simply download the file from the link, extract it and copy the binary ‘pre make’ somewhere it can be seen ( I in a fit of poor judgement simply used /usr/bin ).
OK, ready to go. First we need to download the fbx-conv code. Open a terminal and cd to a directory you want to build in.
type:
git clone https://github.com/libgdx/fbx-conv.git
./generate_xcode
This will create an Xcode project in the directory build/xcode3. cd into that directory then type:
xcodebuild
If all goes well, you will now have fbx-conv in the root directory you cloned the git to. fox-conv depends on the dylib file libfbxsdk.dylib being in the path. I simply copied it from Applications/Autodesk/FBX SDK/2014.2.1/lib/gcc4/ub/release/ to the same folder as fbx-conv. That said, I really don’t understand dylib pathing in OSX since they changed it in OSX 10.8 so there is probably a much better solution.
There is one gotcha I ran into. The code actually failed to compile on this line:
animStack->GetScene()->GetEvaluator()->SetContext(animStack);
In FbxConverter.h. It seems GetEvaluator() is no longer a member of FBXScene. Perhaps fbx-conv was built on a previous release? Anyways, I simply commented the line out and fbx-conv seems to still work. YMMV.

