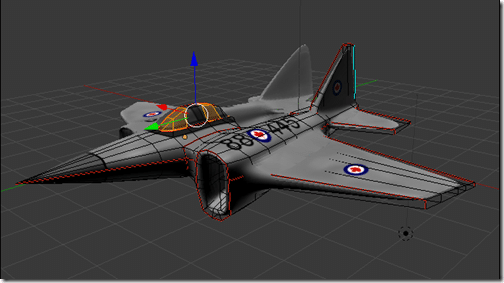
Throughout the tutorial series I intentionally stayed with a low polygon count model. There are two reasons for this. First, if you are using it for a real-time game instead of creating a sprite, a lower polygon count is important for performance, especially in a mobile title. Second, it’s actually fairly simple to add detail to a model, but it’s a heck of a lot harder to take it away!
In this post, we are going to quickly look at ways to add detail to a model in Blender.
Subdivision Surface Modifier
One option is to apply a Subdivision Surface Modifier to your mesh. This is a well named modifier, as it does exactly what you would think… the mesh subdivides itself, over and over until you have a smoother mesh. Each time you subdivide it becomes smoother and the mesh becomes denser.
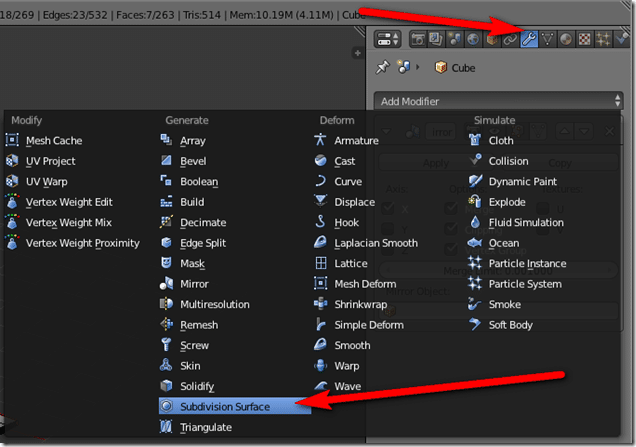
To apply a subdivision surface modifier, add it like you did the Mirror modifier:
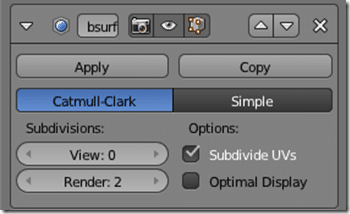
Then in the options:
The two subdivision controls then determine how many times it will be subdivided. View is how many times the viewport mesh ( the one you work with ) will be subdivided, while Render is the number of iterations performed at render time. The choice between Catmull-Clark or Simple determines which sub-division algorithm will be used.
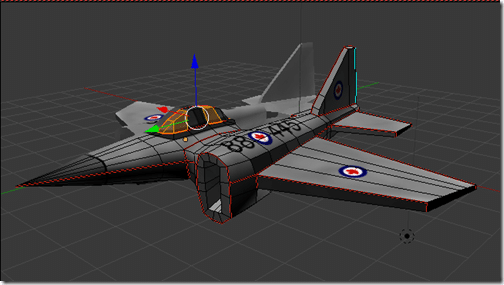
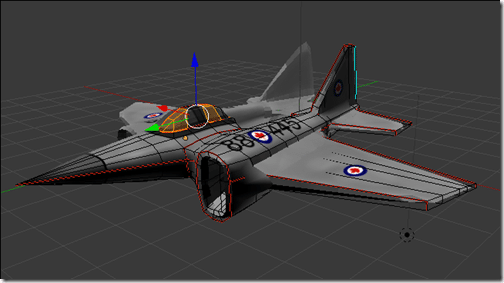
Here for example, are the effects of View at various values:
View = 0
View = 1
View = 3
The mesh is smoothed a great deal with the simple click of a button. However, as you can notice from the wireframe, you can still edit the source wireframe. So you work in low resolution and see the results as they will be subdivided. On the other hand, the polygon count is taking a kicking.
Here is the low polygon versions stats:
And here is the result after we apply a 3x sub division modifier:
… so that is why we work with a low polygon version! From 514 triangles to 66548!
One thing to keep in mind with the subdivision modifer, it works on the entire mesh, while sometimes you may just want to subdivide parts of a mesh… don’t worry, Blenders got you covered there too!
There is also the Multi-Resolution modifier, which performs almost identically, but allows you to sculpt with the generated vertices. I have never personally used it, any time I’ve sculpted, I have simply applied the Subdivision modifier before sculpting. I suppose the Multiresolution modifier is specifically to solve that problem.
Subdivide/Subdivide Smooth
When in Edit Mesh mode, you have two other options, subdivide and subdivide smooth.
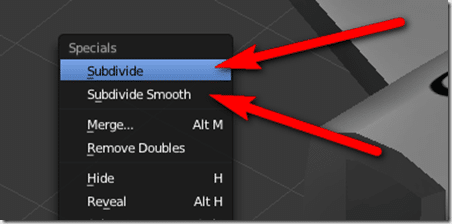
Simply hit W to bring up the context menu and select either Subdivide or Subdivide smooth:
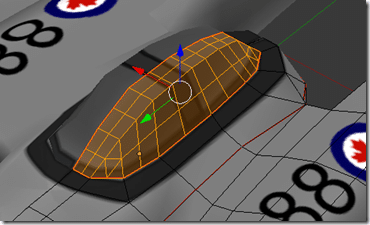
This modifier will be applied to whatever you have selected. So for example if we wanted to add detail to the cockpit area, select it and choose either:
Subdivide
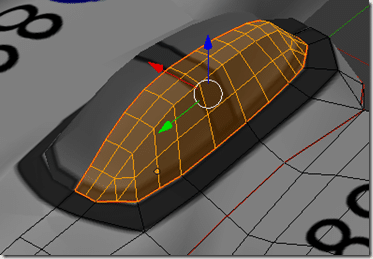
Subdivide Smooth
Unlike using a modifier, the effect is immediate and the base mesh itself is altered. Of course, you can also pick and choose where you want the subdivision to occur. You can of course run it multiple times.
Subdivide Smooth x 3:
What about sharp edges?
This is the first obvious question when it comes to smoothing via subdivision. Partially, this is why Subdivide and SubDivide smooth both exist. However, there are ways to maintain a sharp edge after you apply subdivision to it.
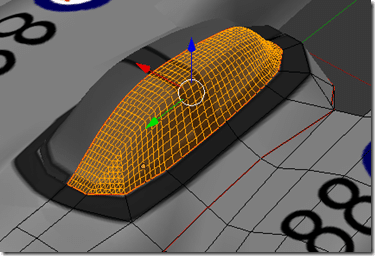
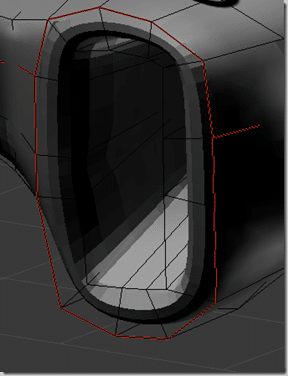
Consider the jet intake. We want to to stay at a nearly 90 degree angle, but here it is with a SubDivision Modifier with View=2
That’s obviously not what we want.
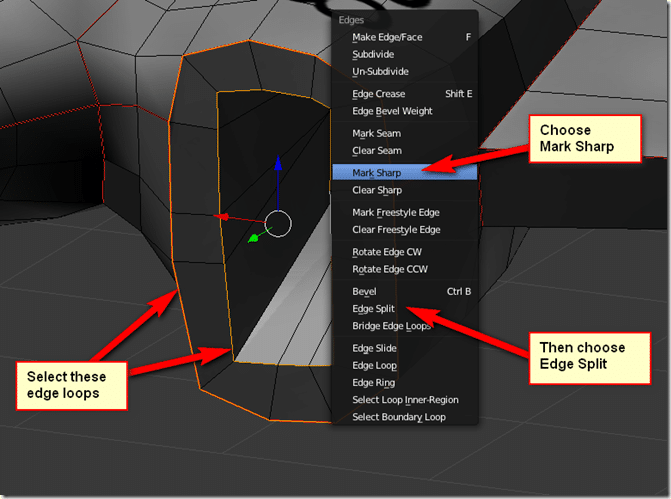
Instead, we can select both edge loops around the intake, then hit CTRL + E to bring up the Edge edit menu, then select Mark Sharp, followed by Split Edge:
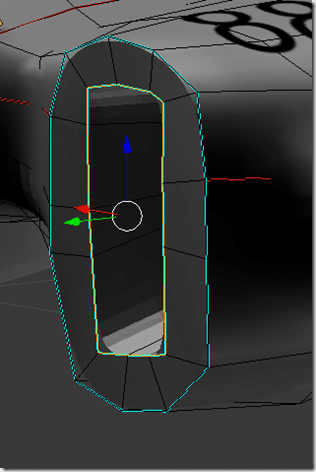
And now when you apply a subD modifier:
Your flat edges stay flat.
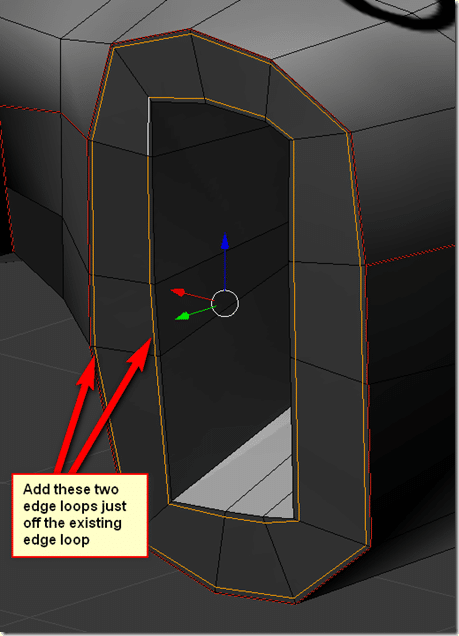
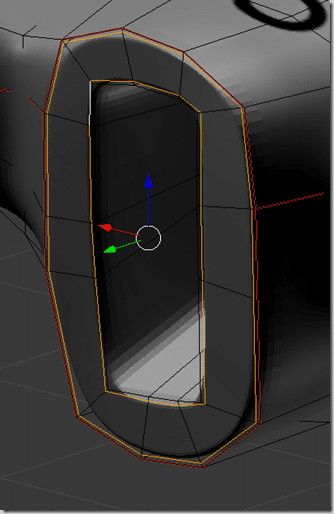
You can also achieve nearly the identical effect using edge loops before applying a subdivision. Consider the same air intake, if you want to keep the front flat, you and add two new edge loops right beside the edge you want to stay sharp. Like so:
And now when you subdivide, you get:
As you can see, it’s fairly simply to add detail to an existing mesh.

