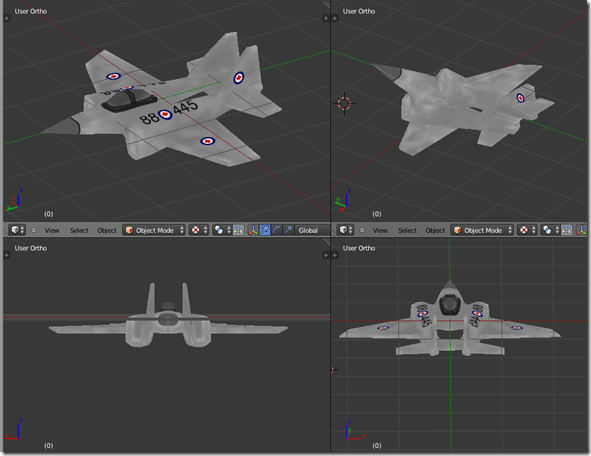
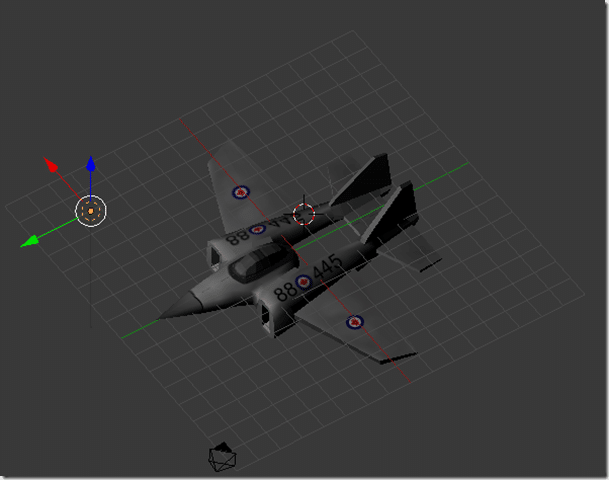
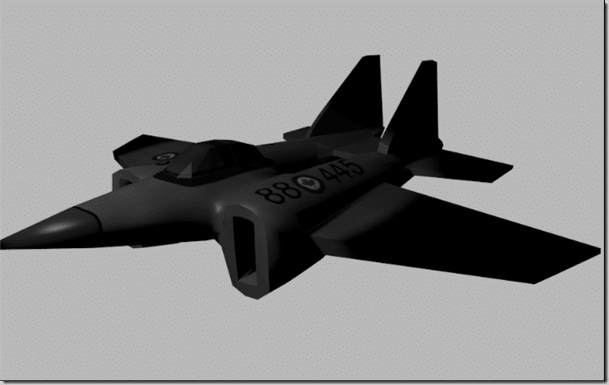
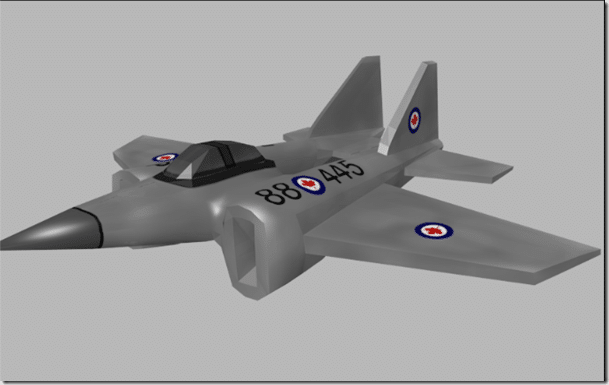
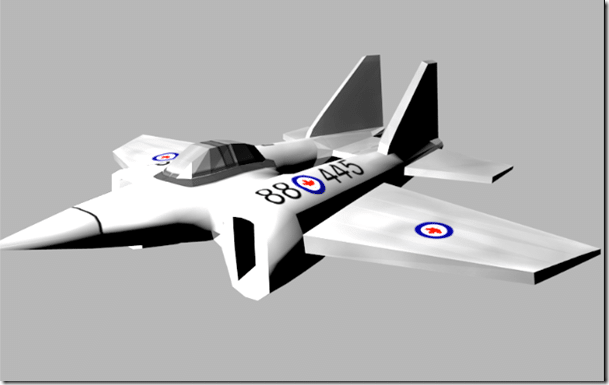
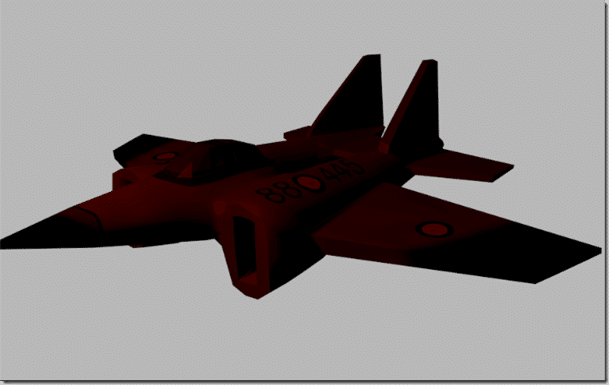
In Blender, when modelling, a world without light can be a great thing. In a lightless scene, your model looks remarkably consistent from all angles:
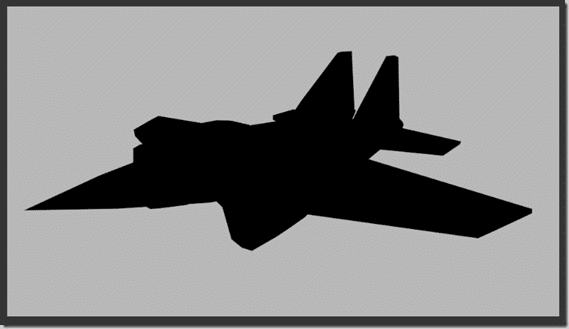
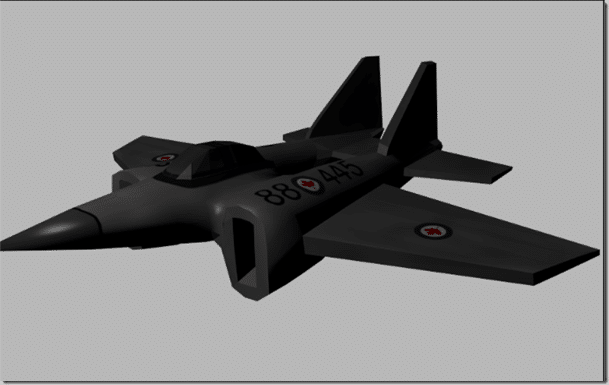
That said, if you render a scene without light:
The results aren’t exactly brilliant!
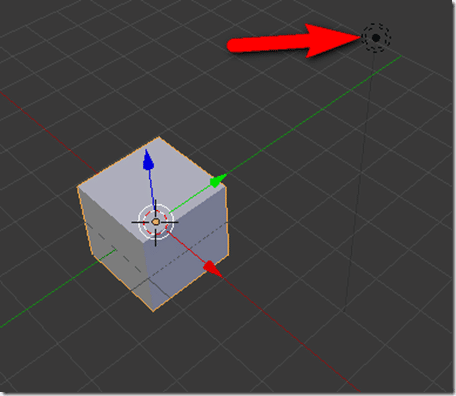
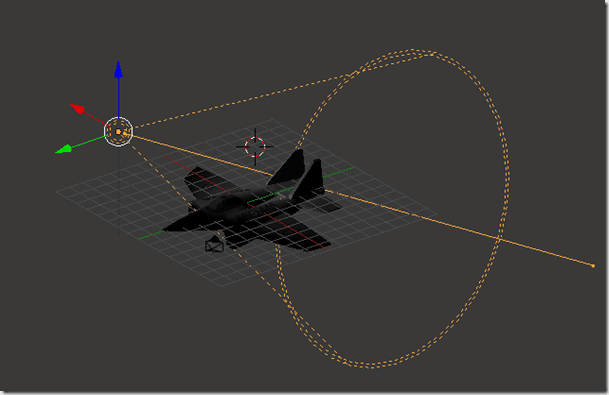
The default Blender scene generally contains a single point light:
In object mode, these lights can be manipulated just like any other object in the 3D view. Moving will effect where the light source is cast from, while the effect of scaling and rotate greatly depends on the type of light.
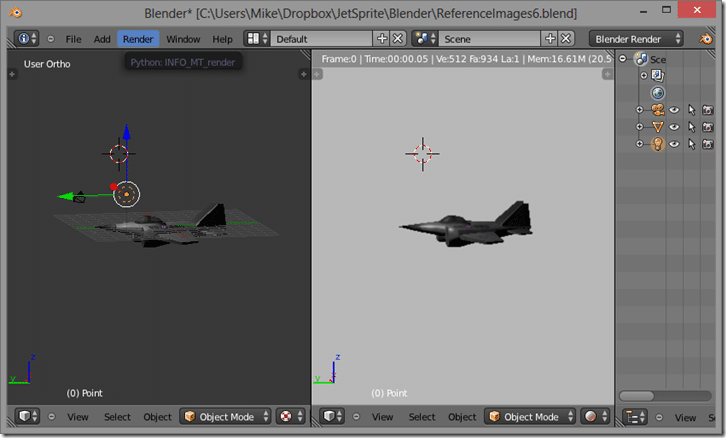
When positioning lights, it’s often very handy to have your view set to either Texture or Rendered view. The other view modes simply do not show the effect of the light. Rendered view most accurately captures the effect of moving a light, but you are hugely restricted at what you can do in rendered view. I generally use Texture view when placing lights, then flip over to rendered view while fine tuning, using a separate 3D view in textured, wireframe or solid view to position the lights.
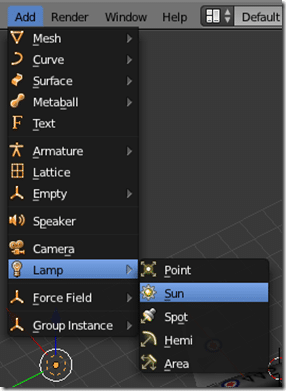
There are a number of different light options in Blender, you can see them all via the Add->Lamp menu (why lamp???):
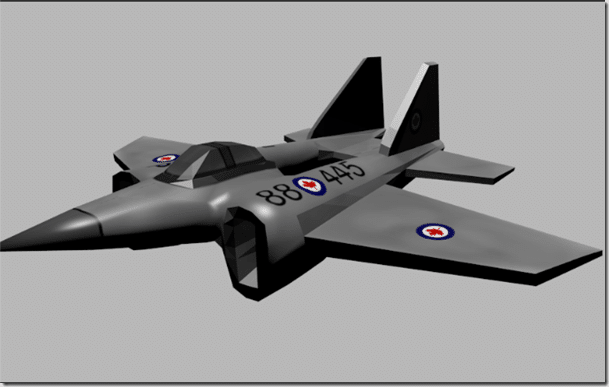
Here is the effect of each type, using the same scene:
The Scene:
Point Light:
Sun:
Spot:
Hemi:
Area:
With the exception of Point lights, all other lights have a direction, while a spot light also has a falloff.
A spot light in action
If you need to aim a light, you do it using the standard rotational tools.
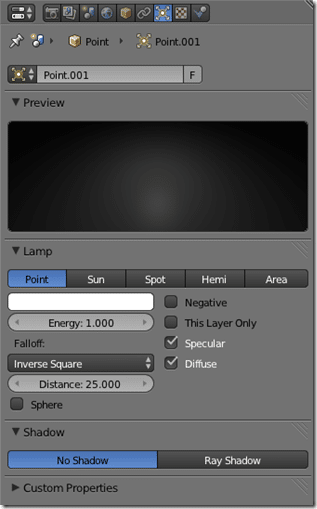
Like the camera, there is a context sensitive control panel for controlling lights:
You can change between the various light types here. The preview area is a sample of how the light will affect a black surface. Each different light has a number of different settings. For example, the Sun has options for sky and atmospheric effects, while the spot light has settings for controlling light falloff. If you want to have a coloured light, you can do it here.
Here, for example is the spotlight changed to red.
You can add as many lights to your scene as you want. The actual art of getting proper lighting, well… that’s almost an entire career in and of itself! For now a Hemi light is about as simple as it gets, so start there for now.
Rendering time next!
Click here for the Next Part

