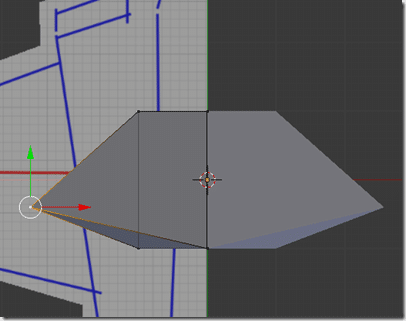
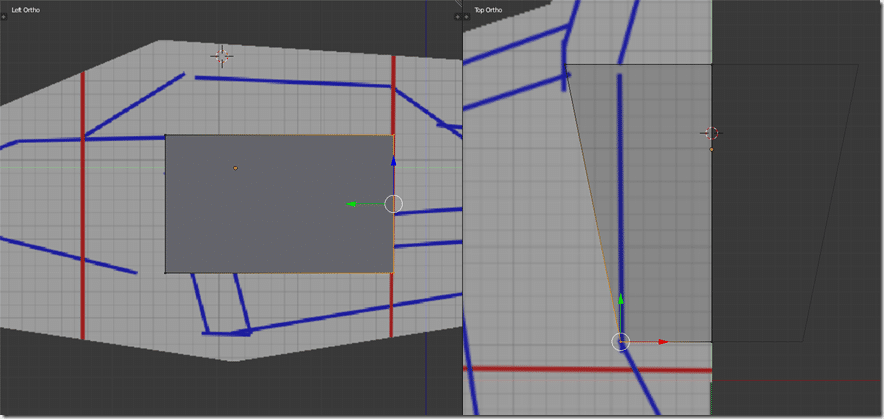
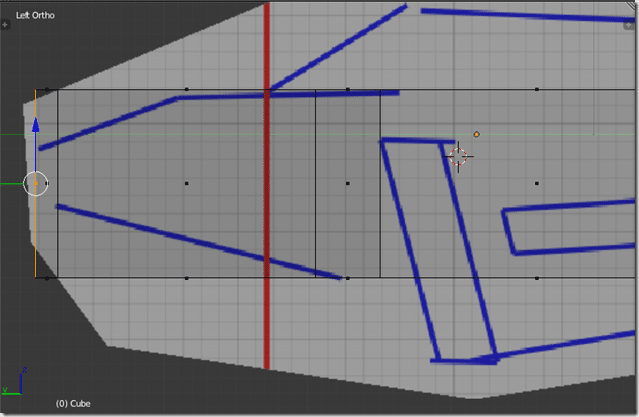
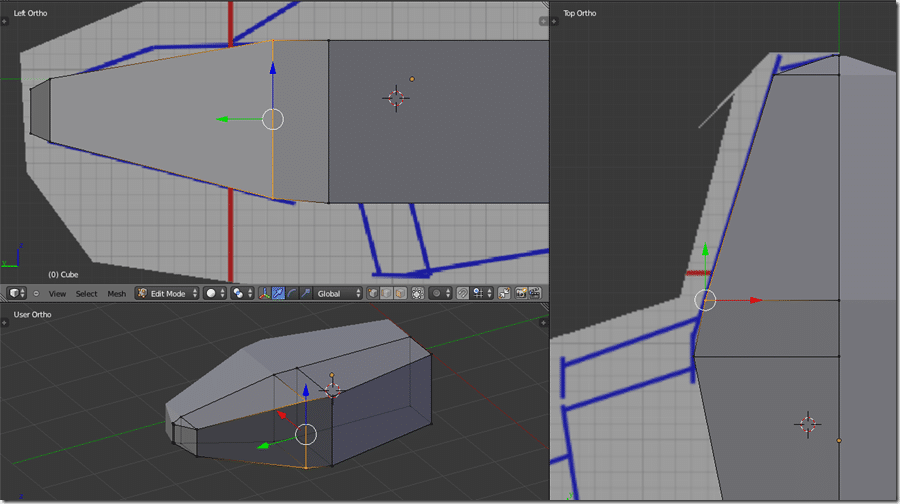
In this part of the tutorial we are going to start modelling the outline of our jet model. It all starts with a box and involves only a handful of operations. You may have noticed up until now, all of the various top view reference images I’ve created have only been half of the jet sprite. This is because we the jet sprite is symmetrically identical, in that the left and right side of the image are identical. As a lazy guy, if I can do half the work, I do half the work!
Setting up for mirrored modelling.
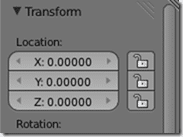
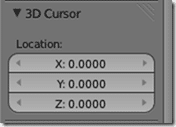
First thing we want to do is create a cube (Add->Mesh->Cube) at the origin. It’s important to be exactly at the origin to start. You can position it numerically in the Properties panel:
Make sure X, Y and Z coordinates are all at zero.
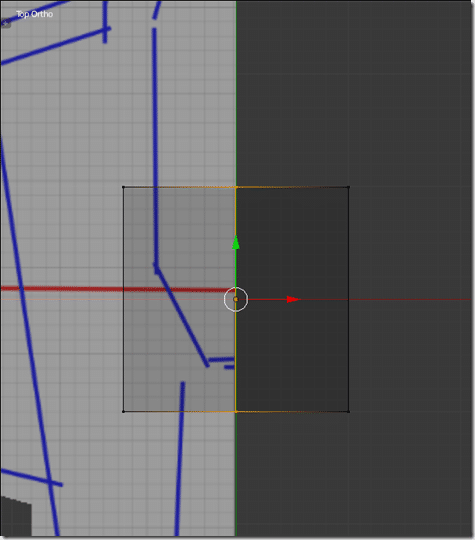
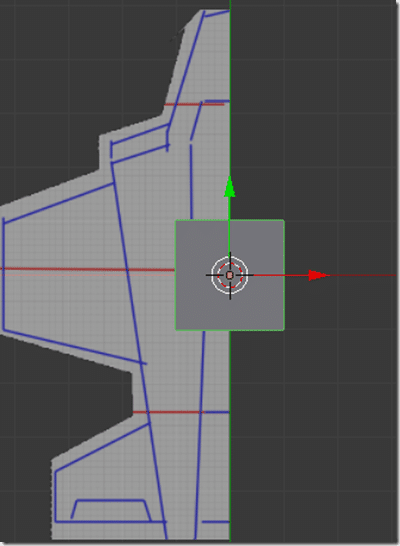
Now go into Edit mode, and in the top view, insert an edge loop directly at the center. ( Ctrl + R, then accept(Enter) the initial position, it will already be centered. ) If done right, it will look like this:
In vertex mode, make sure you have nothing selected ( A ), then select the vertices on the side that has no reference image. One important concept to be aware of is how selection works. By default, if you select multiple vertices, it will only select the visible ones. In this case, when in the top view, the front vertices obscure the back vertices. Here we want to select all vertices, not just the visible ones. When you aren’t in X-Ray mode ( Z ), you can change the way selection works using this button:
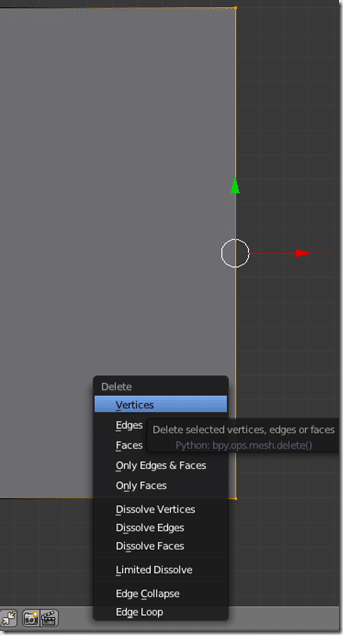
Now select the right most vertices and delete ( X ) and select Vertices from the menu:
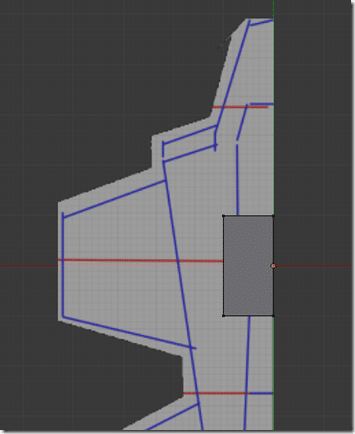
You should now be left with:
Now we want to apply a mirror modifier. First we want to make sure that the pivot is also at the origin. You can also do this in the 3D View Properties ( N ) panel. Please not, this isn’t specifically required, I have however found the process goes much smoother if you model about the origin.
Switch out of Edit mode to Object mode and make sure your Cube is selected.
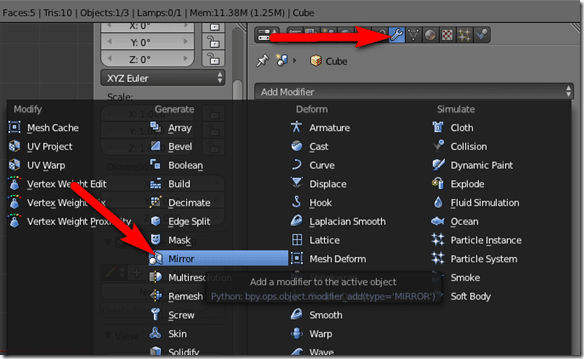
Now in the (other… yeah, it’s confusing ) Properties Window ( this guy ), select Modifiers.
Now drop down the Add Modifier combo and select Mirror:
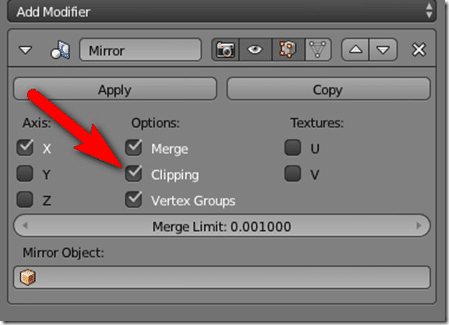
Now in the settings for the Mirror, enable Clipping, which will keep edits from crossing the mirror line. In other words, you wont be able to move a vertices across the mirrored axis, creating screwy geometry.
If everything went correctly, you should see:
Now that the Mirror modifier is applied, now if you make changes to the geometry, it is mirrored, like so:
Woot! Half the work from this point on!
Basics of Box Modelling
Now we are going to start roughing in the shape of our jet, using basically two tools, extrude and insert edge loops.
There are a couple things to keep in mind when modelling.
1- keep it simple stupid (KISS). In this case though, that means something different. It’s very easy to add detail later, but can be incredibly tricky to take it away.
2- prefer quads. It’s a lot like rule one. You can easily turn a quad into a triangle by cutting it in half, but the opposite isn’t true. It’s easy to sub-divide a quad surface and the results are more reliable. Since BMesh was added to Blender, you’ve got the option of creating > 4 sided polygons and it can be a huge time saver, but it can also result in some strange artefacts when you render or smooth your mesh. Keep in mind in the end whether you render or export to a game engine, they all get turned into triangles in the end. So the thing you model with ngons still needs to be able to be turned into triangles.
3- edge loops. It’s all about edge loops. Edge loops enable you to make huge changes to large amounts of geometry in one fell swoop. The also cleanly define the contours of your mesh, pay attention to them! If you haven’t got a clue what an edge loop is, read this. If you have a choice between keeping it simple, or keeping your edge loop clean, keep your edge loops clean, especially if you aren’t doing low polygon work.
Ok, let’s get started.
First lets move our newly mirrored box forward toward where the cockpit starts to slop down and move the outer back vertices in toward the center to for the general outline of the cockpit area back to the engine. Like this:
Now we are going to rough in the front of the plane. Select the front most face, then extrude slightly along the Y axis ( E then Y ). Do this three times, like this:
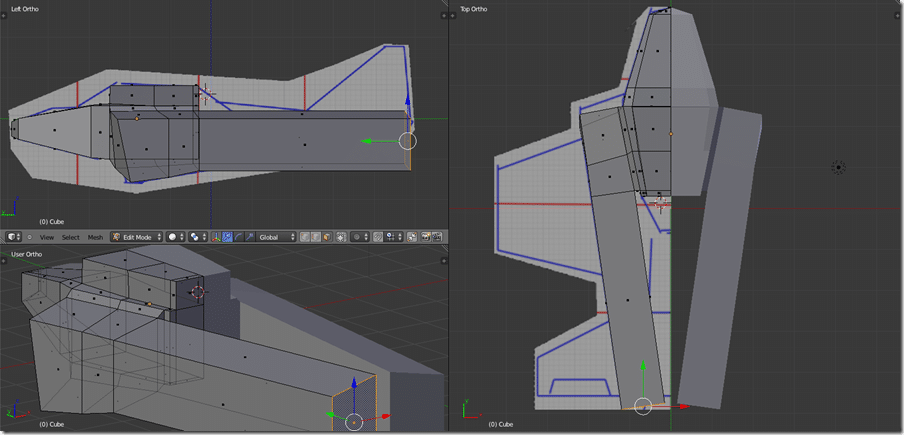
Now move the individual vertices to roughly match the background in the top and side view, somewhat like this:
Now we are starting to get a bit more jet-like. OK, not really, but it aint just a cube now!
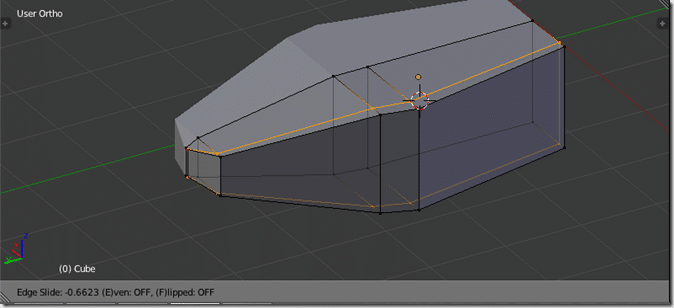
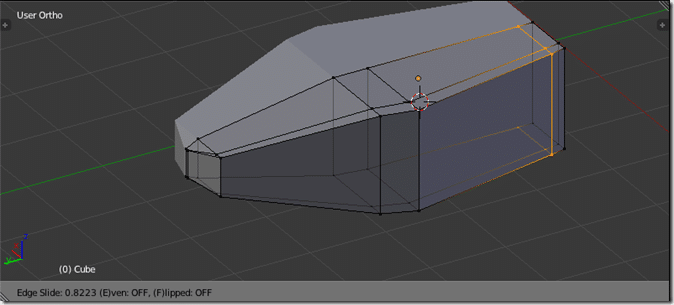
Now lets add a pair of loop cuts (Ctrl + R, left click then slide and enter when done) , like so:
And
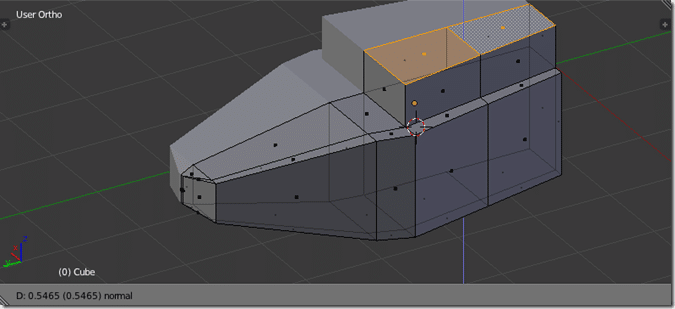
Now switch from Vertices to Face (Ctrl + 3) editing mode and extrude ( E then Z ) along the Z axis our two of the top polygons to make our cockpit. Like so:
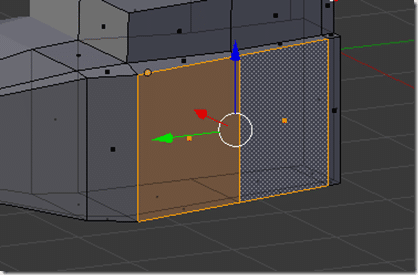
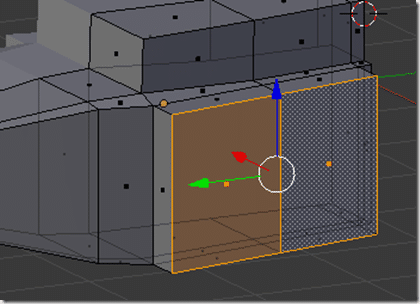
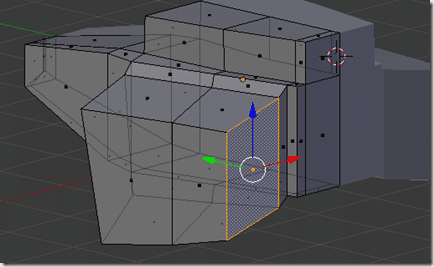
Now we rough in the intake area/side tail. Select these two polygons:
Extrude ever so slightly along the X axis:
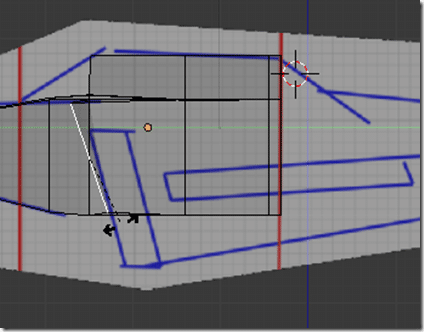
Now select the front most edge of our newly extruded faces and rotate it along the X ( R then X ) axis to roughly parallel the front intake, like so:
(Of course, you could have simply edited the vertices too…)
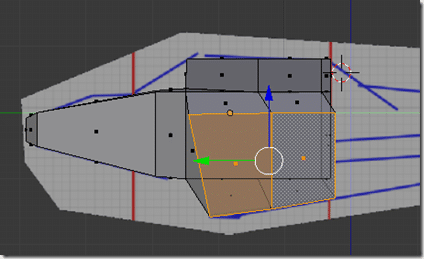
Now move the vertices of our newly created and freshly rotated face to mostly match the reference image:
Next extrude those faces one more time, like this:
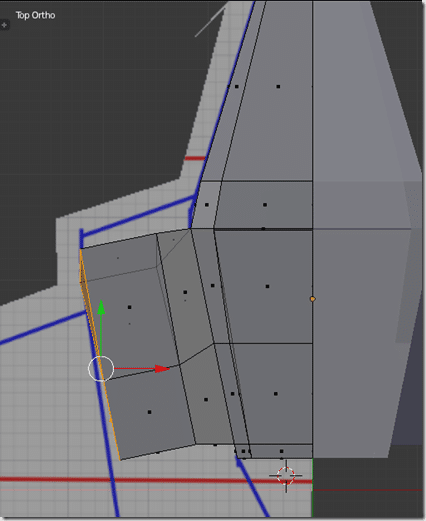
At this point, slide the vertices around in the top view to more accurately match the reference image, then select the back most face in our newest created geometry:
And extrude it back like so:
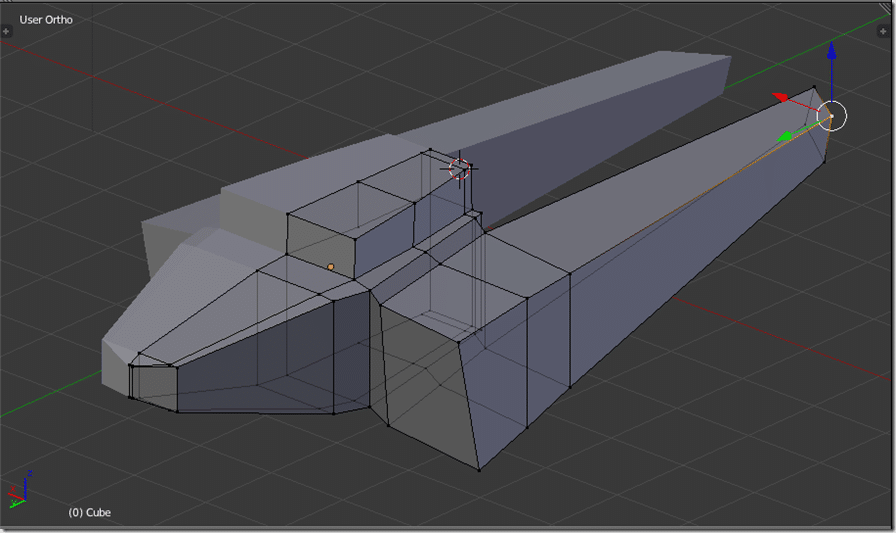
And move edges/vertices around to match the background a bit closer, and we have:
We certainly aren’t there yet, but it looks a bit more jet like at least!
Click here for the Next Part

