In the previous tutorial we covered installing the Defold Engine and creating your first project. Today we are going to be looking at the overall structure of a Defold game, as it varies slightly from previous game engines. I assume at this point you’ve followed the previous tutorial, created an empty project and have it open in the Defold editor.
There is an HD video of this tutorial available here.
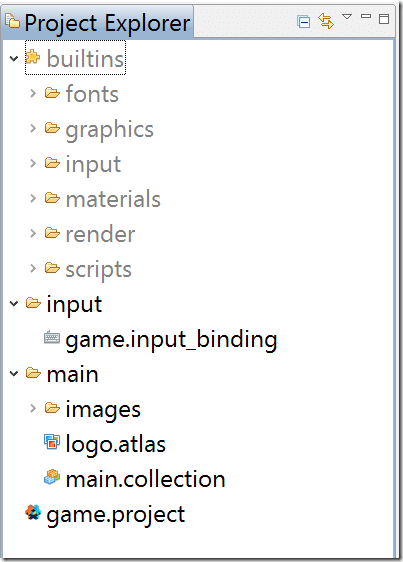
The default project should look something like:
The built-ins folder is exactly that. It contains several resources and scripts usable in your game, but we will talk about that later. The more important thing to be aware of here is the main folder and it’s contents.
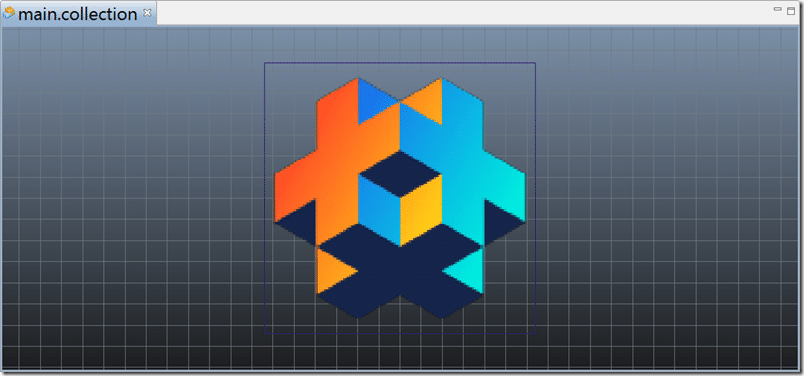
Inside this folder we find main.collection, logo.atlas and a folder containing an image. A collection is a very important concept in Defold. In this particular usage, you can think of a collection as a level. If we double click main.collection for example it will open up a scene editor, like so:
A collection isn’t simply a level however… what it is is a container for game objects or other collections. We will look at game objects in a second. So yes, Collections can be used to compose game levels, but they have other purposes. The also perform the role of “prefabs” in other engines. For example you might have a prefab for an enemy, that contained the scripts controlling it, the graphics you used to draw it, the sounds it plays, etc. This collection can then be used to “instance” a version of your prefab one or more times.
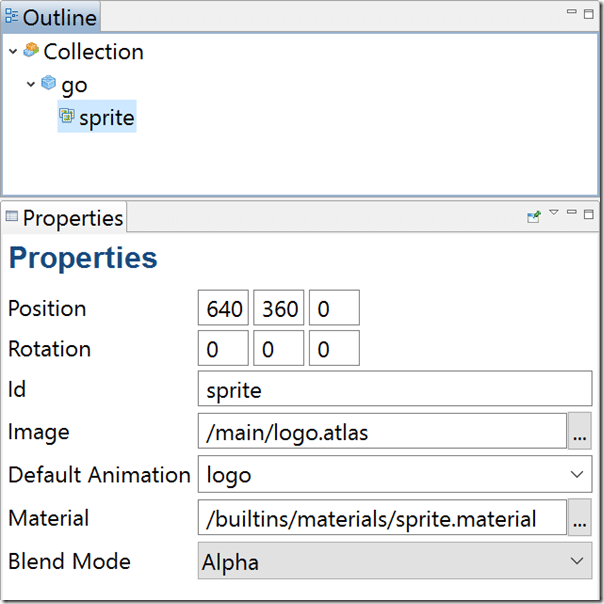
A moment ago I mentioned Game Objects. This is another cornerstone to understanding Defold. With main.collection open in the editor, you should see in the Outliner, the following:
You can see here that our collection (main.collection) contains a single Game Object named go, which in turn contains a single component sprite. You’ll notice with sprite selected that the Properties show our sprite comes from /main/logo.atlas and uses the animation or image named logo and renders using the built in material sprite.material.
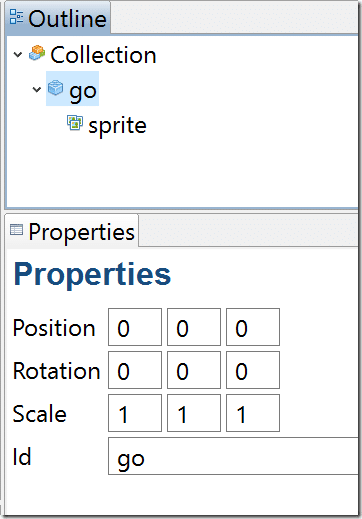
If you’ve worked with a component based game engine, such as Unity or Unreal, should be immediately comfortable with this concept. Basically Game Objects are the entities or items that make up your game. You will notice with a game object selected, it has very few properties:
Basically a Game Object contains positioning information (location, rotation and scale) and an Id, which we will use later.
What makes a Game Object useful is it’s a container for Components. If you right click a Game Object in the Outliner, you can Add Component (or press I)
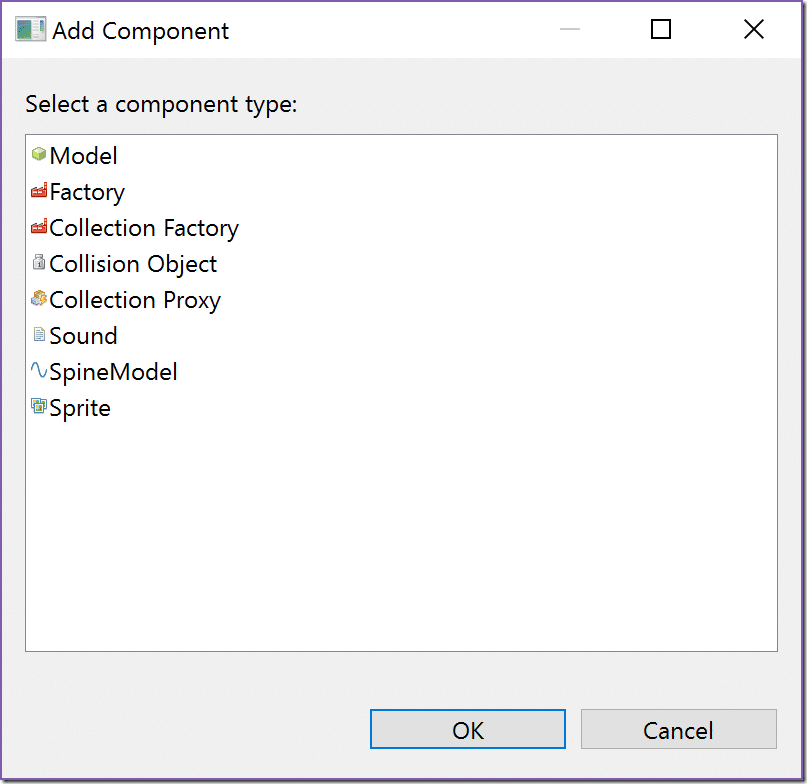
You can then chose a component from the following list:
This is how you can attach a Sprite, Collision Object, Sound effect, etc… to your Game Object.
So in a nutshell, a Collection is just that, a collection of things. Generally Game Objects and other Collections. A Game Object is an entity within your game world. It has a position and ID and is a container for several components. Components are the things that make up your game object, sprites, sounds, etc. Got it?
So then… what about code?
Well every game engine has a game loop somewhere. A game loop is a pretty simple concept, it’s a loop that runs over and over again and looks something like this primitive psuedo code:
while(gameRunning()){ updateWorld() updatePhysics() getInput() render() }
The exact contents of the game loop change from engine to engine but if you look at enough engines you will notice they are all very similar in the end. It’s a loop that runs, checks for input, updates the game world, updates the physics engine if one exists then renders the results. The actual game loop itself is often hidden away in a game engine and Defold is no exception. So how then do you program your game?
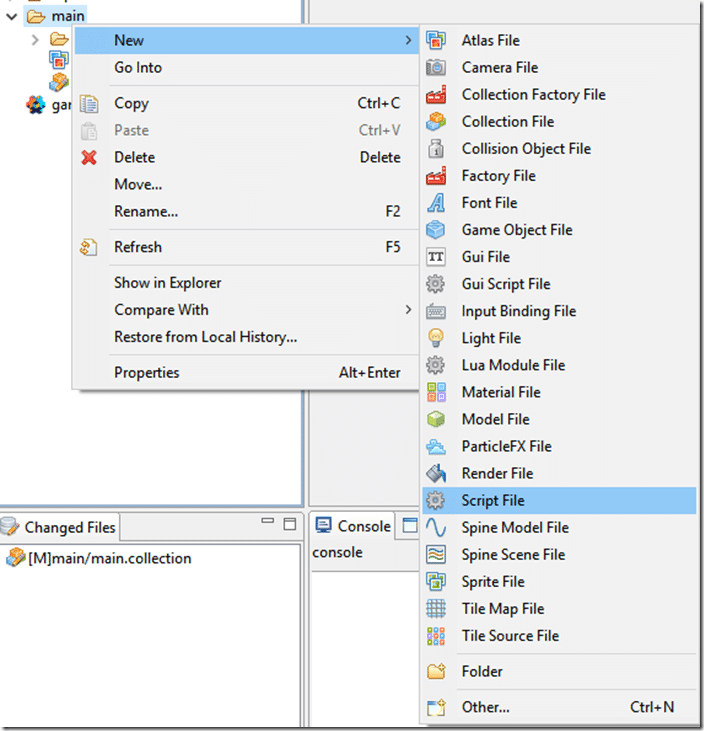
Well first off you create a script. A script is just another type of asset that can be added to your project. To do so, right click the folder you want the asset to be created in (main), then select New->Script File.
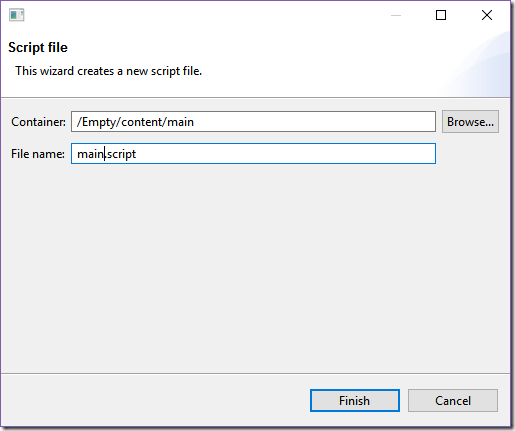
Next you want to name your script. In Defold scripts have the .script extension.
This will create a new script file. Double click it to bring it up in the editor:
function init(self) -- Add initialization code here -- Remove this function if not needed print("Game Created") end function final(self) -- Add finalization code here -- Remove this function if not needed end function update(self, dt) -- Add update code here -- Remove this function if not needed end function on_message(self, message_id, message, sender) -- Add message-handling code here -- Remove this function if not needed end function on_input(self, action_id, action) -- Add input-handling code here -- Remove this function if not needed end function on_reload(self) -- Add reload-handling code here -- Remove this function if not needed end
I added a simple print() function call in the init() method. Remember what I was saying about game loops earlier? Well in Defold, during it’s game loop it makes various callback function calls at different points in the loop. In this case init() is called when the script is first created, final() is called when it is done. All the other methods are called each pass through the loop. We will look at each of these methods in detail in the future.
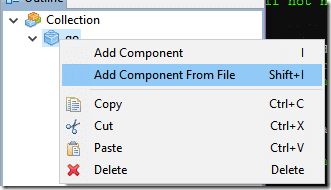
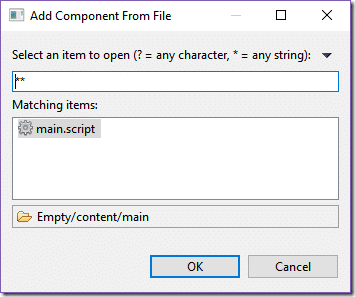
So now that we have a script, we actually have to attach it to something to get it to run. Thankfully we already have a game object in main.collection named go. Let’s attach the script to it. Make sure main.collection is being edited, then in the outliner, locate go, right click it and select Add Component From File.
Select main.script then click OK:
Now that script will be attached to that game object.
This leaves one last question… how does the Defold engine know to create our main.collection to start all of this off in the first place? Well that’s where game.project comes in. This file contains several global configuration settings for your game.
In this particular case however, it’s the bootstrap that we are interested in.
You can think of main_collection as the entry point of your game.
That’s it for this tutorial. Now that we have a good understanding of what the pieces that go together to make a game, next we will jump in and start getting our fingers dirty. This tutorial is not going to be covering Lua programming. If you are new to the Lua language, be sure to check out this tutorial series and you will learn everything you need to know to get up to speed.
The Video

