Welcome to a new tutorial series covering the Defold engine, recently released for free use by King. You can learn more about the Defold Engine in this video which contains a quick hands on. It’s a powerful, cross platform Lua powered game engine for 2D game development. This tutorial series will ultimately walk through all aspects of using the Defold game engine, in both text and video formats. All of the assets used in creating these tutorials is available on the Patreon dropbox, although I will make source and asset files available as they are needed in text tutorials. This first tutorial simply walks through getting the Defold engine installed and creating our first project.
You can watch the video version of this tutorial here or embedded down below.
Getting And Installing Defold Engine
Getting started with the Defold engine is very easy, however you will need to log in to Defold.com using a Google account. First head on over to Defold.com and click the Get Defold button.
At this point you will have to log in using a Google account. Once authenticated, you will be redirected to the Defold dashboard. There are a number of download links available on this page. Simply pick your appropriate platform:
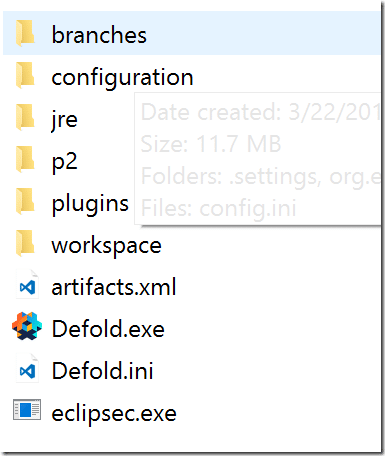
This will download an archive file, extract the contents somewhere.
Defold is run by double clicking the Defold executable. Before doing so however, let’s create a new project.
Creating a New Project in Defold
Creating a new Defold project is currently done using the Defold dashboard. On the left hand sidebar of the dashboard, locate the Add Project button and click it.
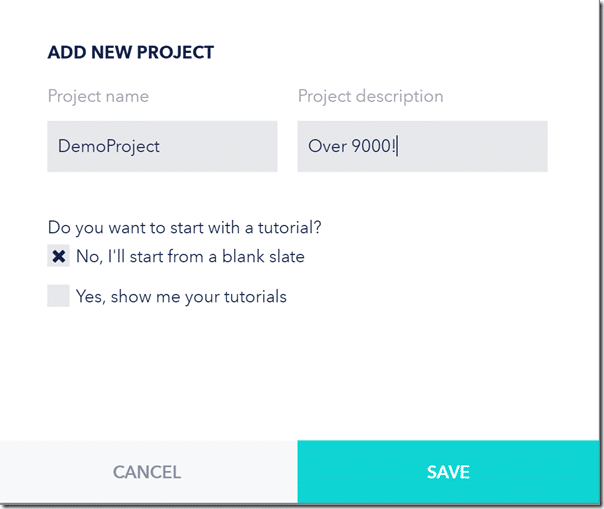
You will now be brought to a very simple configuration form:
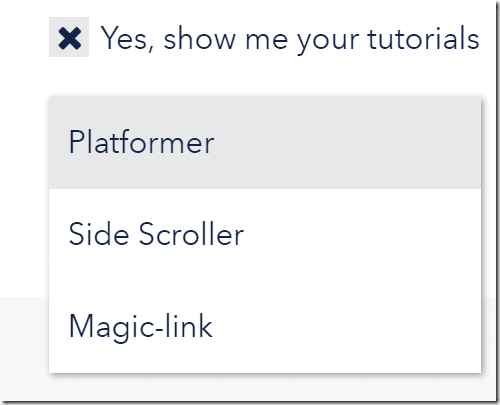
Name your project and click Save. In my case I am creating a blank project, however Defold have made some sample projects available as a starting point. If you would rather start there check “Yes, show me your tutorials”. You will be presented with a list of options:
Your project is now available. Let’s load the Editor. In the folder you extracted Defold, double click the Defold executable.
Loading Your Project
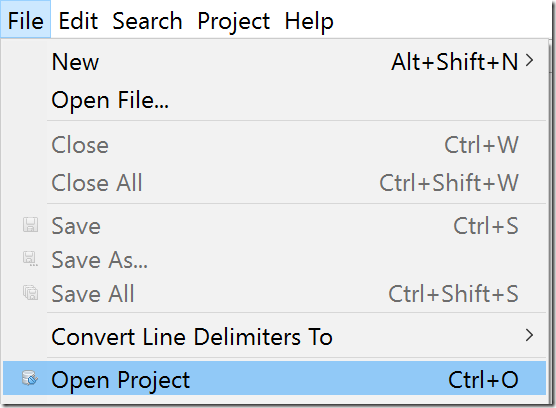
Now with the editor open, select File->Open Project.
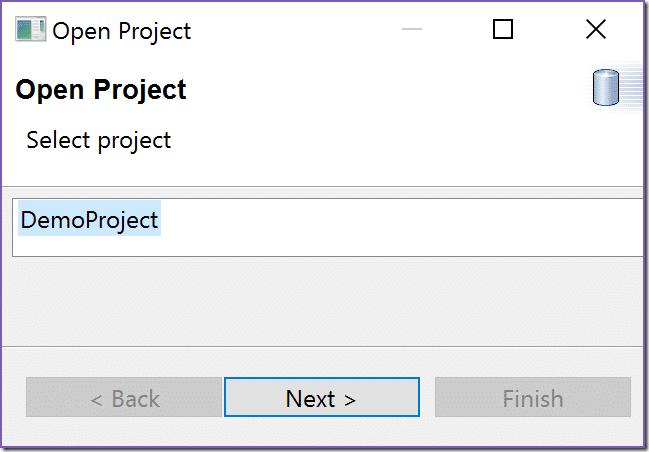
A list of available projects should now be available.
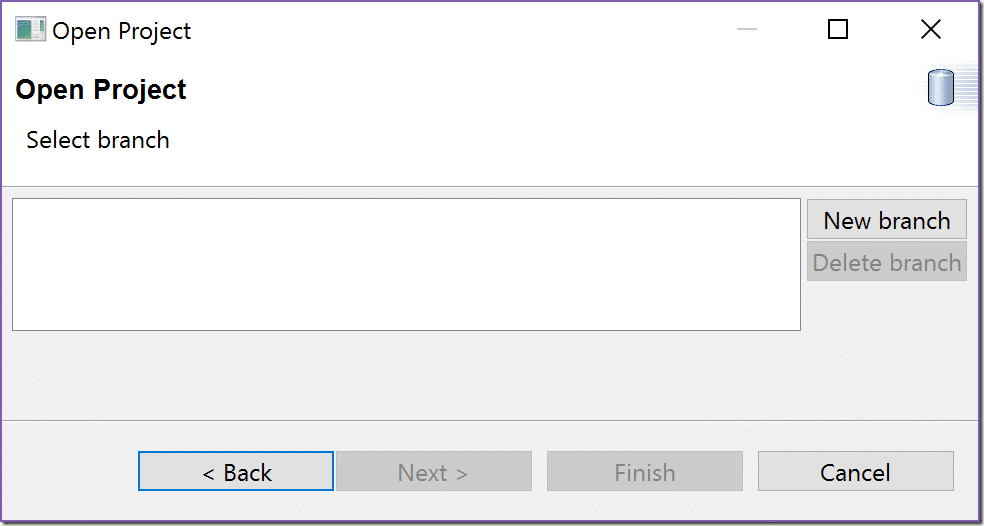
Select your newly created project and click Next. Behind the scenes Defold is creating a git repository for your game. Since this is the first “checkout”, you need to create a new branch. Click New Branch then call it V1 or whatever name makes sense to you.
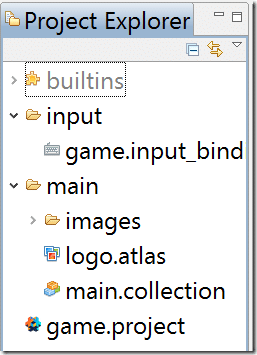
Defold will now download your project. Here is the project structure of an empty new project:
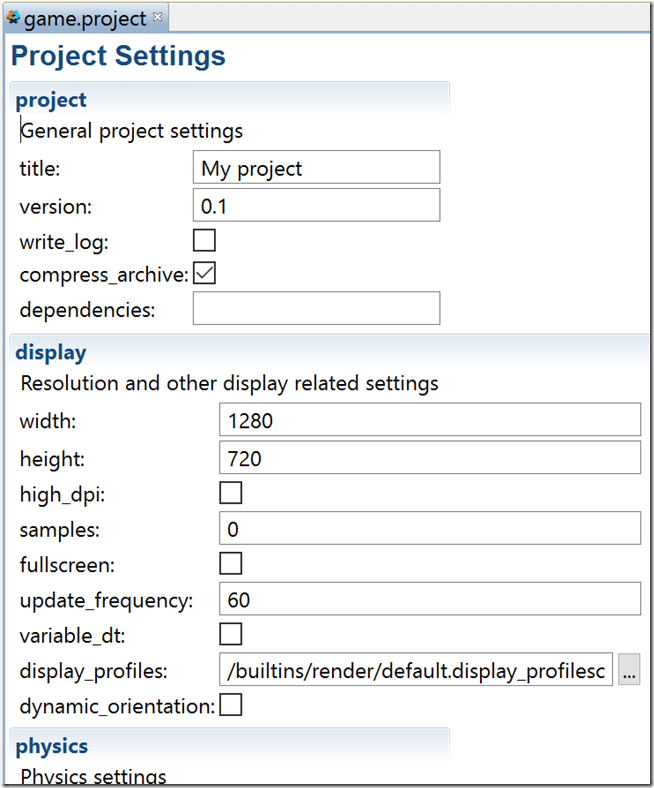
Double click game.project to edit many game specific configuration setting:
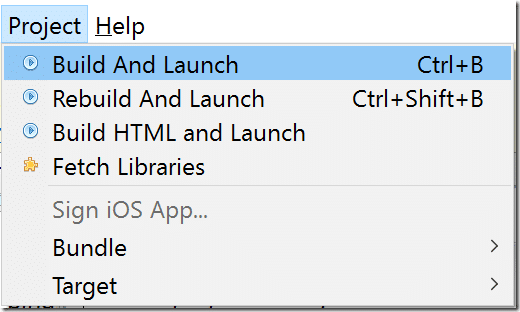
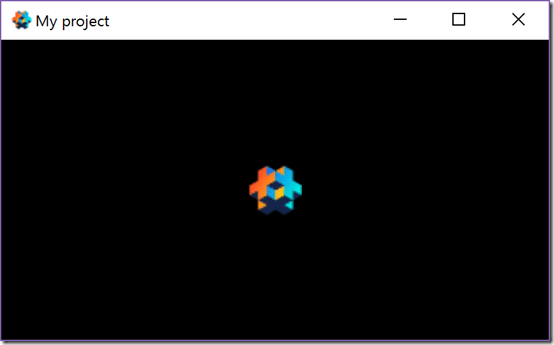
Although our “game” doesn’t actually do anything, you can run it by hitting Ctrl+B or via the Project Menu:
Certainly not the most exciting game, but it’s a start!
Managing Your Projects
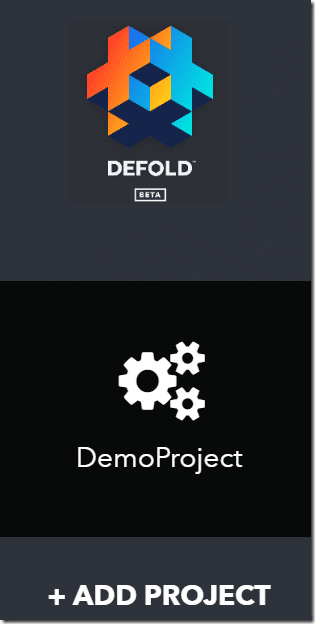
Back in the Defold dashboard, you can edit and delete your projects as well as add additional users. Your project(s) should now appear on the left hand side of the dashboard, like so:
Click the gears icon above your project will bring you to the configuration section:
Clicking Team enables you to add users to your project:
Of course, they will have to authenticate using Google as well.
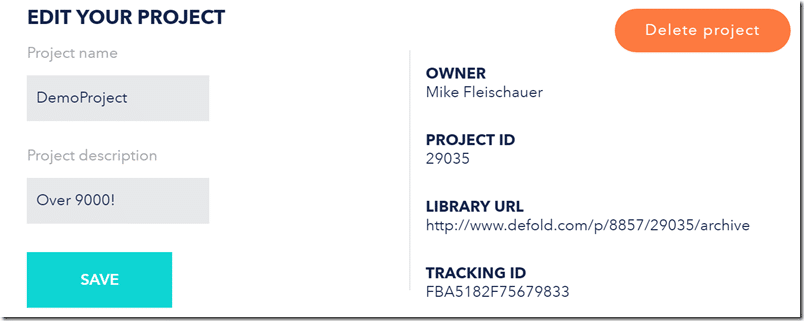
Finally by clicking Settings you have the ability to change the name and description of your project, as well as delete it entirely:
Code Hosted on Defold’s Server??? DEALBREAKER!
Don’t like the idea of your git repository behind hosted on Defold’s servers? Well that’s an understandable concern and using the above process, this is exactly what happens. When you create a project, it’s created as a Git repository on Defold’s servers and when you open it, you are downloading (or more accurately, checking out) to your local server). It’s understandable that this isn’t for everyone. Fortunately there is an alternative.
I am not going into details here, but if you want to bypass Defold’s servers complete, follow this guide here.
The Video


