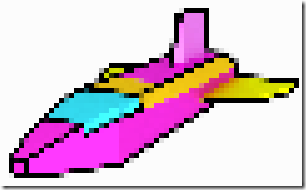
Are you perhaps… artistically challenged? This tutorial will give you passable 8-bit or 16-bit style pixel art results with a minimum of artistic ability. Of course, it assumes you know a bit about Blender, but don’t worry if you don’t. We have a pair of ground up tutorial series that will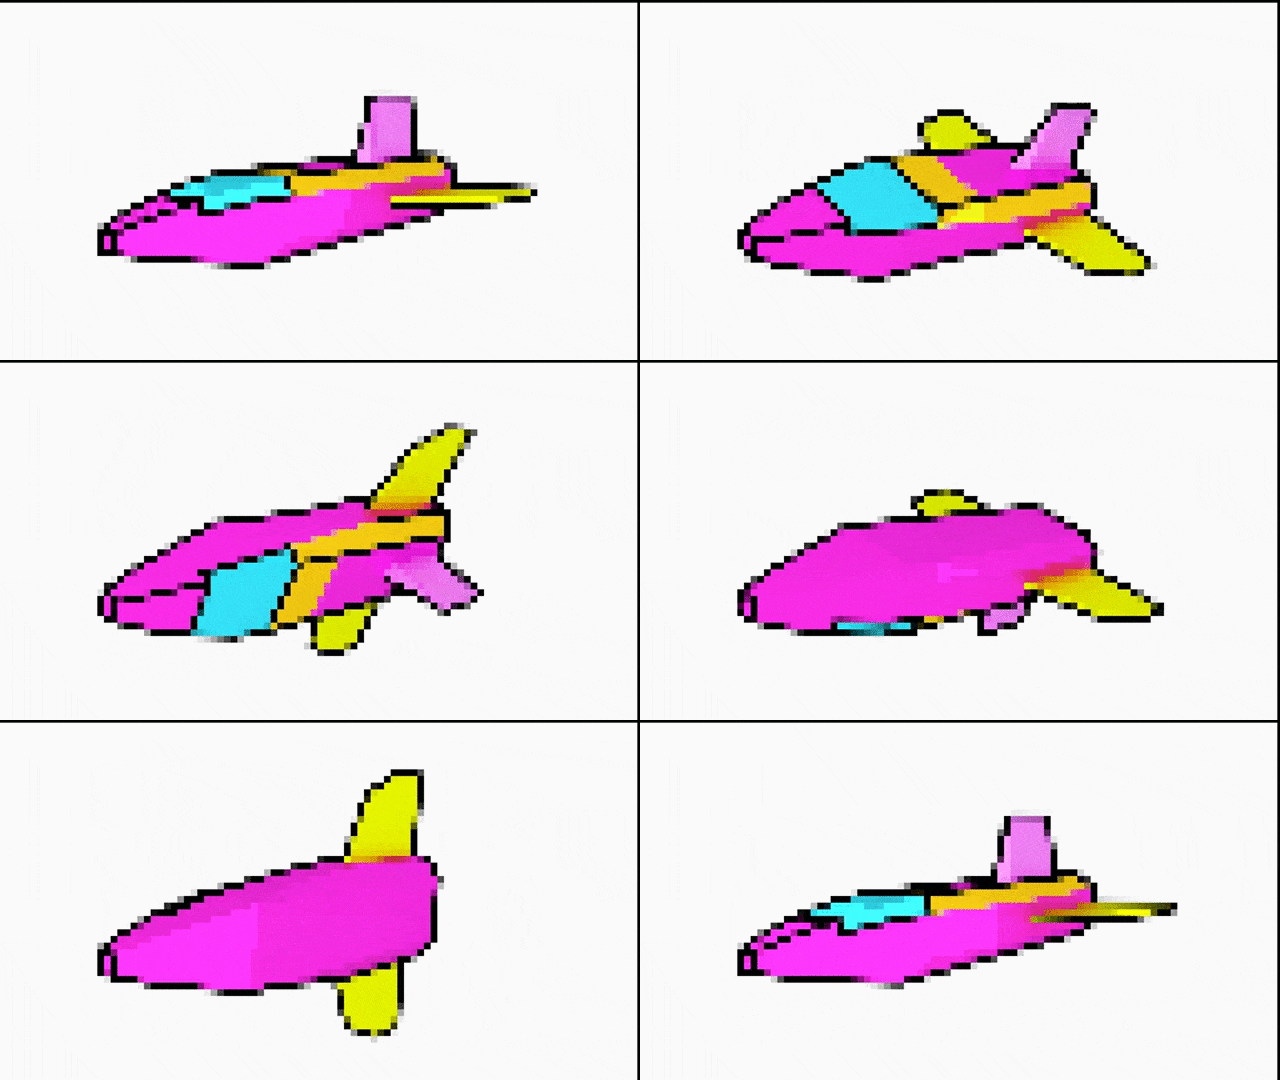
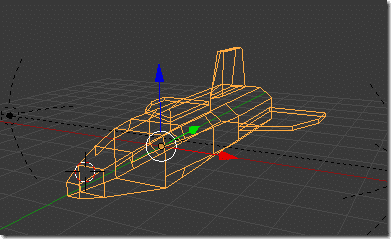
Without further ado, let’s jump in. For this example I am not going to model the sprite, if you are interested in seeing that process, watch the full video. Instead, we start with a simple model like the following:
Now let’s look at first colouring it, then cartoon rendering it and finally how to render it in pixel art style.
Vertex Painting The Object
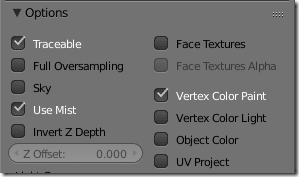
First, we start off by painting our surface. The nice thing about Vertex Painting is it draws the colour information directly on the model, so you don’t need to worry about UV maps or textures at all. We just published a video on Vertex Painting in Blender if you want more details. In the end, we are going to use the Cycles renderer, but for now, it’s easier to get started painting using the built in default Blender renderer. This will enable us to easily see the painted vertices in the Blender viewport. In the default material make sure that Vertex Color Paint is enabled:
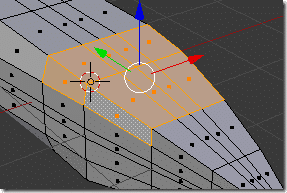
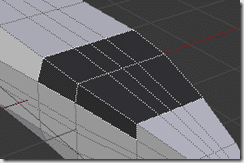
Now it’s time to start filling out our different colors. In Edit mode, simply select the faces you want to be a specific colour, like I have done here for the cockpit area:
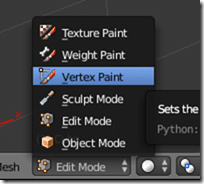
Now switch over to Vertex Paint Mode:
Now select “Face Selection Masking For Painting”
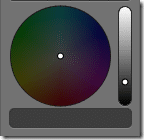
This limits your painting to the faces currently selected in edit mode. In the Tools menu ( T ), select the color you want to paint with.
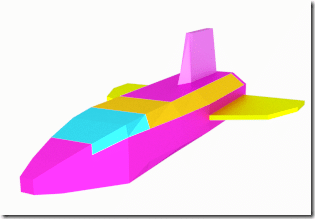
Now hit SHIFT + K to fill the selection with the current colour, like so:
Now repeat this process for the rest of the ship.
Toon Shading In Cycles
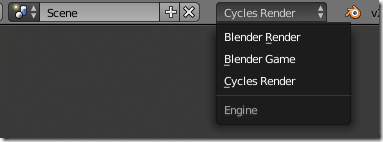
Now that you’ve got your ship coloured, it’s time to switch over to the cycles renderer. If using a default layout, simply select Cycles Render in the dropdown:
With the change to Cycles Render, we should now have a new option in the Materials dialog
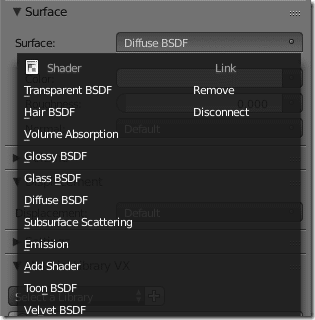
Click Use Nodes. Then select Toon BSDF.
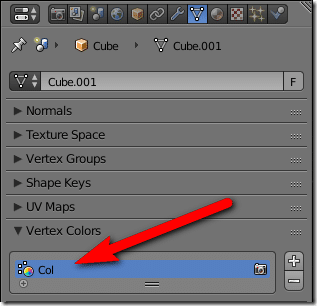
Out of the box, Vertex Colors aren’t going to work in Cycles, we need to make a simple shader graph to get things to work. Don’t worry… it’s super easy. When you do a vertex paint, the data is stored in the mesh data, like so:
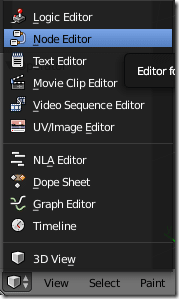
That “Col” data is about to become very useful. Switch to Node Editor
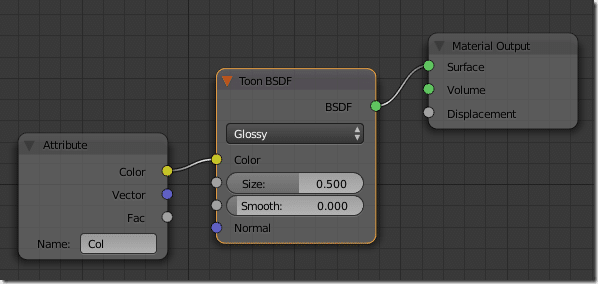
Now what we want to do is add an Attribute input and wire it into the Color field of our Toon shader, like so:
Notice the name “Col”. This is the link back to our vertex color data. This causes the Toon shader to use the painted vertex colors as it’s color source. If you do a render now, it should look something like…
Better, but still quite fugly…
Using Freestyle
Now to get a bit of a more hand-drawn effect, we want to enable freestyle in the Blender renderer:
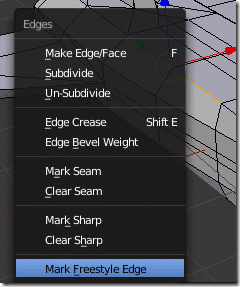
Notice I increased the Line Thickness a fair bit from the default… this is a personal choice. It’s possible you don’t like the default lines it chose to highlight, but don’t worry, you can control that if you prefer. Simply go to Edit Mode, select the edge you want Freestyle to render, select Ctrl+E then Mark Freestyle Edge:
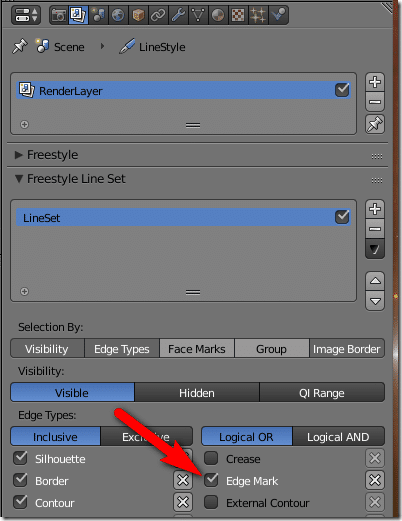
Now in the Render Layers property panel, locate the Free Style Line Set, then enable Edge Mark.
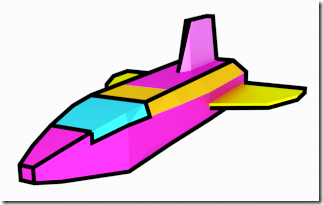
Now when we render, it should look like:
Ok, that looks a bit better! Now, how about that Pixel art look?
Compositor Time
The compositor is a process that runs AFTER the image is rendered and can be used to create all kinds of special effects. In this case we are going to pixelate the result. In the Renderer dialog, make sure under Post Processing, that Compositing is enabled.
Now, back in Node Editor, switch to Compositor mode:
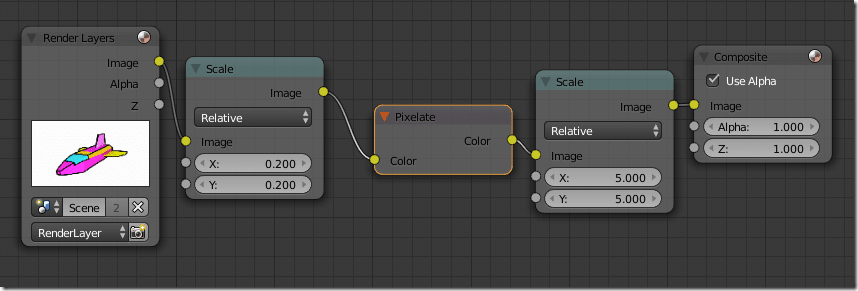
Now we want to edit our graph like so:
Essentially we take our input Render Layers, scale down the resulting image to 1/5th its size, apply the Pixelate filter, then scale it back to it’s regular size and finally send it to the Composite output. Now let’s render and see what we’ve got:
TADA! Pixel art in just 20 easy steps. Granted, at that size, it doesn’t look great, but at actual game scale:
It looks pretty solid… for a purple, yellow, and emerald model that is! You can download the Blend used in this example here.
The Video

