This tutorial covers the basics of creating game levels in Blender. There are a set of companion videos on YouTube that cover the same topics. We will be looking first at creating a skybox to define the boundaries and skyline of our game. Next we create the terrain of the game using a displacement map and a height map texture. Finally we show how to paint the terrain using multiple textures. I assume you have prior experience using Blender. If you do not, this text based or this video based Blender tutorial series will teach you everything you need to know to follow along here.
Creating a Skybox
A skybox is pretty much exactly what it sounds like, a box flipped inside out with a 360 degree sky texture applied to it. That said, it is quite common to remove one side of the box (the floor) as it is generally never seen. There are two approaches to the texture map used to texture the inside of the skybox. First we can use a single texture in the shape of a lower case T. Or we can use a separate texture for each face of the box. The advantages of the first approach are a) it’s easier b) it uses less texture memory. The advantage of the second approach is much higher quality textures. We will take the first approach in this example, but if there is enough demand I can do a tutorial covering the second method.
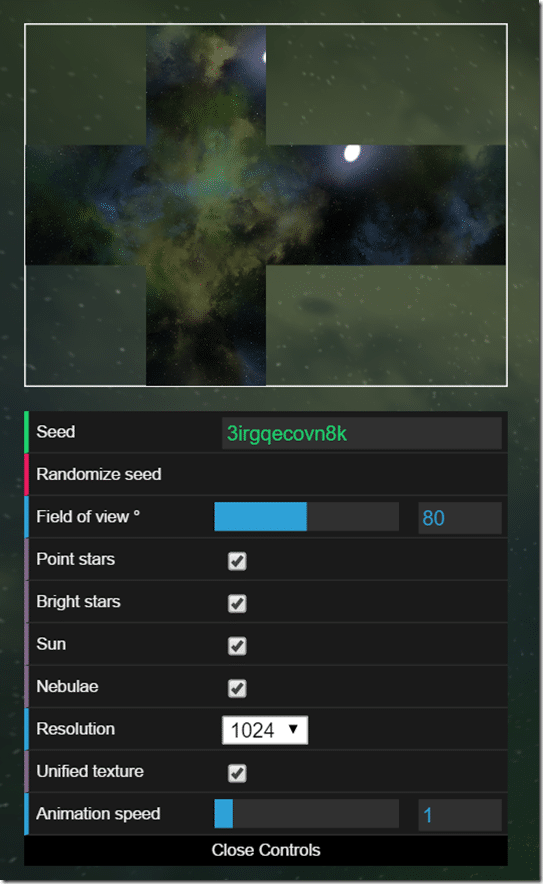
So first we need a skybox texture or textures. Generally theses are a sequence of seamless textures representing the front, back, left, right, top and optionally bottom textures in the scene. For this example I am actually using a cool procedural galaxy skybox generator available here. Play with the random seed until you get a value you like. To have it generate a t-shaped texture, make sure that Unified Texture is selected:
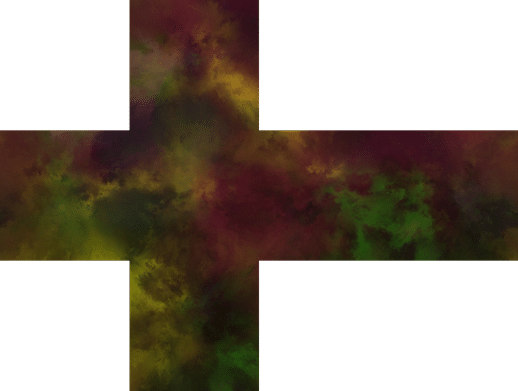
The end result I am working with looks like this:
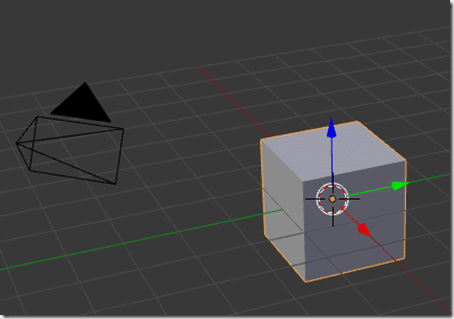
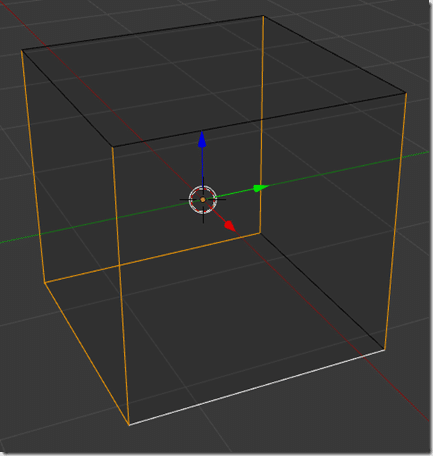
Ok, now that we have our skybox texture, let’s fire up Blender. The default scene is surprisingly EXACTLY what we want. All we need is a simple cube, like so:
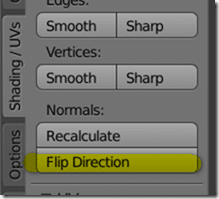
With the cube selected, switch into Edit mode and in the tools (T) panel select Shading/UVs then Flip Direction.
This reverses the normals of each face in our cube, effectively turning it inside out.
Now we need to mark edges to unwrap the UVs. Switch to Edge select mode and select the following edges:
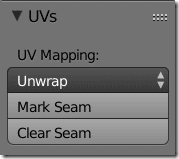
Then, still under Shading/UVs, click the Mark Seam button.
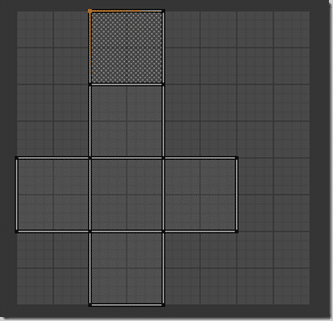
Next select the entire object (A) then click Unwrap. In the UV/Image Editor, it should look like:
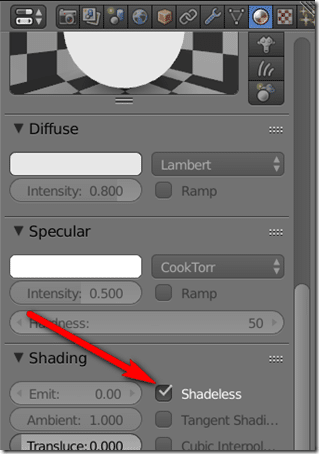
Perfect, now we just need to import our texture. In the Material tab of the Properties panel, we first want to enable Shadeless:
Shadeless prevents the lighting of the scene from interacting with the material, which for a skybox is exactly what we want, otherwise it would be far too dark and unevenly lit.
Now switch over to the textures tab, add an image texture, load our generated skybox texture, then make sure mapping is set to UV, like so:
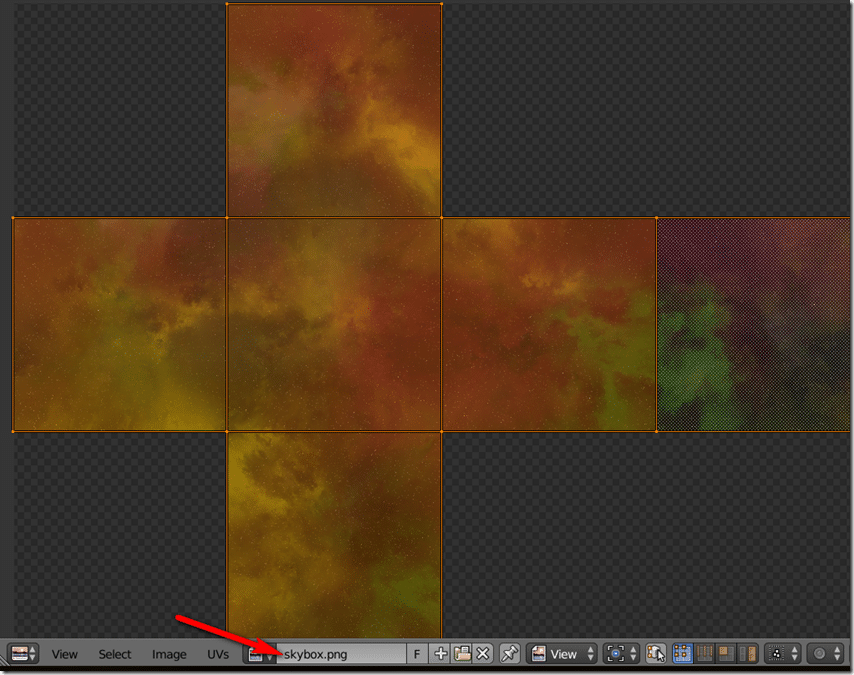
In the UV Image editor, with all of the faces of our cube still selected, make our texture active, then using a combination of rotation and scaling, align the UVs to the texture map:
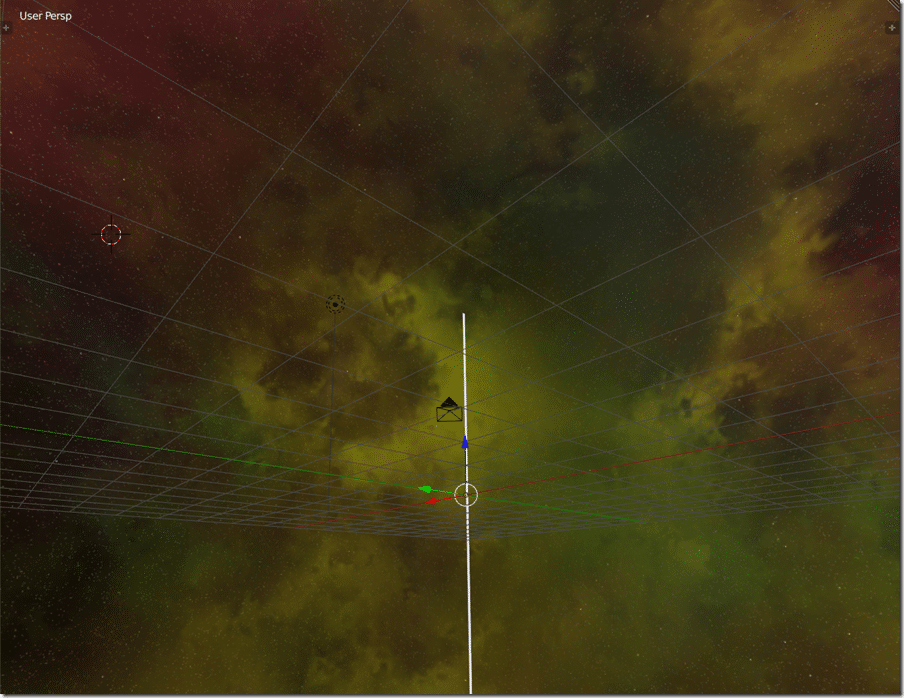
That’s it, your skybox is now complete. Of course you probably want to scale it up to a huge size so it envelops your entire scene.
If you have any unsightly seams, your UV maps is probably off the texture ever so slightly.
The Video Version
Art Design

