Welcome to the final part of our three part series on level creation using Blender. In the first part of the tutorial we created a skybox for our world. In the second we used a height map to create some terrain. Today we are going to look at applying multiple textures to that terrain.
We are going to pick up where we left off, we have a large plane distorted to create our landscape. If you haven’t already, apply the Displace modifier to make it permanent. You should have already UV Unwrapped the plane object before we applied the displace modifier, giving us a nice even UV grid to work with.
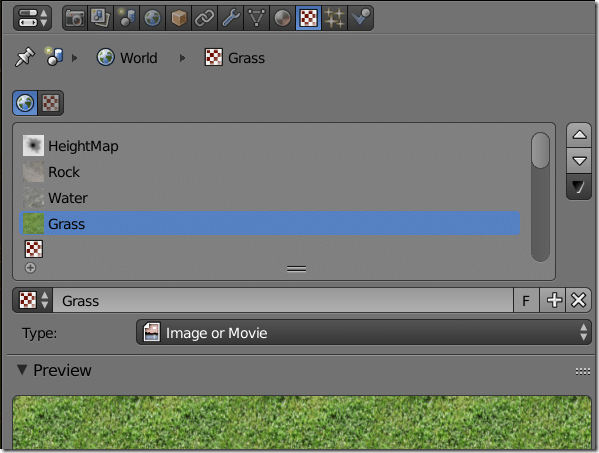
Next we are going to need some textures to paint with. Seamless textures work best as they can be tiled without creating a noticeable seam. For this example however, I just downloaded a couple textures from TextureLib, a grass, rock and water texture. Use whatever textures you wish to use. Now that you have your textures, we need to import them into Blender. I find the easiest way is to just add them as textures to the plane object and name them appropriately, like so:
No need to setup mapping coordinates or anything else, as we arent going to be using these textures directly, they just needed to be made available for Blender.
Now with your Plane selected, make sure there is a Material, and if there isn’t, create a new one.
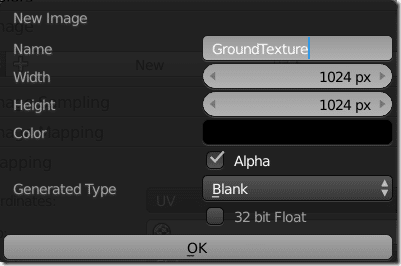
Now switch over to the texture tab and add a new texture of type Image or Movie, then click the New button:
Call in GroundTexture or something similar:
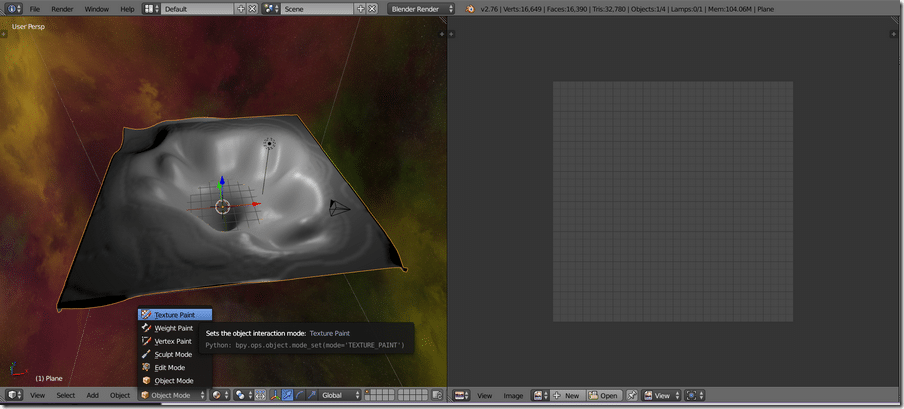
You may find 1024×1024 is too low res for a large terrain, so you might want to try 2048×2048. Now it’s time to start painting our texture. Configure your Blender windows so you have a 3D view on one side and the UV/Image Editor on the other, and switch the 3D view to Texture Paint mode, like so:
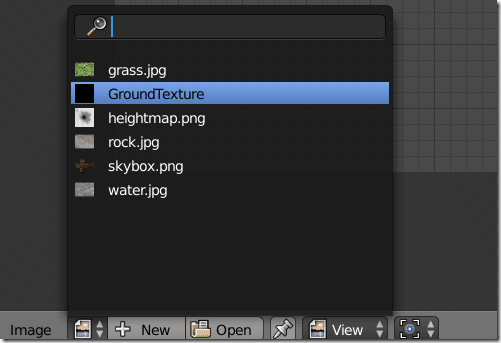
Now in the UV editor, make sure that your GroundTexture is active:
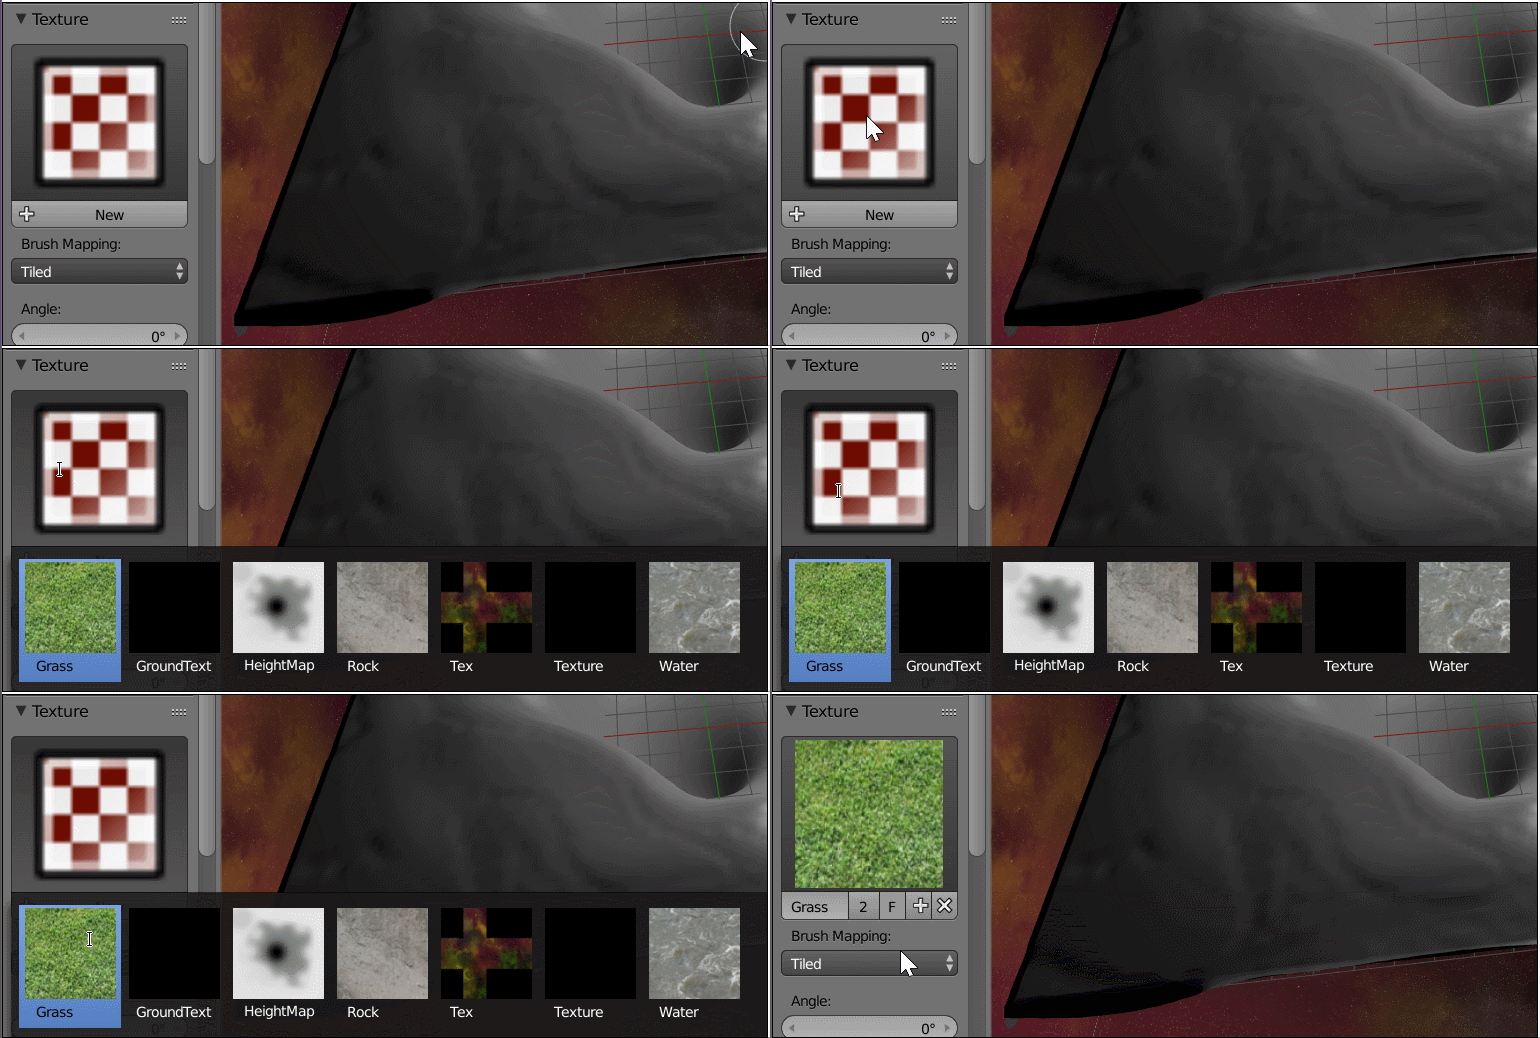
In the 3D view, in the Tools (T) sidebar, we now set the texture we want to paint with. Locate the texture area, click the thumbnail icon and select one of your textures, like so:
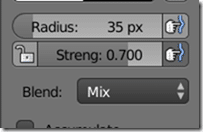
Now we can paint directly on the 3D model. You have a ton of control over your brush, but the two most important settings are these:
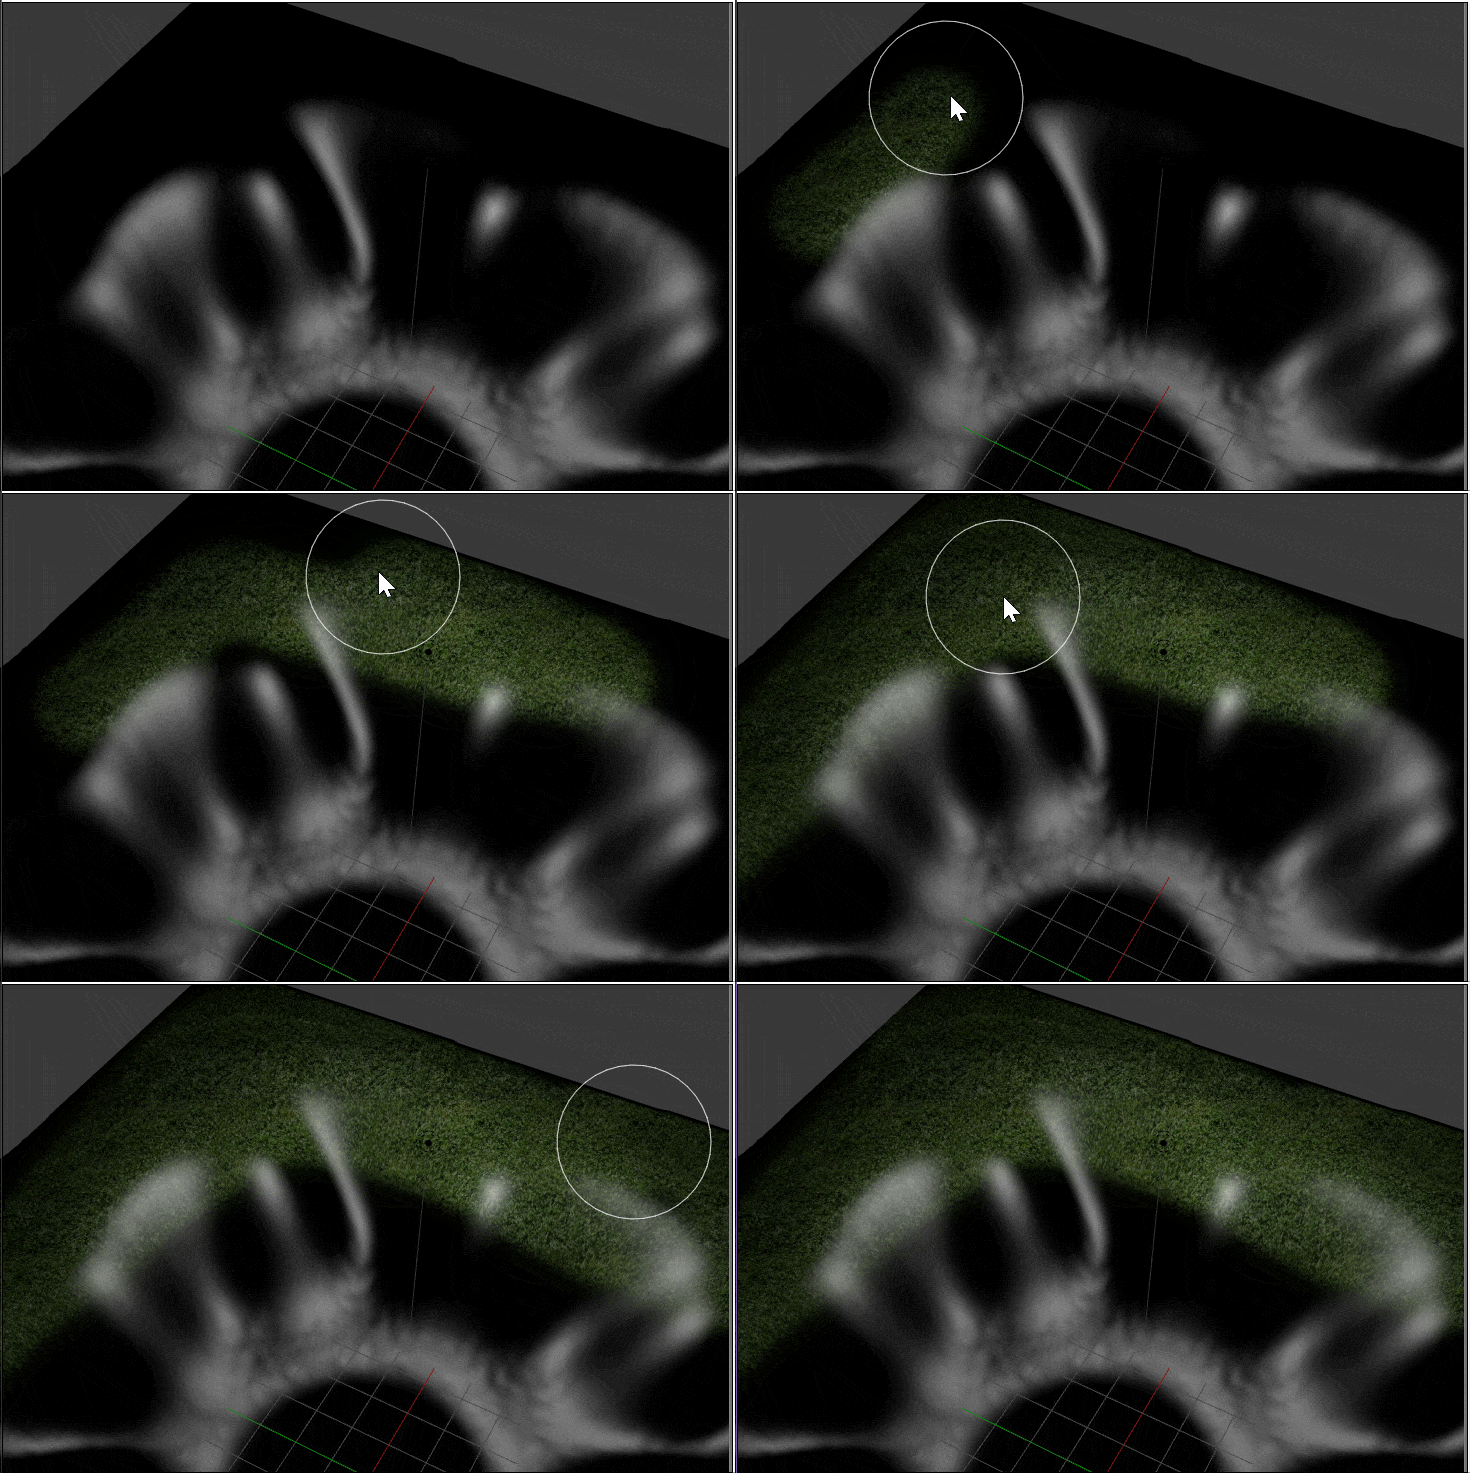
These set the size of your brush and the strength of your paint tool. Now simply paint the terrain as you desire:
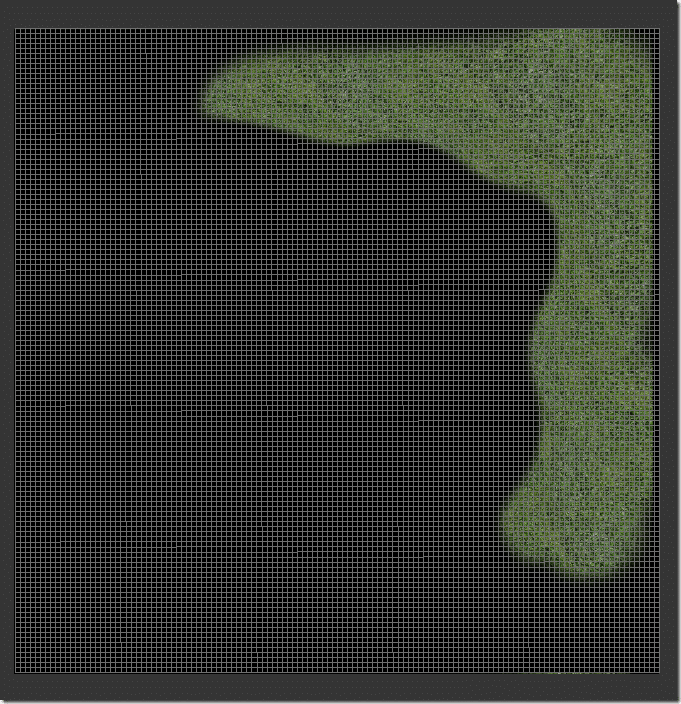
You will notice that the texture updated automatically the the UV/Image Editor:
If you prefer, you can edit in the UV editor window instead, simply turn Edit mode on:
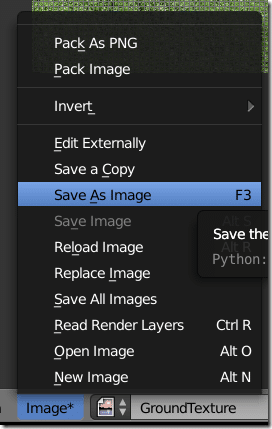
The brush settings from the 3D View Tools window will be applied to the UV editor in Paint mode. Now simply change textures and repeat the process until your texture is complete. When you are done, you may want to export your texture for use in an external engine. In the UV/Image Editor, select Image->Save As Image:
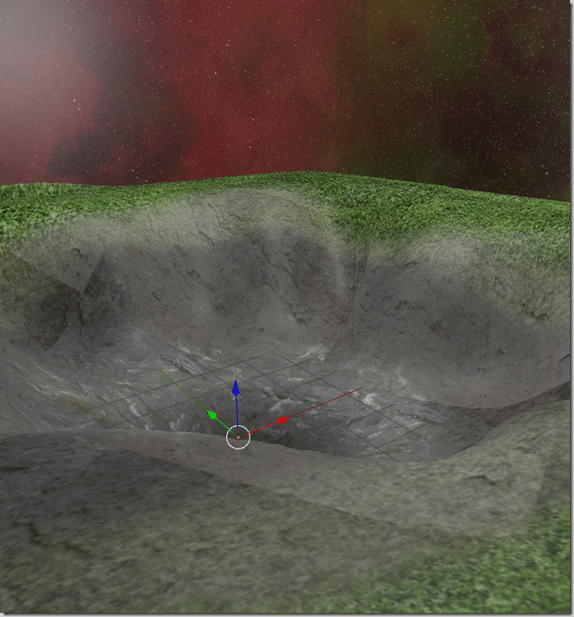
End result:
Not the greatest looking level, but that’s due to lack of effort, not the tool. Not bad for 20 minutes work. Obviously there are other tasks you’d want to perform. You probably want a normal or displacement map on the terrain to give it small surface level imperfections, and obviously you’d want to add static meshes for trees, shrubs etc… but that is simply a matter of doing more of the same.
The Video
Art Design

