In this tutorial we are going to look at getting a MonoGame development environment up and running on MacOS, create and run our first MonoGame application and finally take a quick look at the Content Pipeline tool.
For those that prefer video, there is a video version of this tutorial available here or embedded below.
The Installation Process
In order to get up and running there are a couple things you need to install, Mono itself then MonoGame. We will also be installing Xamarin Platform, which includes Xamarin’s cross platform Mono based IDE Xamarin Studio. It is not strictly required, but will make your life a great deal simpler.
The process is as straight forward as installs can get, simple download an run each installer. There is not ambiguity to the install, however the install order is extremely important. Download the following in this order. In each case be sure to install the most recent version if given an option.
Our First Project
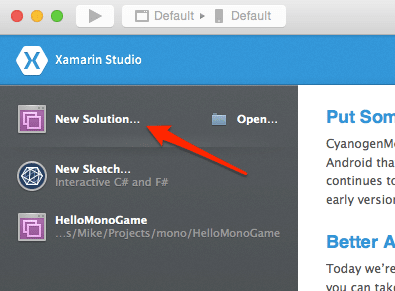
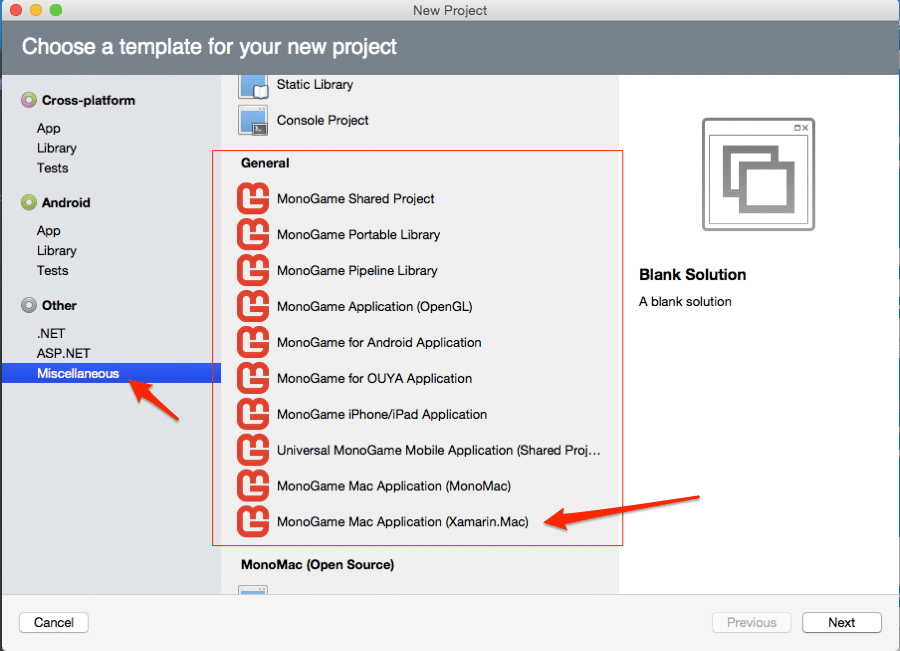
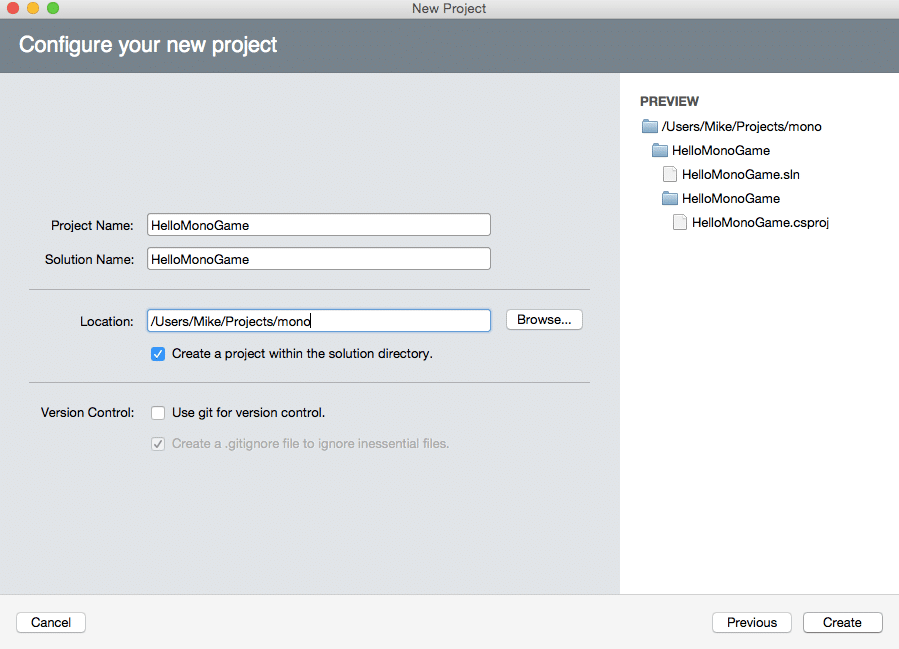
#region Using Statements using System; using Microsoft.Xna.Framework; using Microsoft.Xna.Framework.Graphics; using Microsoft.Xna.Framework.Storage; using Microsoft.Xna.Framework.Input; #endregion namespace HelloMonoGame { /// <summary> /// This is the main type for your game. /// </summary> public class Game1 : Game { GraphicsDeviceManager graphics; SpriteBatch spriteBatch; public Game1 () { graphics = new GraphicsDeviceManager (this); Content.RootDirectory = "Content"; graphics.IsFullScreen = true; } /// <summary> /// Allows the game to perform any initialization it needs to before starting to run. /// This is where it can query for any required services and load any non-graphic /// related content. Calling base.Initialize will enumerate through any components /// and initialize them as well. /// </summary> protected override void Initialize () { // TODO: Add your initialization logic here base.Initialize (); } /// <summary> /// LoadContent will be called once per game and is the place to load /// all of your content. /// </summary> protected override void LoadContent () { // Create a new SpriteBatch, which can be used to draw textures. spriteBatch = new SpriteBatch (GraphicsDevice); //TODO: use this.Content to load your game content here } /// <summary> /// Allows the game to run logic such as updating the world, /// checking for collisions, gathering input, and playing audio. /// </summary> /// <param name="gameTime">Provides a snapshot of timing values.< /param> protected override void Update (GameTime gameTime) { // For Mobile devices, this logic will close the Game when the Back button is pressed // Exit() is obsolete on iOS #if !__IOS__ if (GamePad.GetState (PlayerIndex.One).Buttons.Back == ButtonState.Pressed || Keyboard.GetState ().IsKeyDown (Keys.Escape)) { Exit (); } #endif // TODO: Add your update logic here base.Update (gameTime); } /// <summary> /// This is called when the game should draw itself. /// </summary> /// <param name="gameTime">Provides a snapshot of timing values.< /param> protected override void Draw (GameTime gameTime) { graphics.GraphicsDevice.Clear (Color.CornflowerBlue); //TODO: Add your drawing code here base.Draw (gameTime); } } }
The Content Pipeline
The content pipeline was a major component missing from MonoGame, but they have recently implemented one. The Content Pipeline takes external assets for your game, be them videos, textures, sounds, fonts, etc… converts them for your platform of choice, generating a XNB file, a binary format that XNA used internally. Let’s take a look at the process in MonoGame.
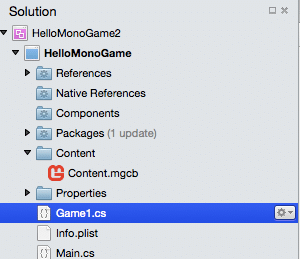
If you look under the Content folder of your Solution, you will see a file called Content.mgcb.
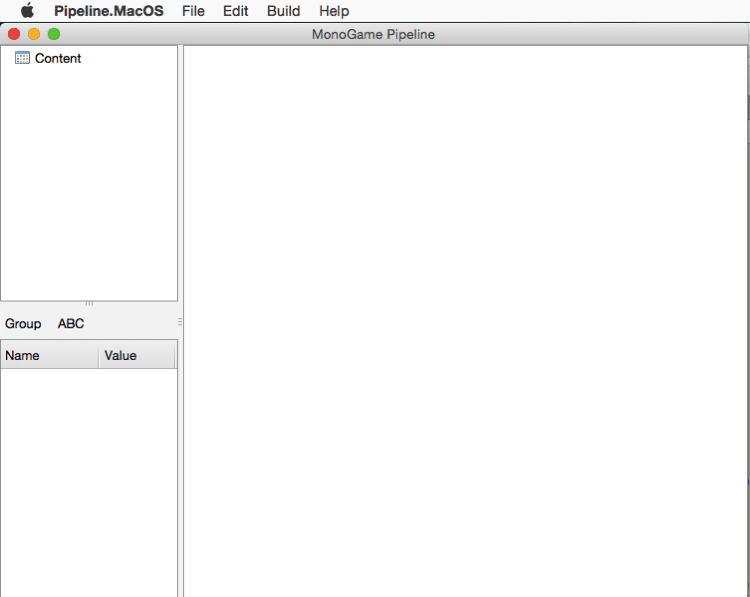
Double click this and the Content Pipeline tool will load:
This is the tool you use to assemble the assets your game is going to use. Let’s take a quick example of importing a texture.
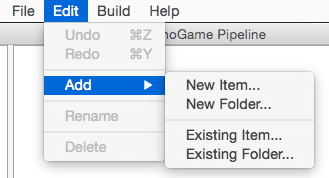
First select Edit->Add->Existing Item…
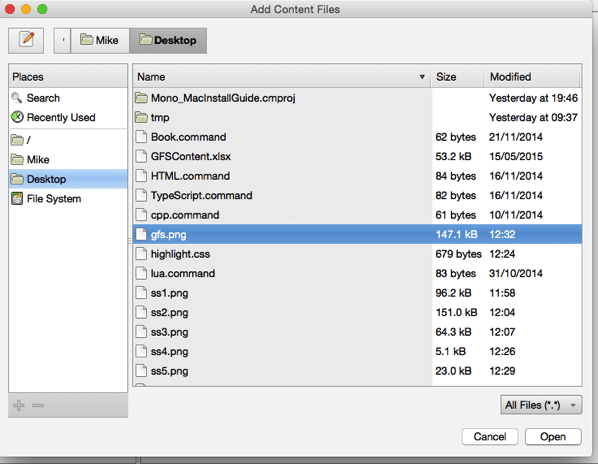
Browse to the image you wish to import as a texture then select OK.
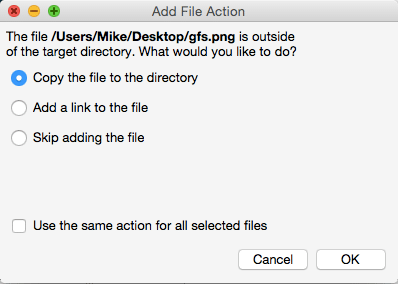
Now you will be asked how you wish to import the file. I want a copy to be made so the original is unaffected.
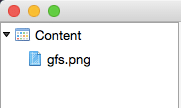
Your texture should now be added:
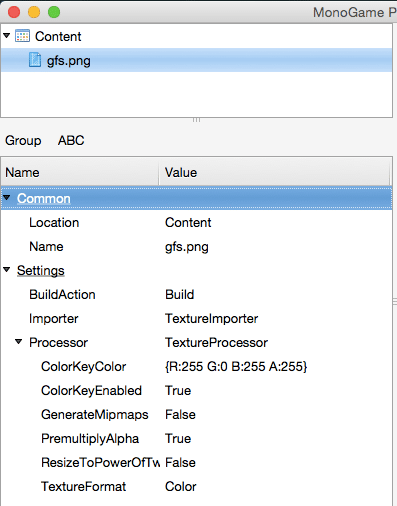
You now have a few options about how the content will be processed on import. With the image selected, notice the options available below it:
Each different importer has a different set of parameters you can modify. Here you can set the automatic generation of mip maps, resize to power of 2 dimensions, change the compression settings, etc.
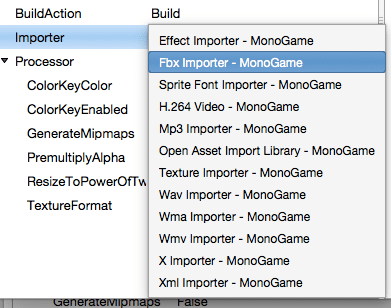
By selecting the Importer drop down you can get an idea of the various type of assets supported by the Content Pipeline:
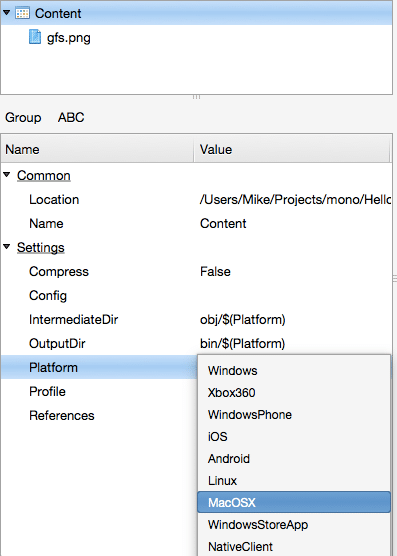
Now select the Content node and the properties available will change again. This time we simply want to change the target platform to MacOS:
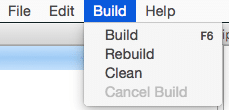
You can have the Content Pipeline automatically process content for a variety of different platforms. Now that this task is done let’s actually build our content. Simply select Build->Build or hit F6:
In the directory [Content]/bin/MacOSX there will now be an XNB file available for use. Let’s add it to our project.
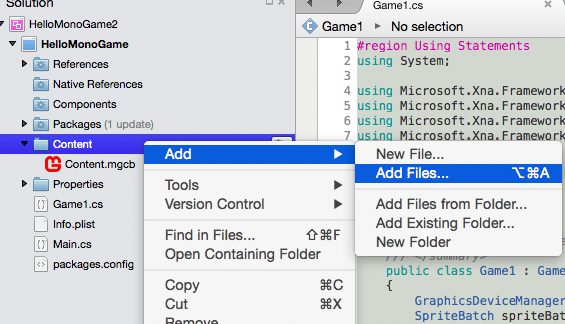
In Xamarin Studio, right click the Content folder and select Add->Add Files…
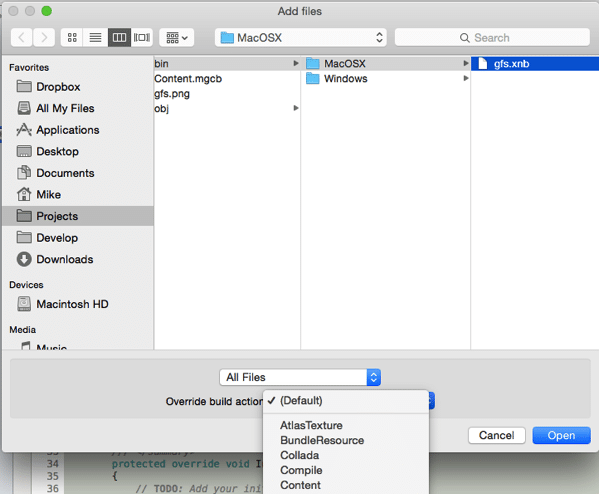
Navigate to the XNB file in Content/bin/MacOSX that you just created and select it. Then select Override Build action and choose ‘Content’
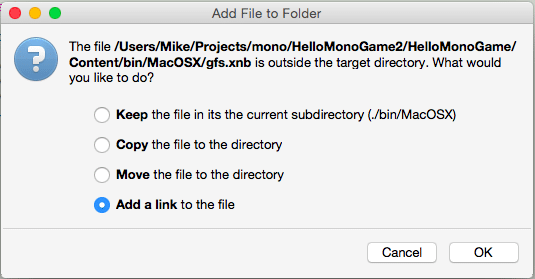
This time when prompted how to add the file, choose the Link option:
Congratulations, you have now added an asset to your game. In future tutorials we will look at using them in more detail.
The Video Version

