
PyGame is a popular 2D game framework for the Python programming language available at https://www.pygame.org/. PyGame has been under active development since the year 2000 and continues to see updates to this day. Today we are going to look at the basics of getting up and running with PyGame.
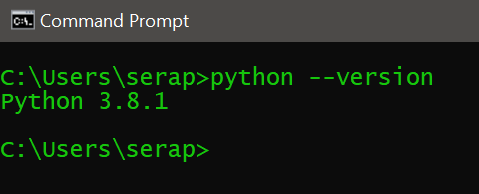
First obviously you are going to need to have Python 3.x installed and configured on your machine. The Python programming langauge is available for all major platforms and can be downloaded here, any 3.x version should suffice. When you install make sure that python is installed into your system path when prompted. After installation is complete you should be able to test Python by opening a command line and typing:
python –version
And the results should look something like:
Assuming that worked correctly, next we need to make that pip is up to date. Pip is a python package manager and should have installed automatically when you installed python. To do this, on Windows run:
python -m pip install -U pip
If you are on Linux or Mac, you can omit the python -m bit. This will upgrade pip to the most current version. Now it’s time to install PyGame and you guessed it, we will use pip for this. On Windows the command is:
python -m pip install pygame
Once this completes you should be ready to go. You may be interested in knowing exactly where pygame was installed. To discover that you simply enter:
pip show pygame
The results should look something like:
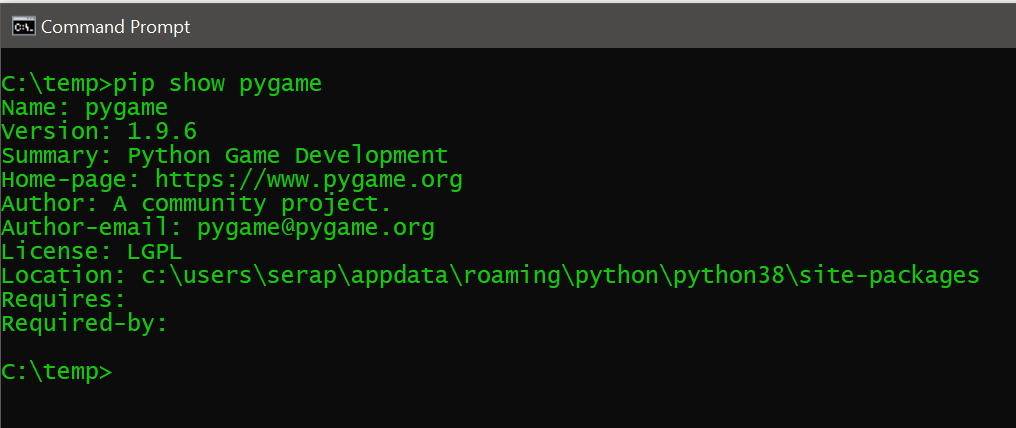
You can open the file in location and see the installation of pygame. You will notice there is a directory called examples, with tons of example projects to get you started. You can run these by running -m pygame.examples.examplename. For example:
python -m pygame.examples.stars
Will run the stars.py example in the examples directory. These examples are a good way to get to terms with the features of pygame. Next let’s create our own simple pygame game. I personally am using Visual Studio Code, but you can use whatever text editor you desire, just make sure your game’s name ends with .py. If you are using Visual Studio Code, it will autodetect the .py extension and ask to install everything you need, let it.
Now lets do some simple code:
import pygame
from pygame.locals import *

pygame.init()
done = False

screen = pygame.display.set_mode((640,480))
while not done:
    for event in pygame.event.get():
        if event.type == pygame.QUIT or event.type == pygame.KEYDOWN:
            done = True
    screen.fill((255,255,255))
    pygame.draw.circle(screen,(255,0,0),(320,240),25)
    pygame.display.update()
pygame.quit()
It is important to remember that Python is a whitespace sensitive language, so spaces, newlines and tabs matter! Now in the directory you created the .py file, simply run (keeping in mind yours might have a slightly different name):
python game.py
Congratulations, you just created your first PyGame game! You can see the process in action in the video below. If you are interested in learning about different Python game engines, be sure to check out our guide available here.