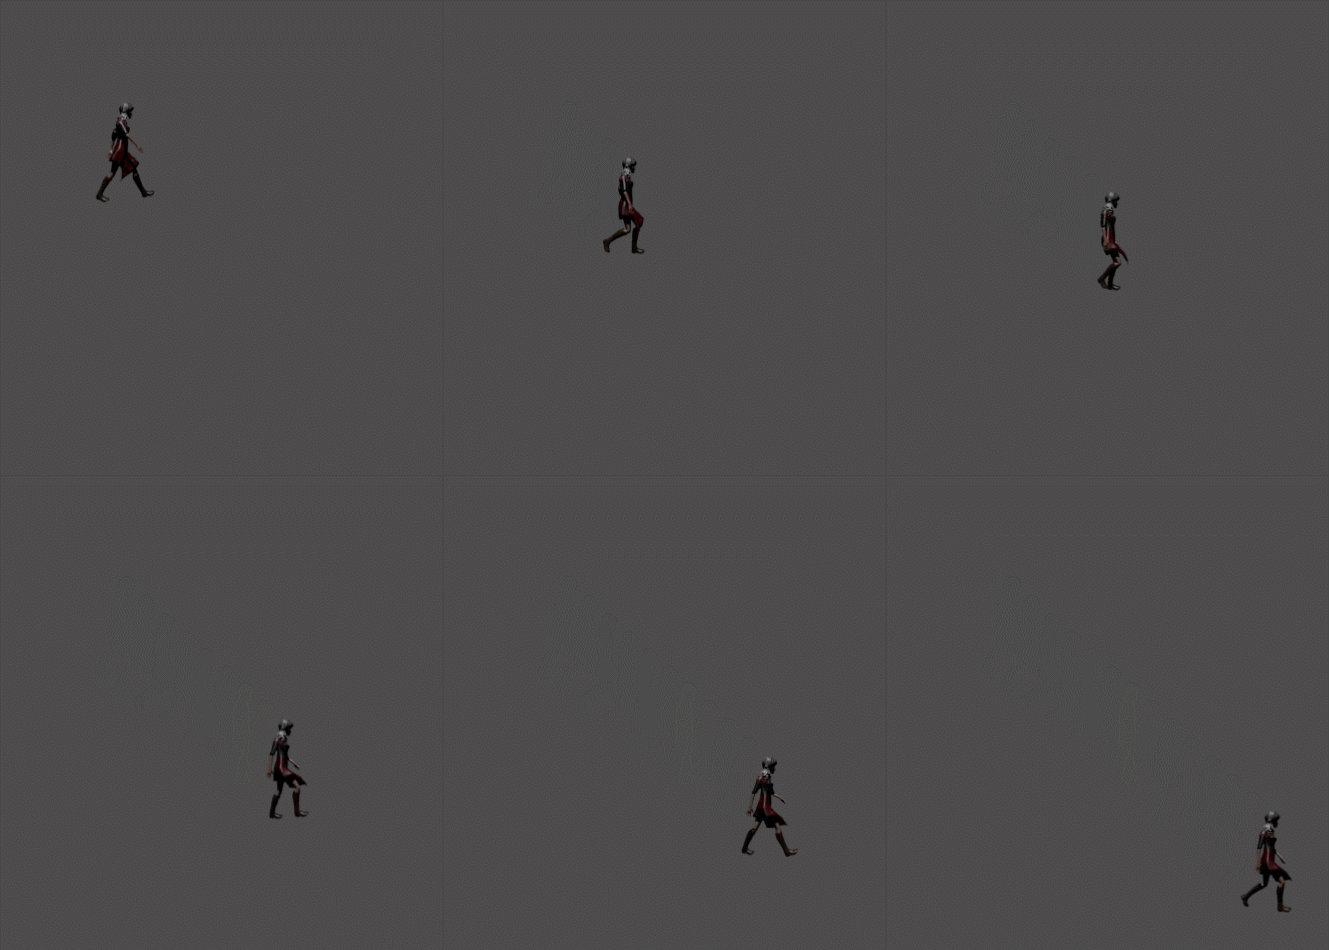
In the previous tutorial we covered Sprite Animation, although to be honest it was more about creating animation ready sprites. The actual way we performed animation wasn’t ideal. Fortunately we are about to cover a way that is very much ideal… and capable of a great deal more than just animating sprites!
As always, there is an HD video of the this tutorial available right here or embedded below. It’s important to have followed the previous tutorial, as we will be building directly on top of it.
Keyframes Explained
Before we get to far into this tutorial I think it’s pretty critical to cover a key concept in animation, keyframing. Essentially you animate by setting a number of “key” frames in the animations timeline, then let the computer take care of the rest. You can set a keyframe on just about any property available in Godot as we will soon see. For example you can create a key on the position value of a sprite. Then advance the timeline, set another key at a different position. The computer will then interpolate the position over time between those two keys. This interpolation between key frames is often referred to as a “tweening” as in “inbetween”. Don’t worry, it will make a lot more sense when we jump in shortly.
AnimationPlayer
In the previous tutorial, we created a simple animation using code to increment the current frame at a fixed play rate. Now we are going to accomplish the same thing using the built in animation system in Godot.
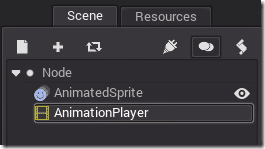
Start by opening up the previous project and remove the code from our AnimatedSprite. Now add a AnimationPlayer node under the root of your scene, like so:
With the AnimationPlayer selected, you will notice a new editor across the bottom of the 2D window:

This is your animation timeline control. Let’s create a new animation named “walkcycle”
Click the New Animation icon

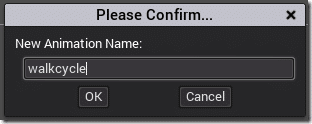
Name your animation and click Ok
Click the Edit icon

This will extend the animation options even more.

First let’s set the duration of our animation to 2 seconds:

You can then adjust the resolution of the animation timeline using the Zoom slider:

Here we’ve zoomed in slightly to show just over 2 seconds:

Now that we are in edit mode with our AnimationPlayer selected, in the 2D view, you will notice there are new options available across the top

This is a quick way to set keys for a nodes positioning information. You can toggle on or off whether the key will store location, rotation and/or scale data. You set a key by pressing the Key icon. The first time you press the key icon you will be prompted if you want to create a new track of animation.
Select your sprite, make sure the timeline is at 0 and create a key. Advance the timeline to 2secconds, then move the sprite to the right slighly, then hit the key icon again to create another key frame.
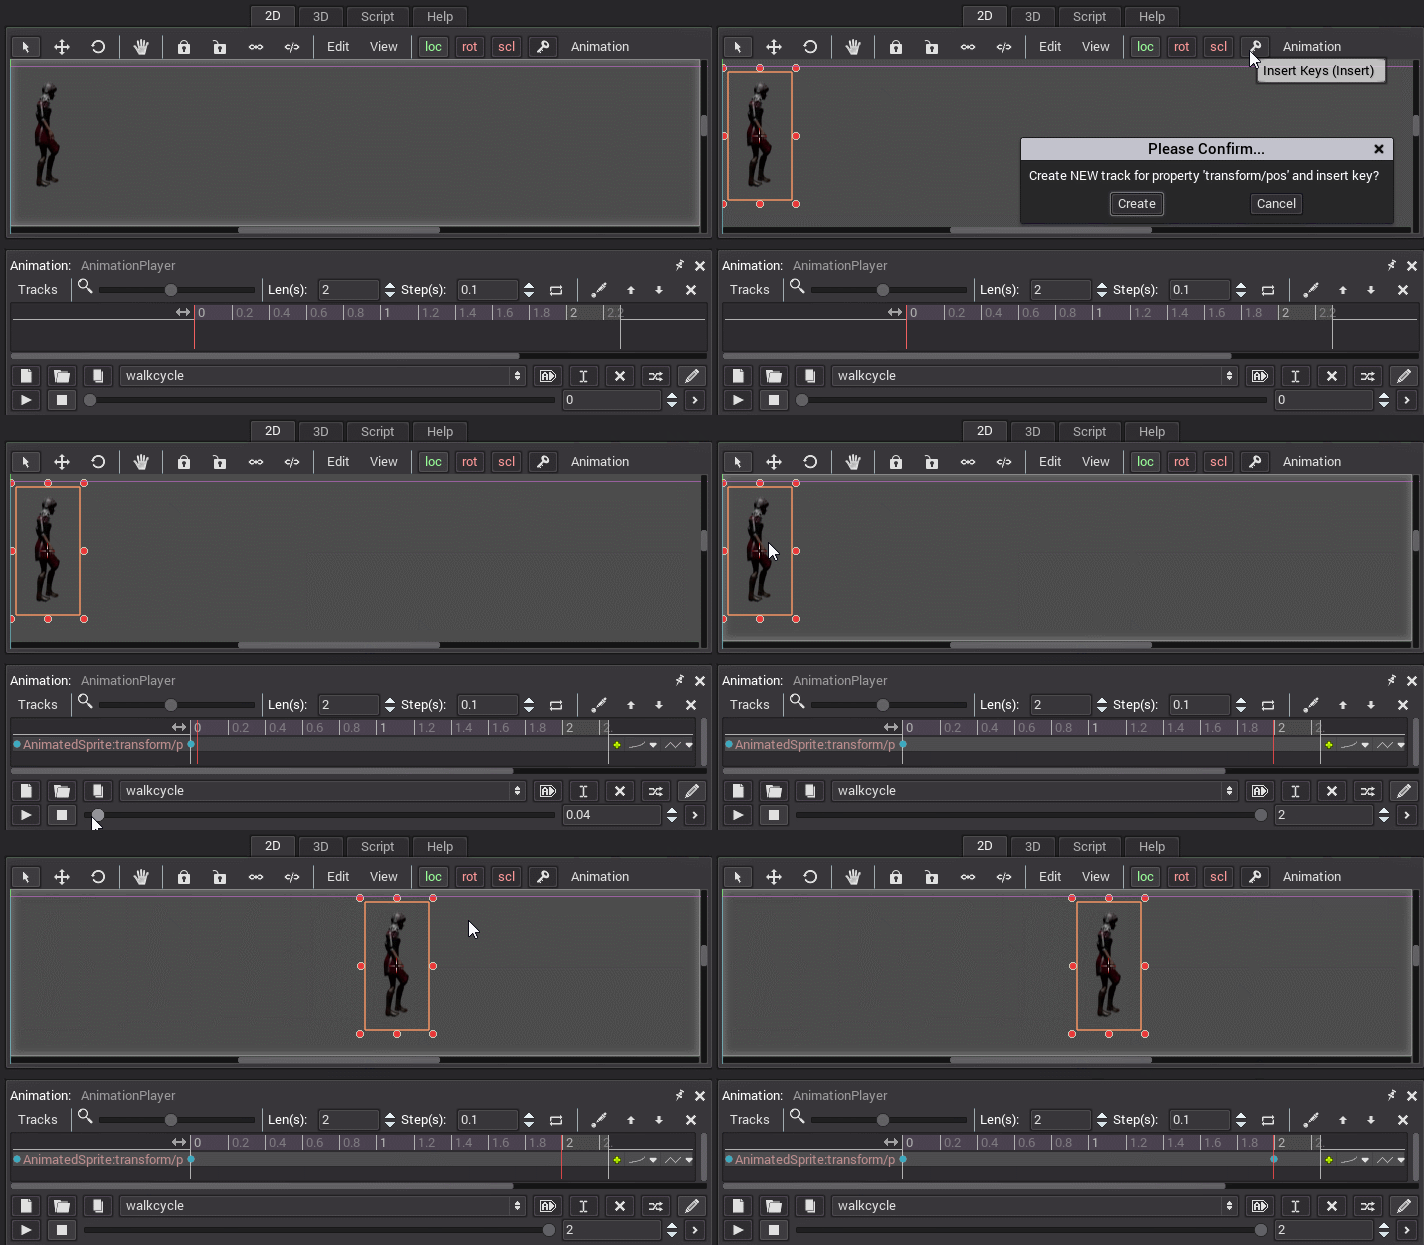
Press the play icon in the AnimationPlayer to see the animation you just created:
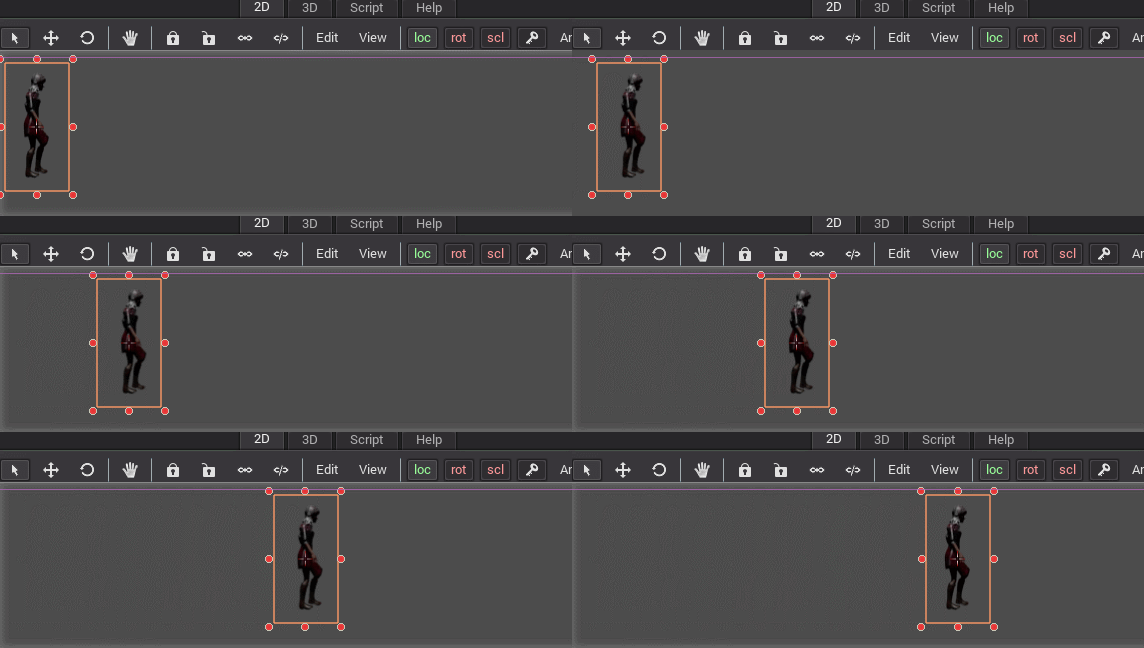
Well that’s certainly movement, but pretty crap as far as animations go eh? How about we add some frame animation to our mix. Here is where you start to see the power of animation in Godot.
With the AnimationPlayer selected, rewind the timeline back to zero, make sure you select your AnimatedSprite, then in the Details panel you will notice that all of the properties have a little key beside them:
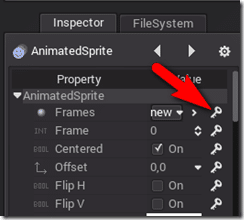
This is because you can keyframe just about any value in Godot. We are now going to do it with the Frame value. This is the value we programmatically increased to create our animation before. Now we will instead do it using keyframes. With the timeline at 0, set Frame to 0 then click the Key icon to it’s right. Click Create when it prompts you if you wish to create a new track. Then move the timeline to the end, increase Frame to the final frame (21 in my case), then click the Key again. This will create a new track of animation:

You can see the different track names across the left. The blue dots represent each key frame in the animation. There is one final change we have to make. Drop down the icon to the right of the animation track and change the type to Continuous, like so:
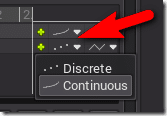
Now when you press play, you should see:
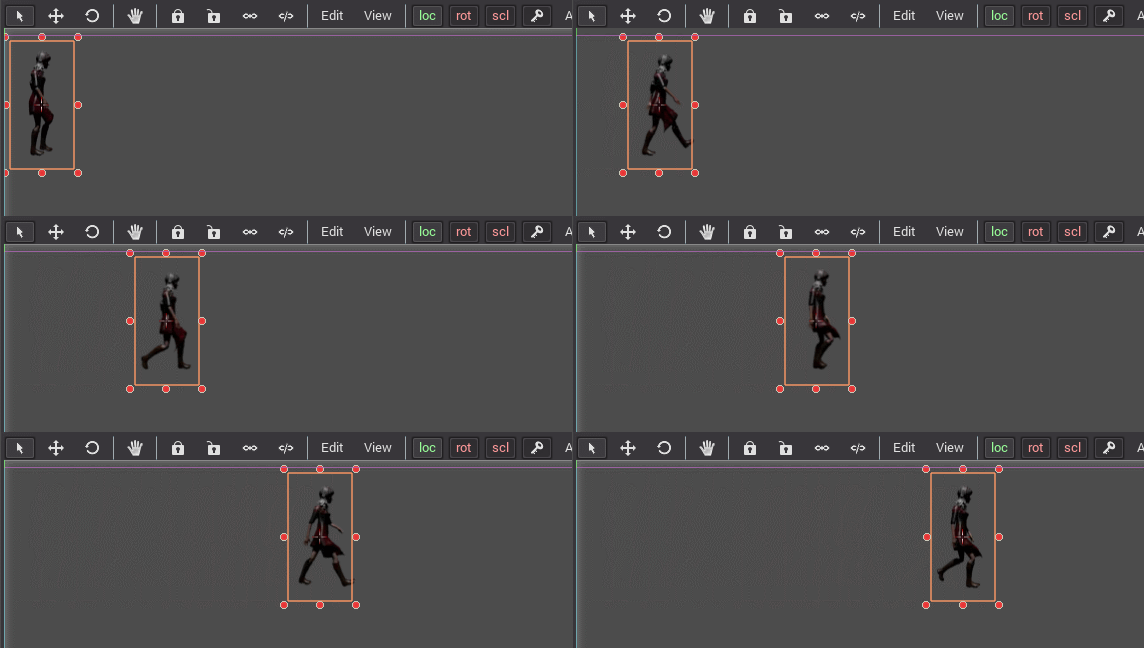
Playing Your Animation
While your animation appears properly if you press Play in the AnimationPlayer interface, if you press Play on your game, nothing happens. Why is this?
Well simply put, you need to start your animation. There are two approaches to starting an animation.
Play Animation Automatically
You can set the animation to play automatically. This means when the animation player is created it will automatically start the selected animation. You can toggle if an animation will play automatically using this icon in the Animation Player controls.

Play an Animation Using Code
Of course, AnimationPlayer also has a programmatic interface. The following code can be used from the scene root to play an animation:
extends Node

func _ready():
   get_node("AnimationPlayer").play("walkcycle")
Scripting the AnimationPlayer
Say you want to add a bit of logic to your keyframed animation… with AnimationPlayer you have a couple options we can explore.
First there are the events that are built into the AnimationPlayer itself:
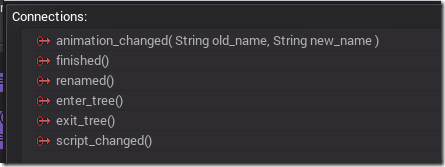
For simple actions like running a script when an animation changes or ends, using AnimationPlayer connections should be more than enough.
What about if you wanted to execute some code as part of your animation sequence? Well that is possible too. In your Animation editor window, click the Tracks button to add a new animation track:

Select Add Call Func Track:
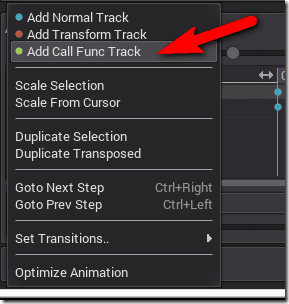
Another track will appear in your animation. Click the green + to add a new keyframe.

Now left click and drag the new key to about the halfway (1 second) mark. Switch to edit mode by clicking the pen over a dot icon, then click your keyframe to edit it. In the name field enter halfway. This is the name of the method we are going to call:

Add a method to your root scene named halfway:
extends Node

func _ready():
   get_node("AnimationPlayer").play("walkcycle")

func halfway():
   print("Halfway there")
When the keyframe is hit, the halfway method will be called. Adding more function calls is as simple as adding more keys, or complete Call Func tracks. As you may have noticed in the video above, you have the ability to pass parameters to the called function:
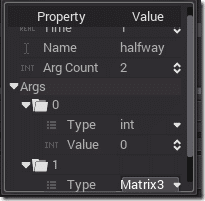
Finally, you can also access animations, tracks and even keys directly using code. The following example changes the destination of our pos track. This script was attached to the AnimationPlayer object:
extends AnimationPlayer

func _ready():
   var animation = self.get_animation("walkcycle")
   animation.track_set_key_value(animation.find_track("AnimatedSprite:transform/pos"),1,Vector2(400,400))
Now when you run the code you should see:
