Now we are going to talk about two important concepts in AI development in 2D games, path following and navigation meshes. Path following is exactly what you think it is, you create paths and follow them. This is useful for creating predefined paths in your game. When you are looking for a bit more dynamic path finding for your characters, Navigation Mesh ( or NavMesh ) come to the rescue. A NavMesh is simply a polygon mesh that defines where a character can and cannot travel.
As always there is an HD video of this tutorial available here.
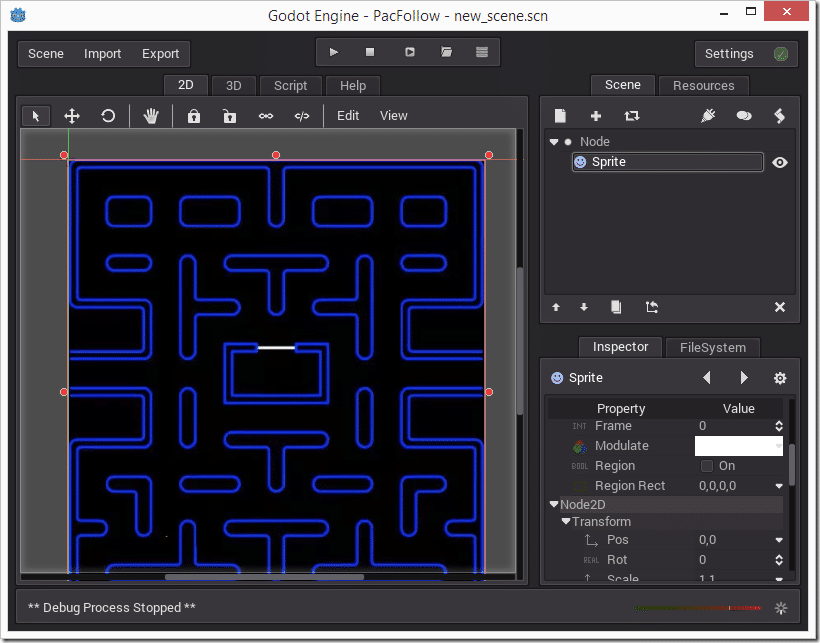
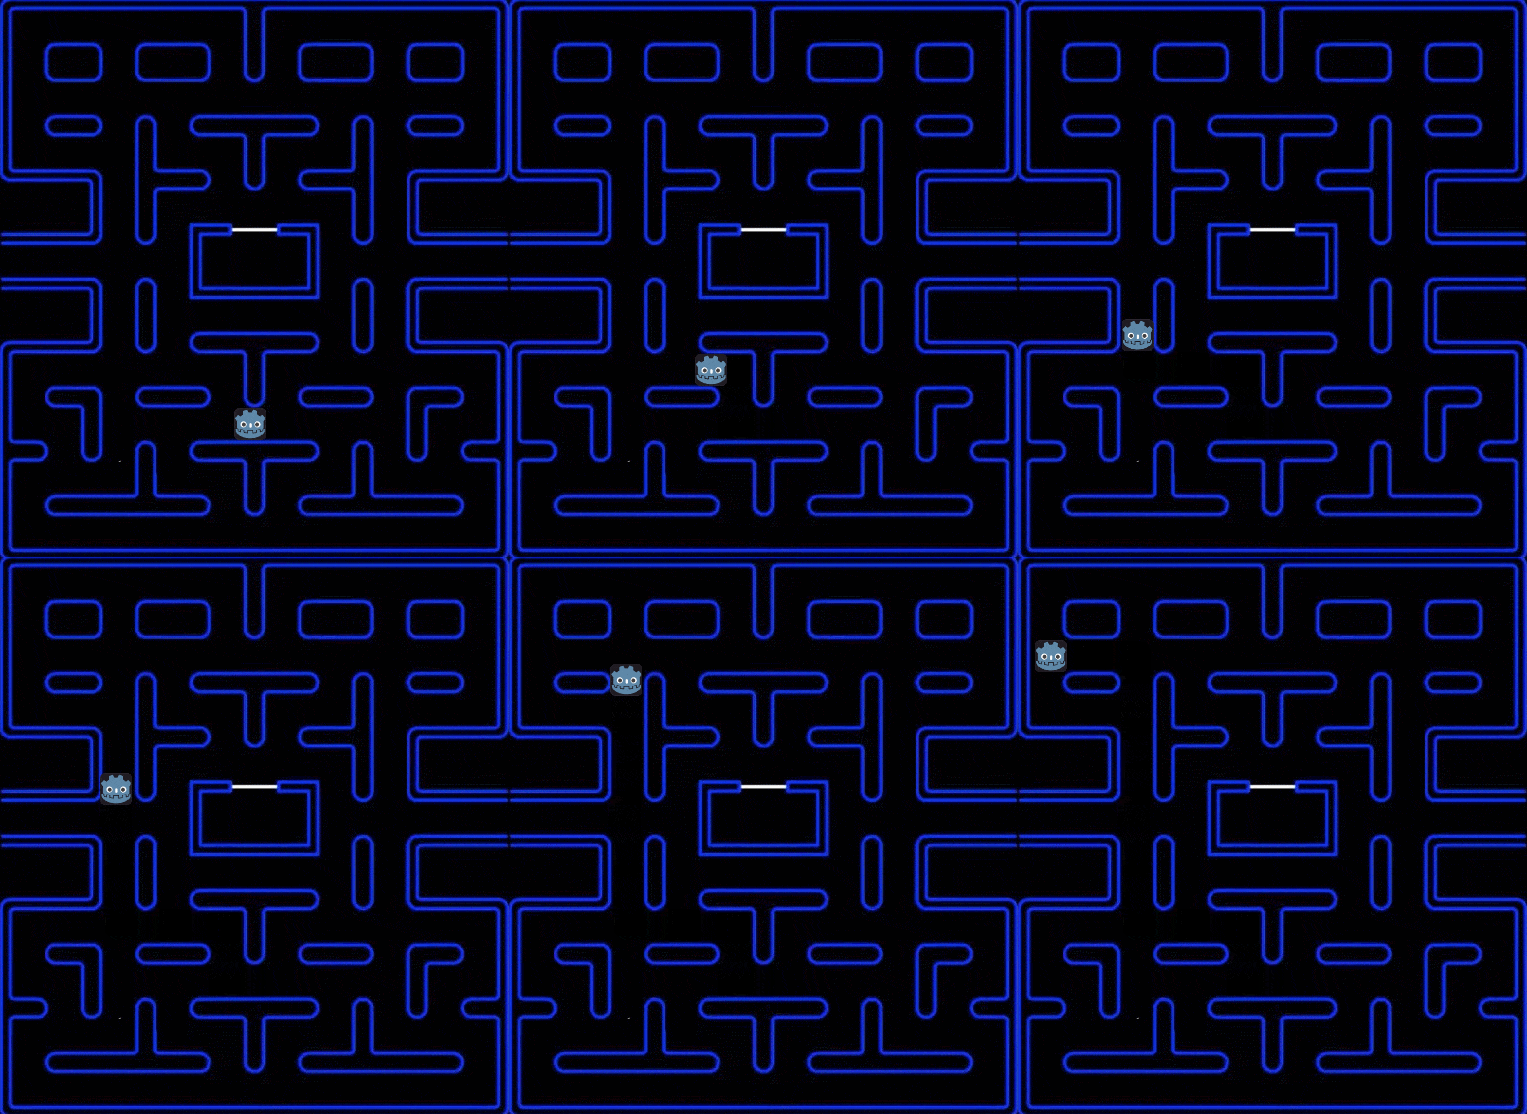
Let’s start with simple path following. For both of these examples, we are going to want a simple level to navigate. I am going to create one simply using a single sprite background that may look somewhat familiar…
So, we have a game canvas to work with, let’s get a character sprite to follow a predefined path.
Path2D and PathFollow2D
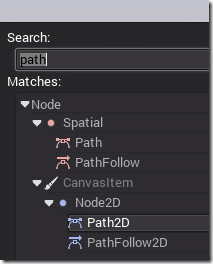
First we need to start off by creating and defining a path to follow. Create a new Path2D node:
This will add additional editing tools to the 2D view:
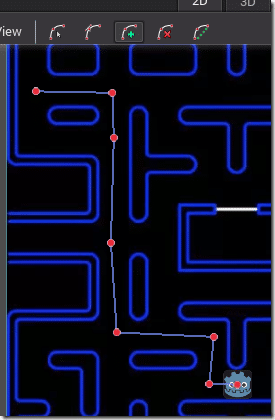
Click the Add Point button and start drawing your path, like so:
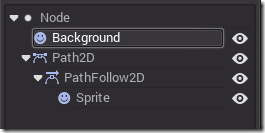
Now add a PathFollow2D node, and a Sprite attached to that node, like so:
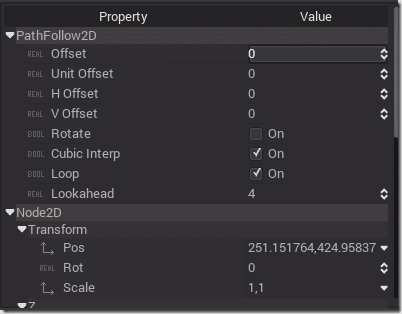
There are the following properties on the PathFollow2D node:
You may find that you start rotated for some reason. The primary setting of concern though is the Offset property. This is the distance along the path to travel, we will see it in action shortly. The Loop value is also important, as this will cause the path to go back to offset 0 once it reaches the end and start the travel all over again. Finally I clicked Rotate off, as I don’t want the sprite to rotate as it follows the path.
Now, create and add a script to your player sprite, like so:
extends Sprite func _ready(): set_fixed_process(true) func _fixed_process(delta): get_parent().set_offset(get_parent().get_offset() + (50*delta))
This code simply gets the sprites parent ( the PathFollow2D Node ), and increments it’s offset by 50 pixels per second. You can see the results below:
You could have course have controlled the offset value using keyframes and an animation player as described in the previous chapter.
So that’s how you can define movement across a predefined path… what about doing things a bit more dynamic?
Navigation2D and NavigationPolygon
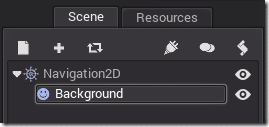
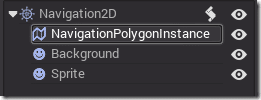
Now let’s create a slightly different node hierarchy. This time we need to create a Navigation2D Node, either as the root, or attached to the root of the scene. I just made it the root node. I also loaded in our level background sprite. FYI, the sprite doesn’t have to be parented to the Navigation2D node.
Now we need to add a Nav Mesh to the scene, this is done by creating a NavigationPolygonInstance, as a child node of Navigation2D:
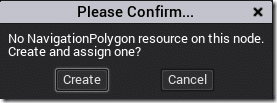
This changes the menu available in the 2D view again, now we can start drawing the NavMesh. Start by outlining the entire level. Keep in mind, the nav mesh is where the character can walk, not where they can’t, so make the outer bounds of your initial polygon the same as the furthest extent the character can walk. To start, click the Pen icon. One first click you will be presented this dialog:
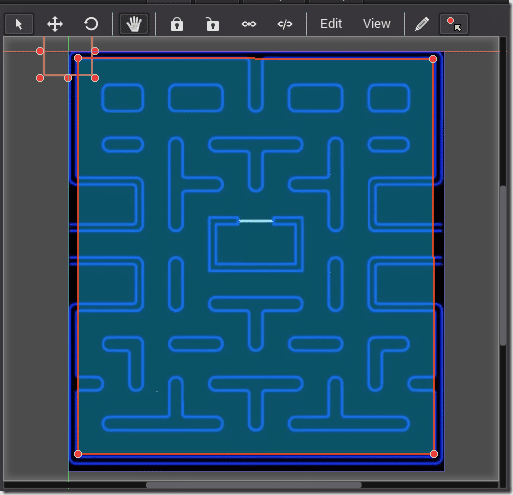
Click create. Then define the boundary polygon, like so:
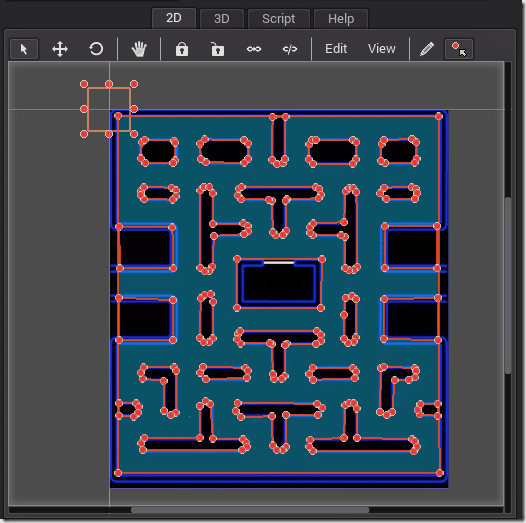
Now using the Pen button again, start defining polygons around the areas the character cant travel. This will cut those spaces out of the navigation polygon. After some time, I ended up with something like this:
So we now have a NavMesh, let’s put it to use. Godot is now able to calculate the most efficient path between two locations.
For debug reasons, I quickly import a TTF font, you can read this process in Chapter 5 on UI, Widgets and Themes. Next attach a script to your Navigation2D node. Then enter the following code:
extends Navigation2D var path = [] var font = null var drawTouch = false var touchPos = Vector2(0,0) var closestPos = Vector2(0,0) func _ready(): font = load("res://arial.fnt") set_process_input(true) func _draw(): if(path.size()): for i in range(path.size()): draw_string(font,Vector2(path[i].x,path[i].y - 20),str(i+1)) draw_circle(path[i],10,Color(1,1,1)) if(drawTouch): draw_circle(touchPos,10,Color(0,1,0)) draw_circle(closestPos,10,Color(0,1,0)) func _input(event): if(event.type == InputEvent.MOUSE_BUTTON): if(event.button_index == 1): if(path.size()): touchPos = Vector2(event.x,event.y) drawTouch = true closestPos = get_closest_point(touchPos) print("Drawing touch") update() if(event.button_index == 2): path = get_simple_path(get_node("Sprite").get_pos(),Vector2( event.x,event.y)) update()
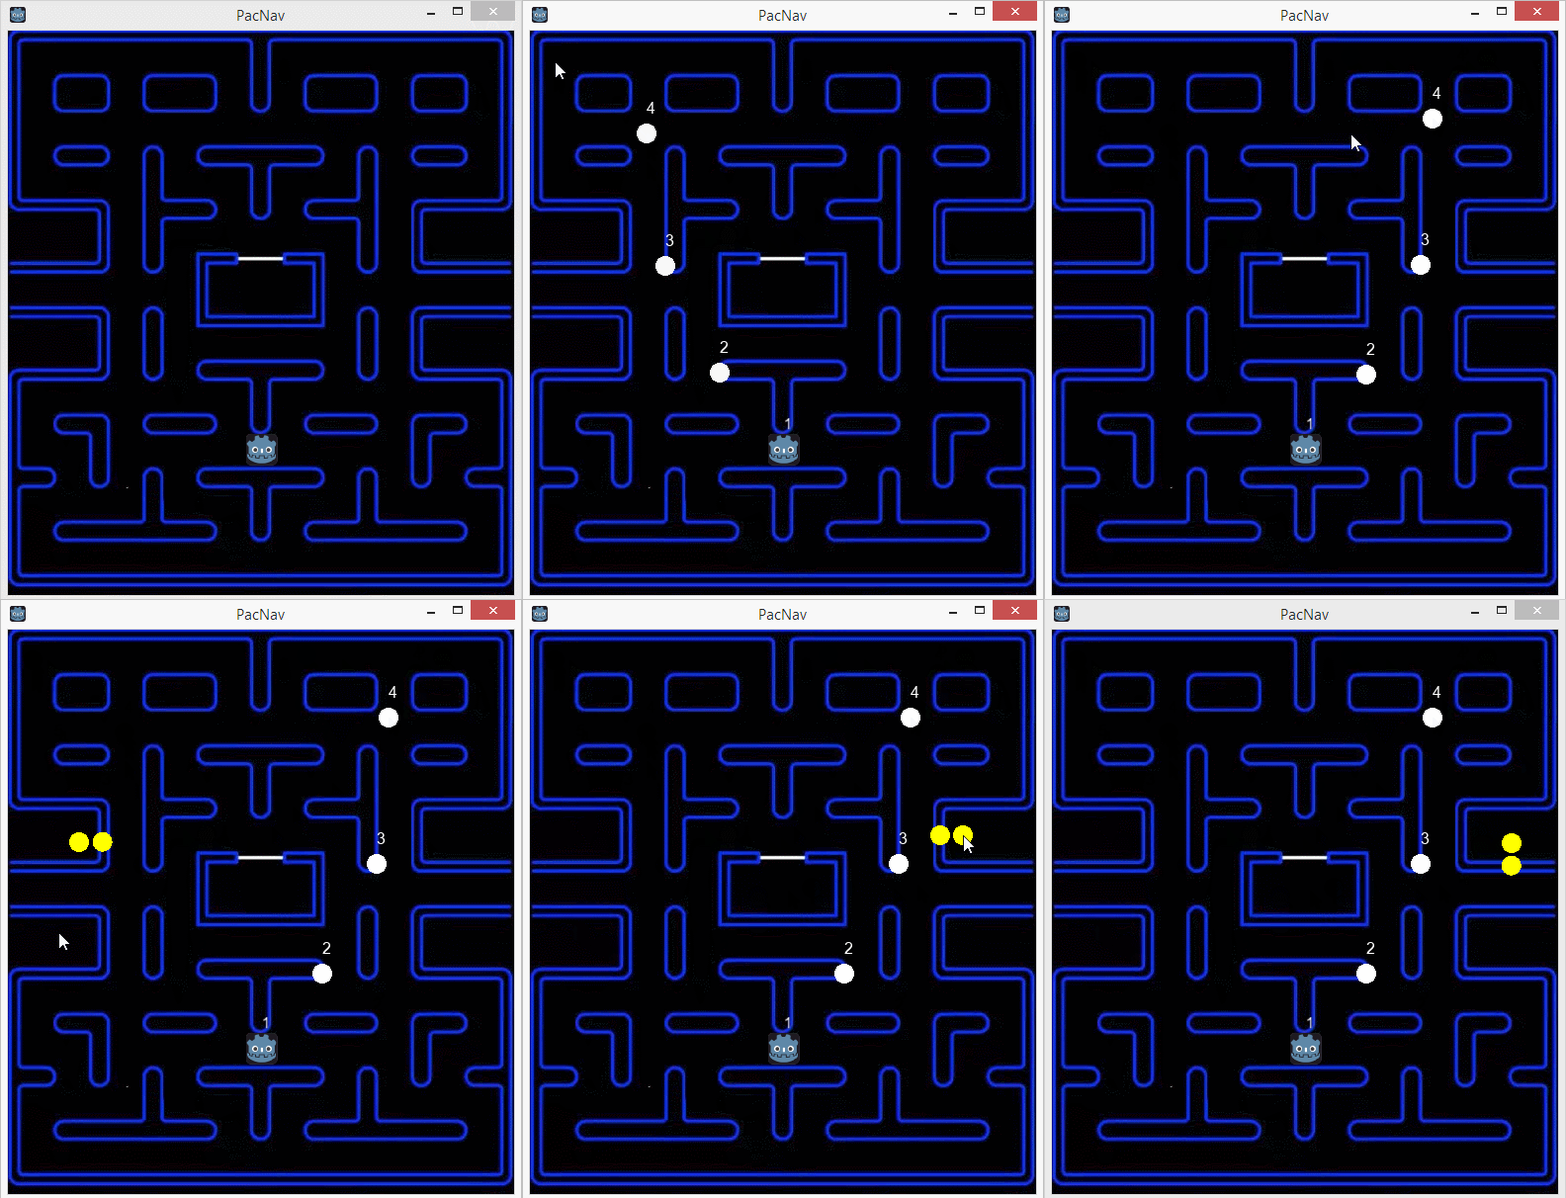
This code has two tasks. First when the user clicks right, it calculates the closest path between the character sprite and the clicked location. This is done using the critical function get_simple_path() which returns a Vector2Array of points between the two locations. Once you’ve calculated at least one path ( the path array needs to be populated ), left clicking outside of the navmesh will then show two circles, one where you clicked, the other representing the closest navigable location, as returned by get_closest_point().
Here is our code in action:
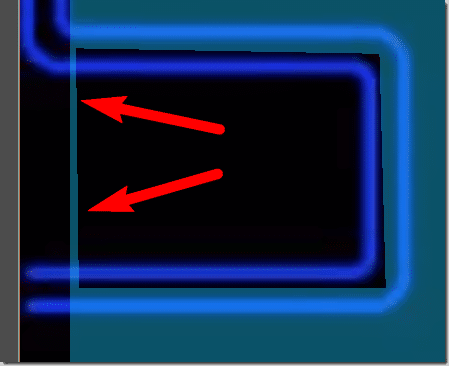
As you right click, a new path is established drawn in white dots. Then left clicking marks the location of the click and the nearest walk-able location in the nav polygon. You may notice the first left click resulted in it drawing a location to the left of the screen. This is because my navmesh wasn’t water tight, lets look:
Although miniscule in size, this small spot of polygons is a valid path to the computer. When setting your nav mesh’s up, be sure to make sure you don’t leave gaps like this!
There are a couple things you might notice. The path returned is the minimum direct navigable line between two points. It however does not take into account the size of the item you want to move. This is logic that you need to provide yourself. In the example of something like PacMan, you are probably better off using a cell based navigation system, based on an algorithm like a*star. I really wish get_closest_path() allowed you to specify the radius of your sprites bounding circle to determine if the path is actually large enough to travel. As it stands now, you are going to have to make areas that are too small for your sprite as completely filled. This renders Navigation2D of little use to nodes of varying sizes.
Regardless of the limations, Navigation2D and Path2D provide a great template for 2D based AI development.
The Video

