Building on the previous 3D Godot Engine tutorial, today we are going to look at dealing with static meshes in Godot. That is, meshes that don’t change and do not contain animations. We will look first at loading a 3D model in OBJ format, apply a texture, then finally look at programmatic mesh creation. Then in the follow up tutorial, we will look at importing and using animated (COLLADA) meshes.
As always there is an HD video version of this post available here.
Importing a 3D Static Mesh
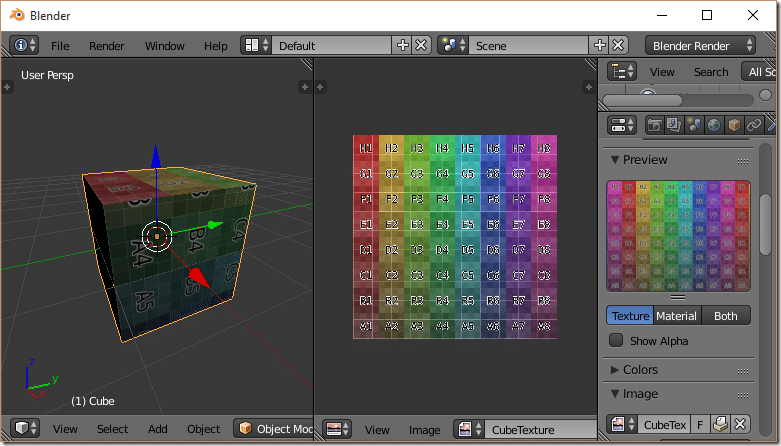
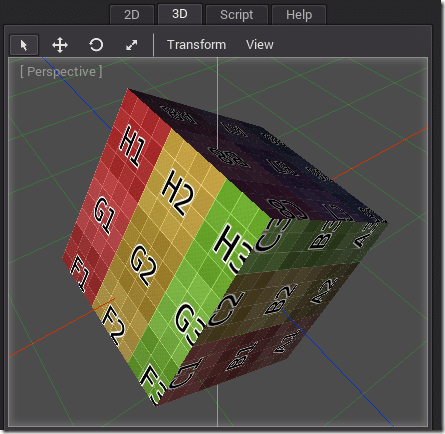
For simple non-animated models you can import them using the OBJ format which is supported by just about every single content creation tool available, but is very limited in functionality. First of course you are going to need a 3D model in OBJ format to work with. If you are incapable of creating one yourself, there are plenty available on OpenGameArt.org. Personally I just opened Blender and textured mapped a simple cube with a test pattern like so:
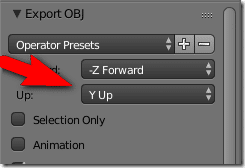
Be sure to save your texture externally if you go this route! Another thing to notice is that the up axis in Blender is Z, while the up axis in Godot is Y. Notice the orientation of the texture in the above image. When you export your OBJ file from Blender, you can select the UP axis:
It beats rotating everything by hand, no?
Importing your Model into Godot
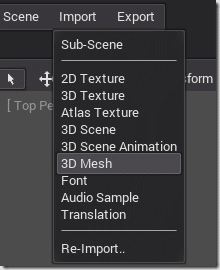
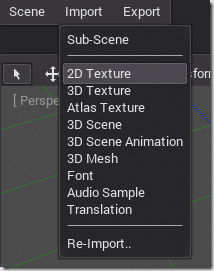
Importing a OBJ format model is trivial in Godot. Simply select Import->3D Mesh.
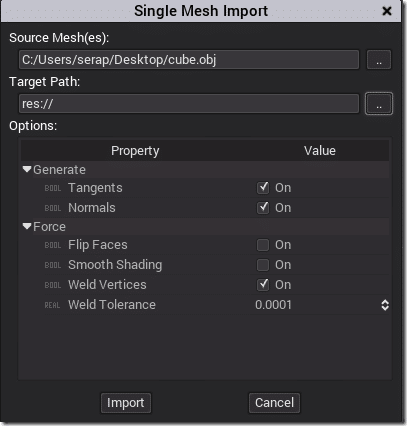
The following dialog will appear:
For the most part you will keep the defaults as they are, however if you made use of smoothing in your DCC, you may want to enable it here.
Instancing a Mesh
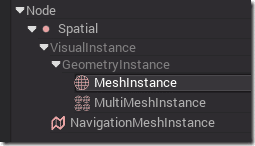
Now that we have our model loaded, we can create an instance of it. As you may be able to guess, we use the node MeshInstance, which of course is a Spatial.
You can have multiple instances of the same mesh. However if you are going to have several instances of the same mesh, and they are relatively close together instead use MultiMeshInstance. It’s a Node for optimizing performance. If you have several instances of the same mesh, MultiMeshInstance will batch them all together into a single draw call. For now though let’s focus on MeshInstance. Create a new one in your scene like so:
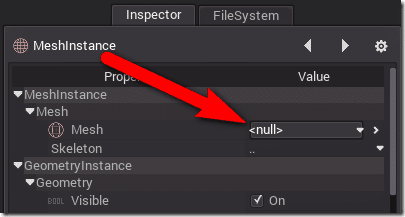
Now in the Inspector select the Mesh and pick the mesh you just imported:
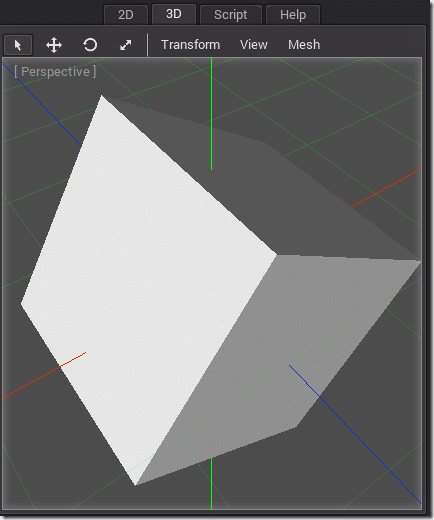
You should now see your imported object in your scene:
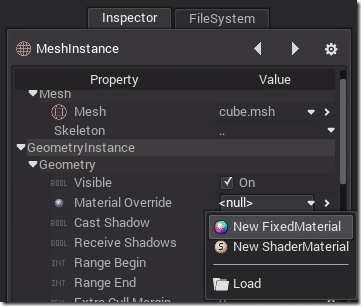
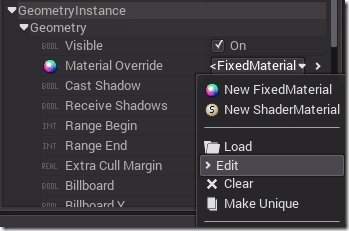
But UGH, no texture. Let’s fix that. Select Material Override and choose New FixedMaterial:
Next import your image into Godot as 2D Texture:
Now select the fixed material again and edit:
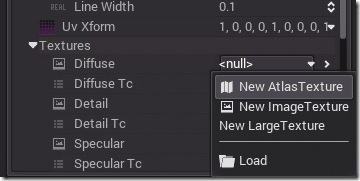
Scroll down and locate Textures->Diffuse, then Load:
Select your texture map. Now you should see:
Woot, textured 3D object.
Now there was a TON of stuff we just glossed over. There are dozens of settings you can set on the FixedMaterial, then there was the ShaderMaterial, which enables you to use a GLSL shader on your 3D object. We will cover these at a later point in time.
Dynamic Geometry
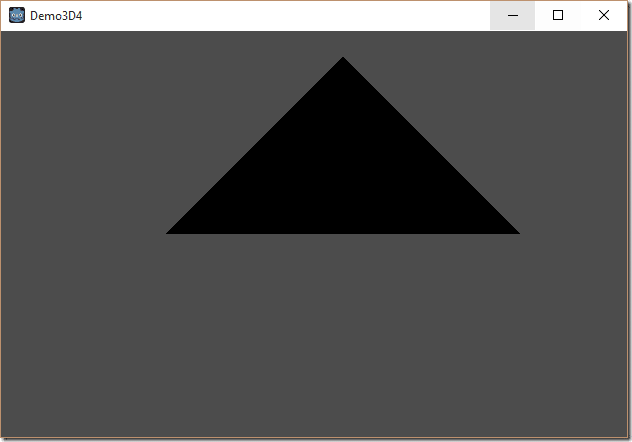
Sometimes you may find need to create your geometry dynamically. Godot fully supports this, in fact there are two way to go about it. The first is using an ImmediateGeometry node. This provides an OpenGL 1.1 like fixed pipeline interface for creating geometry. It’s intended for geometry that is going to change often. I added an ImmediateGeometry node to my scene, then attached the following script:
extends ImmediateGeometry func _ready(): self.begin(VS.PRIMITIVE_TRIANGLES,null) self.add_vertex(Vector3(0,2,0)) self.add_vertex(Vector3(2,0,0)) self.add_vertex(Vector3(-2,0,0)) self.end()
When run:
You can also generate a mesh dynamically using SurfaceTool. A more expensive process, so not something you are going to want to change on a frame by frame basis. In this case we use MeshInstance just like we did when we loaded the Obj file, but in this case we create the mesh instead of loading it from file.
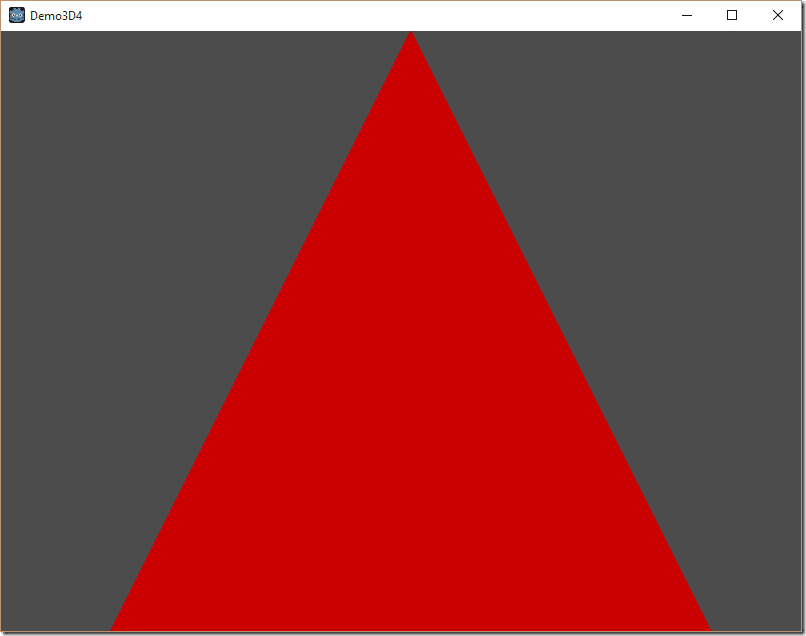
Here is the script to create a triangle, this time with UV information specified so it can be textured:
extends MeshInstance #export(FixedMaterial) var material = null func _ready(): var surfTool = SurfaceTool.new() var mesh = Mesh.new() var material = FixedMaterial.new() material.set_parameter(material.PARAM_DIFFUSE,Color(1,0,0,1)) surfTool.set_material(material) surfTool.begin(VS.PRIMITIVE_TRIANGLES) surfTool.add_uv(Vector2(0,0)) surfTool.add_vertex(Vector3(-10,-10,0)) surfTool.add_uv(Vector2(0.5,1)) surfTool.add_vertex(Vector3(0,10,0)) surfTool.add_uv(Vector2(1,0)) surfTool.add_vertex(Vector3(10,-10,0)) surfTool.generate_normals() surfTool.index() surfTool.commit(mesh) self.set_mesh(mesh)
Now when you run it:
Explaining how to generate a mesh, what UV coordinates are, etc are way beyond the scope of this tutorial. Most introductory OpenGL or Direct3D tutorials will give you the knowledge you need to create geometry programmatically.
Notice in the example above the line that is commented out?
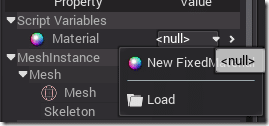
export(FixedMaterial) var material = null
This is an EXTREMELY powerful feature of Godot, enabling you to use built in editors to set values of your game objects. Uncomment that line and comment out the FixedMaterial.new() line and look at your object in Inspector:
By simply exporting a var from your node you get editor access. Very cool.
That’s it for now. In the next tutorial we will look at loading more complex COLLADA models with animations. By the way, if you are looking for a great primitive library, or a more indepth procedural mesh example, be sure to check out this project.
The Video

