In this tutorial we are going to be taking a look at what seems to be everyone’s favorite subject, graphics. We are going to start by creating a Sprite. A Sprite is basically a 2D image with spatial information such as scale, rotation and position. We are then going to take a closer look at coordinates and viewports, critical concepts to understand.
The video version of this tutorial is available here.
Creating a Sprite
Start by creating a new node in your scene panel.

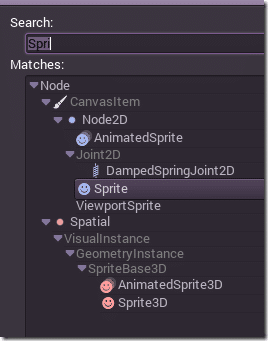
Locate and create a “Sprite” node in the resulting dialog:
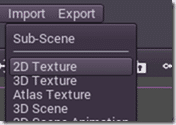
Now you need an image file to use as a Sprite. You could simply copy one into the folder structure of your project at the file system level but in this case I am going to use the Import menu. Select Import->2D Texture:
Locate the file ( it doesn’t have to be in your project directory ), and pick where you want it to be located locally, like so:
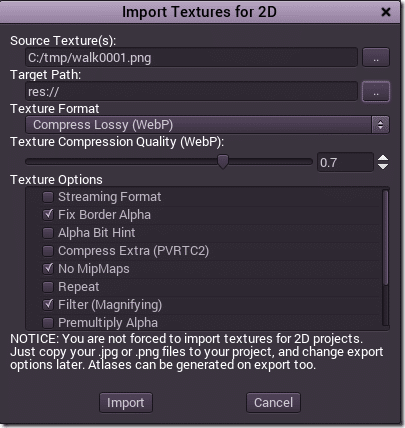
Once again, you do not have to import this way, you could have simply copied in the files to your project directory!
Ok, now that we have an image, let’s use it with our Sprite. With the Sprite selected, in the Inspector panel locate Texture, drop it down and select Load.
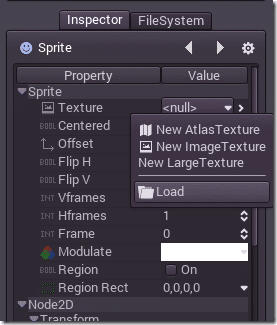
Select your newly imported 2D Texture.
Now in your 2D view you will see your sprite positioned centered about the screen origin:
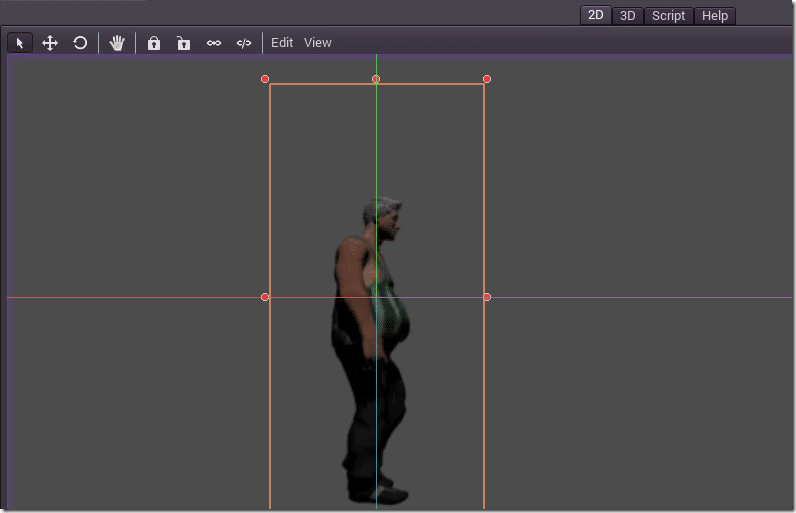
Navigating the 2D View
Now might be a good time to do a quick overview of how the 2D view works. Let’s start off by looking at the 2D view itself
(Click image to expand)
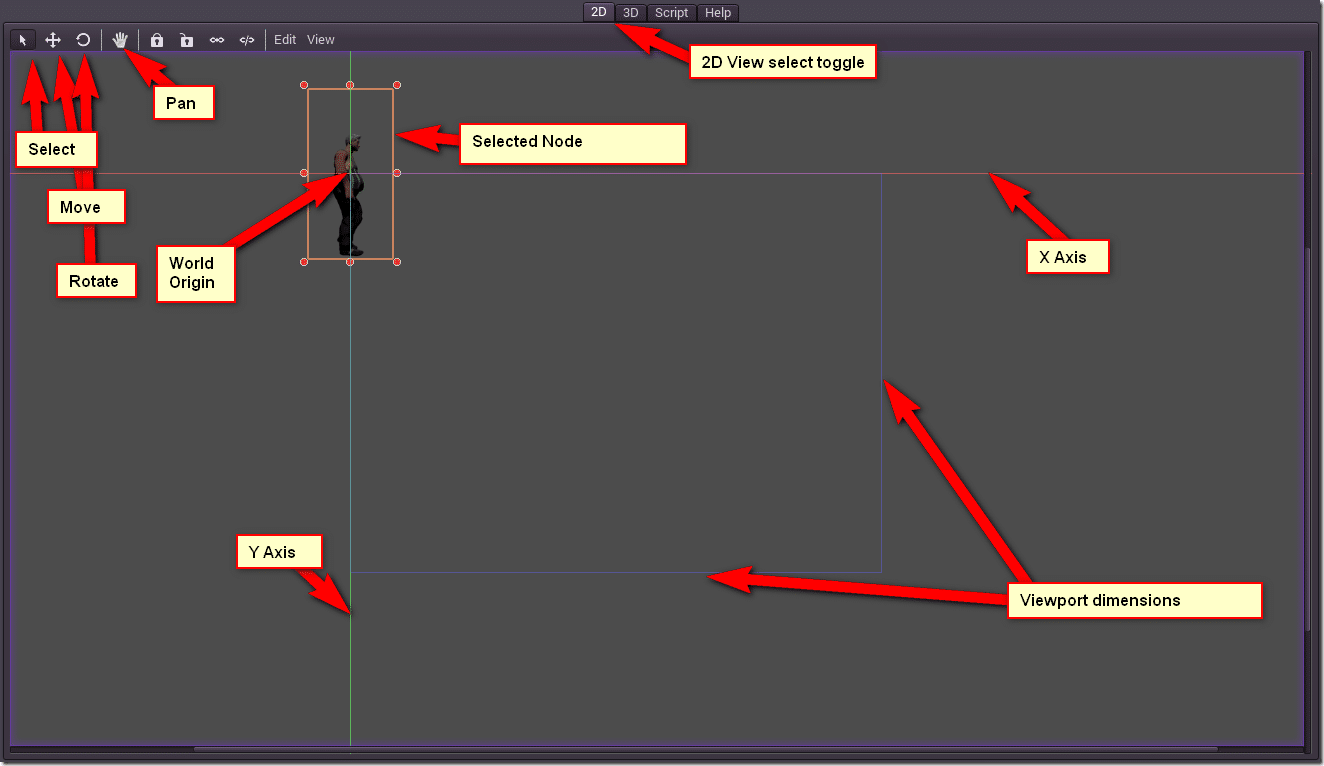
This is where you position and manipulate the nodes that make up your world. As you can see, the X-axis is marked in red and the Y axis is marked in green. Where the two join, that is the world origin. In this particular example, the viewport ( blue rectangle ) is in the negative Y and positive X quadrant. However, child nodes positioning is relative to it’s parent, so to our sprite 0,0 appears to be the top left corner of the screen.
The selected object is surrounded by a manipulator cage. This can be used to easily scale the image, while left clicking and dragging within the cage will move the selected node around. Remember you can also set positioning information in the Inspector numerically. You can switch to Rotate mode to rotate an object, objects rotate relative to their center point. Pan on the other hand allows you to move the camera itself around, enabling you to “pan” through your world.
Mouse Controls:
| Button | Action |
|---|---|
| Left Mouse Button Click | Select clicked node |
| Left Mouse Button Click + Drag | Translate or Rotate selected |
| Middle Mouse Button | Pan the scene |
| Scroll Wheel | Zoom in/out |
Keyboard Controls
| Key | Action |
|---|---|
| Q | Select Mode |
| W | Translate/Move Mode |
| E | Rotate Mode |
| Arrow Keys | Move selected, very fine |
| Shift + Arrow Keys | Move selected |
| ESC | Unselect |
| F1 | Help Panel |
| F | Center Camera on Selected |
| Ctrl + F | Frame Camera (Zoom to fit) on Selected |
| Ctrl + P | Expand to selected node’s parent |
| V (hold) | Move pivot point |
Snapping
Some times snapping can be incredibly useful when laying out a scene. Snapping essentially super imposes a grid over your scene and “snaps” the selected to that grid. To enable Snapping, simply select Use Snap from the Edit Menu.
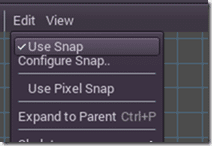
Using Configure Snap you can set the size of each grid in the snapping overlay. Now your scene will look like this:
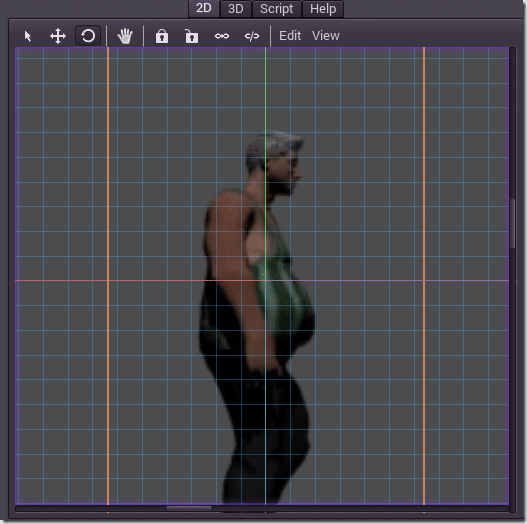
Note, this grid is just there to help you with accurate placement only! It will not appear when you render your game. Turn if off again by clicking Use Snap again. If you are working on a tile based game, snapping can be invaluable.
Rotating, Translating and Scaling a Sprite using Code
So that covers how to add a Sprite to your world and how to navigate the 2D view, let’s take a quick look at the three most commonly performed actions… translating(moving), scaling and rotating. The following code does all three:
extends Sprite

func _ready():
      #translate to center of the parent, in this case, the viewport
   var newPos = Vector2(self.get_parent().get_rect().size.width/2,self.get_parent().get_rect().size.height/2)
   self.set_pos(newPos)

   #rotate by 90 degrees.  set_rot takes radians so we need to convert using in-built function
   self.set_rot(deg2rad(90))
      #scale by 2x
   self.set_scale(Vector2(2,2))

func _draw():
   # each frame draw a bounding rect to show boundaries clearer
   self.draw_rect(self.get_item_rect(),Color(0,0,1,0.2))
And when you run that, you should see:
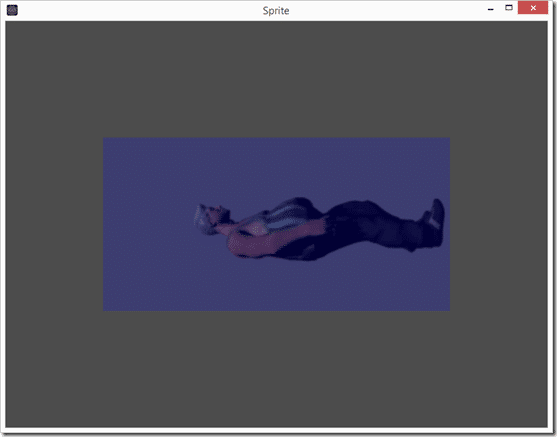
Please note, I quite often use self because I find it adds a bit of clarity and frankly makes code completion easier. In the above code, “self” is the inherited class “Sprite”. If you prefer shorter code, you can omit the use of self and it is functionally identical!
One important thing to understand is, all of these transformations happened relative to the Sprite’s pivot point, which by default is at it’s center. If you zoom in on your Sprite object you should be able to see the pivot point:
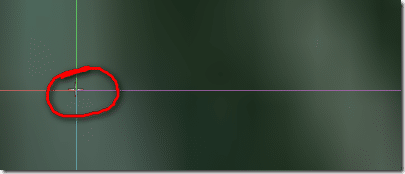
It’s the T like cross hair. This point determines where local transforms occur relative to. For example, when you say “rotate 90 degrees’ you are rotating 90 degrees around this point. In the 2D editor, you can move this point ( or more accurately, move the Sprite relative to this point ), by holding the V key down while moving.
Here for example I hit W then left click dragged to move the sprite slightly. Then I held down V and moved the sprite only and not the pivot point, like so:
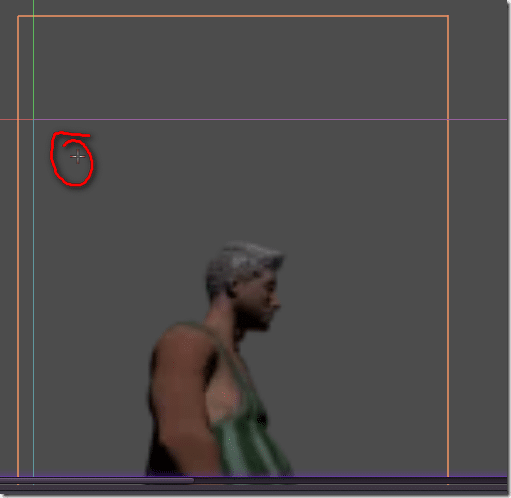
Now if I run the same code, you will see that transforms are performed relative to this point instead of the middle:
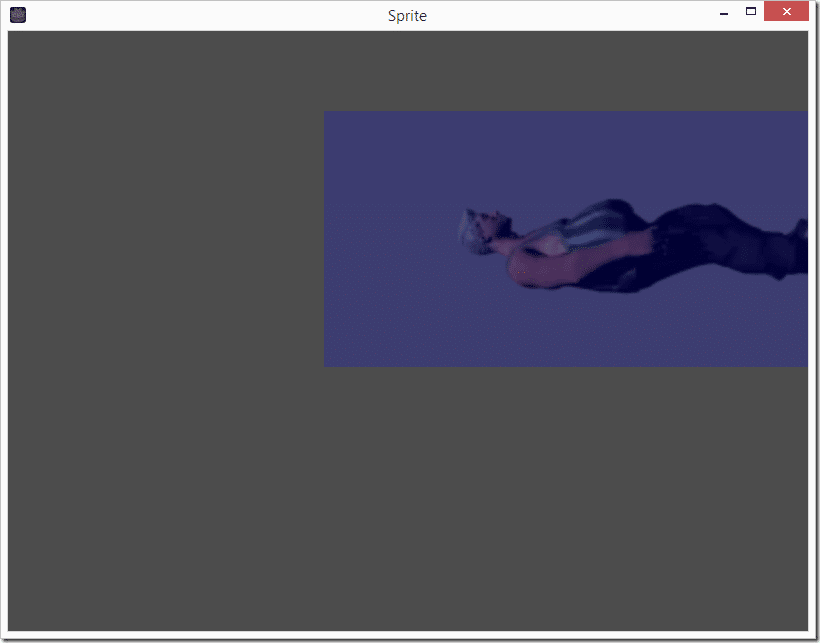
This value can also be controlled in the Inspector. It is called the offset and it is a value relative to the Node’s center point:

Or you can change the offset in code. For example, to make the pivot the bottom left corner of the Sprite, you could do the following:
func _ready():

   var newOffset = Vector2(self.get_item_rect().size.width/2, -self.get_item_rect().size.height/2)
   self.set_offset(newOffset)
With the following result:
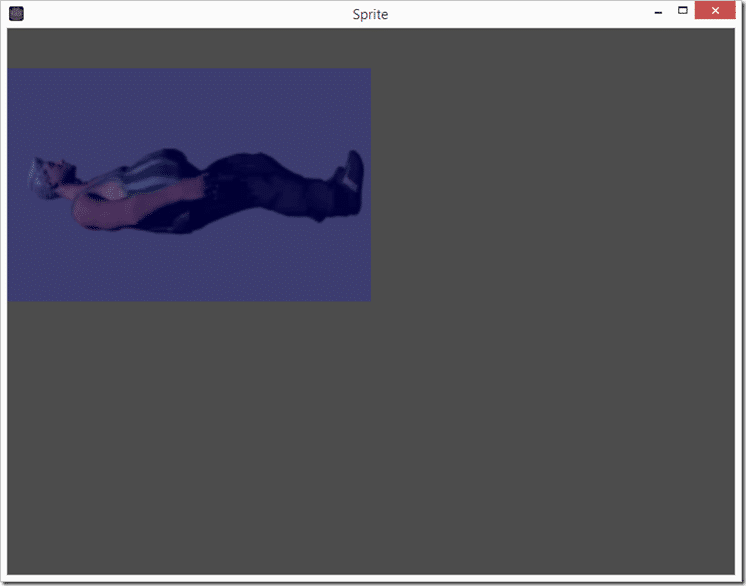
So, quick summary… child Nodes are positioned relative to their parents and the top level node is the viewport. All transformations happen relative to an objects offset, that offset is relative to the objects center which by default is the Node’s midpoint.
A Bit about Viewports
We should pause a bit to discuss the viewport, it’s a critical concept in graphics. As you may notice in the earlier screenshots, the Viewport is drawn as a blue rectangle, with it’s top left corner at 0,0 in 3D space. By default in Godot 2D, the root node is a viewport, which is why we could access it using get_parent() from our sprite node. So, where exactly are this viewport’s dimensions set? Good question!
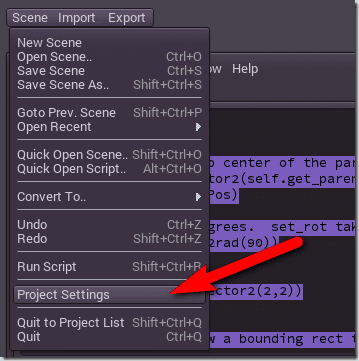
In the Scene menu select Project Settings. The following dialog appears ( this is where we set default scene earlier ):
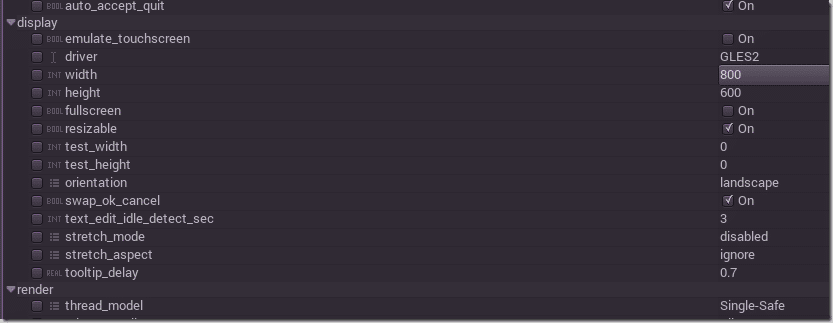
These are your key viewport related settings. Obviously width and height are what determine the dimensions of your viewport. There are a few other key settings here too, such as resizable and fullscreen, that determine how the window works on a desktop computer ( these settings are meaningless on mobile devices ). Orientation on the other hand is important to mobile devices ( landscape vs portrait or lengthwise vs widthwise ) but meaningless on PCs. stretch_mode and stretch_aspect are useful for dealing with devices of differing resolutions, we will probably cover this in more detail in a separate posting.
Viewports are critical as they allow you to work across a number of different devices in different resolutions using the same basic code.
