Until this point in the series we have only created single scene games. In any non trivial application you are often going to want to have several scenes make up your game. For example you might have a scene for your title screen/intro, then a main menu, then a game playing then finally a game over scene. Today we are going to look at how to do exactly this. We are also going to look at sharing information between those scenes.
This scene is available as an HD video here.
Creating Multiple Scenes
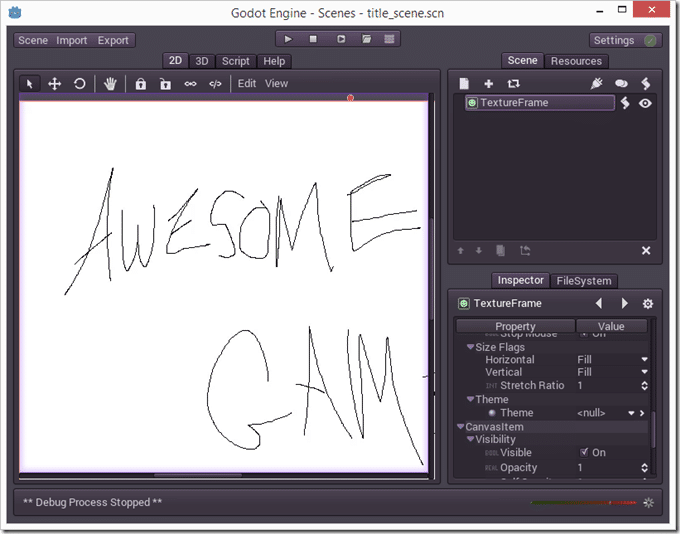
First and foremost, you always need to have at least one scene to start up. Let’s go ahead and create one, the Title screen seems logical enough. Create a scene that draws a simple graphic, called it “title_scene.scn” and set it as your startup scene. If you are unfamiliar with this step, please see prior tutorial parts. Once complete it should look something like this:
Next we want to create a scene to transition to. I called mine game.scn. It may not be completely obvious, but you actually close your scene to create the new scene. Select Scene->New Scene:
Then say yes to the scary dialog that pops up ( of course, we assume you’ve saved your scene and set it as the startup scene already! ):

Now in the second scene, I just created a simple Panel, with a pair of label controls, like so:
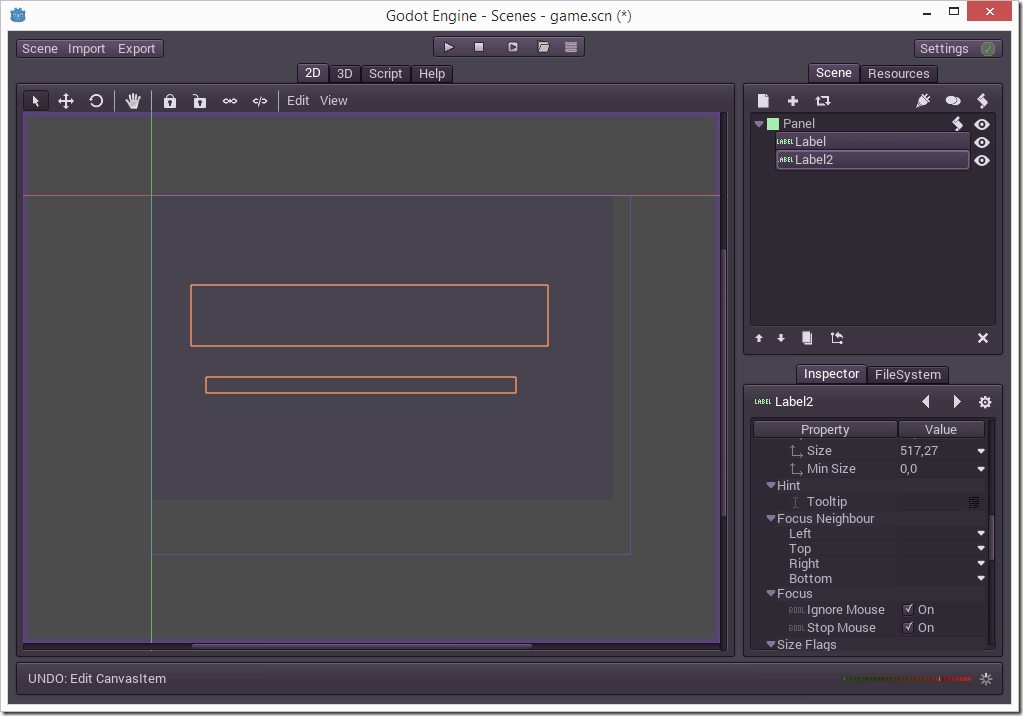
It doesn’t really matter what you do. The labels are just to show that information can be shared between Scenes. Our game isn’t actually going to do anything.
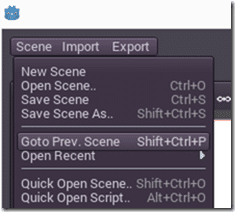
Ok… so now we have our two scenes… how are we going to wire them all together? Well that requires a script. Re-open the title_scene.scn scene. There is a handy Open Prev Scene menu option, or you can use open Scene…
Adding a Script to control scene switching
Now that we have our original scene selected, we need to add a script to it. To do this, switch to the Resources tab and select the New Resource icon:
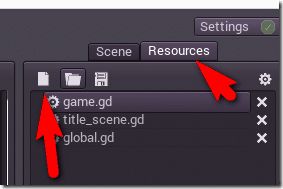
For type select GDScript:
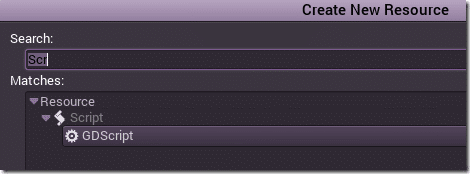
I named mine ‘global.gd’.
Now we write out our script. We are going to be auto loading this as a node into our game when our application starts, so we need to inherit from Node or a Node derived class. In my case I used node. You can inherit a class using the extends keyword.
Here is the code for our simple Node script. We create a function so scenes can switch between scenes, and demonstrate getting a session variable, as well as setting a global variable.
extends Node
#The currently active scene
var currentScene = null
#just some data for our game.  It could be HPs, Alignment, Direction, etc...
var PlayerName = "Mike"

func _ready():
   #On load set the current scene to the last scene available
   currentScene = get_tree().get_root().get_child(get_tree().get_root().get_child_count() -1)
   #Demonstrate setting a global variable.
   Globals.set("MAX_POWER_LEVEL",9000)

# create a function to switch between scenes
func setScene(scene):
   #clean up the current scene
   currentScene.queue_free()
   #load the file passed in as the param "scene"
   var s = ResourceLoader.load(scene)
   #create an instance of our scene
   currentScene = s.instance()
   # add scene to root
   get_tree().get_root().add_child(currentScene)

#simple accessor function to retrieve playerName
func getPlayerName():
   return PlayerName
Autoload script on startup
Be sure to save your newly created script. Now we want to set it so that this screen runs automatically when our game is started.
To do this, go to Scene->Project Settings.
In the resulting dialog, you want to select the AutoLoad tab. Now you specify the script you want to autoload, and the name you want the node to be known as. This is case sensitive by the way.
In path, select your newly created global.gd. In Node Name call it globals then click Add:

Now this script will be run automatically when your game or application starts up!
Now that we can switch scenes, let’s make us of this ability. In your title_scene.scn project, attach a script to the image you used. Personally I used a TextureFrame to hold my title screen. We are simply going to check for the user pressing the left mouse button, and if they do, we are going to switch scenes.
extends TextureFrame
func _ready():
   set_process(true)

func _process(delta):
   if(Input.is_mouse_button_pressed(BUTTON_LEFT)):
      get_node("/root/globals").setScene("res://game.scn")
As you can see you can access the script by getting it as a node using the name you provided in the AutoLoad dialog. Once again this value is case sensitive and you have to include the /root/ part.
So, once we click our title image, it should load our other scene. Let’s add a bit of logic to it. Load the game.scn ( yes, I wish their was a project mode that prevented this switching between scenes stuff… ), attach a script and add the following code:
extends Panel

func _ready():
   var name = get_node("/root/globals").getPlayerName()
   get_node("Label").set_text(str(name, " is the greatest player ever!"))

   var powerLevel = Globals.get("MAX_POWER_LEVEL")
   get_node("Label2").set_text(str("Maximum power level is ", powerLevel))
This code illustrates too simple concepts… calling a global instance ( Singleton in Godot parlance btw ), such as setScene() or getPlayerName() or calling a global variable. Both methods make it very easy to share data between various scenes, escentially forming the backbone of your application.
