Unity 2018.1 was just released and one of the major new features is Shader Graph, a new visual programming language for creating shaders. In this article, we are going to look at how to enable and use Shader Graph. There is also a video of this tutorial available here or embedded below.
First off, to get started using Shader Graph, be sure to be using Unity 2018.1 or later.
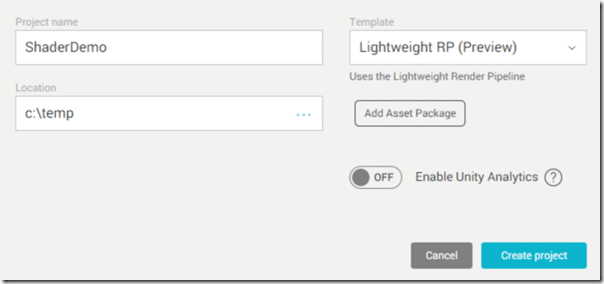
Next, start Unity and create a new project. I used the following settings:
Shader Graph is fully compatible with the new light weight render pipeline. For the record, Shader Graph does NOT work with the current HD pipeline, this feature is under development. There is no need to add any new packages… yet. Once ready, click Create Project. Once your project is loaded, go ahead, and create a new scene.
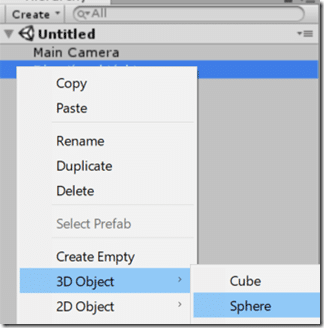
We need some kind of object to apply our shader to, simply right click the newly created scene in the Hierarchy view, select Create->Sphere.
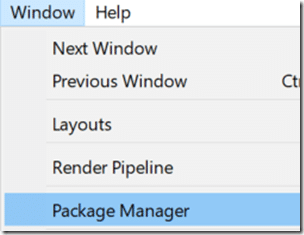
Now we need to enable Shader Graph functionality in Unity. Click Window, then select Package Manager.
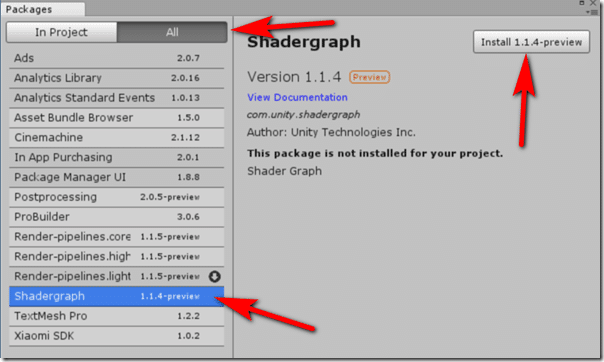
In the resulting window, select All, then Shadergraph, then Install. This will take a few seconds.
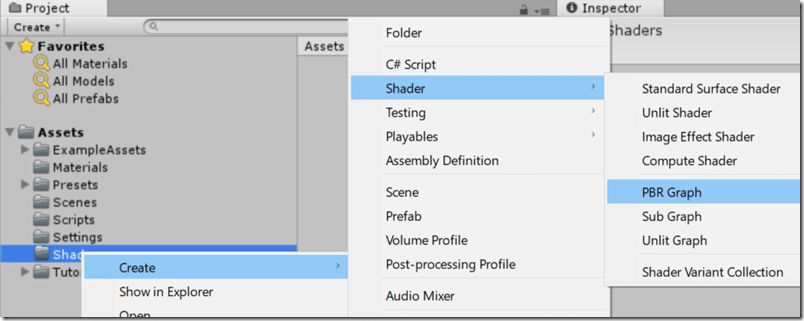
Now that Shadergraph is enabled, let’s create one. In the Project panel, I created a new folder called Shaders. Right click the newly created folder and select Create->Shader->PBR Graph.
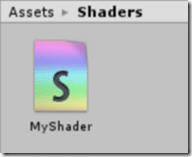
I called mine MyShader, name yours whatever you want. Except for Dilbert; that’s a stupid name for a shader!
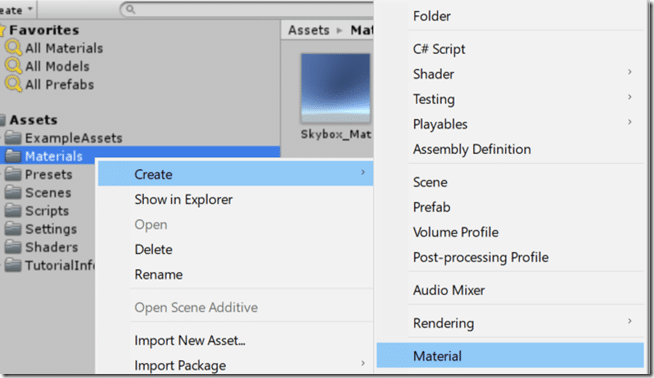
One more small bit of setup before we start creating shaders! We need to create a material that we will attach our shader to and ultimately apply to our sphere mesh. Right click the Materials folder and select Create->Material.
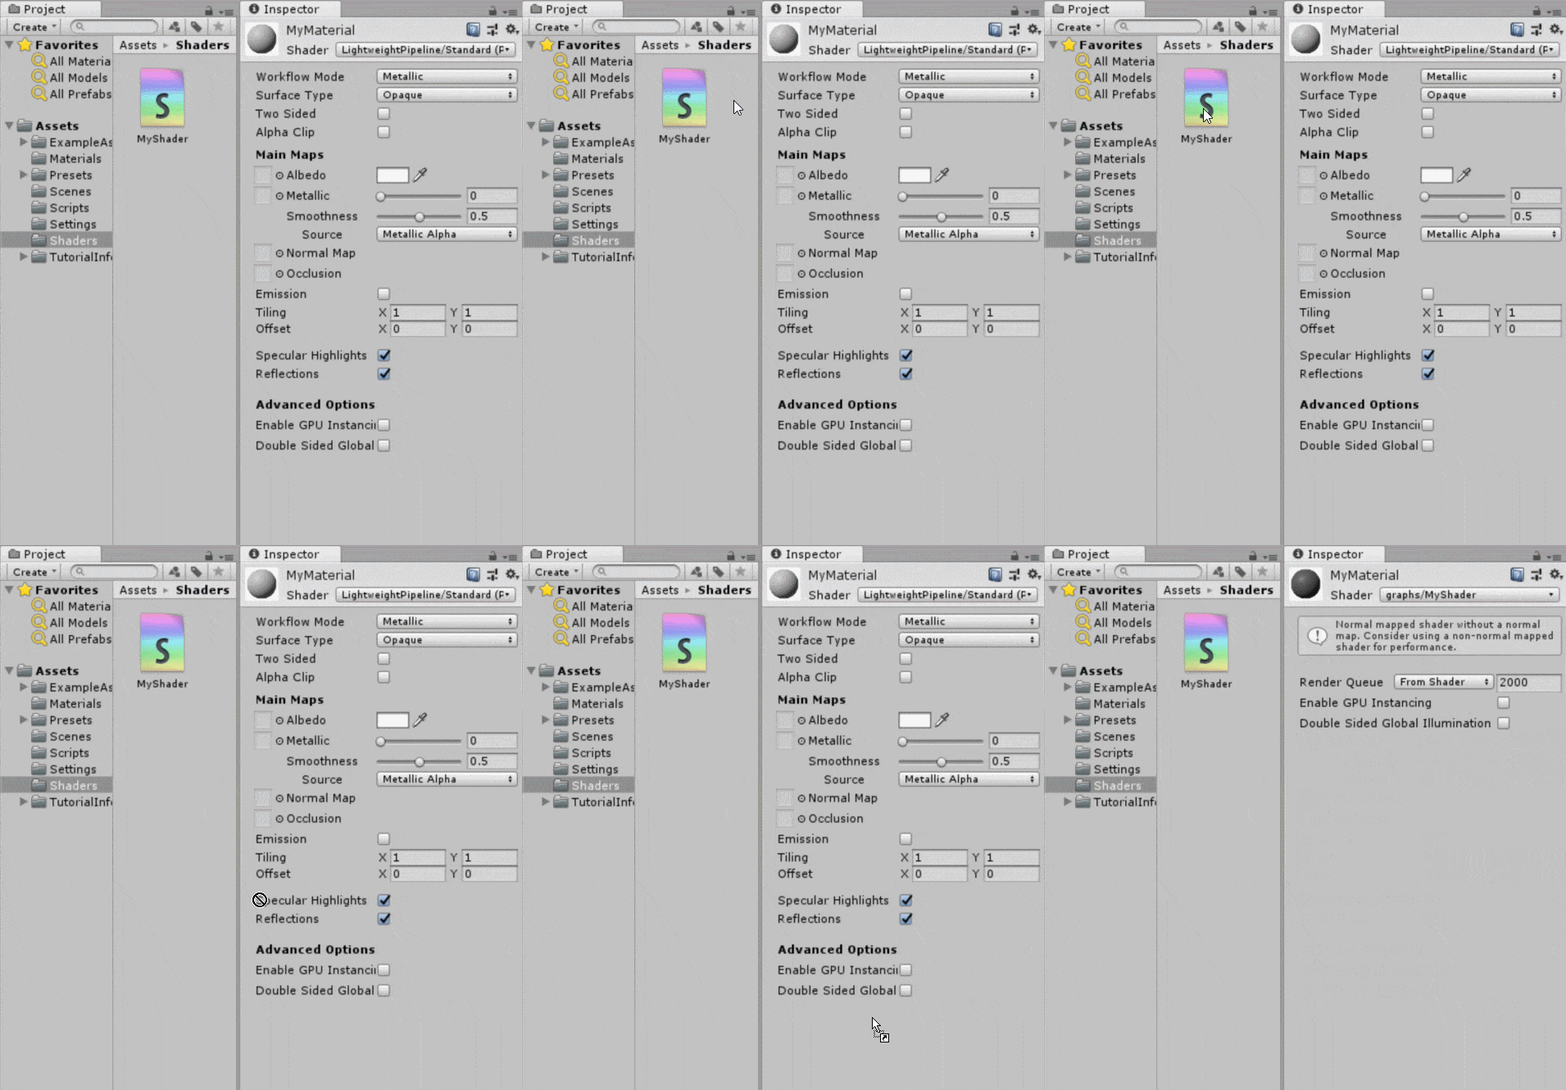
I called mine MyMaterial, again, name yours whatever you want… even Dilbert. Make sure your shader is selected and showing in Inspector, then simply drag and drop your newly created shader on it.
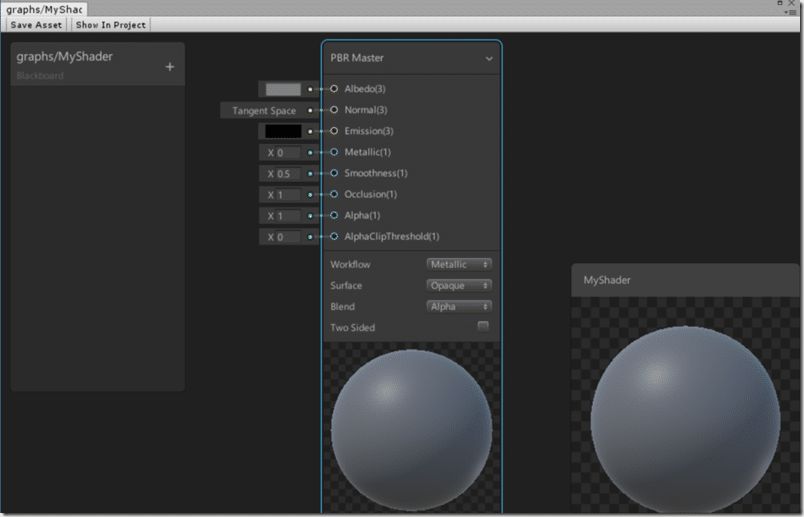
Finally, drag your material to the Sphere you created earlier. Phew… ok, time to create our shader. Simply double click the shader and the Shader Graph editor will be create. A new project should look something like this:
You can zoom the design surface in and out using the mouse wheel, hold down the middle mouse button to pan the surface around.
The PBR Master can be thought of as the ultimate output of the shader. You have a choice between Metallic and Specular by dropping down the workflow tab. The blackboard is the section to the top left and can be used to configure parameters as we will see in a moment. The bottom right region is a preview of the shader, this window can be resized.
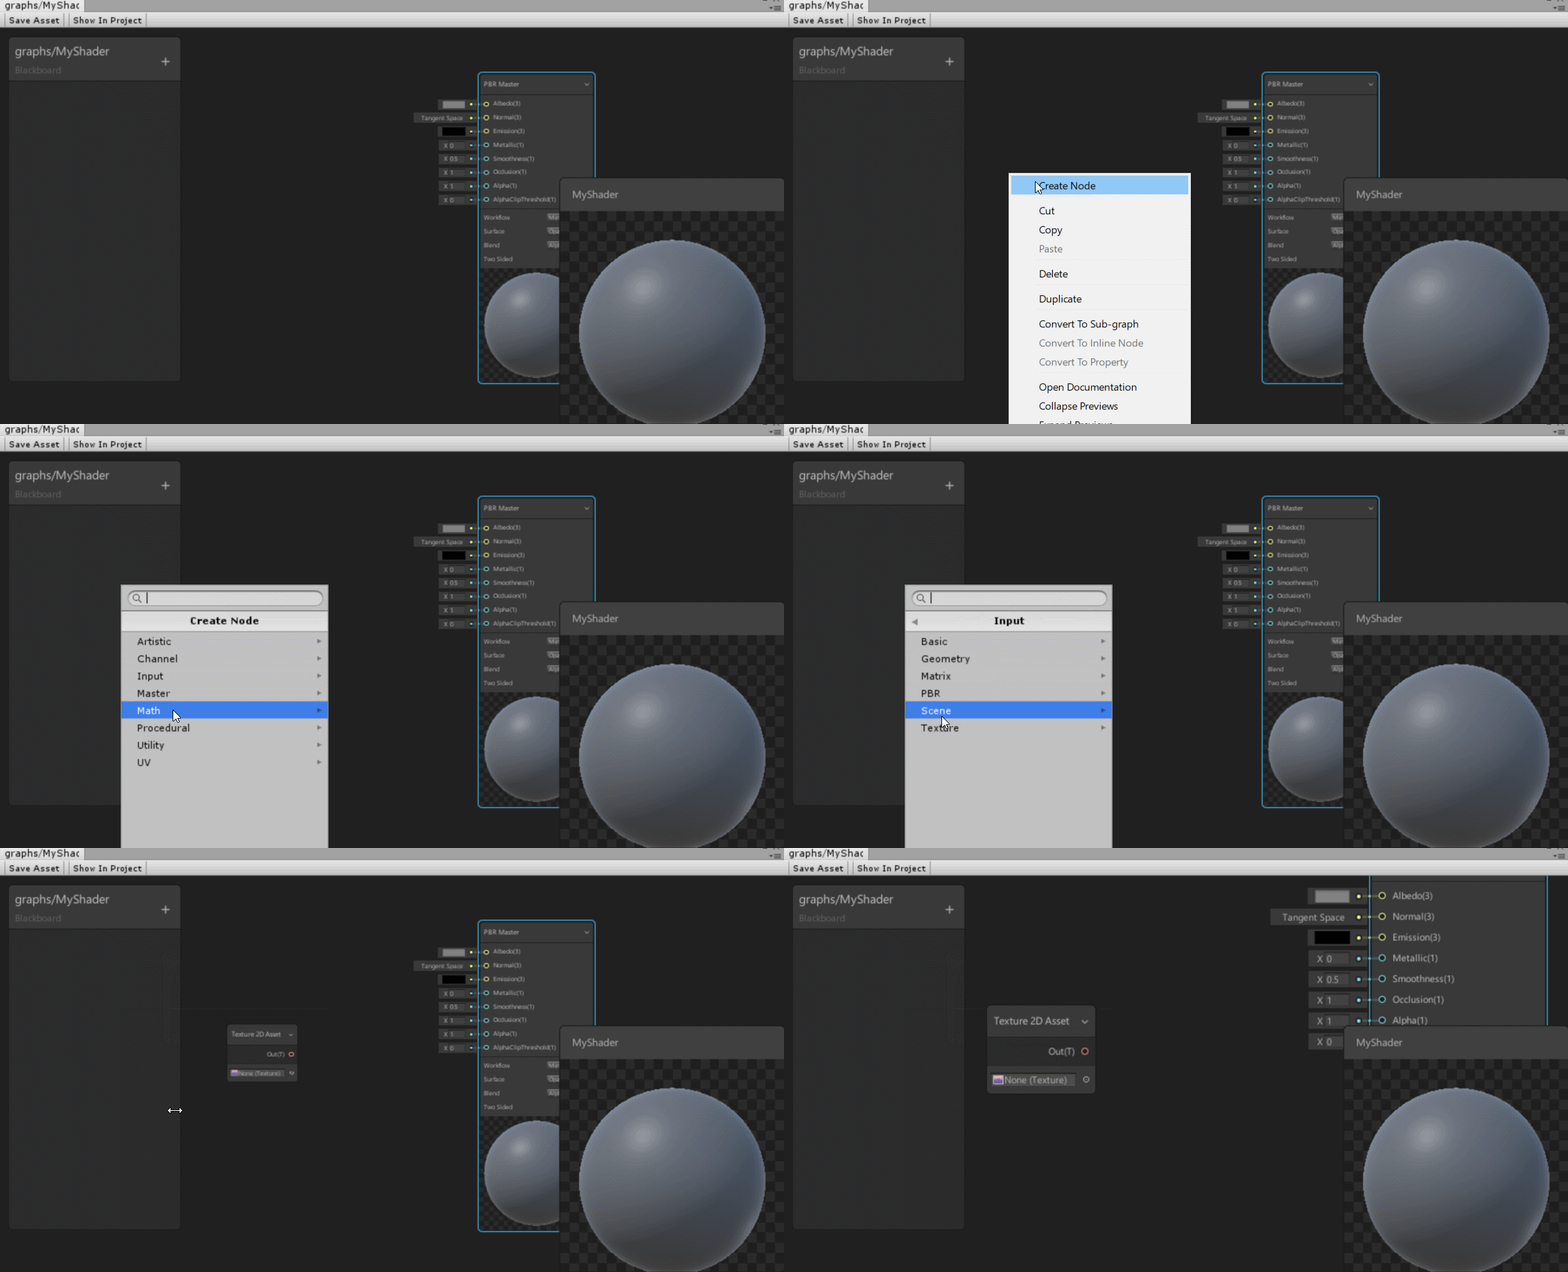
Create a shader is now a matter of creating a network of nodes and connecting them together. Let’s show a simple example of connecting a texture map to the Albedo channel. Right click an empty point on the canvas, select Create Node->Input->Texture 2D Asset.
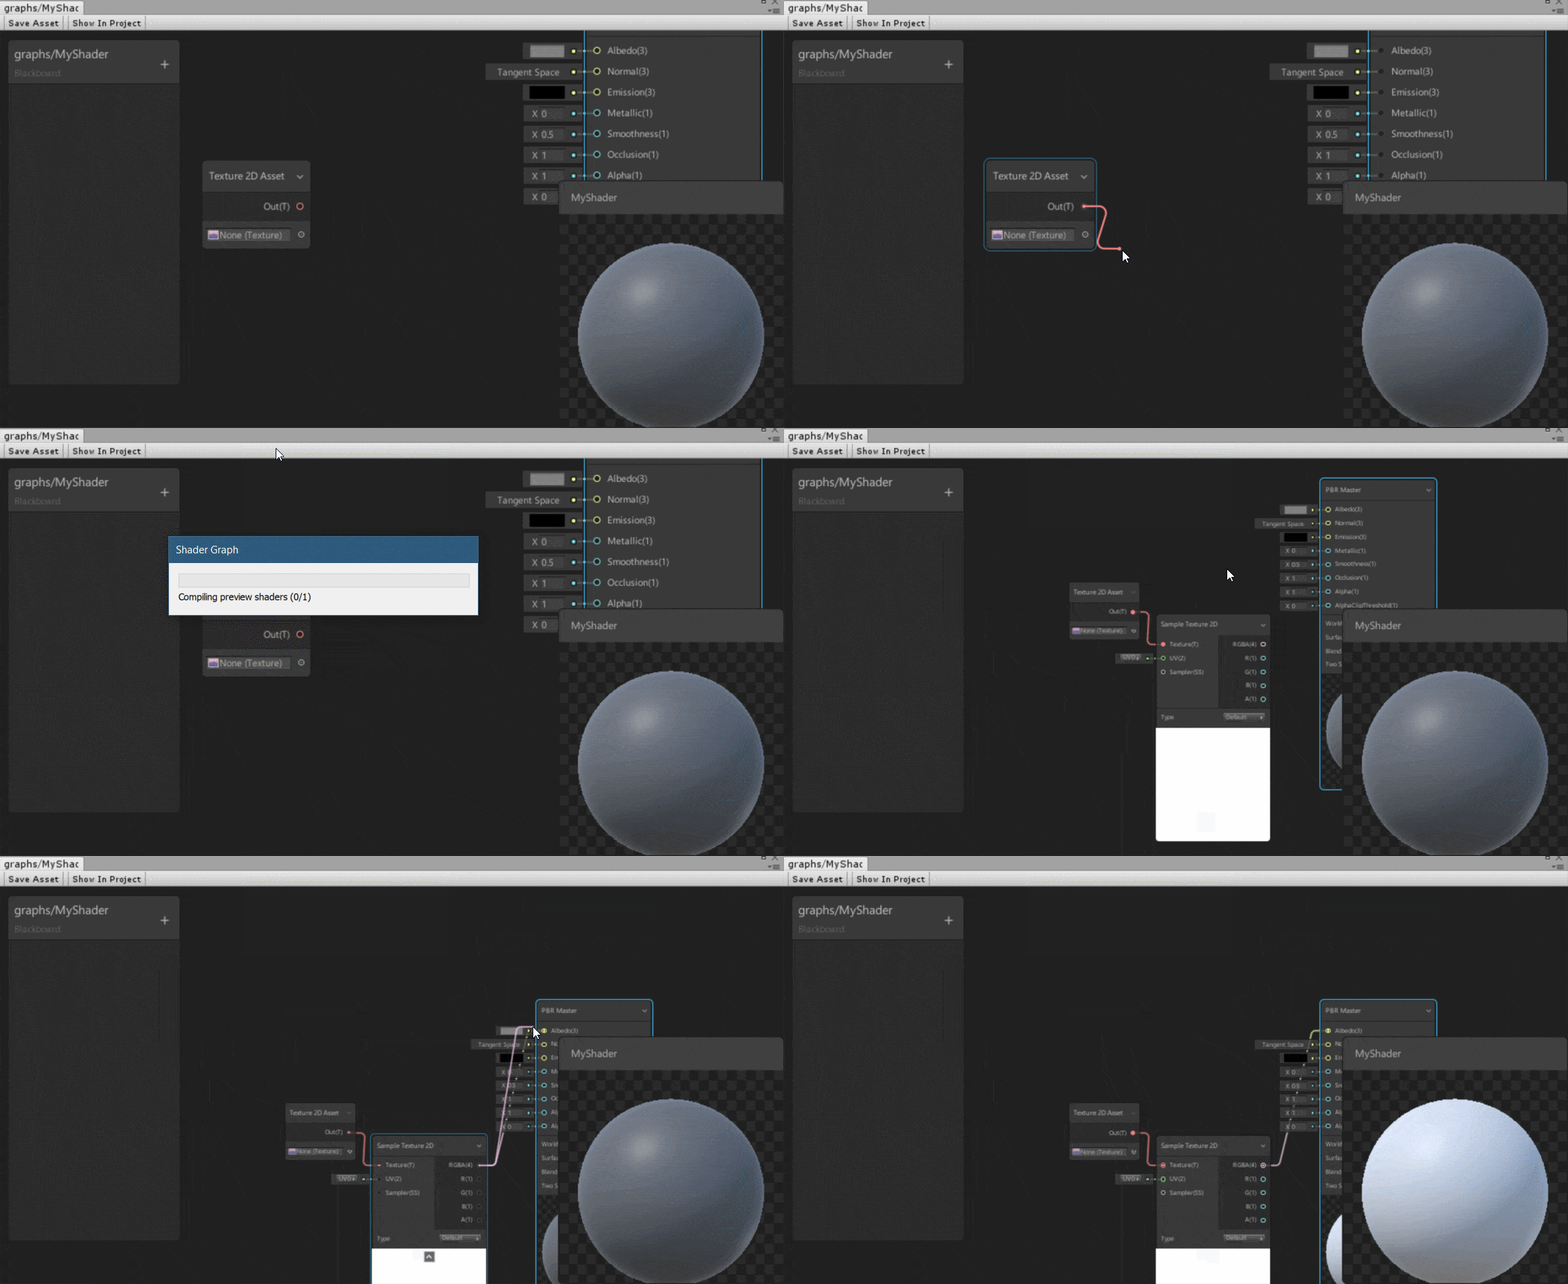
Now click on the red circle to the right of out and drag to an empty portion on the canvas. Select Input->Sample Texture 2D, then connect the RGBA out pin to the Albedo in pin on the PBR node, like so:
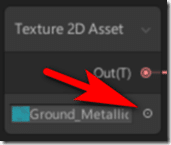
At this point, we have the equivalent of a diffuse texture defined in our shader, now head back to the Texture 2D Asset, click the little circle to the right of the texture field, and select a texture to apply. Pick a compatible texture from your project.
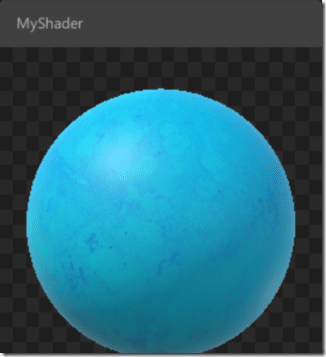
You shader preview should now show the updated texture:
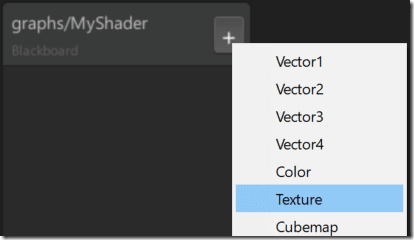
Now, what if you wanted the texture to be defined as a parameter in the editor instead? This is where the Blackboard comes in. In the Blackboard, click the + icon to the right side, then select Texture.
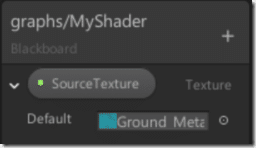
Name it however you want, I called it SourceTexture in my case. Also optionally provide a default texture value using the example same process we just did above.
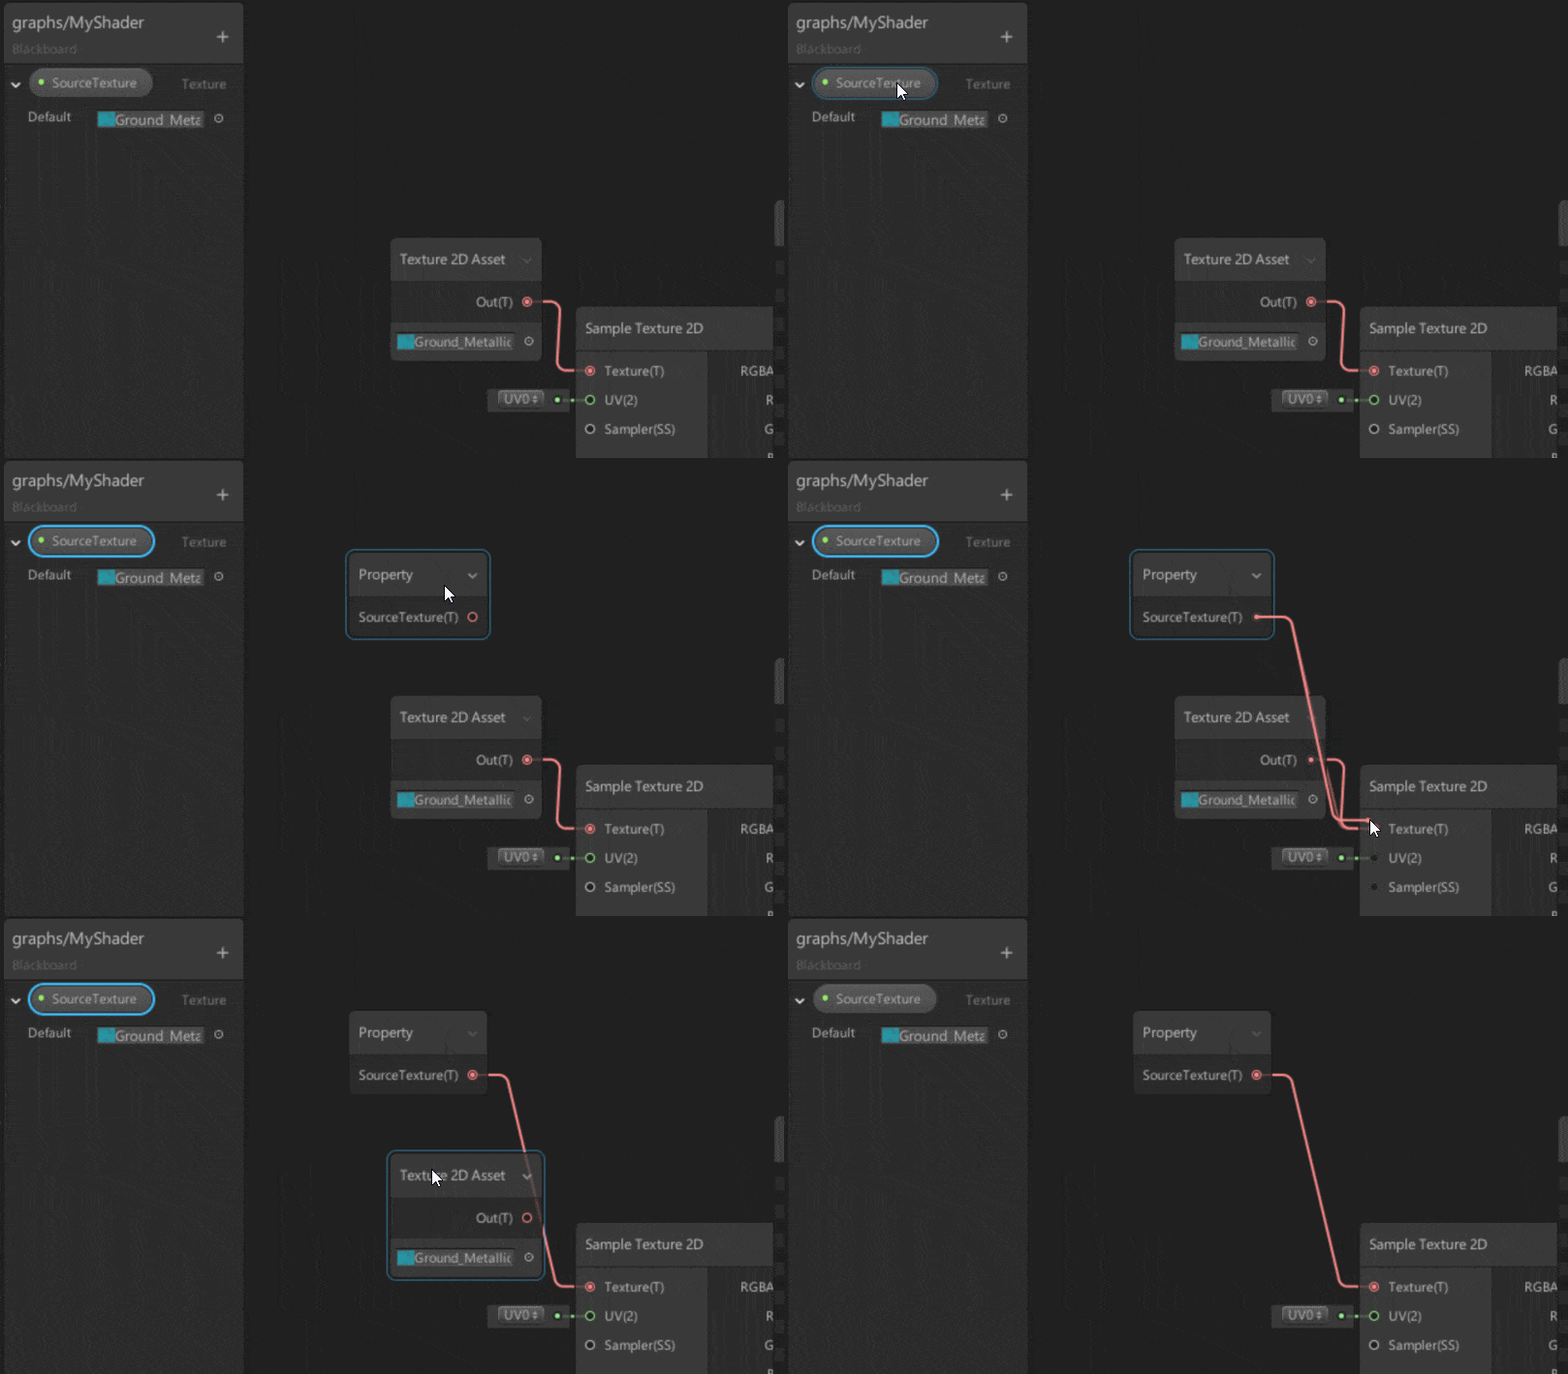
Now let’s replace our hard coded texture with a parameter instead. You can remove a node by left clicking it and hitting the delete key.
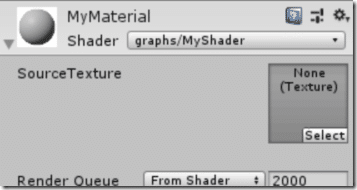
Now, this parameter can be defined in the editor. Select the Sphere we created then applied our material too in the Hierarchy view. In the Inspector under the Material, you will now see a new parameter matching the name you just provided:
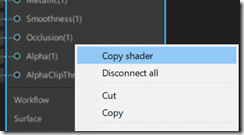
You can also easily see the source code generated by a shader by right clicking the output node and selecting Copy Shader.
The HLSL code of the shader will have just been copied to your clipboard.
So, that’s the basics of using Shader Graph. Now it’s mostly a matter of creating the appropriate input nodes, modifying them, and connecting them to the appropriate in pins on the PBR Master output node. Getting into the details of how this works is beyond the scope of these tutorials, shader programming is a VAST subject and could fill many books. I’m not going to just leave you hanging though… now that you know how to enable and use the tools to create Shader Graphs it would be an ideal time to get your hands on some samples and dig deeper. Thankfully Unity has provided exactly that, available for download here on Github.
The Video

