Today we are going to look at implementing physics in LibGDX. This technically isn’t part of LibGDX itself, but instead is implemented as an extension. The physics engine used in LibGDX is the popular Box2D physics system a library that has been ported to basically every single platform and language ever invented, or so it seems. We are going to cover how to implement Box2D physics in your 2D LibGDX game. This is a complex subject so will require multiple parts.
If you’ve never used a Physics Engine before, we should start with a basic overview of what they do and how they work. Essentially a physics engine takes scene information that you provide, then calculates “realistic” movement using physics calculations. It goes something like this:
- you describe all of the physics entities in your world to the physics engine, including bounding volumes, mass, velocity, etc
- you tell the engine to update, either per frame or on some other interval
- the physics engine calculates how the world has changed, what’s collided with what, how much gravity effects each item, current speed and position, etc
- you take the results of the physics simulation and update your world accordingly.
Don’t worry, we will look at exactly how in a moment.
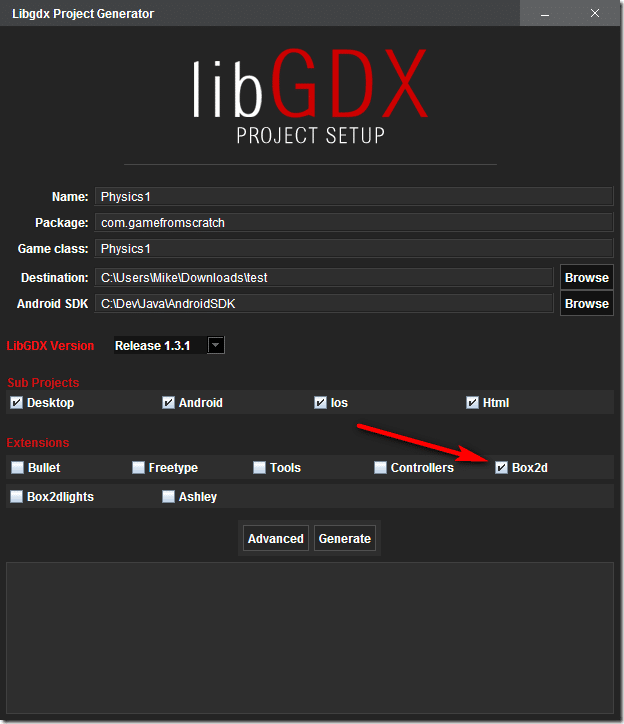
First we need to talk for a moment about creating your project. Since Box2D is now implemented as an extension ( an optional LibGDX component ), you need to add it either manually or when you create your initial project. Adding a library to an existing project is IDE dependent, so I am instead going to look at adding it during project creation… and totally not just because it’s really easy that way.
When you create your LibGDX project using the Project Generator, you simply specify which extensions you wish to include and Gradle does the rest. In this case you simply check the box next to Box2d when generating your project like normal:

… and you are done. You may be asking, hey what about Box2dlights? Nope, you don’t currently need that one. Box2dlights is a project for simulating lighting and shadows based off the Box2d physics engine. You may notice in that list another entity named Bullet. Bullet is another physic engine, although more commonly geared towards 3D games, possibly more on that at a later date. Just be aware if you are working in 3D, Box2d isn’t of much use to you, but there are alternatives.
Ok, now that we have a properly configured project, let’s take a look at a very basic physics simulation. We are simply going to take the default LibGDX graphic and apply gravity to it, about the simplest simulation you can make that actually does something. Code time!
package com.gamefromscratch;

import com.badlogic.gdx.ApplicationAdapter;
import com.badlogic.gdx.Gdx;
import com.badlogic.gdx.graphics.GL20;
import com.badlogic.gdx.graphics.Texture;
import com.badlogic.gdx.graphics.g2d.Sprite;
import com.badlogic.gdx.graphics.g2d.SpriteBatch;
import com.badlogic.gdx.math.Vector2;
import com.badlogic.gdx.physics.box2d.*;

public class Physics1 extends ApplicationAdapter {
    SpriteBatch batch;
    Sprite sprite;
    Texture img;
    World world;
    Body body;

    @Override
    public void create() {

        batch = new SpriteBatch();
        // We will use the default LibGdx logo for this example, but we need a
        sprite since it's going to move
        img = new Texture("badlogic.jpg");
        sprite = new Sprite(img);

        // Center the sprite in the top/middle of the screen
        sprite.setPosition(Gdx.graphics.getWidth() / 2 - sprite.getWidth() / 2,
                Gdx.graphics.getHeight() / 2);

        // Create a physics world, the heart of the simulation.  The Vector
        passed in is gravity
        world = new World(new Vector2(0, -98f), true);

        // Now create a BodyDefinition.  This defines the physics objects type
        and position in the simulation
        BodyDef bodyDef = new BodyDef();
        bodyDef.type = BodyDef.BodyType.DynamicBody;
        // We are going to use 1 to 1 dimensions.  Meaning 1 in physics engine
        is 1 pixel
        // Set our body to the same position as our sprite
        bodyDef.position.set(sprite.getX(), sprite.getY());

        // Create a body in the world using our definition
        body = world.createBody(bodyDef);

        // Now define the dimensions of the physics shape
        PolygonShape shape = new PolygonShape();
        // We are a box, so this makes sense, no?
        // Basically set the physics polygon to a box with the same dimensions
        as our sprite
        shape.setAsBox(sprite.getWidth()/2, sprite.getHeight()/2);

        // FixtureDef is a confusing expression for physical properties
        // Basically this is where you, in addition to defining the shape of the
        body
        // you also define it's properties like density, restitution and others
        we will see shortly
        // If you are wondering, density and area are used to calculate over all
        mass
        FixtureDef fixtureDef = new FixtureDef();
        fixtureDef.shape = shape;
        fixtureDef.density = 1f;

        Fixture fixture = body.createFixture(fixtureDef);

        // Shape is the only disposable of the lot, so get rid of it
        shape.dispose();
    }

    @Override
    public void render() {

        // Advance the world, by the amount of time that has elapsed since the
        last frame
        // Generally in a real game, dont do this in the render loop, as you are
        tying the physics
        // update rate to the frame rate, and vice versa
        world.step(Gdx.graphics.getDeltaTime(), 6, 2);

        // Now update the spritee position accordingly to it's now updated
        Physics body
        sprite.setPosition(body.getPosition().x, body.getPosition().y);

        // You know the rest...
        Gdx.gl.glClearColor(1, 1, 1, 1);
        Gdx.gl.glClear(GL20.GL_COLOR_BUFFER_BIT);
        batch.begin();
        batch.draw(sprite, sprite.getX(), sprite.getY());
        batch.end();
    }

    @Override
    public void dispose() {
        // Hey, I actually did some clean up in a code sample!
        img.dispose();
        world.dispose();
    }
}
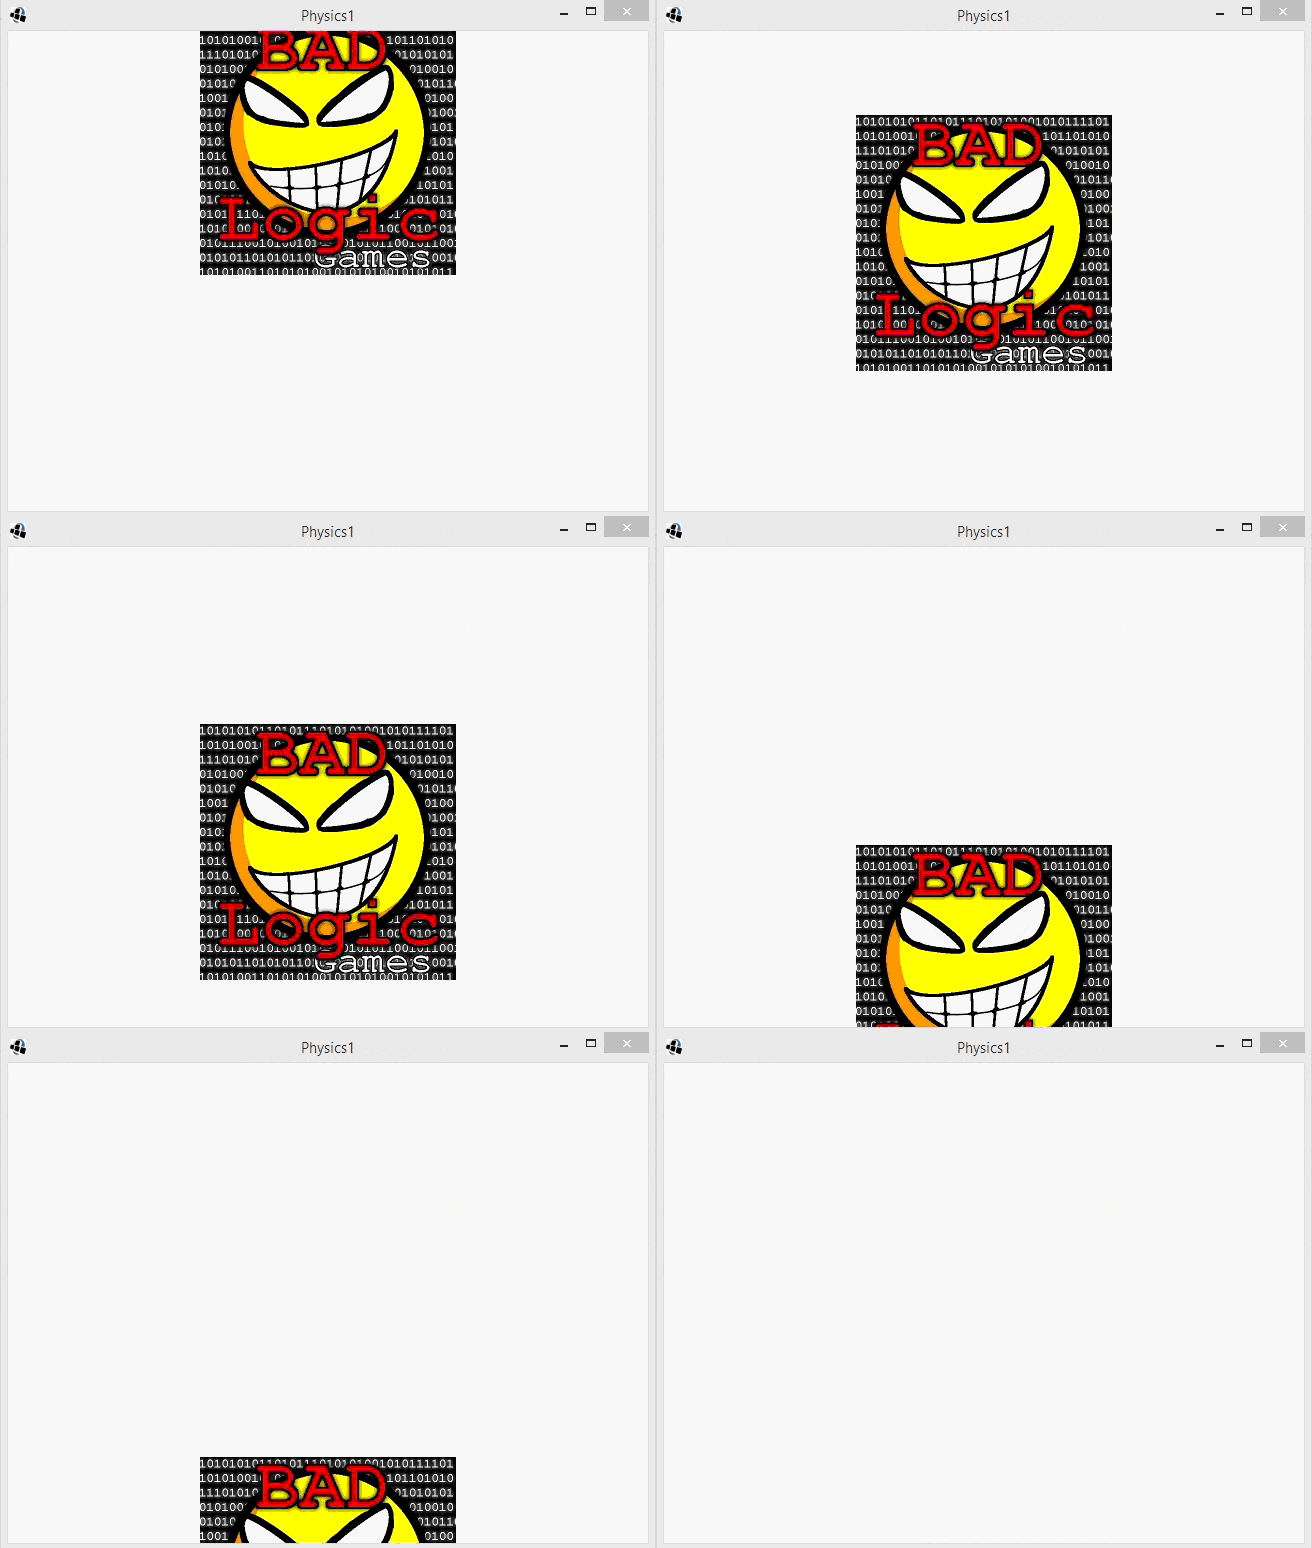
The program running:

What’s going on here is mostly defined in the comments, but I will give a simpler overview in English. Basically when using a Physics Engine, you create a physical representation for each corresponding object in your game. In this case we created a physics object ( Body ) that went along with our sprite. It’s important to realize, there is no actual relationship between these two objects. There are a couple of components that go into a physics body, BodyDef which defines what type of body it is ( more on this later, for now realize DynamicBody means a body that is updated and capable of movement ) and FixtureDef, which defines the shape and physical properties of the Body. Of course, there is also the World, which is the actual physics simulation.
So, basically we created a Body which is the physical representation of our Sprite in the physics simulation. Then in render() we call the incredibly important step() method. Step is what advances the physics simulation… basically think of it as the play button. The physics engine then calculations all the various mathematics that have changes since the last call to step. The first value we pass in is the amount of time that has elapsed since the last update. The next two values control the amount of accuracy in contact/joint calculations for velocity and position. Basically the higher the values the more accurate your physics simulation will be, but the more CPU intensive as well. Why 6 and 2? ‘cause that’s what the LibGDX site recommend and that works for me. At the end of the day these are values you can tweak to your individual game. The one other critical take away here is we update the sprites position to match the newly updated body’s position. Once again, in this example, there is no actual link between a physics body and a sprite, so you have to do it yourself.
There you go, the worlds simplest physics simulation. There are a few quick topics to discuss before we move on. First, units.
This is an important and sometimes tricky concept to get your head around with physics systems. What does 1 mean? One what? The answer is, whatever the hell you want it to be, just be consistent about it! In this particular case I used pixels. Therefore 1 unit in the physics engine represents 1 pixel on the screen. So when I said gravity is (0,-98) that means gravity is applied at a rate of –98 pixels along the y axis per second. Just as commonly, 1 in the physics engine could be meters, feet, kilometer, etc… then you use a custom ratio for translating to and from screen coordinates. Most physics systems, Box2d included, really don’t like you mixing your scales however. For example, if you have a universe simulation where 1 == 100 miles, then you want to calculate the movement of an Ant at 0.0000001 x 100miles per hour, you will break the simulation, hard. Find a scale that works well with the majority of your game and stick with it. Extremely large and extremely small values within that simulation will cause problems.
Finally, a bit of a warning about how I implemented this demo and hopefully something I will cover properly at a later date. In this case I updated the physics system in the render loop. This is a possibility but generally wasteful. It’s fairly common to run your physics simulation at a fixed rate ( 30hz and 60hz being two of the most common, but lower is also a possibility if processing restrained ) and your render loop as fast as possible.
In the next part we will give our object something to collide with, stay tuned.
