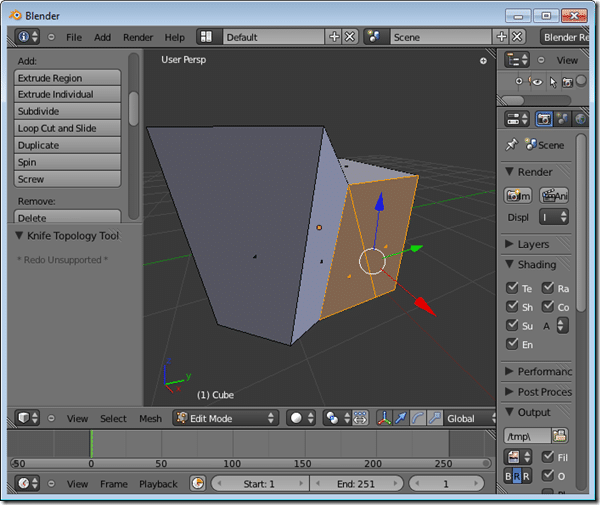
After yesterday’s post, I noticed there wasn’t a recent build of Avocado available so I got to wondering how much work it would be to build a Blender branch. In the end the answer is “not much”, with a bunch of caveats. Frankly the hardest part is configuring your environment. This guide shows but one way, there of course are other options.
First of all, I already have Visual Studio 2010 Professional installed, but many of you may not have professional and there is a big snag with Express C++ in that there is no command line 64bit compiler. At this point you have one of three options, build for 32bit, download and install the Platform SDK which includes a 64bit cross compiler or you can download and use mingw. The last two options are beyond the scope of this post and the instructions will assume you are using VC++.
Next up you need SVN, which is what you use to get the code from Blender’s repository. In my case, I am using Cygwin from the command line. For those of you with a command line aversion, you can use a GUI tool like Tortoise SVN. Again, my instructions are going to assume you went the Cygwin route, but should still make sense a different SVN.
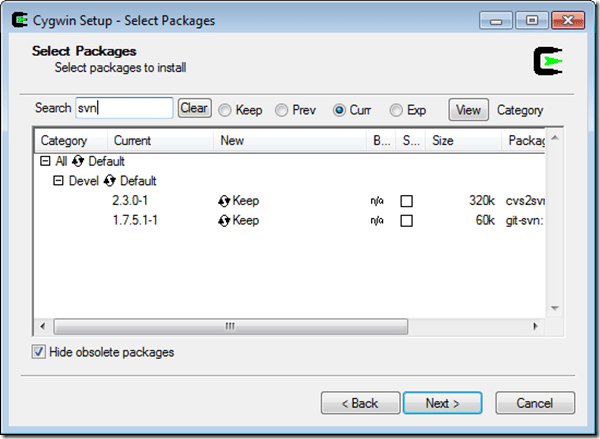
Now, to get Cygwin, run the Setup.exe ( from here ) and choose the default ( install to a directory without spaces! ). You can add other features, but don’t do this now as some download locations don’t have all the packages, so it could result in your install failing. Once setup.exe has completed, run it again and search for svn, if it is not installed ( as pictured below ), in the New column, instead of keep it will say “Skip”, click this and it will set it to download. Then click next and it will figure all of the requisites and dependencies, download and install them.
Assuming all went well, you now have svn. Only one more file to install, CMake, a cross platform make tool. The install process is pretty straight forward, now time to grab the sources. You are going to need to make two directories on your local computer, one where the code is going to be downloaded, then one where the code is going to be built. In my case ( and in the instructions ) I used C:TempBlendersource and c:tempBlenderBuild but you can of course use whatever you want.
Now its time to get the source. Launch “Cygwin Bash Shell”, it should be located in your Start Menu. Otherwise you can run it from [Cygwin Install Directory]Cygwin.bat. Now you need to choose which repository you want to build. The list of branches is available here. In your browser navigate to the one you want to build, then into the blender directory and copy this address. In this case I am building Avocado, so I copied https://svn.blender.org/svnroot/bf-blender/branches/ to my clipboard.
SVN works in the form of:
svn checkout [ paste your clipboard ] [where to copy to]
One gotcha is you need to point BASH to a directory on your computer, in this case C:tempblendersource. In order to do this, we use the /cygdrive link. So, the actual command looks like:
$ svn checkout https://svn.blender.org/svnroot/bf-blender/branches/soc-2011-avacado /cygdrive/c/temp/blendersource/
That will go ahead and download all the blender code. You will probably get an error stating server certificate isn’t trusted, check type “t” or “p”. Later on you are going to need the precompiled binaries from the trunk repository. They are located at https://svn.blender.org/svnroot/bf-blender/trunk/lib/ in the windows/ and win64/ folders. Warning! This takes a long time, like go make and drink a pot of tea long time. We want them copied into the /lib/windows directory of the newly downloaded source. The command for this is:
$ svn checkout https://svn.blender.org/svnroot/bf-blender/trunk/lib/windows /cygdrive/c/temp/lib/windows
followed by:
$ svn checkout https://svn.blender.org/svnroot/bf-blender/trunk/lib/win64 /cygdrive/c/temp/lib/win64
At this point, you have all the sources and libraries you need.
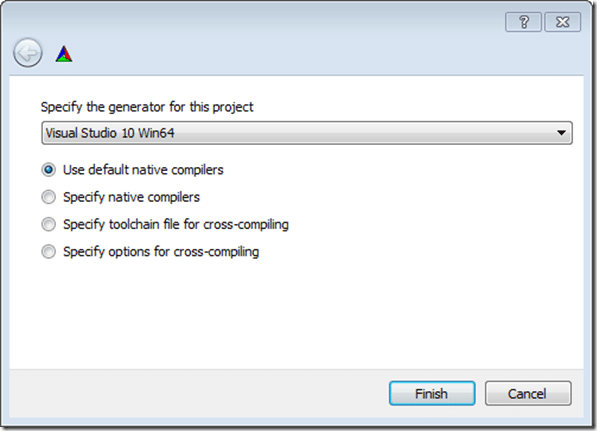
Now fire up trusty CMake you downloaded earlier. In the “where is the source code:” text field put C:/Temp/blendersource/ ( or the location of CMakeLists.txt if you are using a different path). In the “Where to build the binaries:” text field put c:/temp/BlenderBuild. Now click “Configure”, the following window will appear, select your compiler:
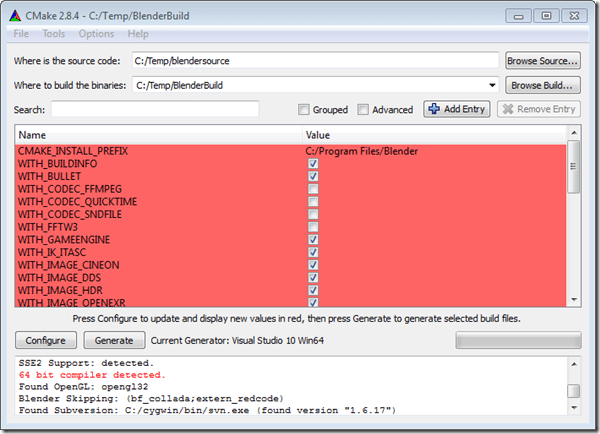
Click Finish once your compiler is selected from the list. Now your CMake window should look like this:
Now you can optionally enable/disable features. If building Avocado, disable WITH_IMAGE_OPENEXR! It will currently cause your build to fail. Once you finalized your selections click Configure again, then Generate.
Now if you look in C:TempBlenderBuild, you will see that CMake has built the proper native build files, in my case for Visual C++ 2010. There is even a solution file if you want to build using the VC IDE. In this case I am going to use the command line, launch the Visual Studio X64 64 Bit Command Line. Now type:
cd tempblenderbuild
msbuild Blender.sln /property:Configuration=Release
And off to the races… See, nothing to it!
After 5 to 20 minutes later, copy your new Blender.exe ( from binrelease ) into a Blender install and…
AHHHH crap, seriouslyjQuery152044251238950528204_1314637985251? Well, we apparently have a very streamlined version, perhaps a bit too streamlined. What exactly is going on here? Well, truth of the matter is, if you followed along at home and aren’t using Windows 7, nothing, it probably works perfectly fine. However, if you are like me and are running Windows 7, this post is very interesting.
There is some annoying permissions issue with Win 7, depending on who/how/where you install as. A known problem, being worked on. Maybe already fixed. (can you tell I’m not a windows guy?)
Easiest work-around for now is to download the .zip version, unzip it and run from that folder.
Welcome to life on the bleeding edge! It’s called the “bleeding edge” for a very good reason! Anyways, head over here and download the 64bit ZIP install, extract it and copy your new Blender.exe file over. Voila!
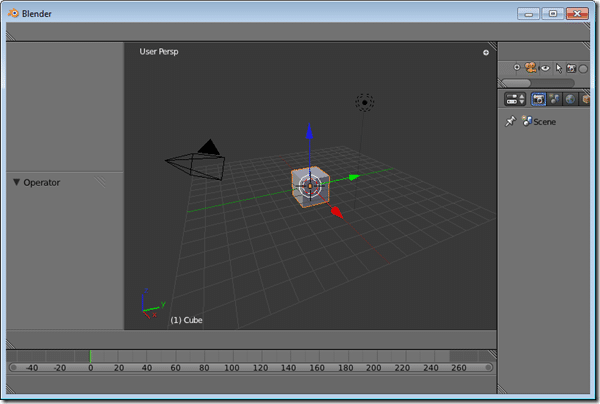
A fresh new 64Bit version of Blender—Avocado, bmesh tools and all. It may have looked difficult, but in the end, it really isn’t, with the exception of figuring out the most recent bug ( thanks Google ).
Seem like too much work? You can download the blender.exe I generated. Simply download and install the current 2.57b ZIP from Blender, extract it then extract my Blender.zip over top.

