So far in working with TypeScript I’ve exclusively used Visual Studio and that hasn’t been entirely trouble free. There are many people out there that wont have access to Visual Studio ( working on Mac or Linux perhaps? ) or simply wont want to. Thankfully there is a great alternative, WebStorm. Granted WebStorm isn’t free, although there is a 30 day trial. It is however a very well spent $50 if you are working in JavaScript ( or TypeScript ). This post looks at working in TypeScript with Webstorm.
First step of course it download and install WebStorm. The trial is fully functioning by the way.
During the install, if you havent already, you will be prompted to install Java 6. Don’t worry, WebStorm takes care of the process for you.
Next you need to install Node. Node.js is a JavaScript environment that works outside of the browser. I’ve worked with Node a number of times on this site. Install Node using the default settings.
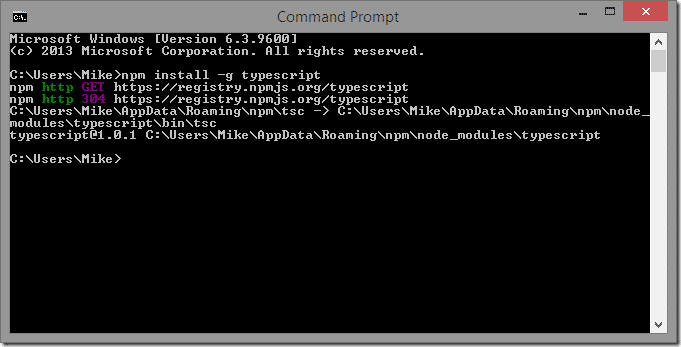
Now open up a terminal/command prompt and type npm install –g typescript
The results should look like:
This installed the TypeScript language. We are now ready to go.
When you open a project with a typescript file a file watcher should kick in automatically. If not, its easy enough to define one.
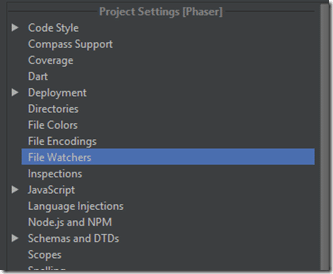
Select File->Settings. ( This menu has a different location on MacOS I believe )
On the left hand side, locate File Watchers:
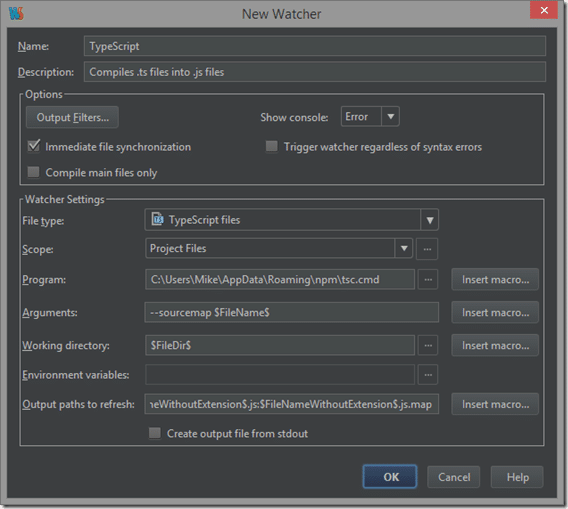
On the right hand side, if none exist for TypeScript, click plus. If one exists, make sure its checked.
Then select TypeScript from the list:
Default values should be correct:
If you have any problems at this point, make sure that Node was installed correctly and that you installed TypeScript, these are the most common problems.
Now with a File Watcher created, whenever you save a change to a TS file, it while automoatically compile the JS file. Like so:
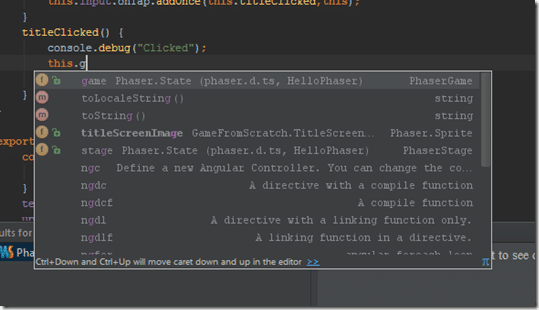
From this point on you will be able to see full syntax highlighting as well as code completion:
Additionally, you can set a breakpoint in WebStorm:
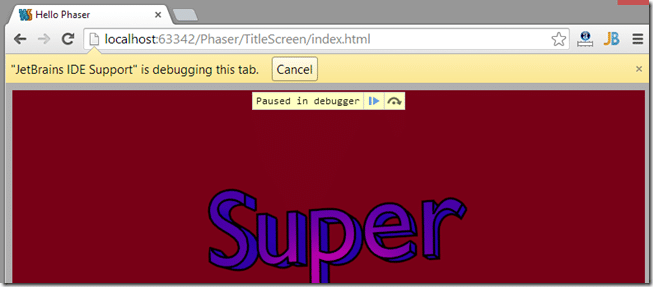
And assuming you’ve enabled the WebStorm plugin, you can debug in Chrome:
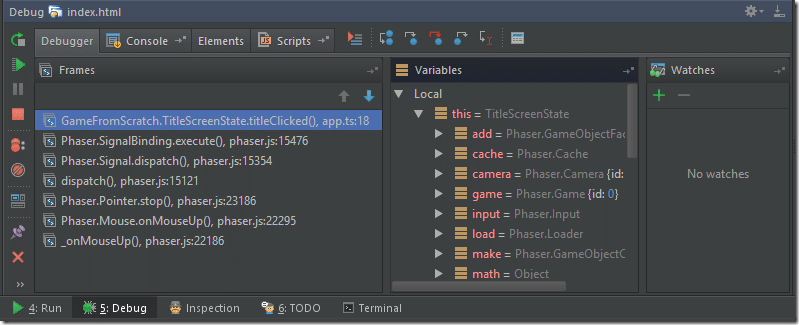
Which then allows you to perform the standard debugging tasks in WebStorm:
If you are coming from Visual Studio, there is one major difference to be aware of. In Visual Studio, adding a file to your project makes it available for code completion. In WebStorm this isn’t the case. If you include a library, such as Phaser, you need to add a reference identifier at the top of your ts file, like so:
/// <reference path="phaser.d.ts"/>
Then code completion will work properly.

