Mixamo is a great animation resource, that enables you to quickly (and currently freely) add animations to your 3D models. However, if you want to incorporate the results into your Blender workflow, it can be a bit non-intuitive. The Mixamo documentation recommend using Collada, which simply does not work well. There instructions also skip completely the process of actually using the resulting animations… a rather key component. The following workflow is perhaps the easiest with the best results.
First off, when exporting your animations from Mixamo, use the following settings:
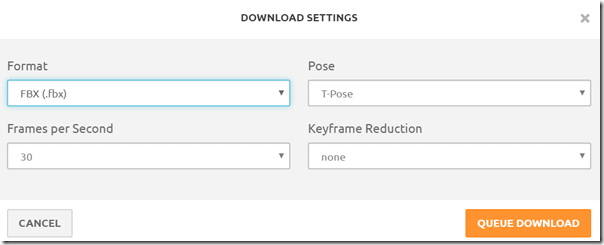
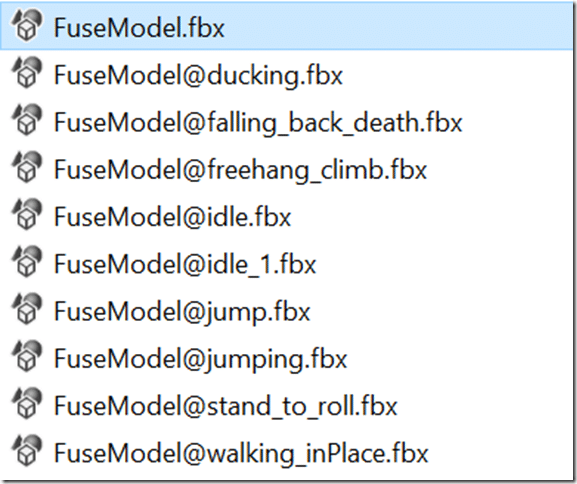
This will result in a zip file containing your model, as well as several animations, like so:
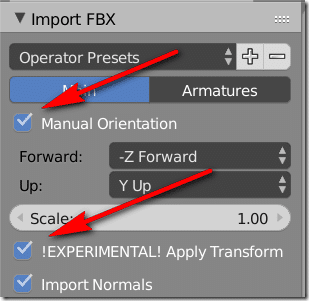
If you haven’t already, load Blender. Next go to File->Import->FBX. The next part is critical, in the Import FBX settings select Manual Orientation and Apply Transform
Your model and it’s armature should now load fine, with full proper textures showing up. I suggest you rename your armature something meaningful, as each animation is going to come in with the same name (Armature, Armature.001, etc.).
Next do the import again, with the exact same settings, this time bring in one of your animations. If you only need to wire up a single animation, you are nearly done. Just bring up the DopeSheet, switch to Action Editor
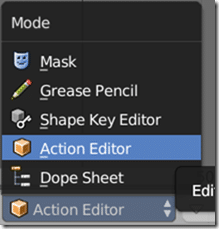
You can now toggle between any animation available in the Blend file:
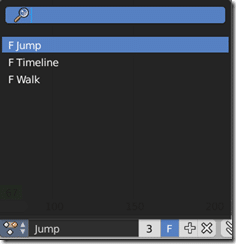
Keep in mind, I renamed my main character Timeline, then the walk animation armature was renamed Walk, etc…
If however you need to use multiple animations, or want to create a single timeline with all of the animations on it, you are now going to have to break out the NLA Editor. It is simply a matter of Add Action Strip to your main character, for each animation in the timeline, like so:

And, the end result:
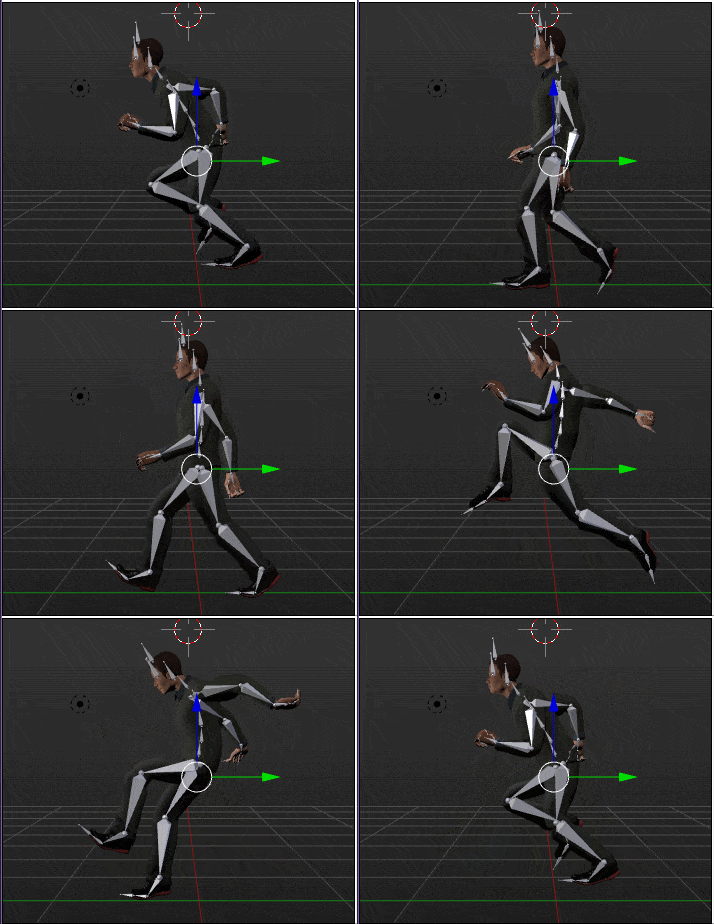
I glossed over part of the process, but never fear… I also did a video!
