With the upcoming release of Godot 3.0, Visual Programming is now officially part of the game engine. In this tutorial we are going to look at the basics of programming using the new Visual Programming interface.
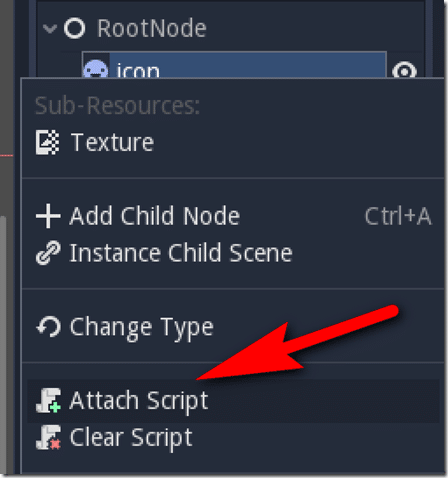
To get started using Visual Programming, just like using GDScript or other options, you have to attach a script to an object in Godot, like so:
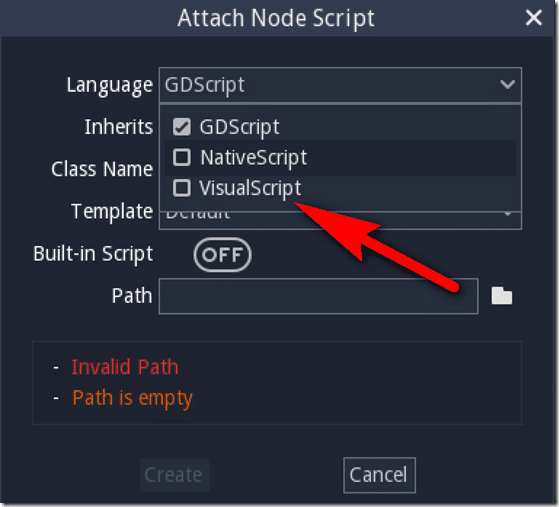
In the script creation dialog, you can now select the programming language to use:
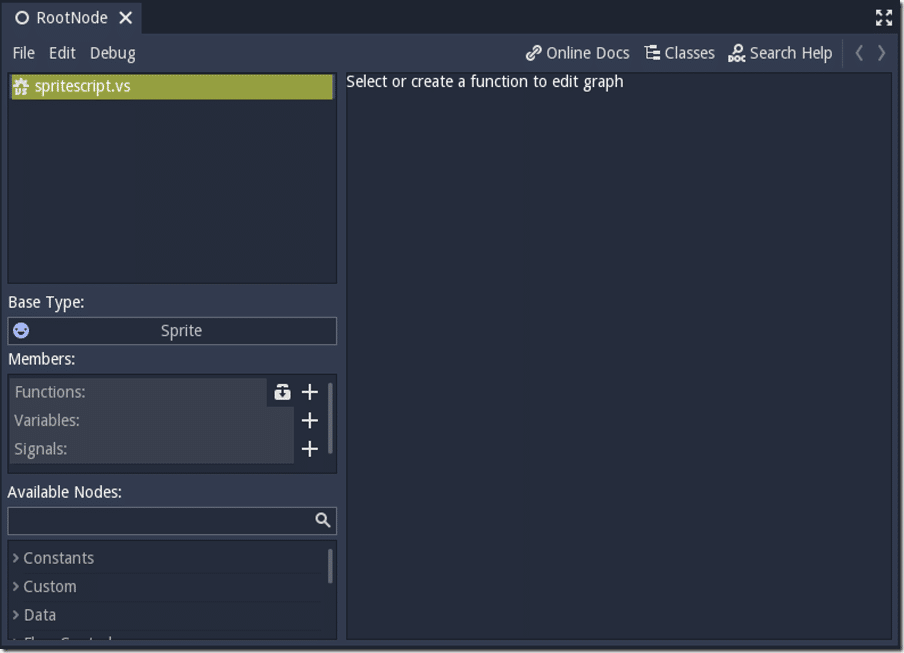
It will now bring you to the following programming interface:
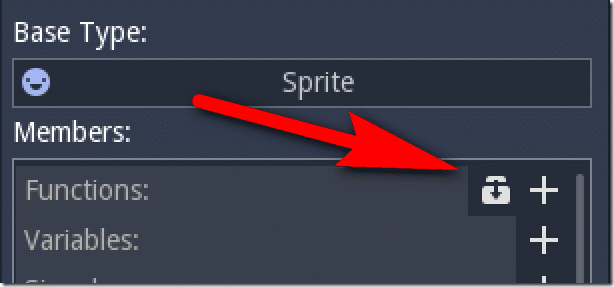
To get started, we need to implement one of the available Godot callbacks. These are exactly the same as GDScript and represent various different functions that will be called over time by the game engine. To get started, in the Members section, click the following icon:
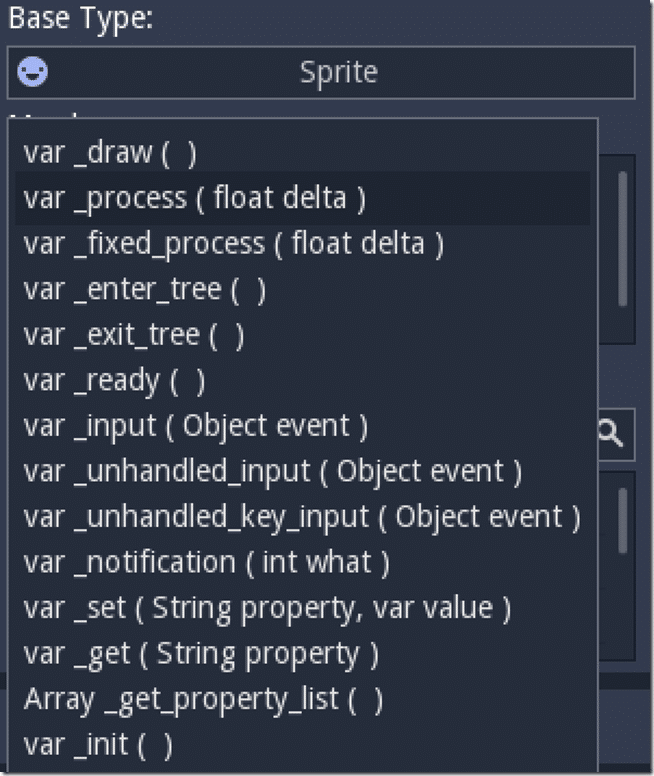
The various different callback functions available for the selected object type are available:
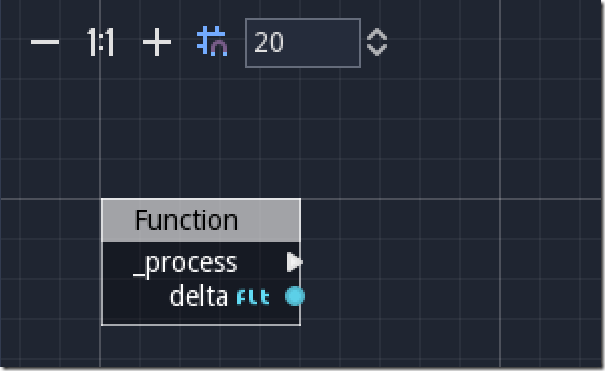
The most commonly used callbacks are _process() which is called every pass through the game loop, _ready() which is called when the object has been created, _init() which is called to create the object (think constructor), and _input() which is called when input is received. We are going to create an exceedingly simple example here that moves our sprite each from, so select _process. Now you should see:
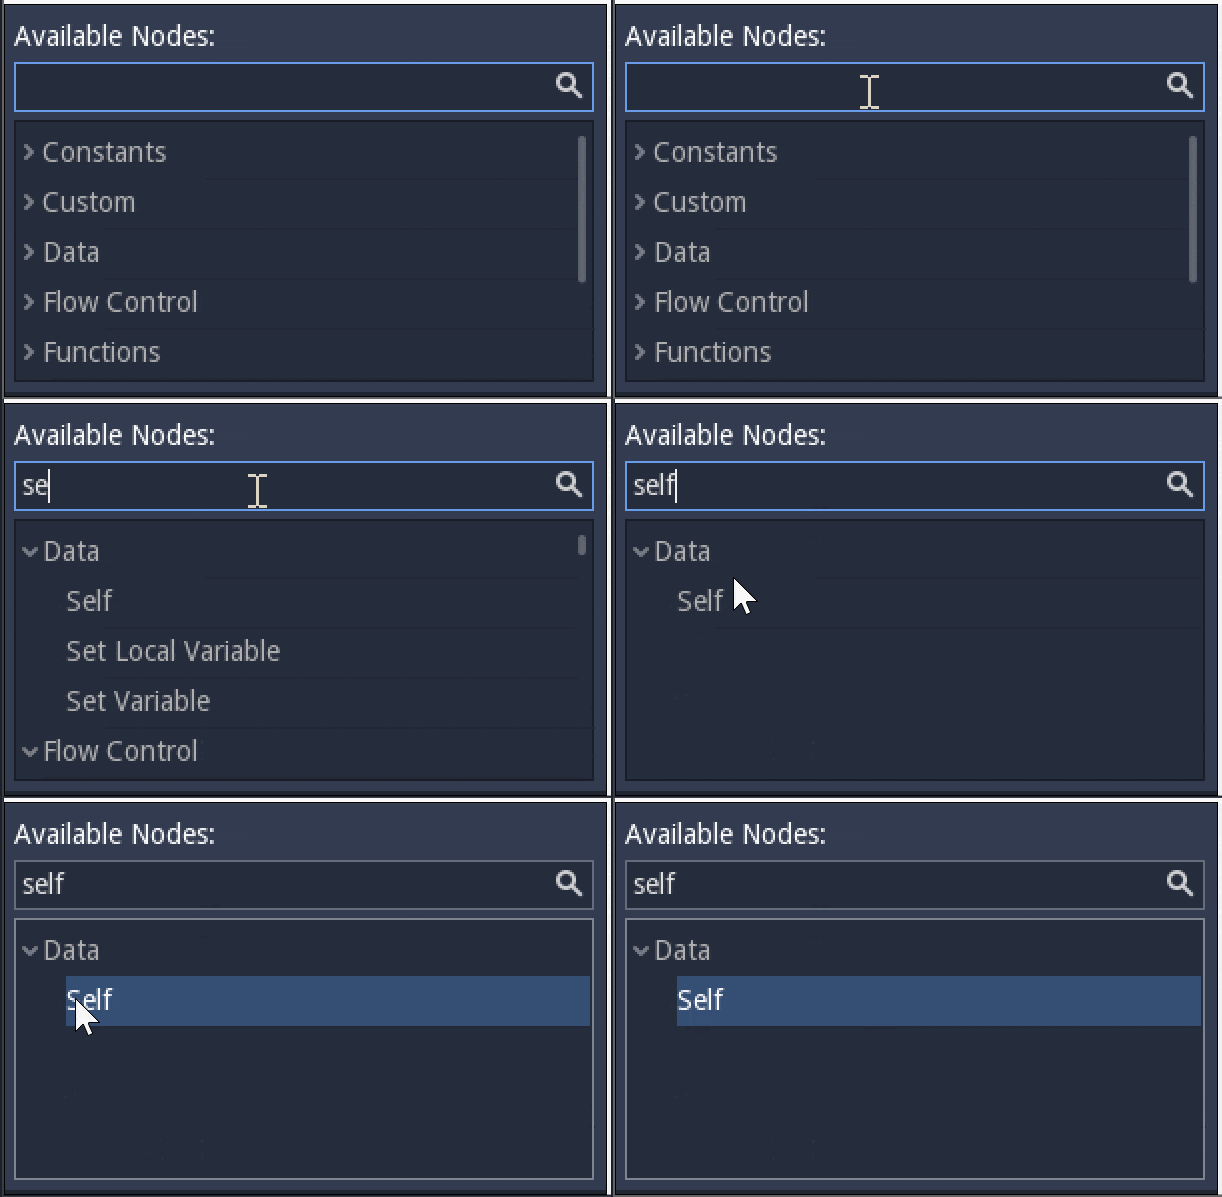
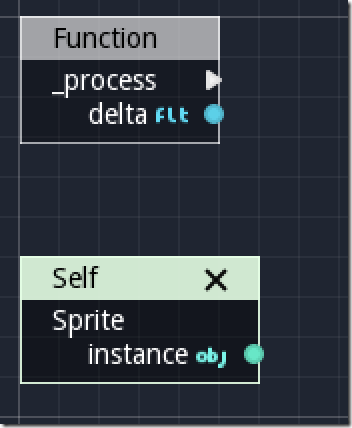
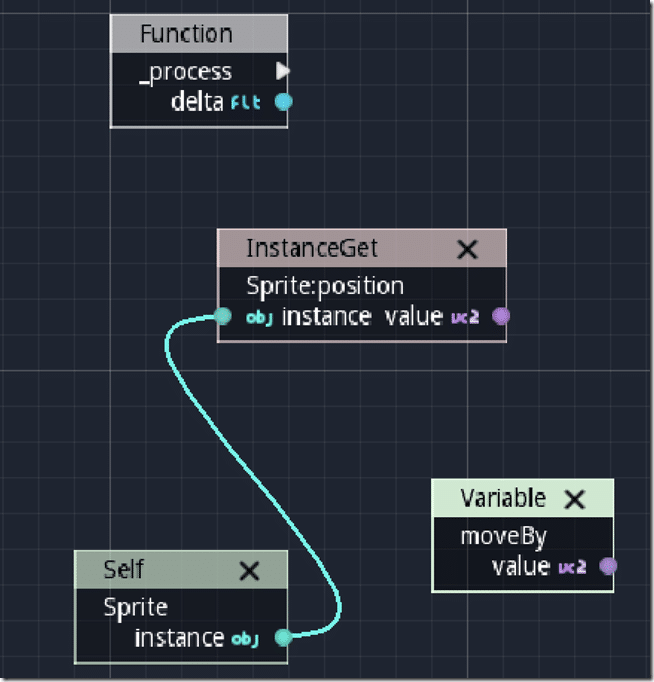
White arrows represent program flow. Connections on the right represent output, while connections on the left represent input. This is the entry point for our code and is going to be called each frame. You can see we are passed a floating point value “delta” as a parameter. Now we need to get a reference to our object, we use a “self” node for this. You can locate notes via search:
This gives us access to the Sprite object our script is attached.
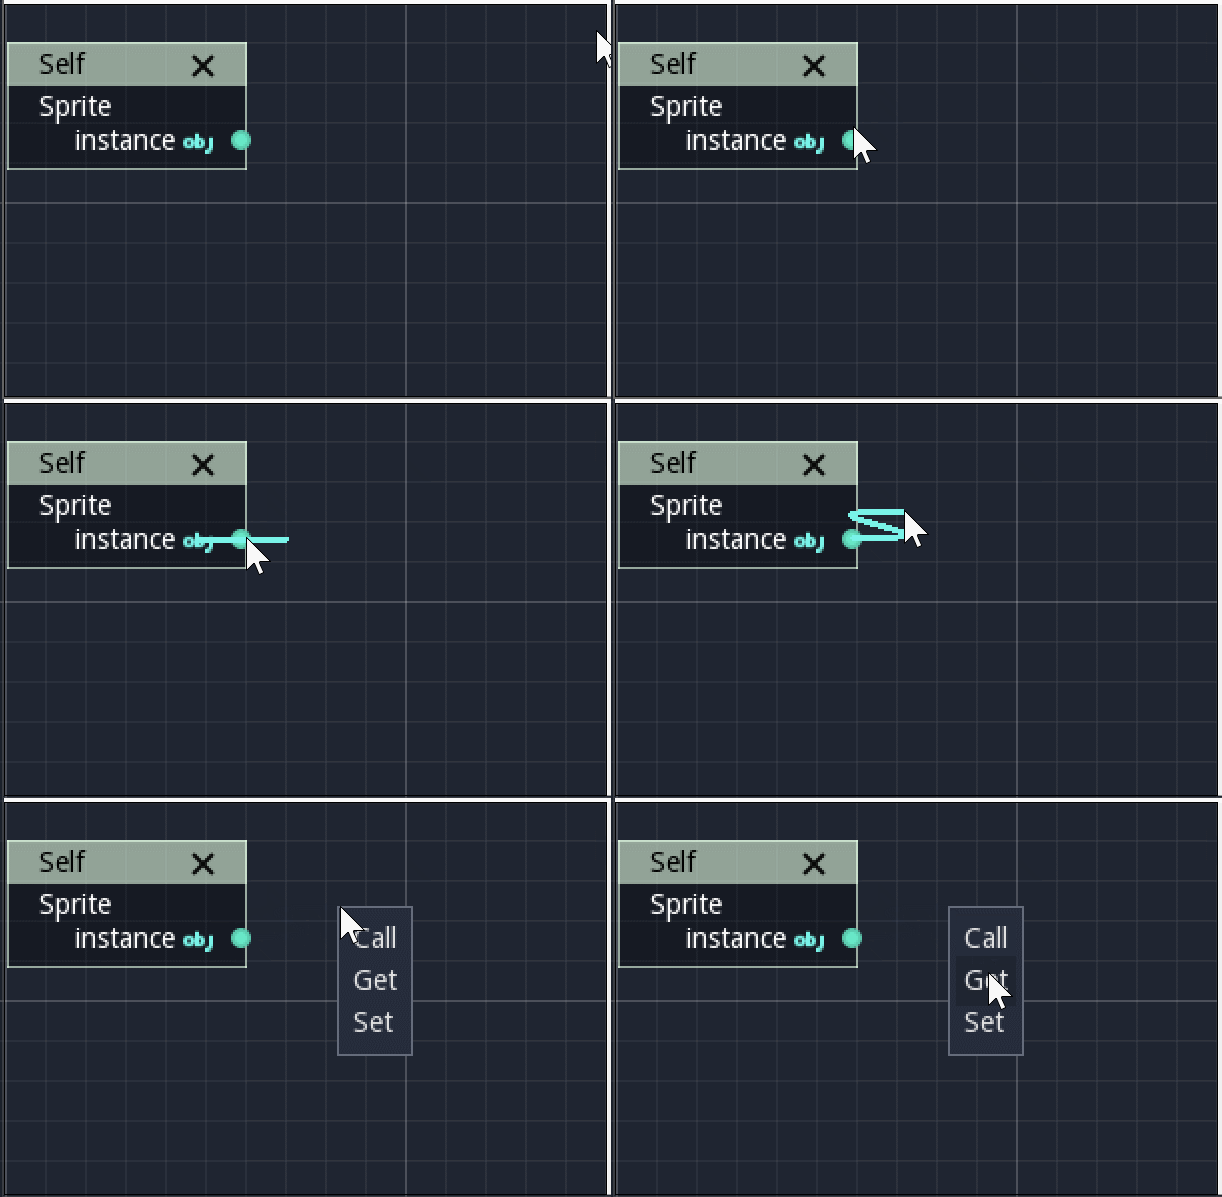
Now click on the blue/green ball output from the Sprite and drag a connection out, selecting Get as the option:
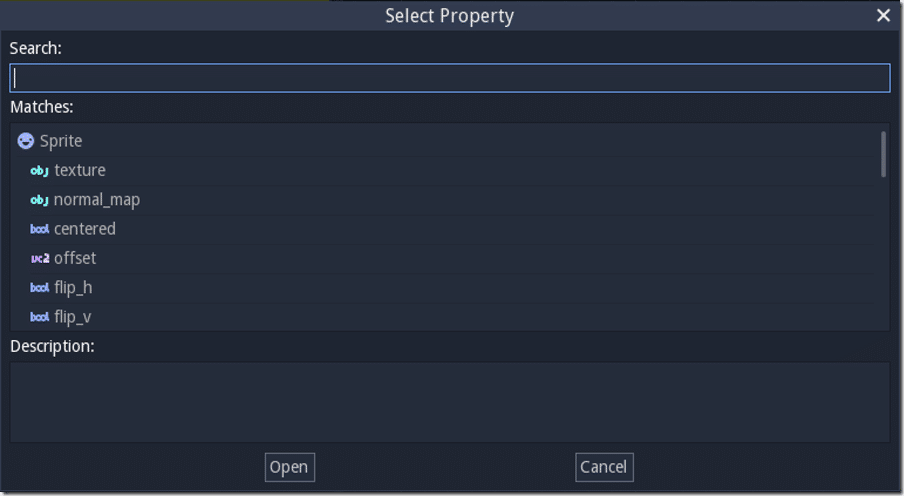
This will now give you access to all of the data of a sprite object and all other inherited classes:
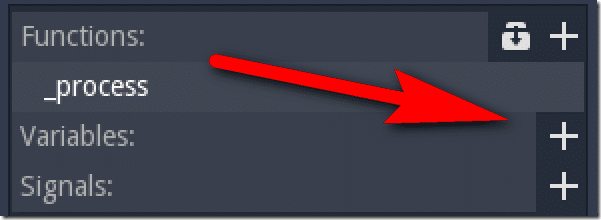
Locate and select position, which is a Vector2 object. Now lets create a variable we are going to use to define our move amount. In the variables section, click +:
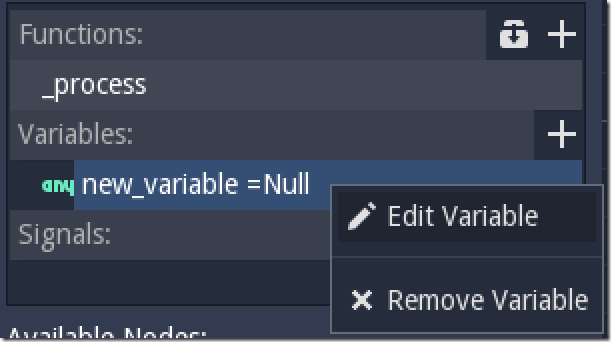
Now right click and select Edit Variable:
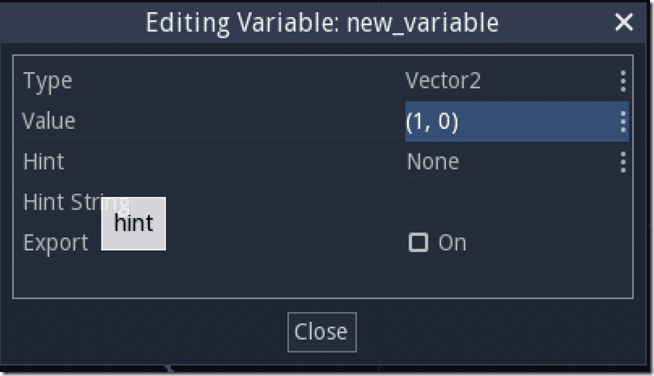
Select type as Vector2 and value of (1,0)
Finally click the variable name and rename it to moveBy. Now drag our newly created variable onto the canvas:
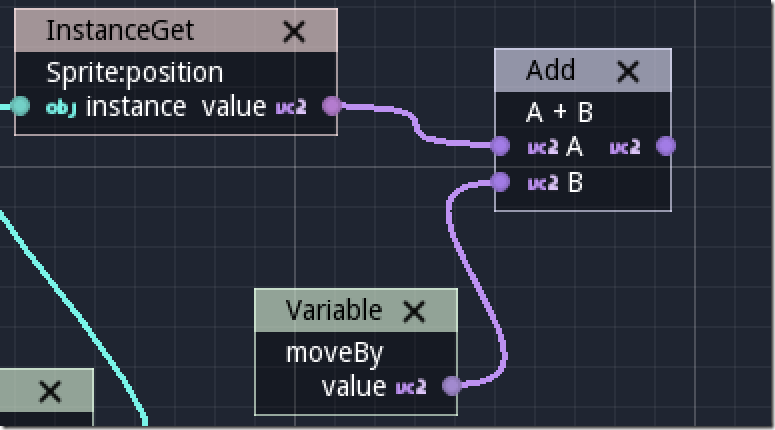
Now we want to create an Add node and add our two vectors together, like so:
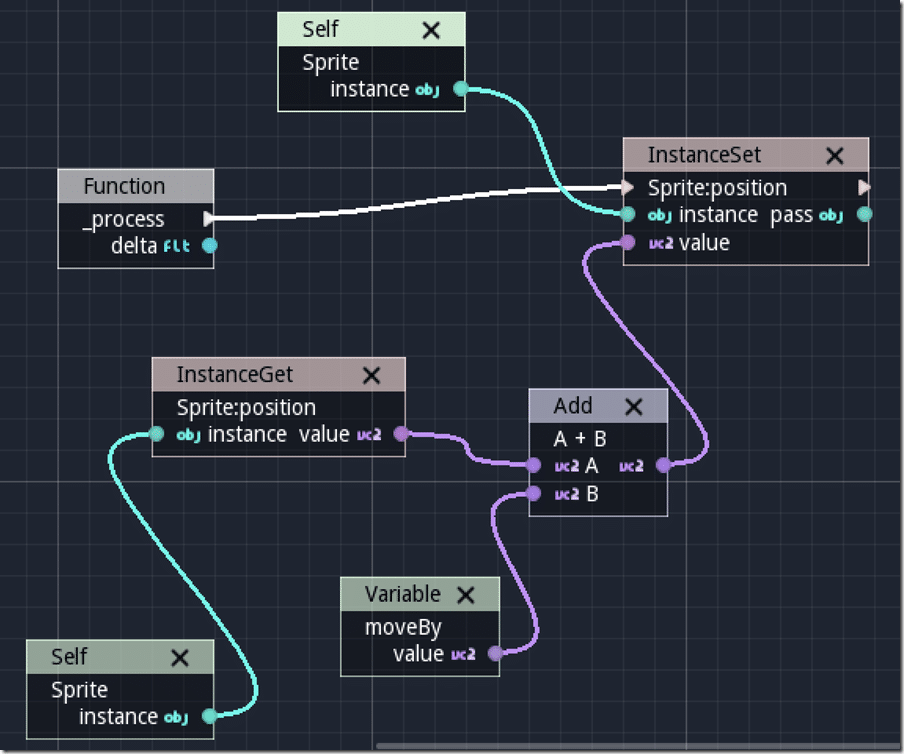
Now we use another Self (or the same one we created earlier) and this time do a Set and select position. We now pass in the added Vector2 result, also we attach program flow from _process, like so:
This simple program will cause the sprite to move by 1 pixel per update.
Video Version

