Welcome to another episode in the “Closer Look at” game engine series. The closer look series is a combination of getting started tutorial and review to help you determine if a game engine is the right fit for you. Today we are looking at the QICI Engine and HTML5 game engine built over top of the Phaser framework which itself uses the Pixi graphics renderer. Normally when I work with a game engine, I have to spend several weeks with it before I can put together one of these guides. With QICI, it took substantially less time, only a couple days, to come to terms with the engine. This isn’t a slight on QICI in the slightest. First, I am a big fan of the Phaser engine it is built on, so this gave me an immediate familiarity. Second, it is just an extremely good, well designed, capable and well documented game engine. Hmmm, bit of a spoiler there I suppose, but I really like the QICI engine. Read on to find out why.
As always, there is an HD video version of this guide available here.
A Tour of the QICI Engine
The engine is available for download here. It is bundled as a zip archive while available on Github (the code is not directly on Github however, but is included within the archive). Simply extract the archive contents then run start-win.bat or start-mac.command depending on platform. The engine is built around NodeJS and Node must be installed before using the QICI engine. The code is released under the MIT license, making QICI both free as in beer and free as in freedom. There are future hooks for paid plugins, but currently all plugins are available for free as well.
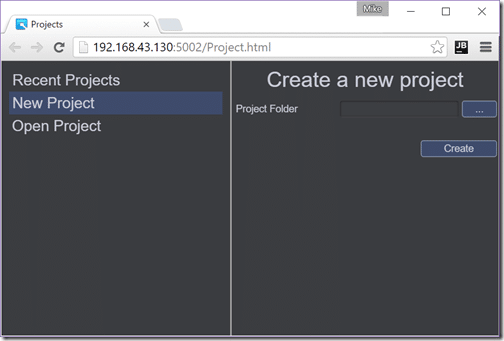
Once you run QICI, it loads a browser window and a fairly humble project management screen:
Here you load existing or create new projects. Creating a project is simply a matter of selecting an empty directory and clicking Create.
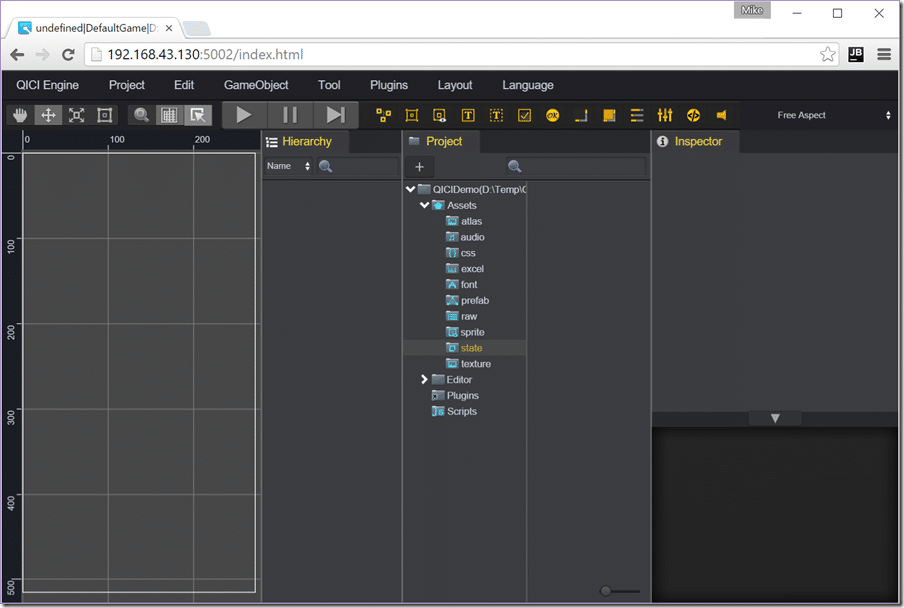
Once you’ve loaded or created a project, you will be brought to the primary editing window:
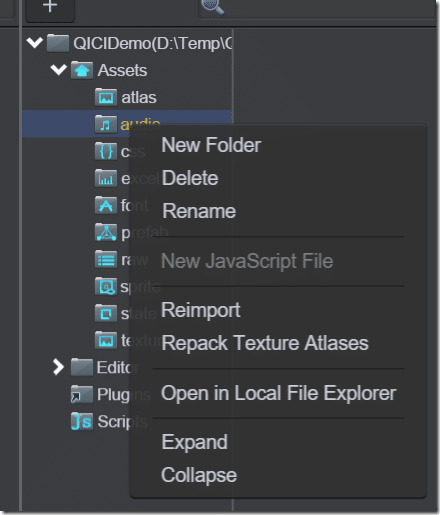
The editor is pretty typical of modern component based game engines. You’ve got an editing surface for composing screen elements, a hierarchy view containing your current scenes contents, a project view for managing the assets in your project and finally an inspector view that updates dynamically based upon the current selection. For a web based editor, the UI is silky smooth and doesn’t feel clunky. For example, right click context menu support is prevalent and intuitive:
The editor supports common features like drag and drop, tool tips, resizes well in the browser and frankly doesn’t feel like a web app most of the time. I encountered the occasional glitch where the cursor got stuck in the wrong mode, but they were uncommon and easily avoided. Frankly, if you weren’t in a web browser, you would have no idea this was a web application.
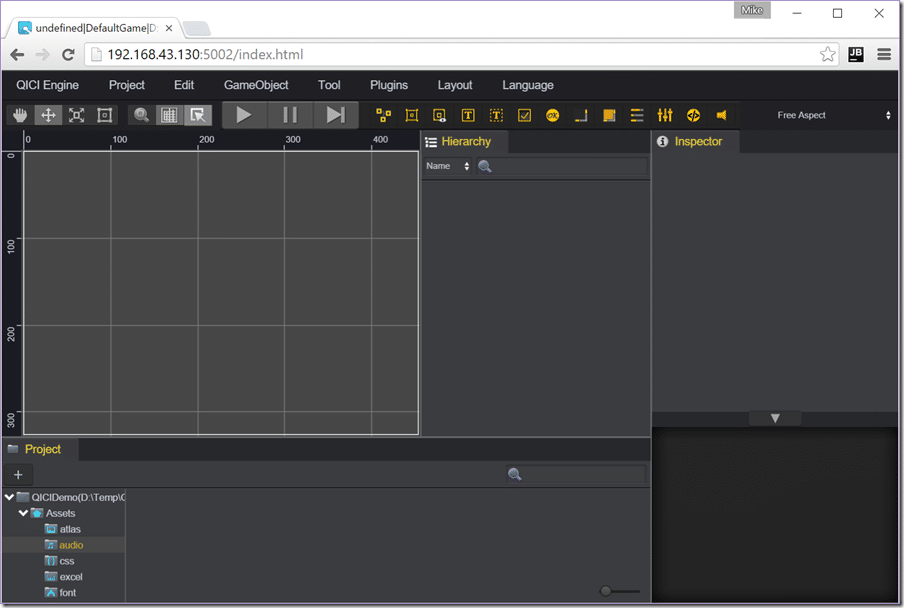
You can also change the layout to work in Portrait mode, like so:
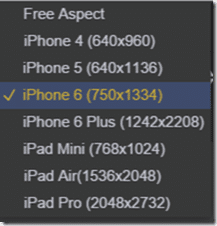
The UI can be switch between English and Chinese via the Language menu. You can also configure the editing window to mirror common iOS device dimensions:
Oddly, no Android love. Not really a big deal, as this just sets the dimensions and a Free Aspect option exists.
Creating Scenes
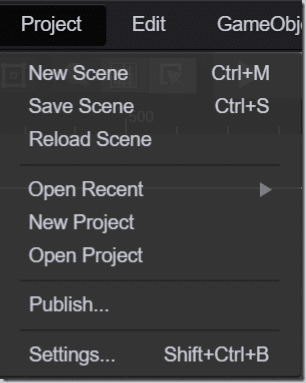
Your game project is composed of one or more scenes. We can add, reload and save scenes via the project menu.
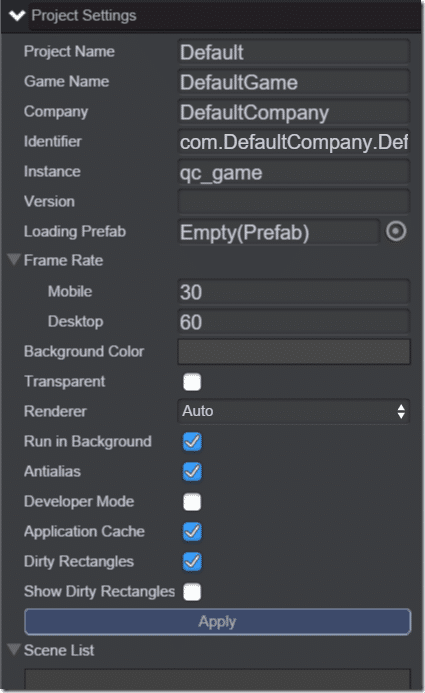
The following settings are configurable on the project by project basis:
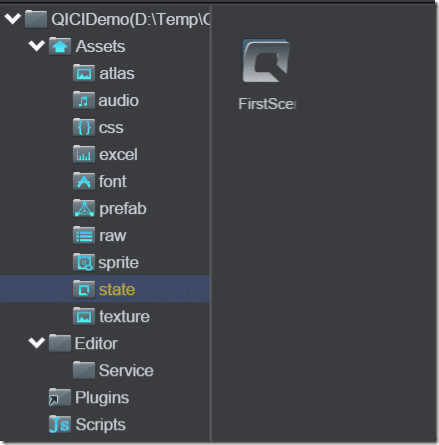
Once saved, a Scene appears under states in your assets view:
Scenes are composed of the following elements:
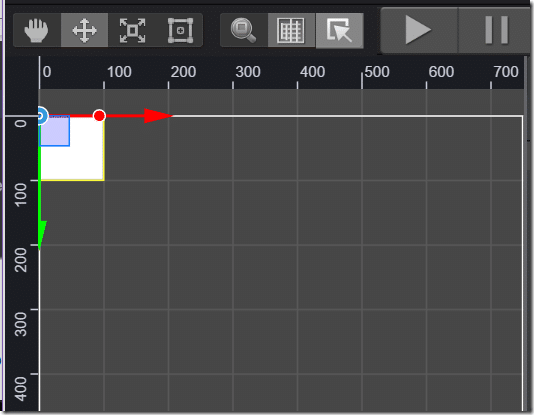
To create a new game object, simply select it from the list and position it on screen. Here for example is a sprite:
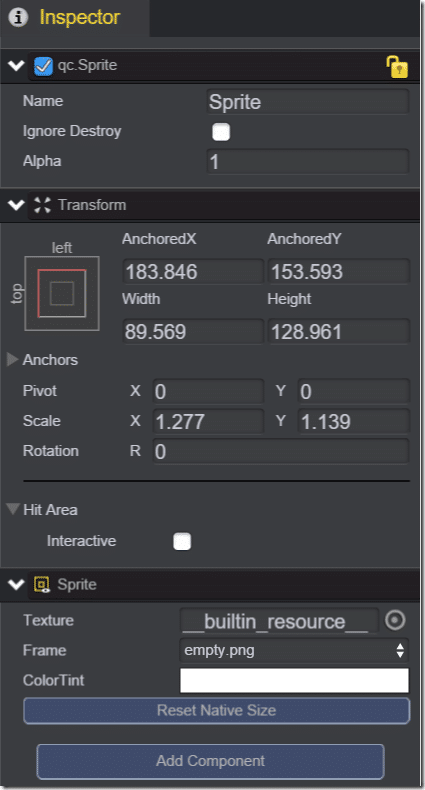
There are widgets for placement, free or axis confined, scaling and free scaling, but oddly enough, not rotation. To perform rotation, you need to use the Inspector window:
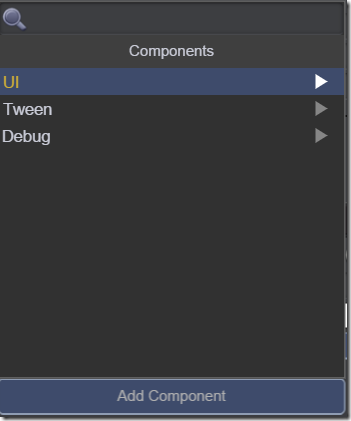
As you can see, the Inspector has editors for the various components that go into our game object. In this case, a Sprite contains a Transform and Sprite component. You can add additional components via the Add Component button:
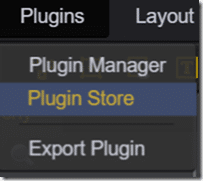
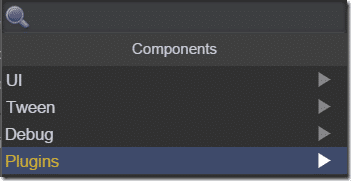
Somewhat confusingly, you can also add components in another manner, as we will see shortly when we attach a script. You can add additional functionality via Plugin, like so:
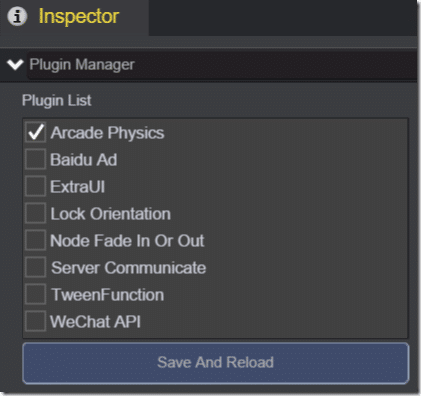
Let’s add an Arcade Physics controller to our game, and make our sprite a physics object. Select Plugins->Plugin Manager, then in Inspector enable Arcade Physics. Next click Save and Reload:
Now if we click Add Components in the Inspector with our sprite selected, we get:
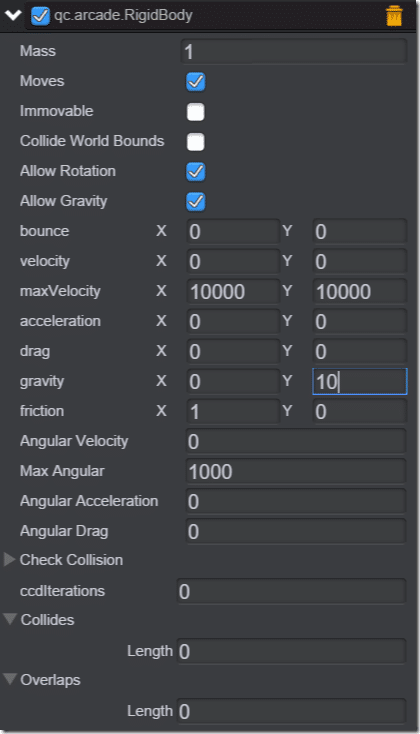
Select Plugins->Arcade->RigidBody. You will see in Inspector, we now have an additional component to configure.
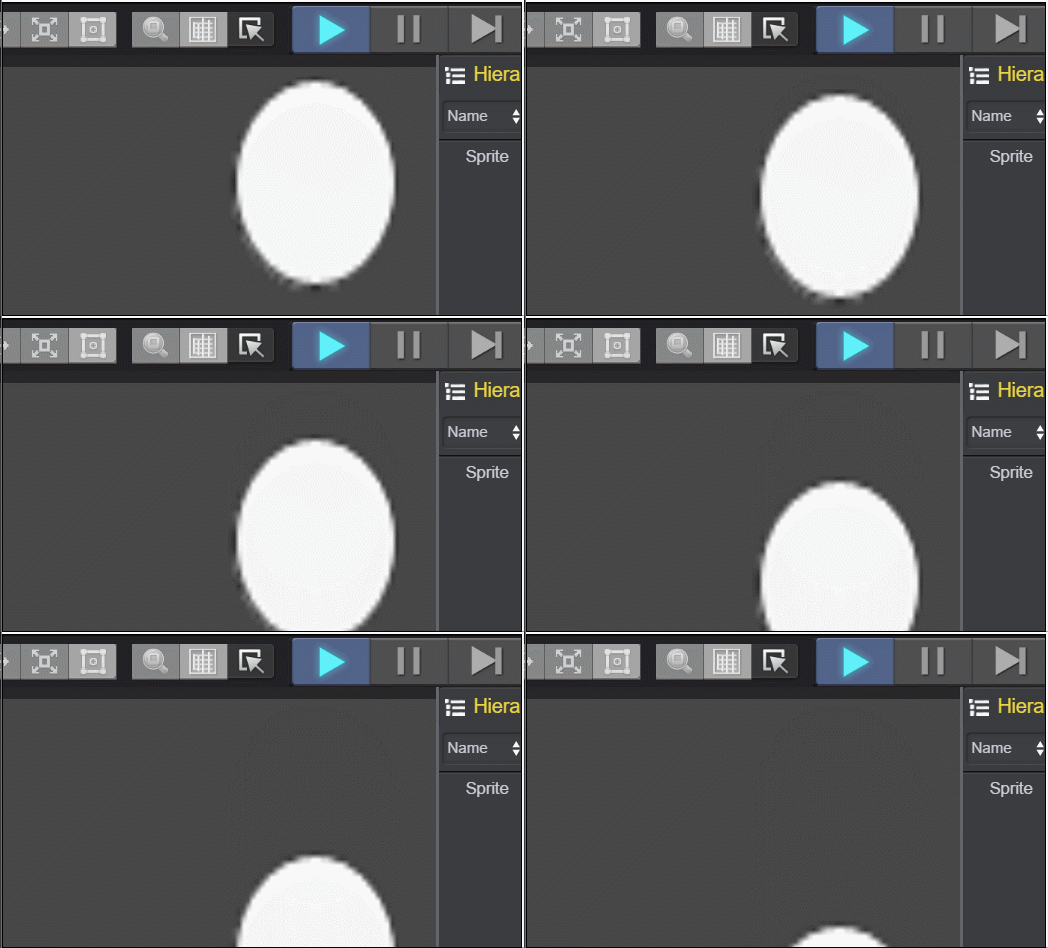
Set the Gravity Y value to 10, and hit the play icon and you should see:
As you can see, you can preview the running of the scene directly in the editor.
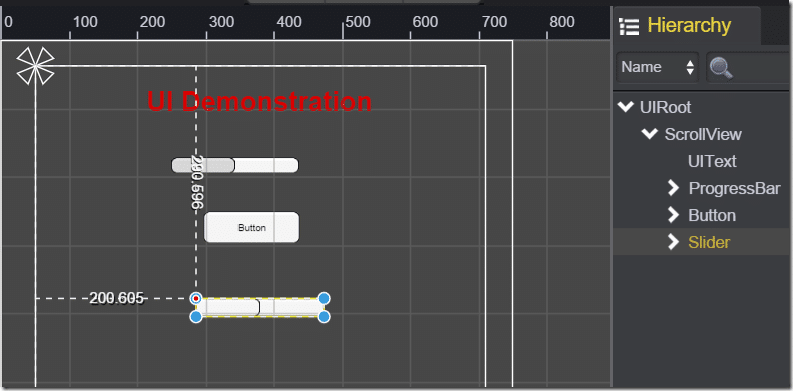
As you may have noticed from the game objects available, QICI has robust UI support. You can easily use hierarchies of components to form complex UIs, like so:
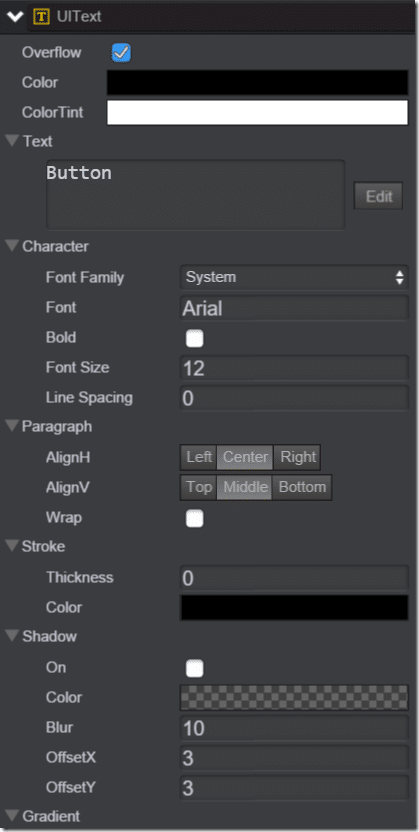
An impressive number of layout properties are exposed to the inspector:
Assets can be imported into the engine using drag and drop, or by simply copying them into the folder in the underlying file system and click reimport in the UI.
Coding in QICI Engine
What might not be immediately obvious is how you actually code in QICI and of all the features, this one is probably the least intuitive. You code by attaching behaviors to your game entities.
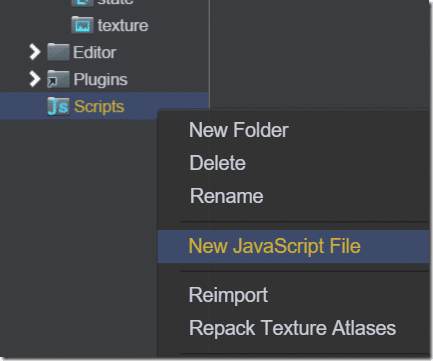
Start by right clicking the Scripts folder in the assets view and select New JavaScript File:
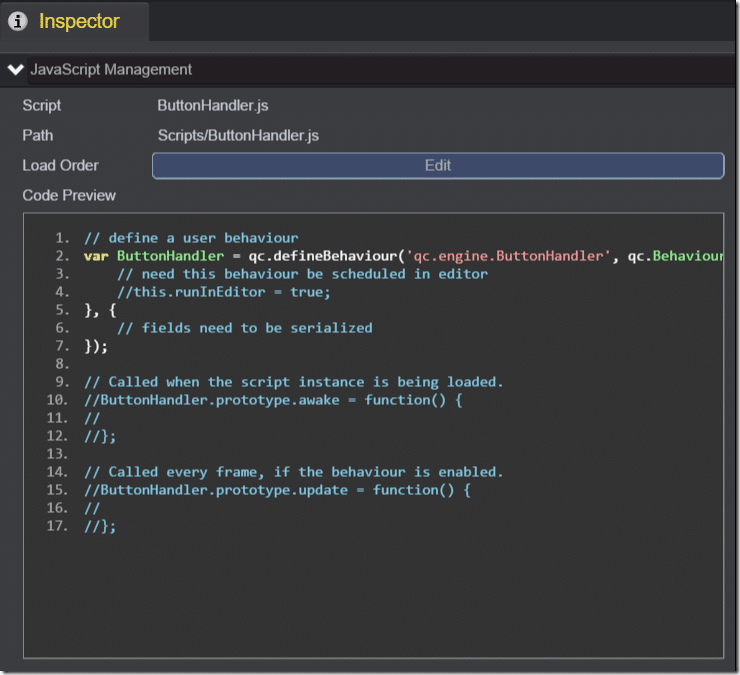
Name your script and you will see that a stub script has been created for you, you can preview the code in the Inspector:
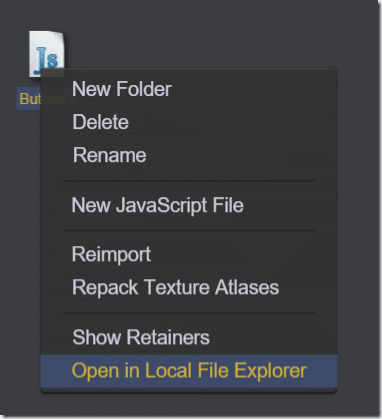
At this point you are probably best off firing up your favourite JavaScript editor and opening the generated script. You can jump to the script directly right clicking the script and select Open in Local File Explorer:
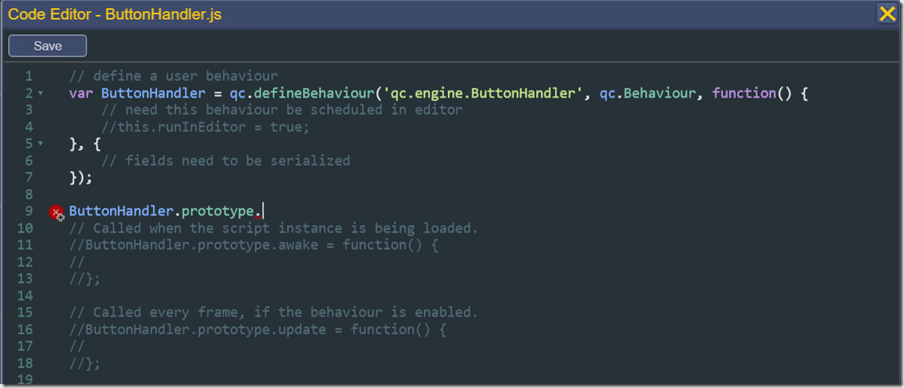
You can however edit using the built in editor if you prefer:
All scripts are qc.Behaviors. You will notice that this class implements a number of callback methods for various points in the games lifecycle such as awake, onDown, render, onDestroy, etc. By implementing these methods, we add functionality to our script. Consider this simple script, that causes a button to change it’s text to “Clicked” when clicked:
var ButtonHandler = qc.defineBehaviour('qc.engine.ButtonHandler', qc.Behaviour, function() { // need this behaviour be scheduled in editor //this.runInEditor = true; }, { // fields need to be serialized }); ButtonHandler.prototype.onClick = function() { this.gameObject.find("Text").text = "Clicked"; };
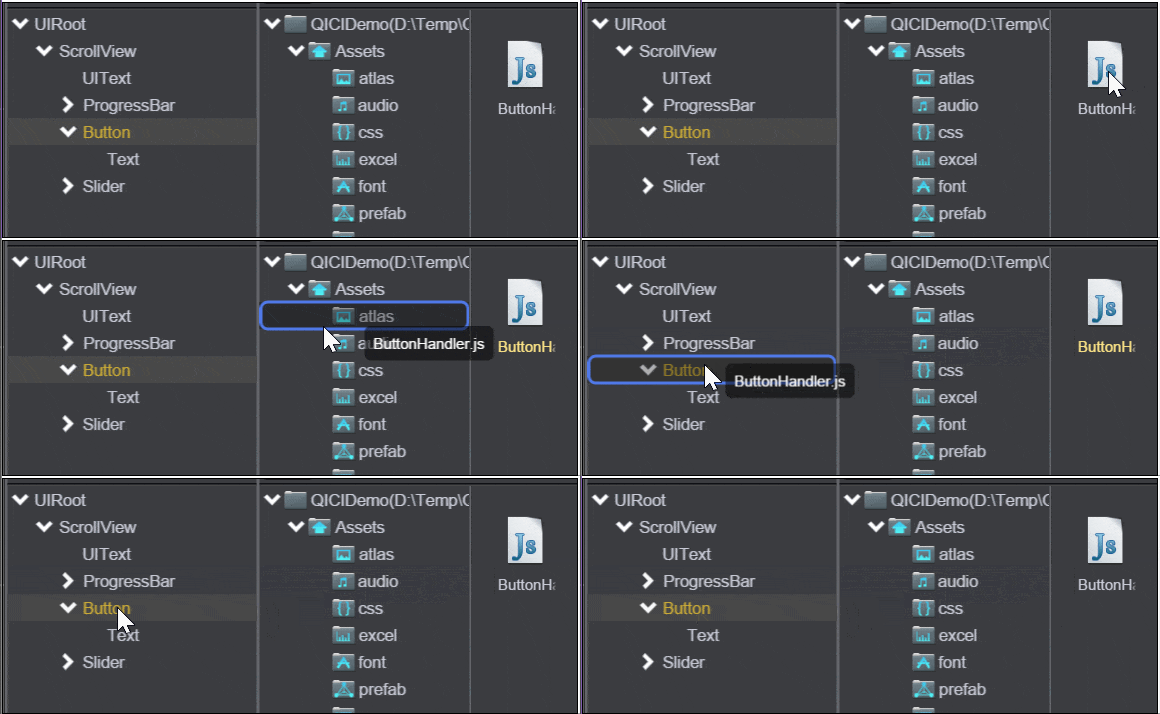
Now attach this script to the component by dragging and dropping, like so:
And you will see a new component has been added to our Button:
Values can easily be exposed to the editor, like so:
var ButtonHandler = qc.defineBehaviour('qc.engine.ButtonHandler', qc.Behaviour, function() { this.meaning = 42; }, { meaning : qc.Serializer.INT }); ButtonHandler.prototype.onClick = function() { this.gameObject.find("Text").text = "Clicked"; };
Resulting in:
Behind the scenes however, Phaser is always there. You can actually access Phaser directly using gameObject.phaser, like so:
ButtonHandler.prototype.onClick = function() { this.gameObject.find("Text").text = "Clicked"; alert(this.gameObject.phaser.game.width); };
Therefore, if you are familiar with Phaser, you should be immediately comfortable with QICI. For more help with Phaser, I have already created a fairly comprehensive tutorial series.
Documentation and Community
This is a very new project, just shipping the end of last year. There isn’t much of a community per say, but there is a fledgling question forum. Hopefully in time a proper community forms.
In terms of documentation however, QICI Engine is good, shockingly good in fact. There is a complete guide available here walking you through the fundamentals and primary components of QICI. With the exception of a good scripting guide and a document on program flow, I found everything I was looking for in sufficient detail to accomplish what I needed. There is also a very good searchable reference guide available here. Between the two, and with prior Phaser experience (which is also remarkably well documented), I had no trouble whatsoever getting up to speed. Additionally there is a pretty good collection of examples available here on Github.
Frankly, for a young open source project, this is hands down the best documentation I have ever seen. Kudo QICI team.
Summary
This is a game engine that takes one of my favourite HTML5 game engines (Phaser) and adds an incredibly polished layer of tooling on top of it. Additionally a straight forward component system is added, while not getting in the way of the underling libraries. If you are looking for a 2D HTML5 library, especially if you are already familiar or working with Phaser, this is a project you absolutely have to check out. It is robust, straight forward, well documented and well designed. Aside from the lack of community, there really isn’t much more you could ask of this great new engine!
I enjoyed my time with QICI and will be exploring it more in the future. Let me know if this engine interests you and if you would like to see some tutorials from GameFromScratch.
The Video

