
This is a quick tutorial to get you up and running with the C# programming language in the Godot Game Engine using Visual Studio Code and the newly released C# Dev Kit.
STEPS
Install Visual Studio Code (available here)
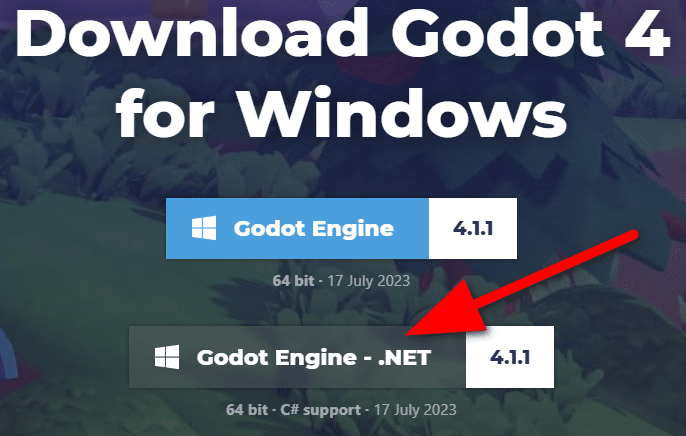
Install Godot Engine – .NET version (available here)
Create a project in Godot, be sure to run it at least once (press F5 or hit the play object) so the default scene is selected.
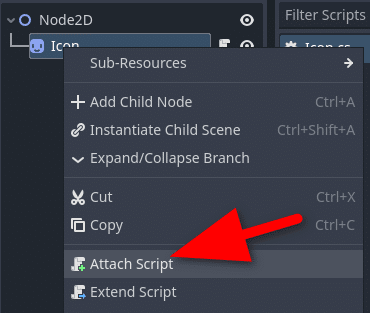
Attach a C# script to an object by right clicking it and selecting Attach Script:
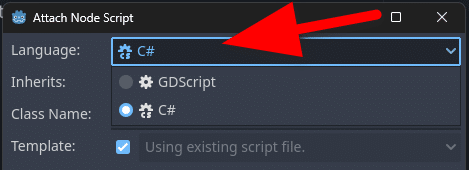
Drop down the Language and select C#:
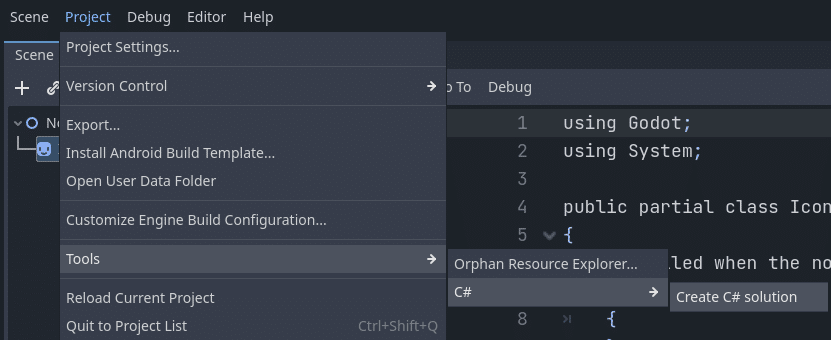
Finally select Tools->C#->Create C# solution
Now open project directory in Visual Studio Code.
We need to configure a couple of extensions in Visual Studio Code. Switch to the extensions tab and search for and install the C# Dev Kit

This will also install .NET Runtime Install Tool, C# and IntelliCode.
While not required, I recommend restarting Visual Studio Code at this point.
Now you need to create a build task in the form of a tasks.json file.
Bring up the Command Palette (hit F1) and type Tasks then select Configure Default Build Task

Choose dotnet:build in the default list.
It will generate a tasks.json that looks like this:
{
	"version": "2.0.0",
	"tasks": [
		{
			"type": "dotnet",
			"task": "build",
			"problemMatcher": [
				"$msCompile"
			],
			"group": {
				"kind": "build",
				"isDefault": true
			},
			"label": "build"
		}
	]
}
The only thing I changed is I renamed “label”: from “dotnet build” to just “build”. This is used in the next step and is optional.
Now we need to create a launch.json file. An easy way to do this is switch to the Debugger tab then click “create a launch.json file”.
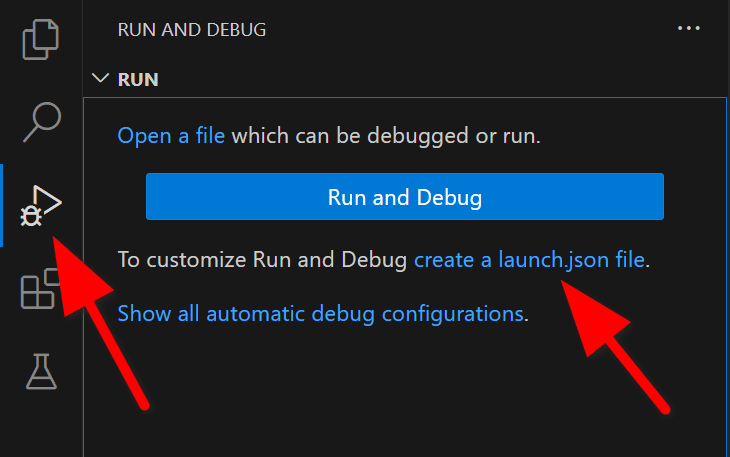
Choose .NET 5+ or .NET Core from the list. Replace the contents of launch.json with the following:
{
    "version": "0.2.0",
    "configurations": [
        {
            "name": "Run Godot Run",
            "type": "coreclr",
            "request": "launch",
            "preLaunchTask": "build",
            "program":"C:/Users/serap/Downloads/Godot_v4.1-stable_mono_win64/Godot.exe",
            "cwd":"${workspaceFolder}",
            "console": "internalConsole",
            "stopAtEntry": false,
            "args": ["--path","${workspaceRoot}"]
        }
    ]
}
Be sure to change the program field to point to your Godot install directory. Please note you have to use / slashes instead of \ slashes!
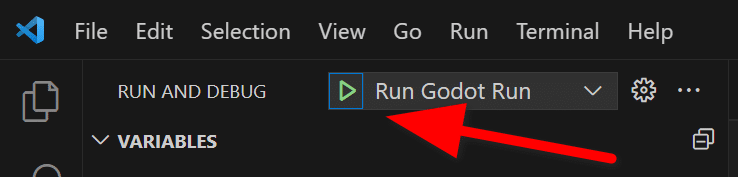
You can now run your game by clicking the Play icon (or hitting F5):
And you can now run and debug Godot C# games using Visual Studio Code and the C# Dev Kit extension.
You can see the entire process step by step in the video below.