A few weeks back I looked at creating Isographic tiles in Blender. Today we are going to follow it up with a tutorial on creating Orthographic tiles instead. Orthographic and isometric simply refer to the camera’s projection mode. In an orthographic project, the camera is straight on and the image does not become smaller as it gets further away from the camera. Most traditional top down or side view tiles, such as Metroid or Mario Brothers, are orthographic.
Blender gives you a bunch of advantages when creating tiles, especially when it comes to auto-tile support. You can see auto tiling in action in our Tiled Map Editor tutorial series. By creating a sequence with the proper border between varying tile types, the auto tile algorithm can figure out the rest. In this tutorial we will show how to setup Blender so creating these transitions becomes trivial.
There is also a video version of this tutorial available here or embedded below.
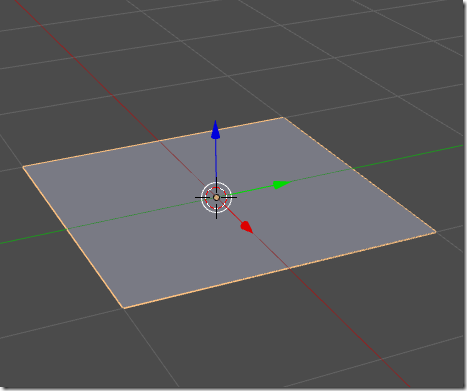
First fire up Blender. Because we are rendering everything in the end, it’s critical we set the dimensions properly. In this case I am going to try and keep all of my tiles to 2×2 Blender units. With the 3d cursor at 0,0,0 add a new plane, the default location is ideal:
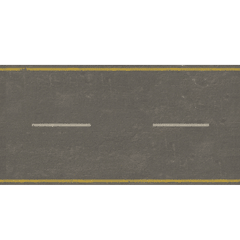
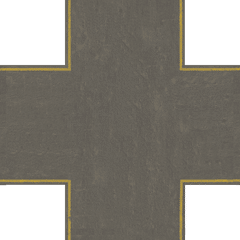
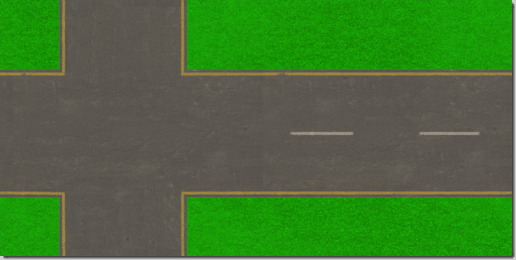
Now switch to edit mode, then UV unwrap it. This is going to hold our texture. I am going to use a pair of seamless textures I created for roads, one a straight section, the other an intersection:
The important part of these textures is they are (relatively) seamless. I accomplished this by cloning the edge of the one corner of the intersection, then pasting it over the 3 other edges of the intersection, then the two ends of the straight piece. It’s not flawless, but it’s close.
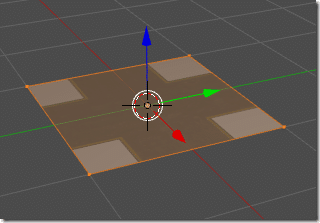
Now, in object mode, apply the texture to the plane. We will start with the intersection. Create a new material if one does not exist, then switch to the texture tab and add the texture to the diffuse channel. If you don’t know how to do this, check out one of our existing Blender tutorials, they will teach you everything you need to proceed.
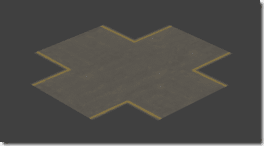
The end result should now look like this:
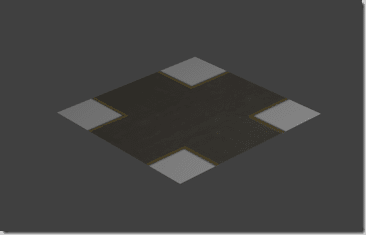
Woot, half way there… well, a quarter… Now render this and you should see…
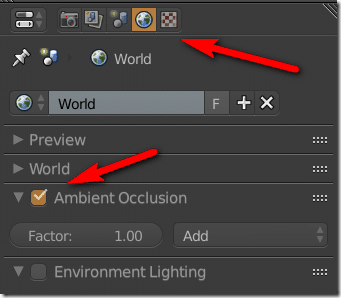
Well, that’s not ideal… two problems here… first our lighting, second, our transparent region is being rendered. First lets fix the lighting. When creating tiles you probably want a flat lighting. First select the scenes default light and delete it. Now, with no lights in the scene, we want to turn Ambient Occlusion on. In the properties, locate the World setting then enable AO, like so:
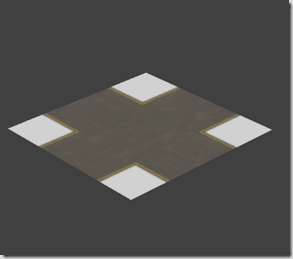
Now when we render:
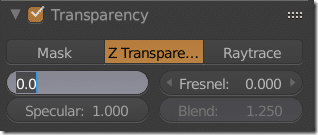
Much better. Now we just have to sort the whole transparency thing. Select your plane, then go to the material tab and enable transparency, then set Alpha to 0, like so:
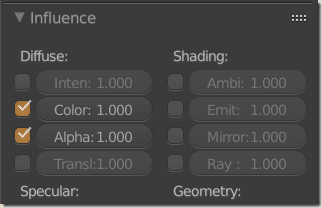
Now switch to the texture, check alpha and set the value to 1:
And…
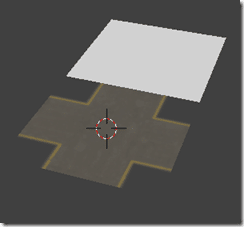
Perfect! We are now at least half way there… now lets create another tile, this one for the road. Once again with the cursor at 0,0,0 create another plan, then move it by 2 units ( G, Y, 2 )
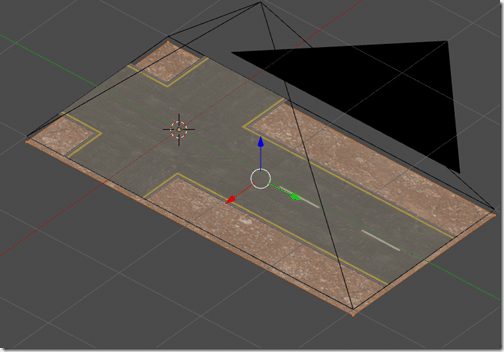
Now repeat the above process, just using the other texture instead, and our end result should look like:
Cool! The only catch you might run into is you may have to rotate the UV 90 degrees to get the road to line up properly with the intersection.
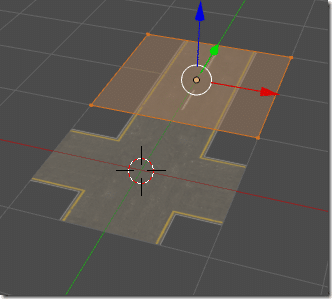
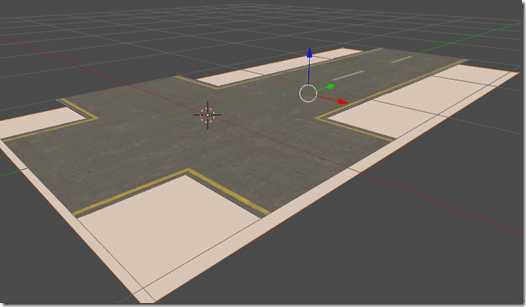
Now is where the magic of working in Blender can kick in… making our background. Now create yet another plane object, this one 1wide, 2 high. Most importantly, move it down the z axis a little bit, so the result should look something like this:
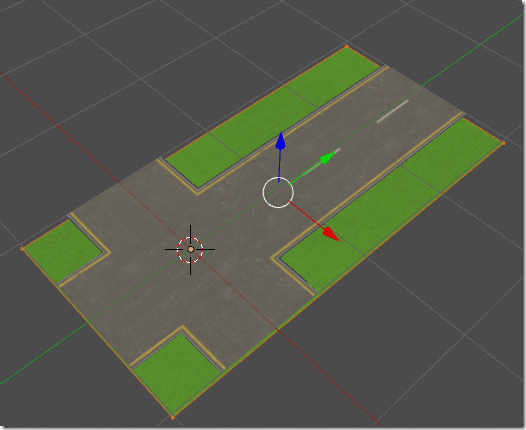
Now texture this new object however you wish… create your sand layer, grass layer, whatever. Here it is with a quick grass texture applied:
Now we need to set up our camera. There are two approaches we can take here… we can out camera to capture our entire image then split the tiles up using a tool like Imagemagick, or we can render each tile manually. The choice is up to you.
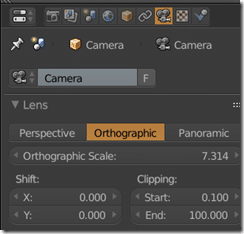
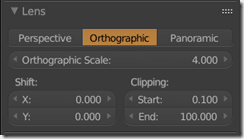
First switch your camera into Orthographic mode, with the camera selected, select the camera tab, then Orthographic:
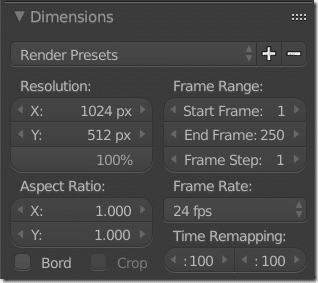
The following settings are going to be determined by the number of tiles you have and the resolution of your map. I will use the above example, and I want to render each plane out to 4 (2×2) tiles so our over all image is 4×2. I am going to render out to a single image and split the tiles later. To do this, first I went to the camera settings, and set the resolution like this:
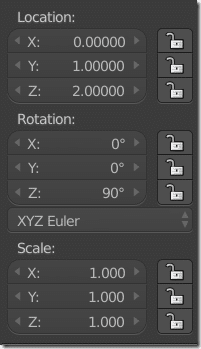
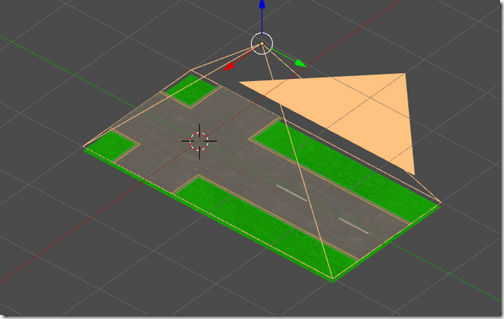
I positioned the camera like this:
And set the camera properties accordingly:
With the Blender view in Ortho mode (5 on numpad), it should look like:
Now render, and:
Finally I fire up the following Imagemagick command to split the image into tiles. As my rendered image is 1024×512, I am going to break it into 256×256 tiles:
convert -crop 256×256 tilesheet.png tiles%d.png
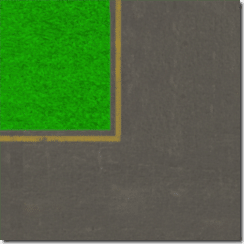
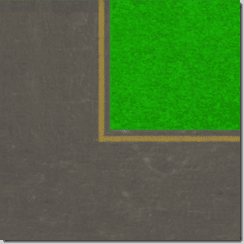
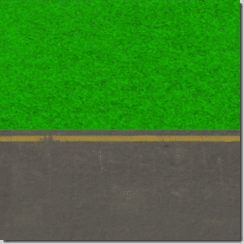
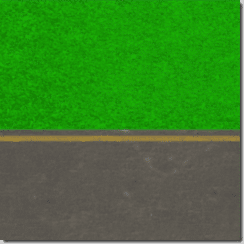
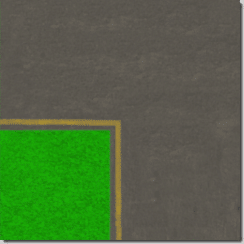
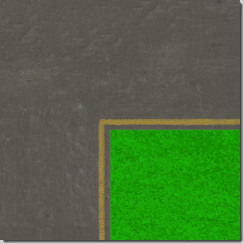
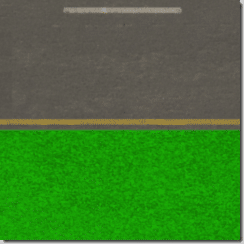
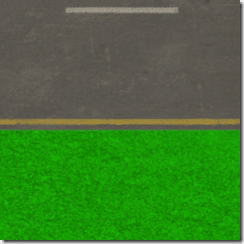
And now we should have 8 very game ready tiles:
Very cool.
Now, thanks to the fact we are in 3d using Blender, we can simply change the background texture and create instead a desert background say…
Five seconds later, a new autotilable texture transition!
Video Version
Art Design

