As you can imagine by the name “SpriteKit”, Sprites are a pretty core part of creating a game using SpriteKit. We are going to continue building on the minimal application we created in the previous part. I want to point out, this isn’t the recommended way of working with SpriteKit, it is instead the simplest way. In a proper application we would be more data driven and store our data in SKS files instead of simply adding them to the project. This is something we will cover later on. First lets jump right in with code.
We are going to replace the the class GameScene we created in the last tutorial. In SpriteKit, the fundamentals of your game are organized into SKScene objects. For now we only have one. Let’s look:
import SpriteKit
class GameScene: SKScene {
let sprite = SKSpriteNode(imageNamed: “sprite1.png”)
override func didMoveToView(view: SKView) {
sprite.anchorPoint = CGPoint(x:0.5,y:0.5)
sprite.xScale = 4
sprite.yScale = 4
self.addChild(sprite)
}
override func mouseDown(theEvent: NSEvent!) {
self.sprite.position = CGPoint(x:theEvent.locationInWindow.x,y:theEvent.locationInWindow.y)
}
}
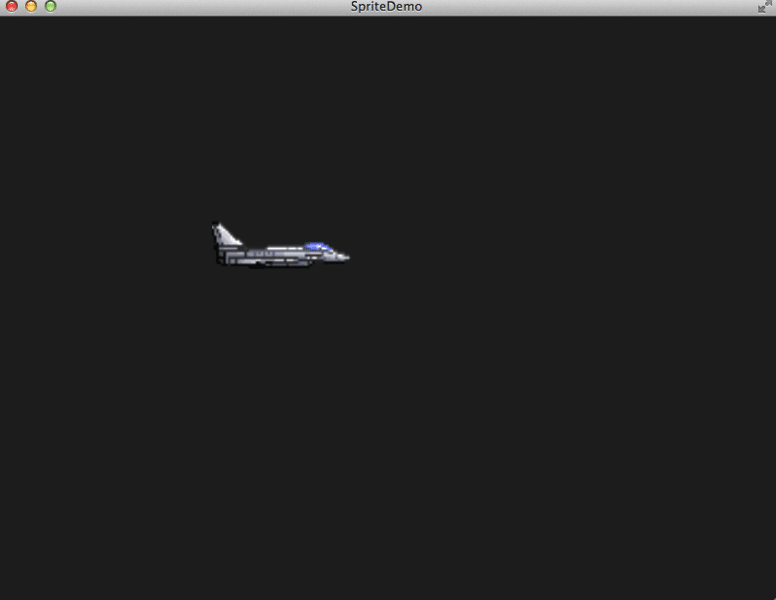
We add the sprite “sprite1.png” to our project directory, simply drag and drop it from Finder. The sprite(s) ill be using are from the zip file available here. When you run this code, click anywhere and you should see:
Where ever you click the mouse, the sprite will be drawn.
One immediate change you will notice in this code is sprite was moved out of didMoveToView and made a member variable. This allows us to access sprite in different functions ( although we could retrieve the sprite from the Scene, something we will see later ). In Swift there are only two main ways of declaring a variable, let and var. var is a variable meaning it’s value can change. Using let on the other hand you are declaring a the the value cannot change, this is the same as a const in other languages. As we touched on briefly in the last part, a let declared value can be assigned later using the ? postfix operator. In this case, it will have the value of nil at initialization, unless one is specifically given like in the code we just did. One thing you may notice is, unlike C++, C# and Java, Swift currently has no access modifiers. In other words all variables are publicly available ( there are no private, internal, protected, etc modifiers available ). Apparently this is only temporary and will be changed in the language later. This personally seems like a very odd thing not to have in a language from day one.
Since we set the sprite’s anchor to the middle (0.5,0.5), the sprite will be centred to your mouse cursor. As you can see we added a mouseDown event handler. This class is available because SKScene inherits UIResponder, this is how you handle I/O events in your scene. The only other new aspect to this code is:
sprite.xScale = 4
sprite.yScale = 4
This code causes the sprite to be scaled by a factor of 4x. We do this simply because our source sprite was only 64×64 pixels, making it really really tiny in an empty scene! As you can see, scaling sprites in SpriteKit is extremely easy.
The structure of a SpriteKit game is actually quite simple. Your SKScene contains a graph of SKNodes, of which SKSpriteNode is one. There are others too including SKVideoNode, SKLabelNode, SKShapeNode, SKEmitterNode and SKEffectNode. Even SKScene itself is a SKNode, which is how all the magic happens. Let’s take a quick look at an SKLabelNode in action.
import SpriteKit
class GameScene: SKScene {
override func didMoveToView(view: SKView) {
var label = SKLabelNode();
label.text = “Hello World”
label.fontSize = 128
label.position = CGPoint(x:0,y:0)
view.scene!.anchorPoint = CGPoint(x: 0.5,y: 0.5)
self.addChild(label)
}
}
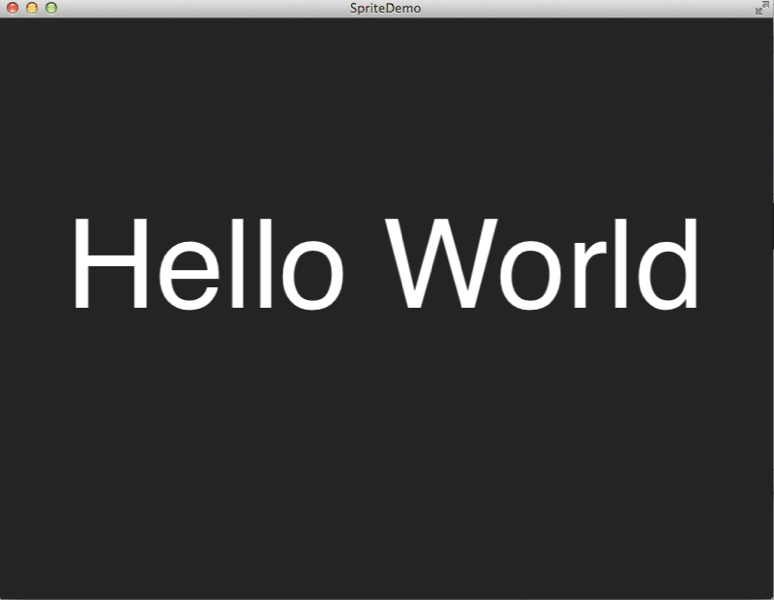
Which predictably enough gives you:
These nodes however can be parented to make hierarchies of nodes. Take for example a combination of the two we’ve seen, our sprite node with a text label parented to it.
import SpriteKit
class GameScene: SKScene {
override func didMoveToView(view: SKView) {
view.scene!.anchorPoint = CGPoint(x: 0.5,y: 0.5)
var sprite = SKSpriteNode(imageNamed:“sprite1.png”)
sprite.position = CGPoint(x:100,y:0);
sprite.xScale = 4.0
sprite.yScale = 4.0
var label = SKLabelNode();
label.text = “Jet Sprite”
label.fontSize = 12
label.position = CGPoint(x:0,y: 15)
label.fontColor = NSColor.redColor()
label.alpha = 0.5
sprite.addChild(label)
self.addChild(sprite)
}
}
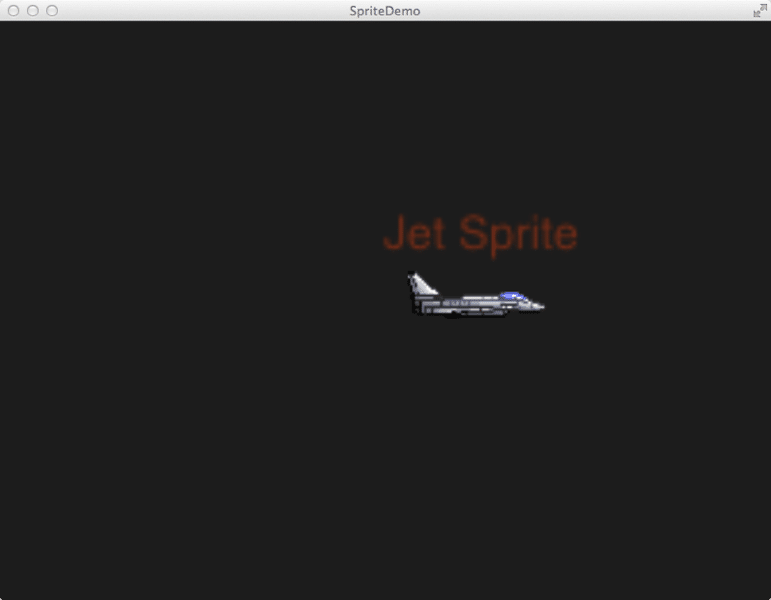
And when you run it:
There are a few things to notice here. Each Node get’s its default coordinates from it’s parents. Since the jet sprite is parented to the scene and the scene’s anchor is set to the middle of the screen, when we position the screen 100 pixels to the right, that’s 100 pixels to the right of the centre of the screen. Additionally, the text label is positioned relative to the sprite, so it’s positioning is relative to the sprite. Another thing you might notice is the text is blurry as hell. That is because the label is inheriting the scaling from it’s parent, the sprite. As you can see you compose your scene by creating a hierarchy of various types of nodes. Now if we were to transform the parent sprite, all the transformations will apply to the child nodes.
The following example shows how transforming a parent node effects all child nodes. Spoilers, it also shows you how to Update a Scene… we will cover this in more detail later, so don’t pay too much attention to the man behind the curtain.
import SpriteKit
class GameScene: SKScene {
var sprite = SKSpriteNode(imageNamed:“sprite1.png”)
override func didMoveToView(view: SKView) {
view.scene!.anchorPoint = CGPoint(x: 0.5,y: 0.5)
sprite.position = CGPoint(x:0,y:0);
sprite.xScale = 8.0
sprite.yScale = 8.0
var label = SKLabelNode();
label.text = “Jet Sprite”
label.fontSize = 12
label.position = CGPoint(x:0,y: 15)
label.fontColor = NSColor.redColor()
label.alpha = 0.5
sprite.addChild(label)
self.addChild(sprite)
}
override func update(currentTime: NSTimeInterval) {
if(sprite.yScale > 0) {
sprite.yScale -= 0.1
sprite.xScale -= 0.1
}
else {
sprite.xScale = 8.0
sprite.yScale = 8.0
}
}
}
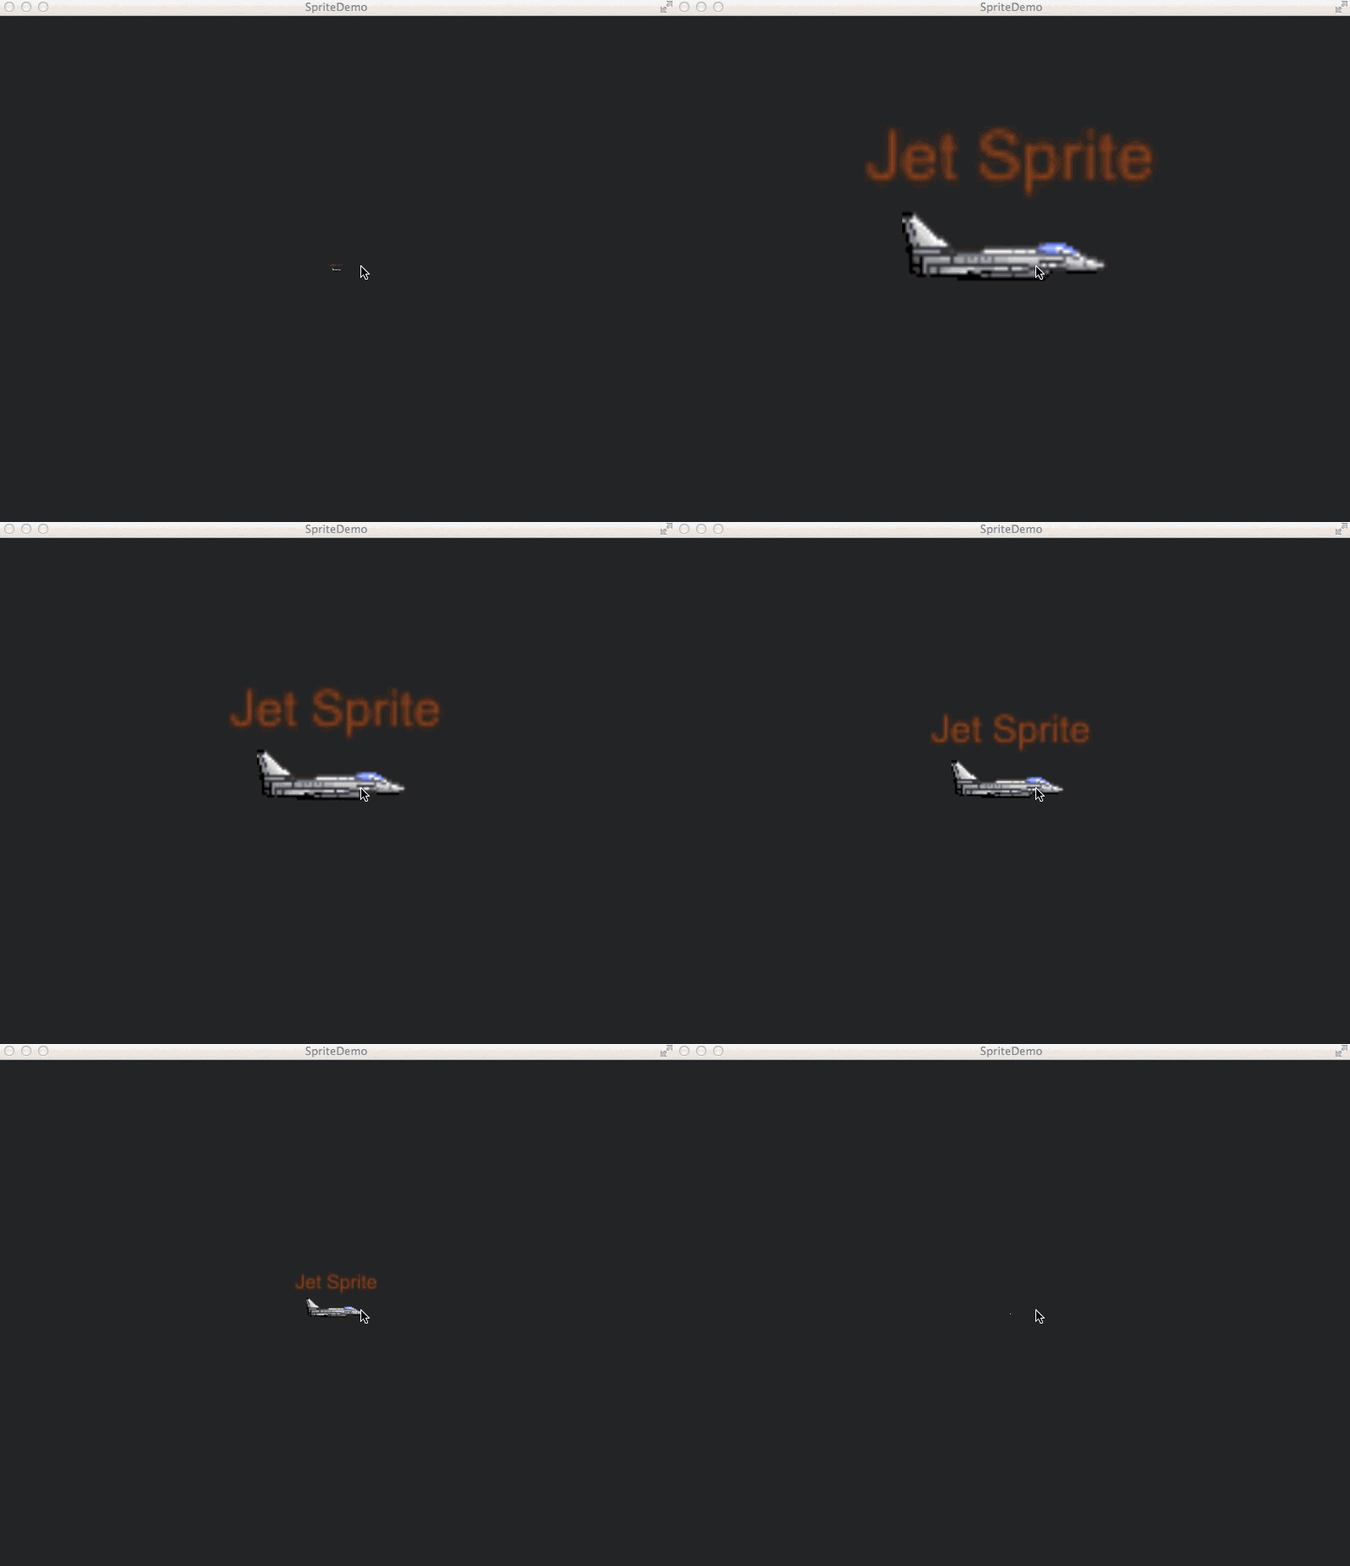
Now if we run this code:
Each time update() is called, the sprite is reduced in scaling until it disappears, at which point it’s zoomed back to 8x scaling. As you can see, the child labelNode is scaled as well automatically.
Notice how until this point if we wanted to access our sprite across functions we had to make it a member variable? As I said earlier, there is another option here, you name your nodes and retrieve them later using that name. Like so:
import SpriteKit
class GameScene: SKScene {
override func didMoveToView(view: SKView) {
view.scene!.anchorPoint = CGPoint(x: 0.5,y: 0.5)
var sprite = SKSpriteNode(imageNamed:“sprite1.png”)
sprite.name = “MyJetSprite”
sprite.position = CGPoint(x:0,y:0);
sprite.xScale = 4.0
sprite.yScale = 4.0
self.addChild(sprite)
}
override func update(currentTime: NSTimeInterval) {
var sprite = self.childNodeWithName(“MyJetSprite”);
if(sprite != nil){
if(sprite.yScale > 0) {
sprite.yScale -= 0.1
sprite.xScale -= 0.1
}
else {
sprite.xScale = 8.0
sprite.yScale = 8.0
}
}
}
}
You can perform some pretty advanced searches, such as searching recursively through the tree by prefixing your name with “//“. You can also search for patterns and receive multiple results. We will look at this in more details later.
This part is starting to get a bit long so I am going to stop now. The next part will look at more efficient ways of using Sprites, such as using an Atlas, as well as look at basic animation and whatever else I think to cover!
Continue to Part 3


