Right off the hop, that title is a bit misleading… Phaser doesn’t really support GLSL shaders, or at least not by that name. What it supports is Filters, which it inherits from the Pixi renderer. Right off the hop you should be aware that this only works on the WebGL renderer, so the fallback canvas renderer cannot and probably never will support filters.
This process isn’t overly difficult, but as far as I’ve been able to tell, there are no existing examples on using shaders/filters in Phaser with Typescript, so a few of the TypeScript specific aspects can cause a bit of a stumbling block. For this first example I am simply going to port the gray filter example to TypeScript. This filter simply turns whatever it is attached to gray, simple enough. Let’s jump right in with the code:
/// <reference path="phaser.d.ts"/> class Uniforms { gray: any; } class MyShader extends Phaser.Filter { uniforms: Uniforms; constructor(game: Phaser.Game, uniforms: any, fragmentSource: string[]) { this.uniforms = new Uniforms(); this.uniforms.gray = { type: '1f', value: 1.0 }; this.fragmentSrc = [ "precision mediump float;", "varying vec2 vTextureCoord;", "varying vec4 vColor;", "uniform sampler2D uSampler;", "uniform float gray;", "void main(void) {", "gl_FragColor = texture2D(uSampler, vTextureCoord);", "gl_FragColor.rgb = mix(gl_FragColor.rgb, vec3(0.2126 * gl_FragColor. r + 0.7152 * gl_FragColor.g + 0.0722 * gl_FragColor.b), gray);", "}" ]; super(this.game, this.uniforms, this.fragmentSrc); } } class SimpleGame { game: Phaser.Game; image: Phaser.Sprite; myShader: MyShader; constructor() { this.game = new Phaser.Game(640, 480, Phaser.AUTO, 'content', { create: this.create, preload: this.preload, render: this.render }); } preload() { this.game.load.image("logo","GFSLogo.png"); } render() { } create() { this.image = this.game.add.sprite(0, 0, "logo"); this.image.filters = [new MyShader(this.game, null, null)]; } } window.onload = () => { var game = new SimpleGame(); };
The major difference here is we inherit from the Phaser.Filter class. One other major difference, since TypeScript is a typed language, we need to specify our Uniforms as a class. I took the lazy approach and made each parameter an any. uniforms are paramaters passed in to the shader, although in this case Phaser itself passed in the value for vTextureCoord, vColor and uSampler. It’s through using uniforms that your game logic can control the actions of the shader.
Next we define the fragment shader source as an array of strings. Fragment shaders can be thought of little mini shader programs that are executed for each potentially drawn pixel in the resulting image. This particular shader simply samples the current pixel at the current location within the texture and multiplies that value’s rgb by a slightly more “gray” version of itself. gl_FragColor can be thought of as the return type of the fragment shader, and it contains that pixel to be displayed. A discussion of GLSL is way beyond the scope of this tutorial but more details and resources are available here.
Finally in the actual game code you can see how the shader is applied to the image we loaded:
this.image.filters = [new MyShader(this.game, null, null)];
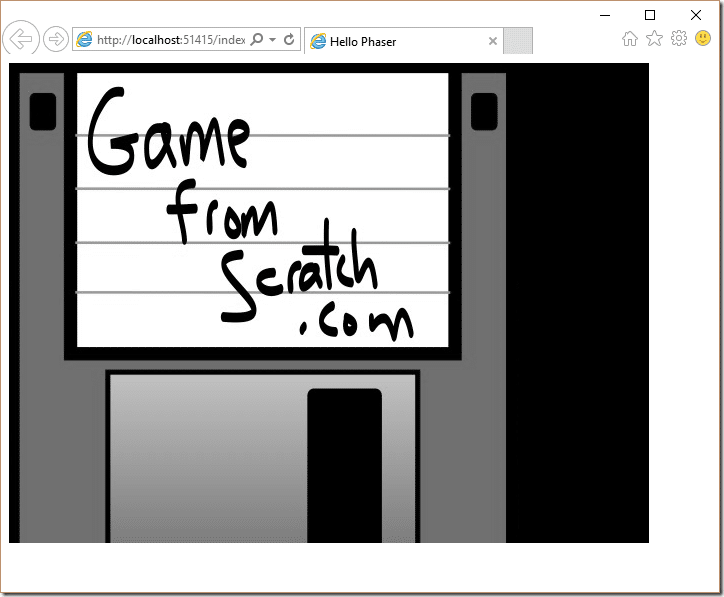
The .filters member is an array, so multiple filters can be applied if desired. When you run this example you should see:
You can apply different shaders by changing the fragmentSrc value, just keep in mind you need to setup each parameter in the Uniforms class.
If the idea of encoding your shaders into a string array is off putting, there exists code to load shaders from file.

