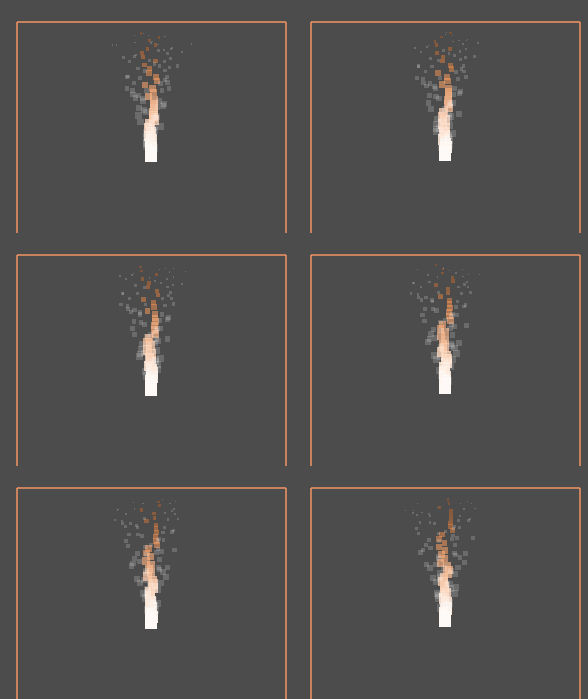
In this part we are going to explore using Particles in the Godot Engine. Particles are generally sprites, either provided by you or generated programmatically, that are controlled by a unified system. Think of a rain storm, each drop of rain would represent a particle, but the entire storm itself would be the particle system. You would not control each drop individually, instead you would simply say “rain here” and the system takes care of the rest. Particles are often used for special effects such as smoke, fire or sparks. The Godot game engine makes working with particles quite simple.
There is an HD video version of this tutorial available here or embedded below.
This particular tutorial isn’t going to go into a great deal of detail over the effects of each setting, as there is already an excellent illustrated guide right here. Instead I will focus on using particles in a hands example. As I mentioned earlier, particle systems are often used to create fire effects, and that’s exactly what we are going to do here, create a flaming/smoking torch.
Creating a particle system is as simple as creating a Particles2D node:
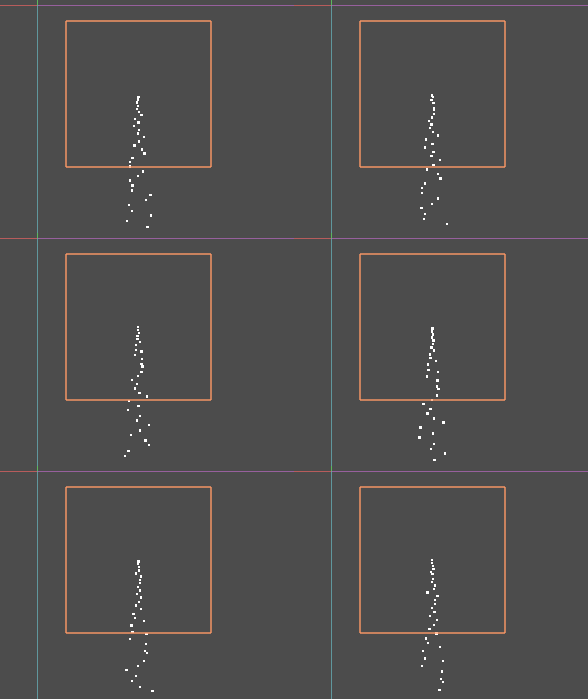
Creating one will create a simple system for you:
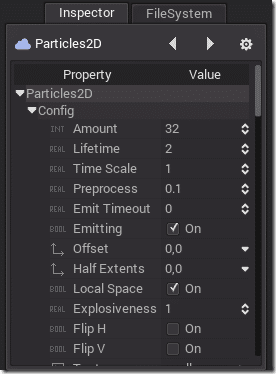
As always, the properties are controlled in the Inspector. In this case we are creating 32 particles with a lifespan of 2 seconds aimed down and affected by gravity:
Now let’s suit it to our needs. First we want to change the direction of our particles to up instead of down. This is set by setting the direction property, this is a value in degrees for the particles to be emitted in.
Here is the result:
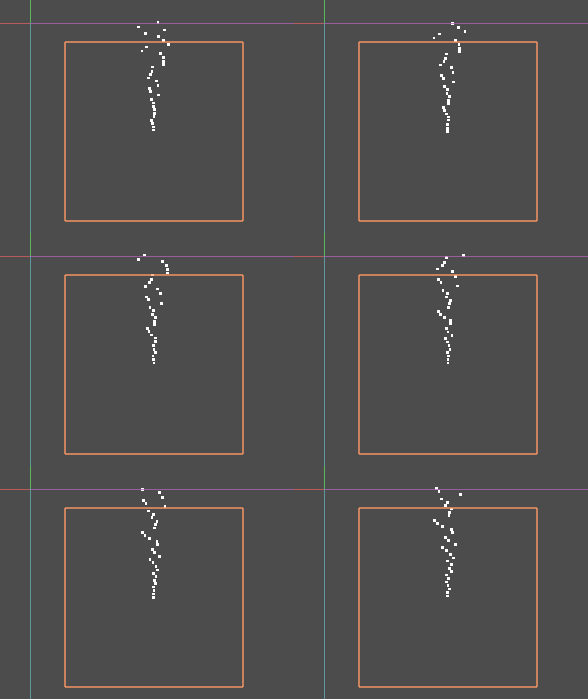
Next, since this is a torch, we don’t want the particles to be affected by gravity. Under Params, simply set Gravity Strength to 0:
And the result:
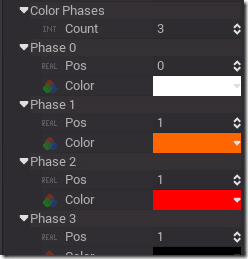
Now white dots are exactly convincing flames… so lets add a bit of color. This can be done using Color Phases. These are the colors the a particle will go through during it’s lifetime. For a torch, we will start with a brilliant white, then orange and finally red, like so:
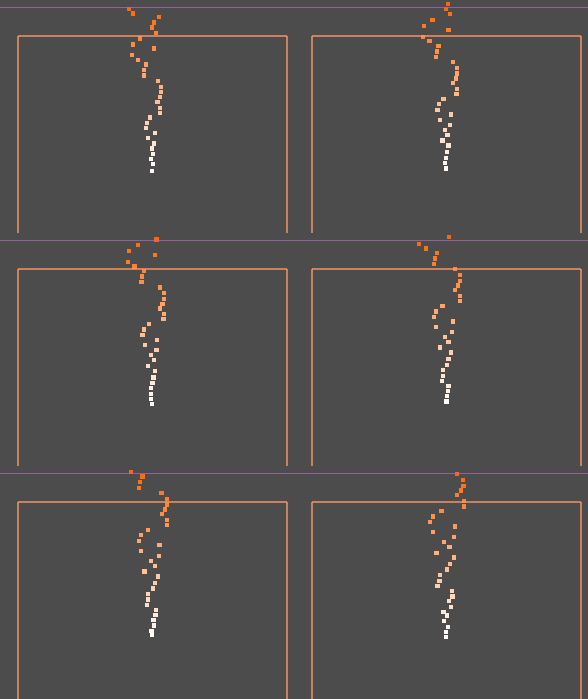
Be sure to set the Count to 3. You can have up to 4 phases if needed. Now our results look like:
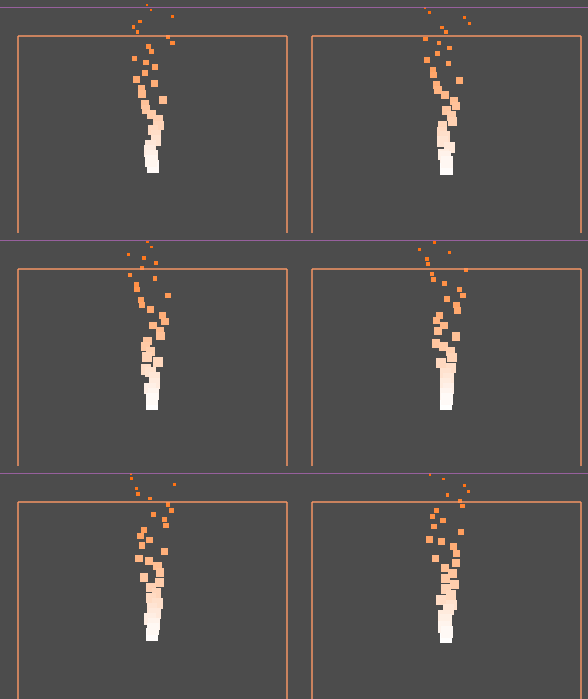
A bit better. Now we want to work on the size a bit. Let’s start our particles off bigger and shrink as they move away from the source of the flame.
Resulting in:
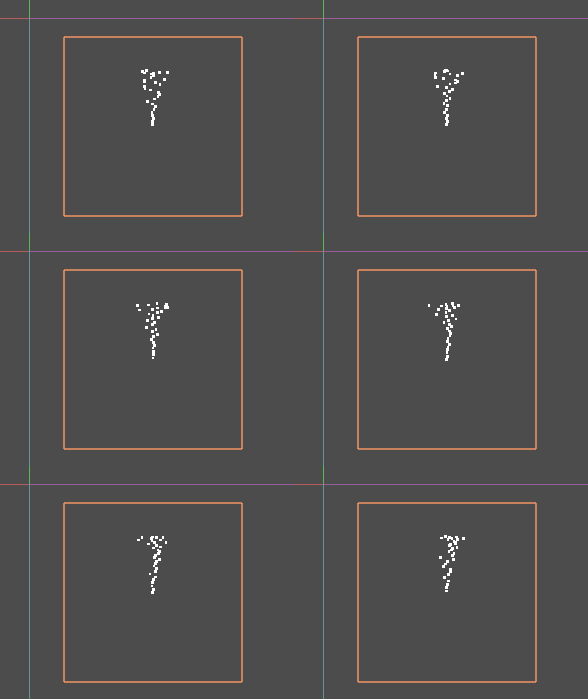
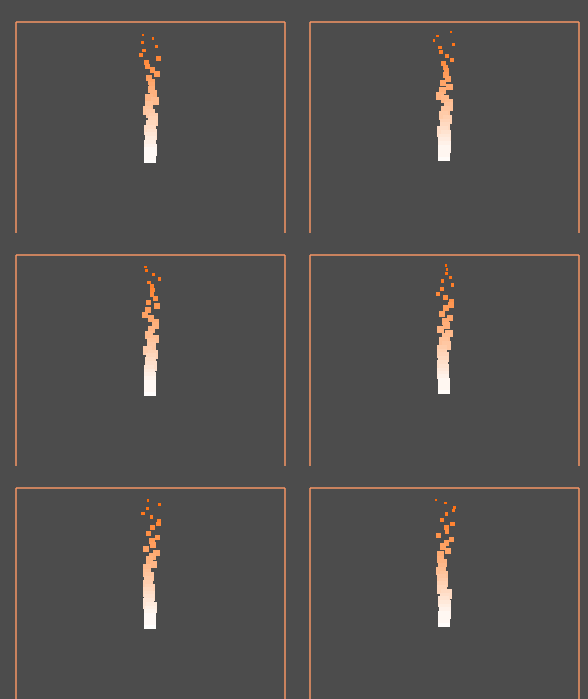
Finally we slow it down slightly and decrease the spread:
And voila:
A fairly passable torch. You could play with it a bit, use an image instead of a square particle, change the alpha value of each color phase or add another overlapping particle system to provide smoke. Keep in mind though, more particles, more processing.
Here is a simple layer of smoke added as a separate particle system and the alpha lowered on the final two color phases:
Particles are as much an art to create as a texture or 3D model. Play around until you achieve the effect you want. Be sure to read that link I post earlier for the effects various settings have on your particle system. One other area I never touch on was randomization. In addition to numerous settings for controlling how particles are created, you can also randomize each of those values so your particles end up being less consistent.
As mentioned earlier, a particle can also be created from a texture or series of textures. To set a texture, simply set it’s texture property:
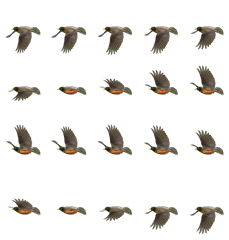
In this example I am going to use this spritesheet to create a flock of animated birds:
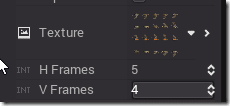
Set H and V to correspond to the number of rows and columns in your TextureAtlas:
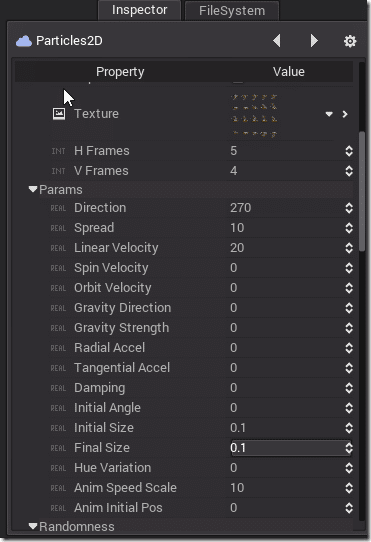
I am unsure of how to deal with TextureAtlases with empty squares, there doesn’t seem to be a way to set a total count, but I may have overlooked it. Next you are going to want to specify the speed you want it to jump between frames of animation using Anim Speed Scale
I tweaked a few more settings:
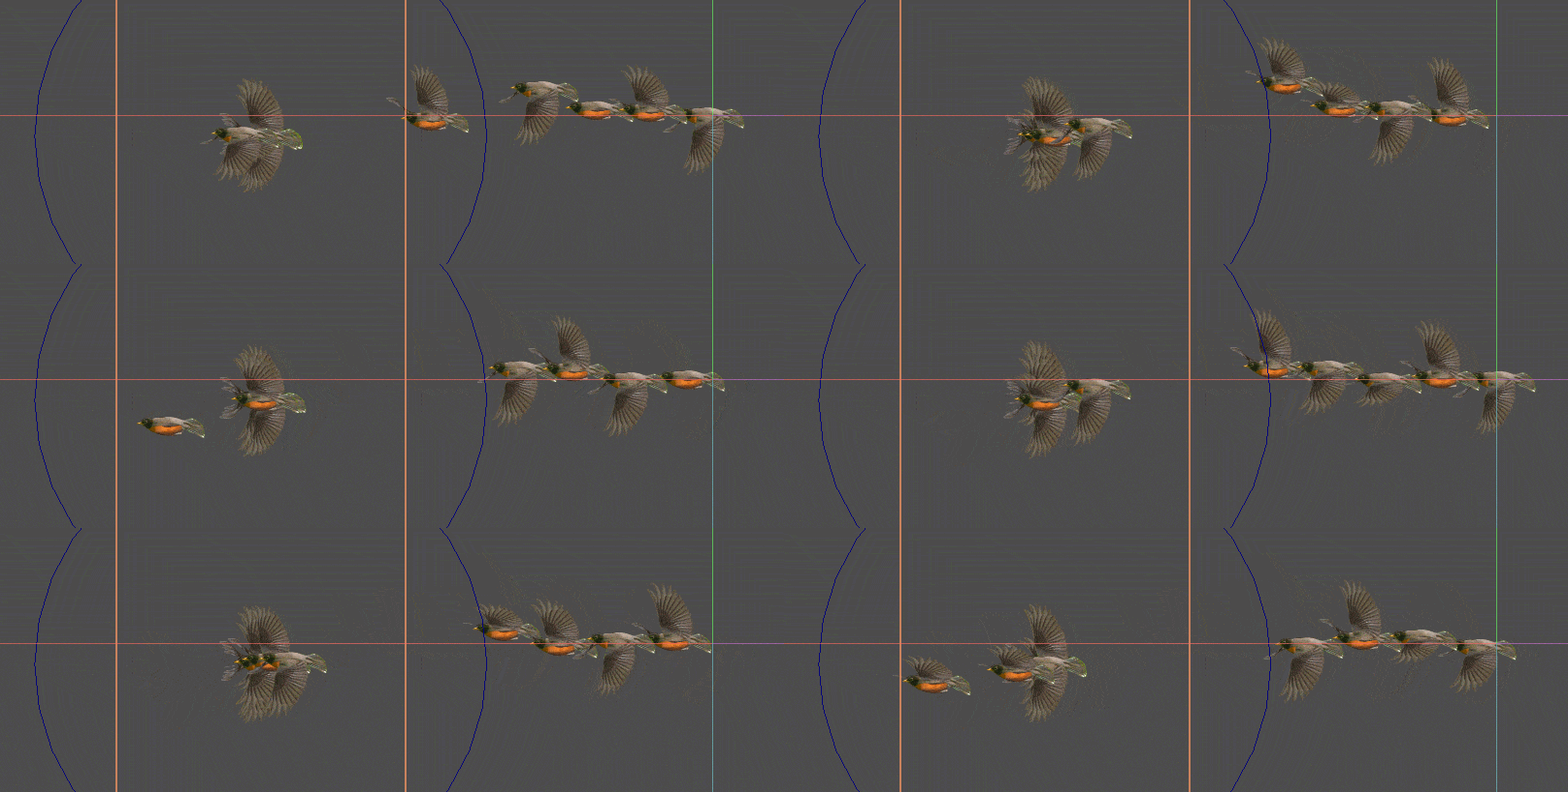
And my final results are a fairly nice flock of birds:
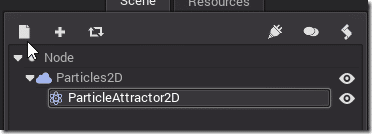
One other feature available is the particle attractor ParticleAttractor2D, which can be used to attract particles, to either fling them out the other side or absorb them. Think of it like a black hole that either sucks in or spits out the particles in it’s radius of influence:
Keep in mind that particles all have a lifespan, and once that lifespan has elapsed, it will fade away.
Particles provide a powerful way of implementing tons of graphically similar effects ( like fire, fog, flocking etc ) with a single controlling system. They are as much art as programming though, so will take some time playing around to get the effect just right.
The Video


