So as I announced yesterday, I am currently in the process of reworking some existing GameFromScratch tutorials into book formats. This presents one particular challenge… animated gifs.
While animated gifs are mostly used these days for memes and cat pics, they can also be extremely useful in tutorials. If you need to demonstrate short bit of animated process, the animated GIF works perfectly. They are reasonably small, with ok visual quality, can automatically loop, play automatically and require no plugins. However when it comes to the printed (or virtual printed) page, they simply don’t work.
So I’ve struggled how to deal with converting these animated gifs. In some cases it’s simply impossible and I will have to re-write the description, especially when I need to show a lot of detail. However I have come up with a workable solution and I figured I would share it with you. This is making heavy use of the swiss army knife of image manipulation ImageMagick. It’s a free, battle tested set of tools and libraries for manipulating images, and it’s amazingly powerful.
Consider this following animated gif:
How can we represent this as a non-animated gif. We can easily extract the first frame and display it as a non-animated image, but there is very little value in this.
We can however create a montage and the results do a decent job of demonstrating motion in a static image. First we need to split out our image into individual frames. This can be done with ImageMagick using:
convert -coalesce source.gif frames.png
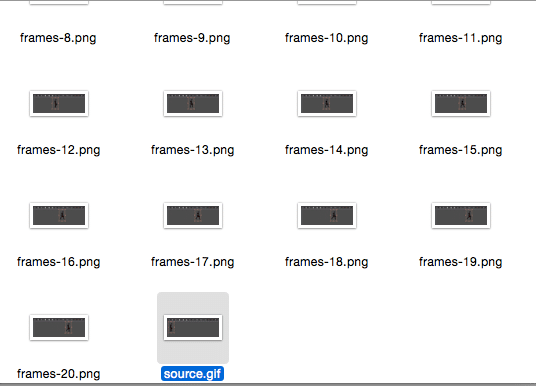
This splits your image into a sequence of frames like so:
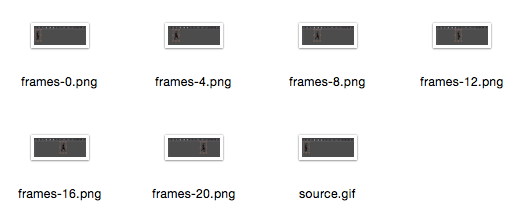
The coalesce command incorporates the background into each frame, otherwise you only get the portions of the animated gif that actually changed. Now what I am going to do is prune down from 20 frames of animation to about 6 by simply selecting and deleting every other image, twice. There is certainly a way to automate this process, but with 20 images its faster to just manually select and delete the extra frames.
Finally we are left with these frames:
Now let’s assemble them into a single image, ImageMagick comes to the rescue again:
montage -geometry 256×128 frames-0.png frames-4.png frames-8.png frames-12.png frames-16.png frames-20.png results.png
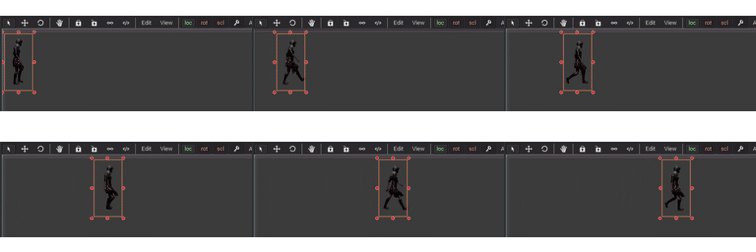
Again with several images this process could obviously be scripted. Essentially what you are doing is making a single image out of all of these frames, with each frame being 256×128 in size, resulting in:
Obviously not as effective as an animated gif, but it conveys the same information in a single image and more importantly, can be printed.
I’ll admit, that had absolutely nothing to do with Gamedev but it took me several hours to figure out how to “unanimate” an animated gif, so I figured I’d share the process for others that might be struggling with the problem.
Quick Warning to MacOS users
The above process works flawlessly with Windows, however on MacOS with ImageMagick installed via HomeBrew, when you run the montage command you will get the error:
unable to read font (null)This is because you need to install another package, ghostscript.
When installing simply do:
brew install imagemagick
brew install ghostscript
Then it should work just fine.


