In this part of the Paradox3D game engine tutorial series we are now going to look at how you actually program your games. In the end you will discover that it’s actually a pretty straightforward process, but could certainly use some streamlining. ( The option to generate a .cs file when you add a script component would be a nice little time saver… ). Minor quibble however… let’s jump in. The code in this particular example was written to target version 1.2. If the code doesn’t work any more, be sure to check the comments for suggestions. If there is no fix there, please email me.
As always, there is an HD video of this process available here or embedded below.
Creating a new Script
Scripting in Paradox is a two step process. First you create the script, generally in Visual Studio. Then you attach the script to an entity, either programmatically, or using the editor. We are going to look at the process of creating the script first.
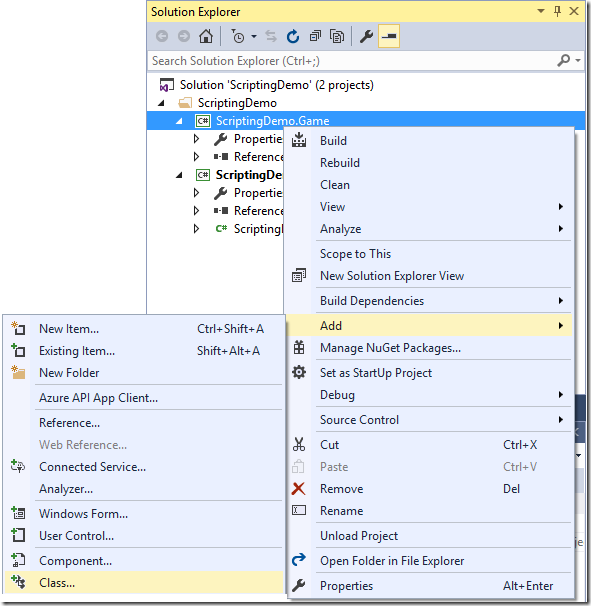
In Visual Studio, inside your .Game folder, create a new cs file.
I personally called mine ExampleScript, outside of standard variable naming requirements, the name really doesn’t matter. We now have two options as to how we want to implement our script. It can either be a SyncScript or AsyncScript, we will show an example of both.
A SyncScript as the name suggests, runs Syncronously. That is, the game loop iterates over and over and we frame our script’s update function is called and we handle the logic of our script. An AsyncScript on the other hand, takes advantage of C# 5’s async functionality, and allows your script to run in parallel. This could lead to performance gains on multi processor machines. Which works best is ultimately up to you and your game’s design.
SyncScript example:
using System; using SiliconStudio.Paradox.Engine; namespace ScriptingDemo { public class ExampleScriptSync : SyncScript { public override void Update() { if (Game.IsRunning) { if (Input.IsKeyDown(SiliconStudio.Paradox.Input.Keys.Left)) { this.Entity.Transform.Position.X -= 0.1f; } if (Input.IsKeyDown(SiliconStudio.Paradox.Input.Keys.Right)) { this.Entity.Transform.Position.X += 0.1f; } } } } }
AsyncScript example:
using System; using System.Threading.Tasks; using SiliconStudio.Paradox.Engine; namespace ScriptingDemo { public class ExampleScriptAsync : AsyncScript { public override async Task Execute() { while (Game.IsRunning) { await Script.NextFrame(); if (Input.IsKeyDown(SiliconStudio.Paradox.Input.Keys.Left)) { this.Entity.Transform.Position.X -= 0.1f; } if (Input.IsKeyDown(SiliconStudio.Paradox.Input.Keys.Right)) { this.Entity.Transform.Position.X += 0.1f; } } } } }
This particular tutorial isn’t actually about how you program Paradox, so don’t pay too much attention to how the code works, that will all be explained later. Just be aware that both Async and Sync scripts do the same thing, transform the Entity they are attached to along the X axis when the Left or Right arrow keys are pressed. The important take away points are that your script derive from one of the two mentioned classes, that your script has access to the entity it is attached to and actually has access to the entire game engine, allowing you to do just about anything. Update() is not the only callback function implemented, there is also one for Start and Cancel available, if you need to do startup or cleanup functionality.
One final extremely important note… MAKE SURE YOUR CLASS IS PUBLIC! Otherwise it will not be available in the editor! Sorry, I’ll stop yelling now.
Implement one of the two scripts ( or both, it doesn’t matter ), then compile your project to make sure you haven’t made any errors. We are now ready to attach the script to an entity in Paradox Editor.
Attaching a Script using Paradox Studio
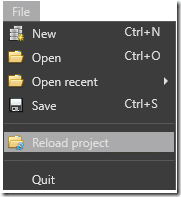
Now that we have a script, we can attach it to one or more entities in our scene. In an ideal world, Paradox Studio should notice the changes you made, and pop up a dialog telling you so. Unfortunately, at least right now, it rarely succeeds with the first script you create. In this case, simple do a quick restart of Studio using the menu, File->Reload project.
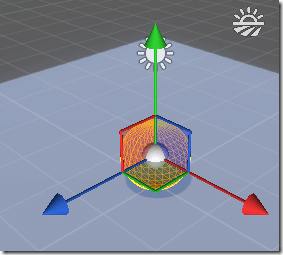
Now in the 3D view, select the entity you want to attach a script to. If you are unfamiliar with operating Paradox Studio, please refer to this tutorial. I am going to attach this script to the sphere model created in a default scene:
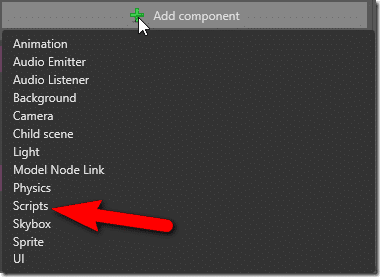
Now go to the Property Grid and press the Add Component button and select Scripts from the drop down.
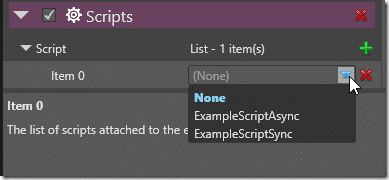
Now scroll down to the Scripts component that should have been added, Click the green plus sign next to Script, then in the drop down for Item 0, select your script.
Run your game using the toolbar:
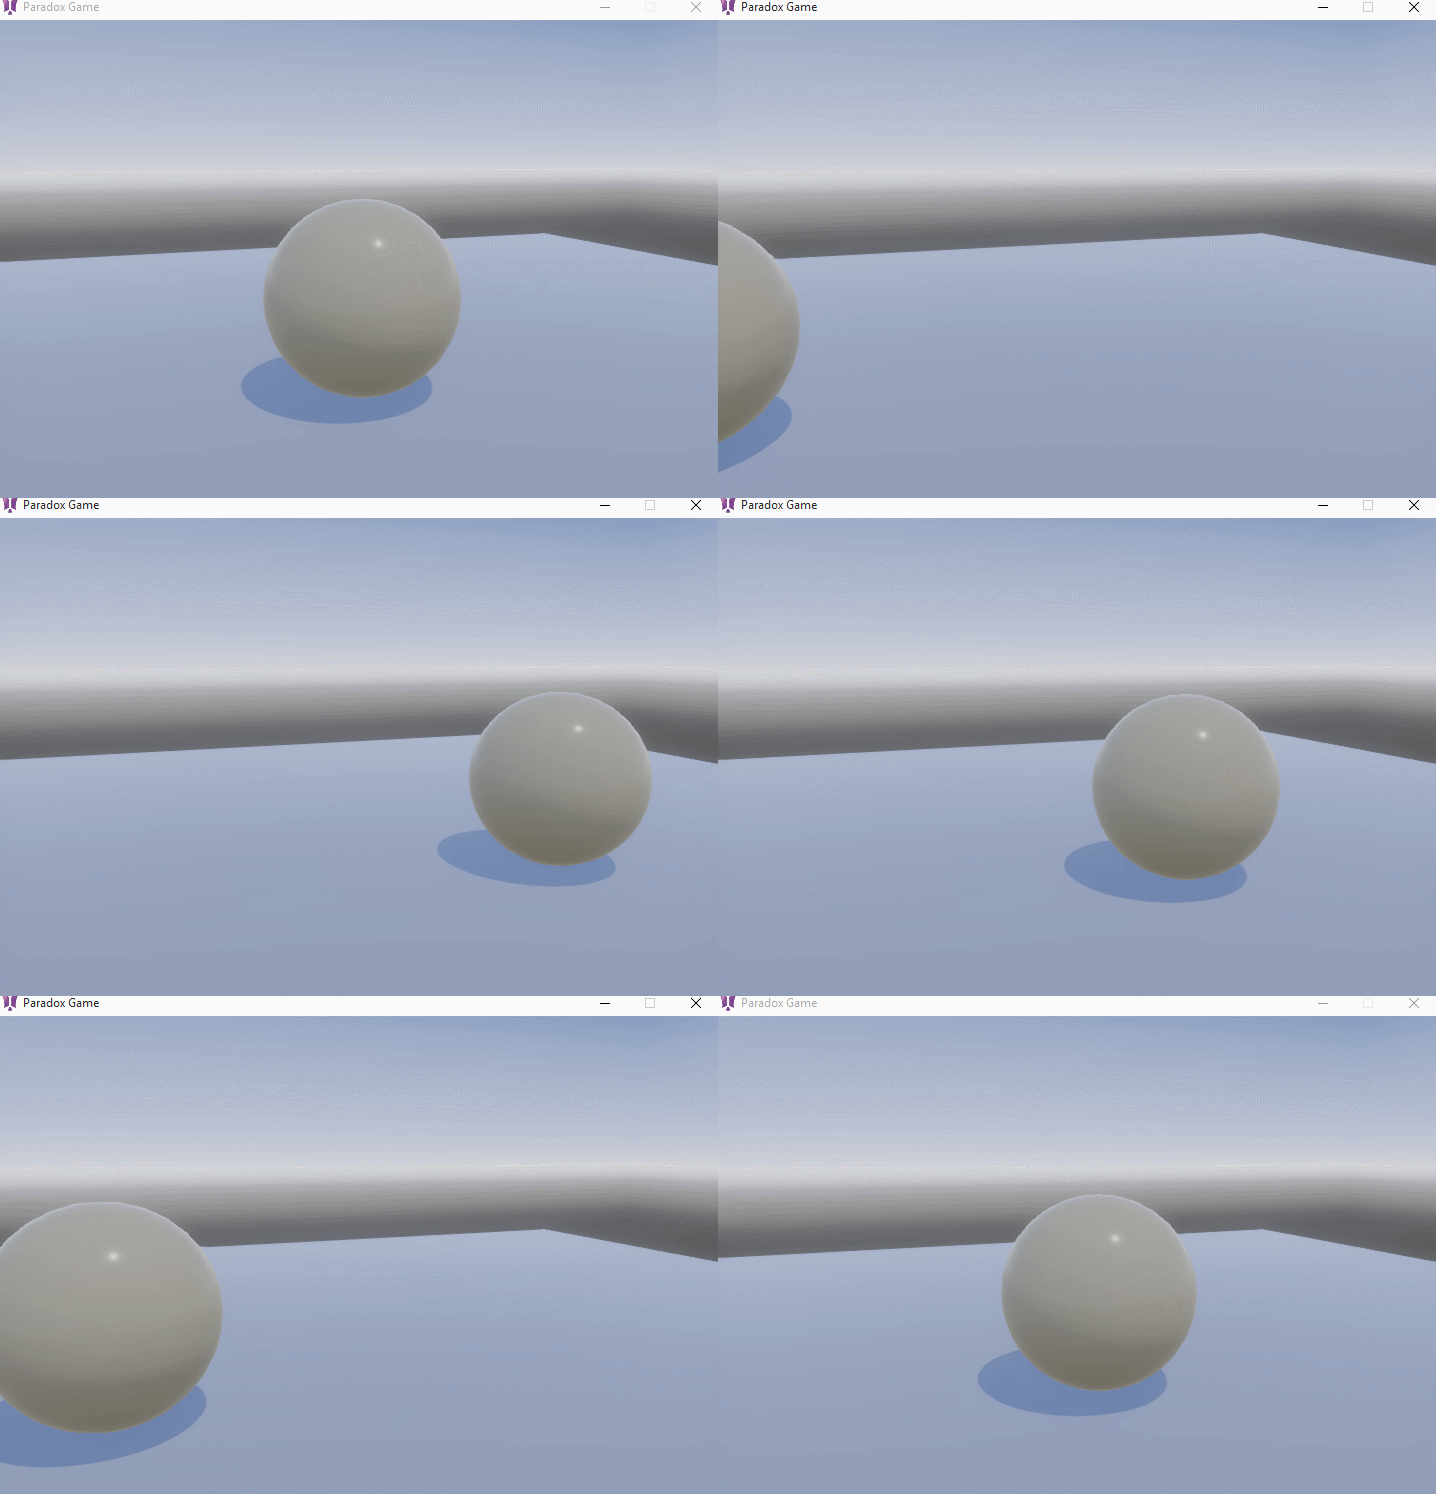
You can now control the sphere using the arrow keys:
A couple cool things here. First this shows that the same script can be used to control multiple entities. We could attach the exact same script to our camera, the light, another model, etc… and it would just work. Second, you can attach multiple scripts to the same entity.
What we didn’t cover
We covered the basics of attach a script to an Entity in Paradox, and I think it should give you a good idea of how you add logic to entities in your game. There are two things we didn’t cover (yet), that I think it should be important to be aware of before we move on.
First, in addition to the SyncScript and AsyncScript classes, there is a third scripting type, StartupScript. This is a type of script that is called when your object is created. The major difference is it is not called each frame or async, like the other two scripts.
Second is the game class. If you look in your generated project, in each platform you will see an entry point, like this one for the Windows platform:
Here are the contents of that script:
using SiliconStudio.Paradox.Engine; namespace ScriptingDemo { class ScriptingDemoApp { static void Main(string[] args) { using (var game = new Game()) { game.Run(); } } } }
As you can see, the heart of this script is to create an instance of Game, then call Run(). If you require more control over the lifecycle of your game, you can easily derive your own game from the Game class and create an instance of it instead. We will see a simple example of this process in the next tutorial.
Don’t worry if you are a bit lost on the specifics of the code, I had no intention of explaining how the code actually works, those posts will be coming in the near future. You should however have a good idea now of how you create a script and attach it to your game entities.
The Video

