Now that PlayN has been pushed into Maven Central, life and installation just got a heck of a lot easier. Not that I appreciate their timing… couldn’t you have done this on Friday before I wrote an installer!
I will cover two ways to create a PlayN project.
Using Eclipse to create a new PlayN project
Load Eclipse. If you haven’t already, install the JDK and Maven m2e plugins, which are described in this thread.
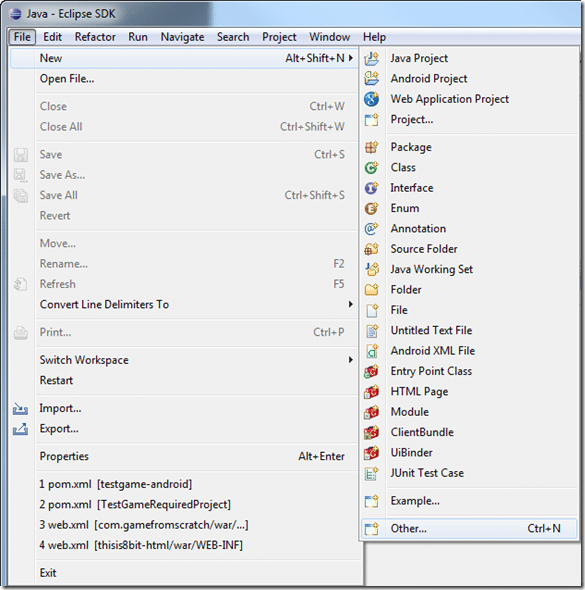
Select File->New->Other…
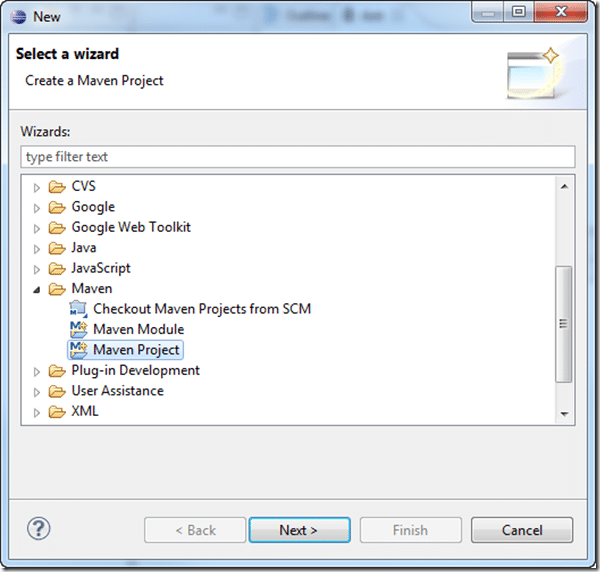
Scroll down and select Maven Project in the Maven folder. Click Next.
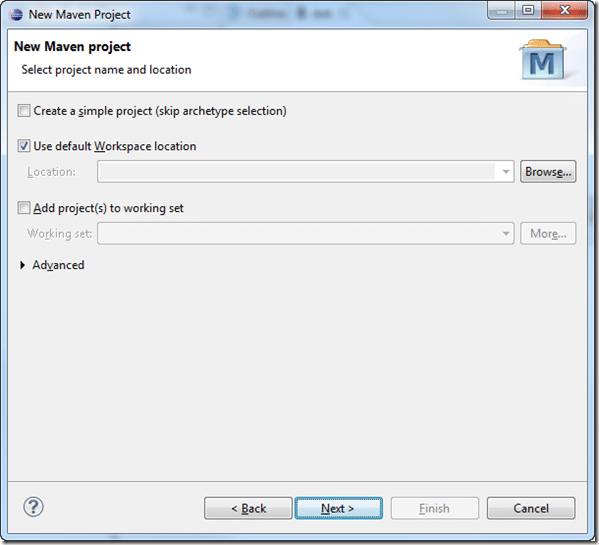
Click Next again, if you don’t want to change the Workspace that is.
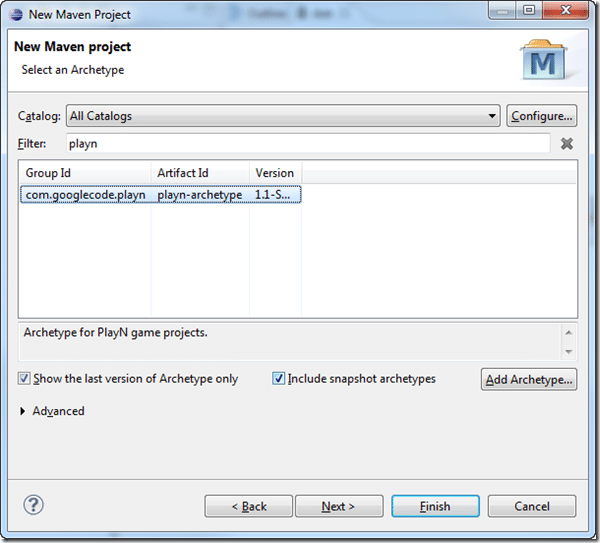
In the “Filter” type Playn, then select com.googlecode.playn. Click next.
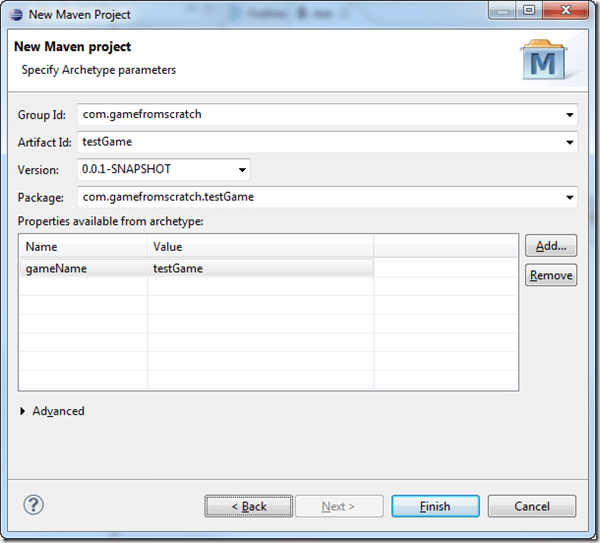
Now fill in your game details. There is a small bug in Eclipse in that the Finish button will not be available until you click focus away after filling in the gameName value. Once you fill that in, click somewhere else on the dialog and the finish button will be enabled. Click it.
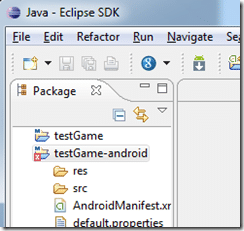
Your game will be created, but you might get an error like I did: Notice the red x by the testGame-android?
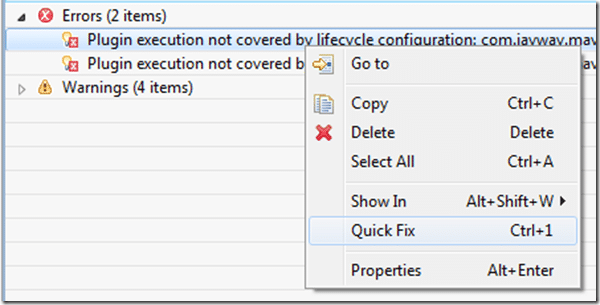
If you look down in the problems section, you will see details off the error:
Fixing this is pretty straight forward. Right click each one and select, appropriately enough… Quick Fix. Do that for both errors.
In the following dialog, select “Permanently mark goal…” then Finish. Another dialog will pop up, simply click OK. You may ( I did once, and not the second time ), get another error along the lines of your project needs synchronization. Simply Quick Fix it as well.
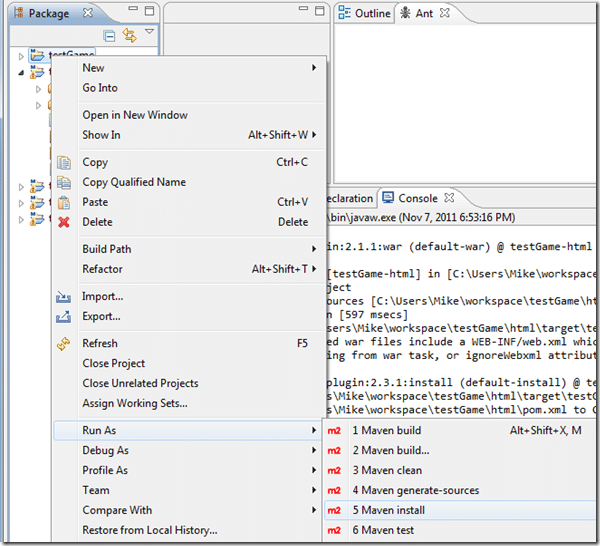
Now right click your game ( root class as in “YourGame” not “YourGame-core” ), choose Run As->Maven Install.
Sadly, I am currently getting this error still, with the Flash build being broken:
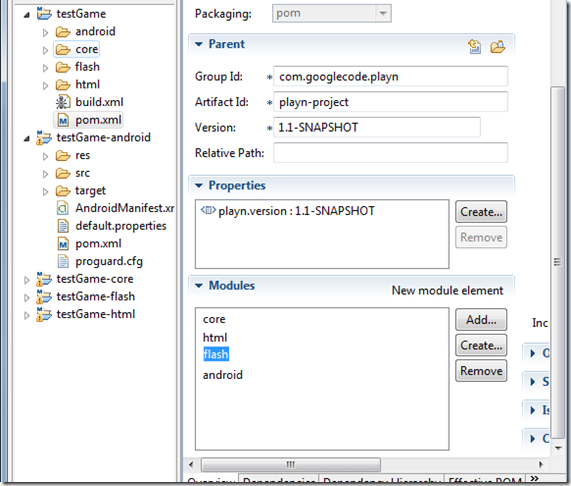
As a temp work around, open pom.xml from your root project, find Flash in the modules section and remove it.
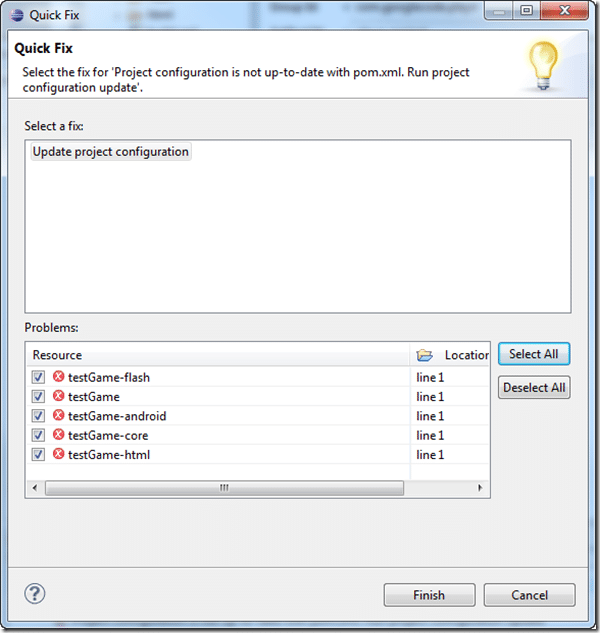
After removing it, you get that error I mentioned earlier. Simply right click and select Quick Fix.
When you do, this dialog will appear. Select all then click Finish.
And you are done. The process is actually quite a bit easier than it looks, and if it weren’t for the few incompatibilities, it would be flawless. Regardless, it is a much nicer process than before!
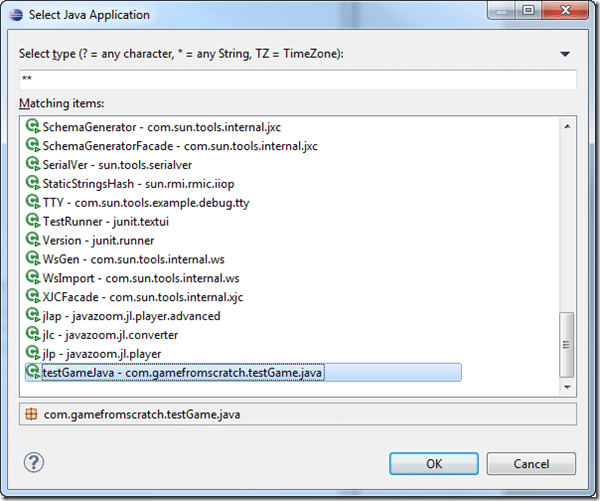
You can now run your project, for example, right click yourproject-core and choose Run As->Java Application. Scroll down and select your main:
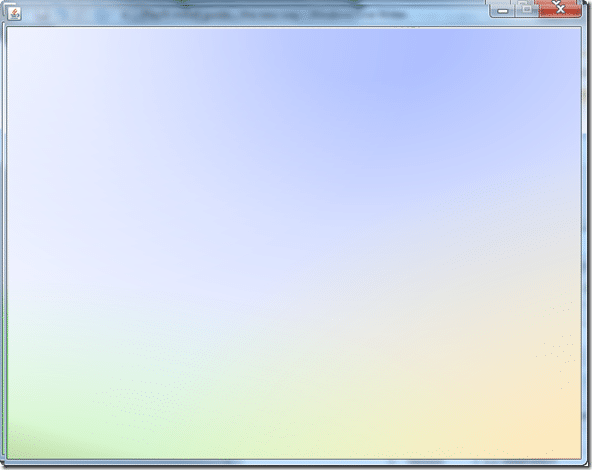
And there is your game running in Java!
All told, the process takes about 3-5 minutes, a very reasonable amount of time.
Using Netbeans to create a new PlayN project
Now we enter the ( in my opinion ) much nicer land of using Netbeans instead of the hateful Eclipse. As you will see in a second, this process is an absolute joy!
Load up Netbeans. I am using the 7.1 beta, but other versions should be similar enough.
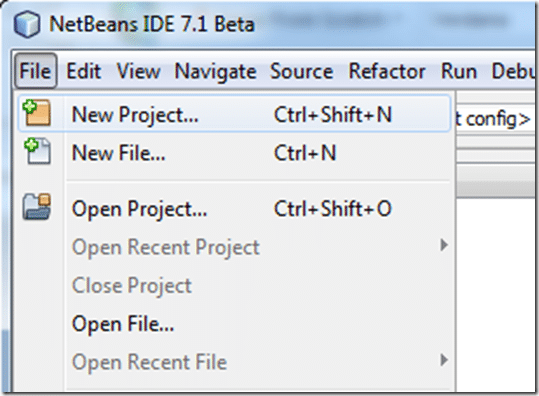
Select File… New Project:
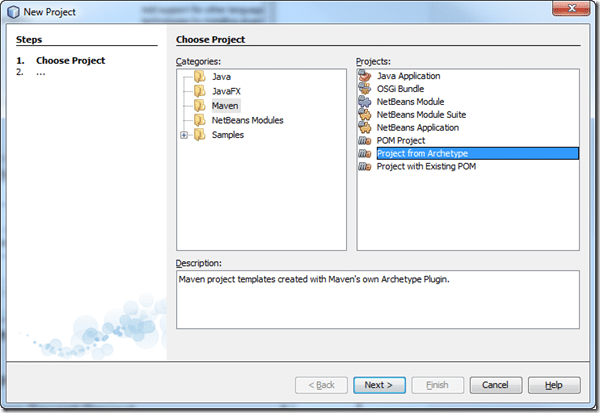
Select Maven, then Project From Archetype, click Next.
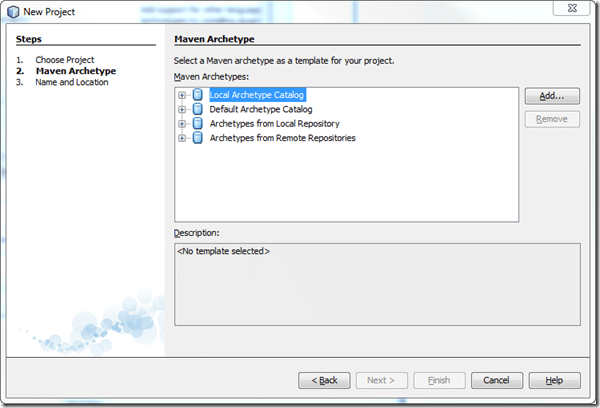
In the New Project dialog, click Add:
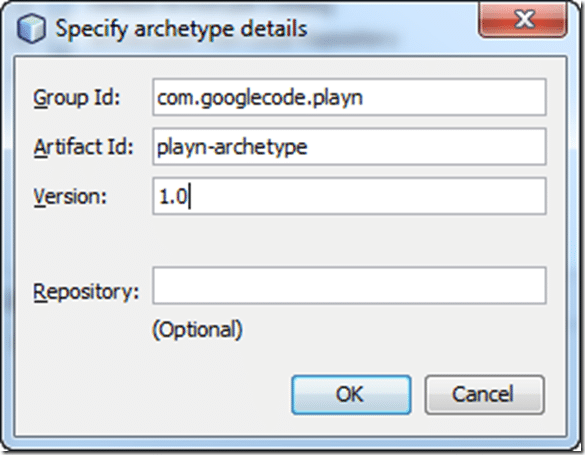
Fill in as follows, then click OK
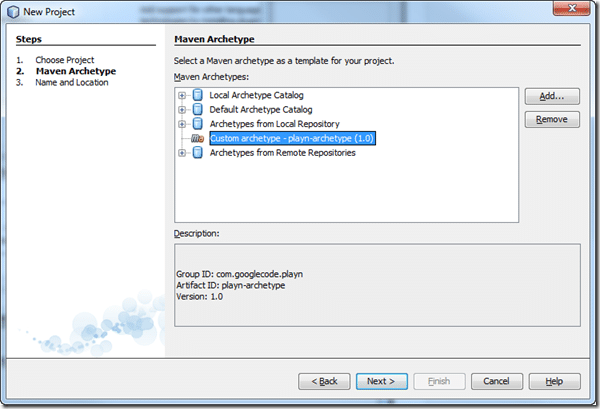
Back in the New Project Dialog, select your newly added archetype and click Next.
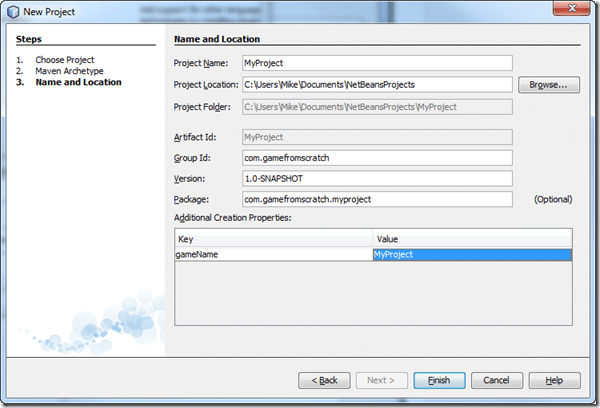
Fill the next screen in like follows. Make sure you fill in a value for newGame and click somewhere in the dialog to make sure it takes. Then click Finish.
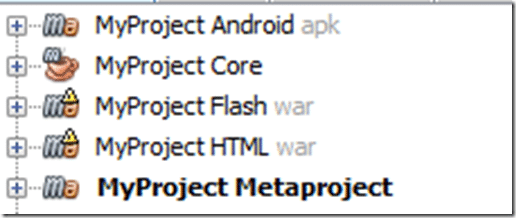
NetBeans will churn away for a minute while it creates your project and voila!
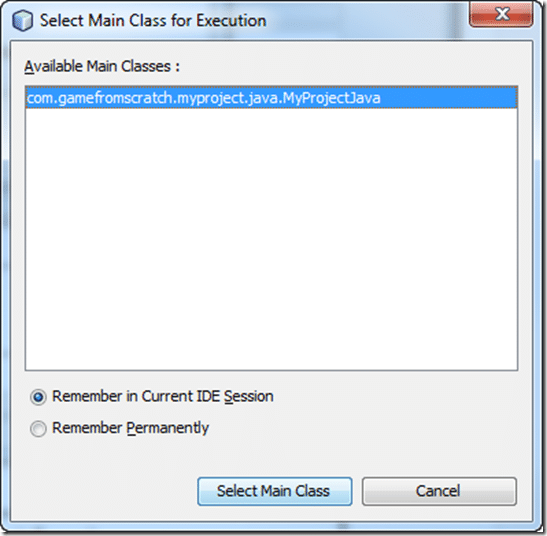
Right click your project Core and choose Run. In the dialog that pops up, choose your main class ( there is only one ), then Select Main Class.
And voila:
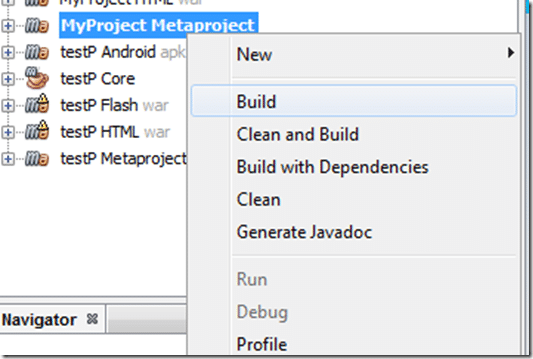
To fully build your project, you need to right click MyProject MetaProject and choose Build:
And a familiar problem arises:
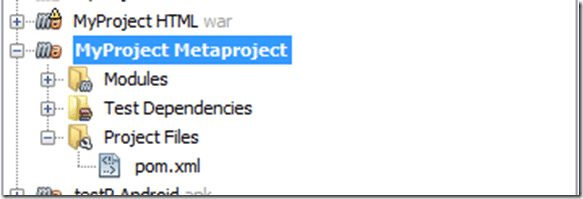
Same solution too. Under your metaproject locate pom.xml
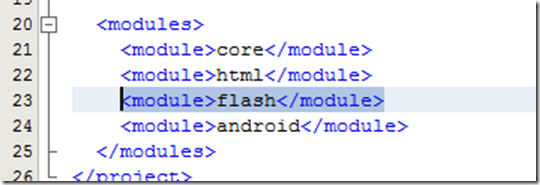
And remove this line:
Once you edit that line and save, right click-> Build your meta project again. This time everything should work fine.
Can you tell why I prefer NetBeans over Eclipse any day?

