In the first tutorial we looked at installing Superpowers, running the server and creating our first project. In the next tutorial we got to know the editor, the relationship of Actors and Components and finally created a camera for our game. In this tutorial we are going to draw a sprite on screen, then a sprite sheet which will enable animation. So without further ado, let’s jump in.
There is one more important part of the relationships in Superpowers to understand. As we’ve seen already, our Scene is composed of Actors, which in turn are made up of Components. Components however can have Assets. Assets on the other hand are NOT part of the Scene. They actually exist at the same level as the Scene and can be used in multiple scenes. Assets are declared on the left hand side of the interface.
Adding a Sprite to Your Game
On the left hand side of the screen click the page with a plus sign icon (the same we used to create the scene):
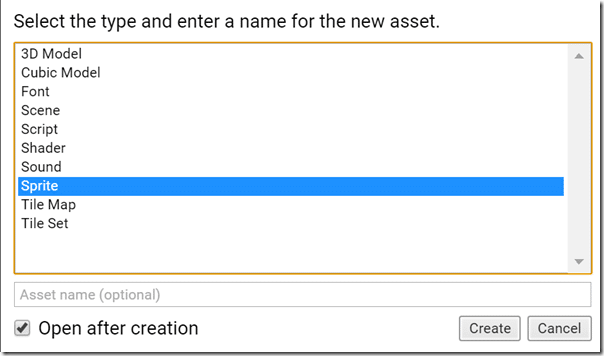
In the resulting dialog, select Sprite:
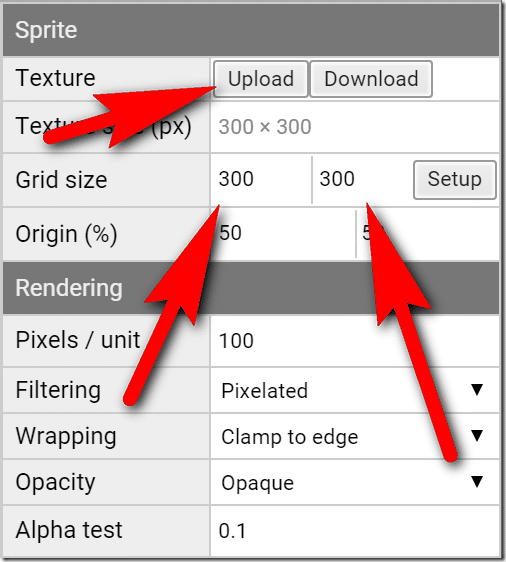
The sprite options will now be available in the inspection window on the right hand side of the screen. In that window, select Upload and navigate to the image file you are going to use for your game. We sure to use a web friendly format such as JPG or PNG. Then set the grid size to the same dimensions as the Texture Size, like so:
You could also modify the pivot point of the sprite by changing the origin position. The default of 50% will put the pivot point in the middle of the sprite, so this is the point the sprite will be drawn and transformed relative to. You can also configure the opacity, how the sprite is rendered, etc. The Grid Size parameter is used when you have multiple sprites in a single texture, which we will use later.
Adding a Sprite Component
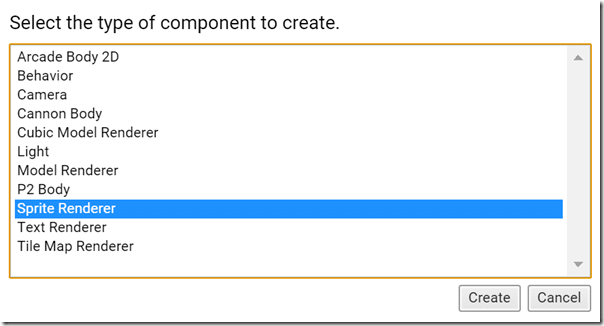
Now that we have a sprite asset available in our game, let’s add one to our scene. First on the left hand side, or using one of the tabs across the top of the editor, select your Scene. Next create a new Actor, just like we covered in the previous tutorial, name it sprite or something similar. Finally click the New Component button and select Sprite Renderer, then click Create:
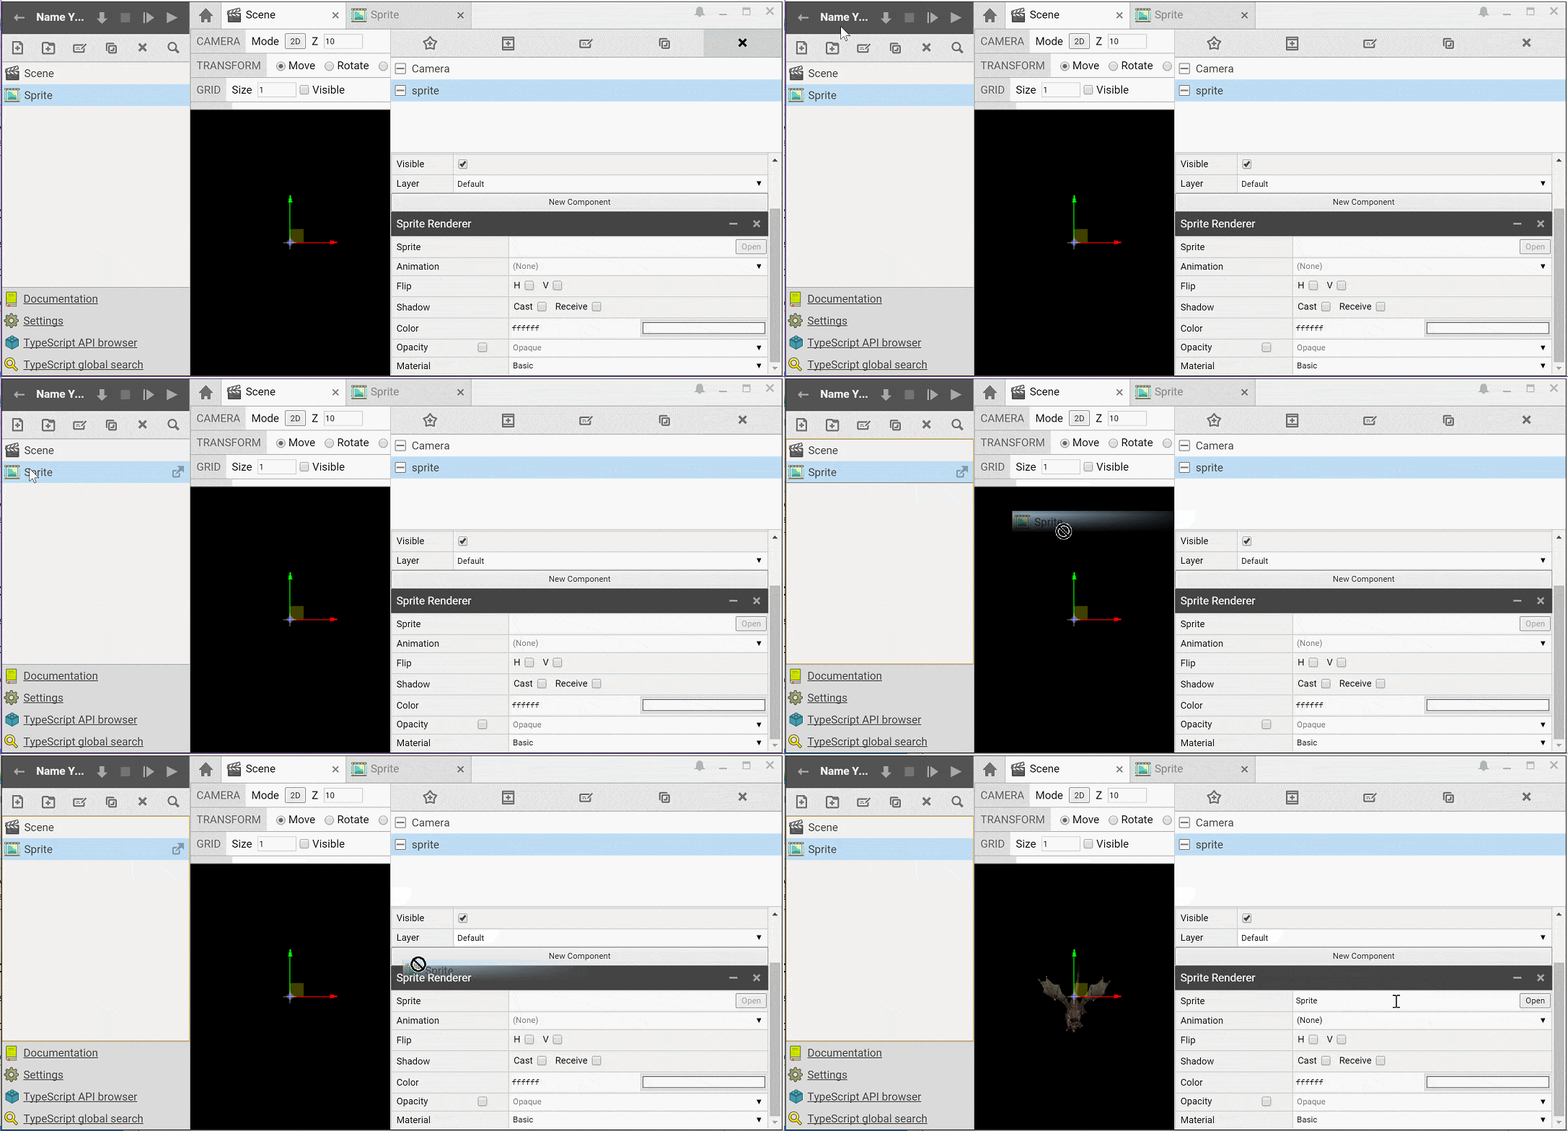
Now there should be a SpriteRender component available. From the Asset window on the left side of your screen, drag the sprite you added to the Sprite field of the Sprite Renderer in the Inspector, like so:
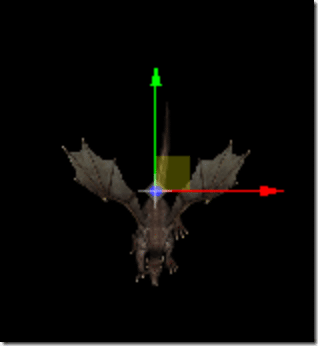
Tada, we’ve added a Sprite to our game world and it should now show up in the View in the center of your screen:
The sprite can be positioned using the transform widget, or directly in the Transform component on the right.
Running Your Game
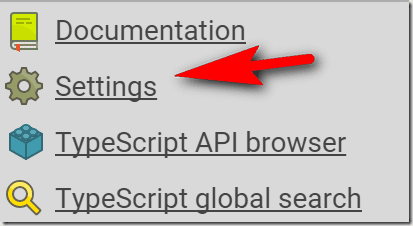
Now that we’ve got a camera and something on screen, let’s take a moment to actually run our game. There is a small amount of configuration we need to do. On the left hand side of the screen, locate the “Settings” link, click away!:
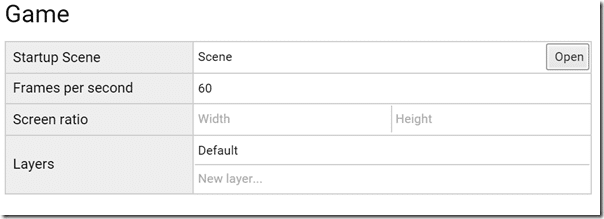
In the resulting form, select your scene as the starting scene(via drag and drop):
We have one final task to perform. Our Camera and our Sprite are both at the same Z location, meaning that at least initially, nothing will be in the view of the camera. You have one of two options, you can either position all of your sprites at a –z location, or you can move your camera to z=1. The later is the easier option, so I will go that route. Select your camera actor, it’s transform component and set the Z value to 1:
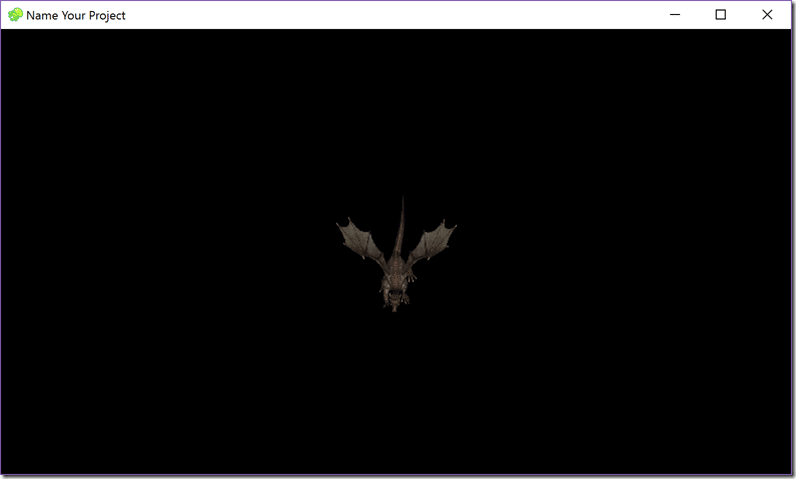
Now we press either Play or Debug in the top left menu. The debug option will load Chrome with the developer tools enabled, making it possible to detect errors in your code. The Play option will run it in the Superpowers player. Either way, we should see:
Congratulations on your first successful game!
Using a Spritesheet
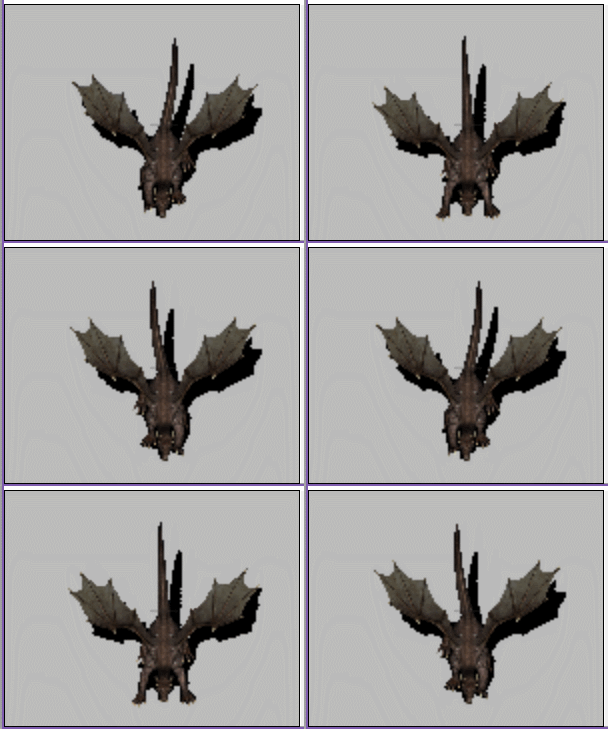
Now let’s take a look at how we can used multiple sprites in a single texture, often known as a spritesheet. I’m using this simple 3×1 sprite sheet:
Add it as an asset like we did earlier. This time however, after we upload the image, we want to configure the grid size using this button:
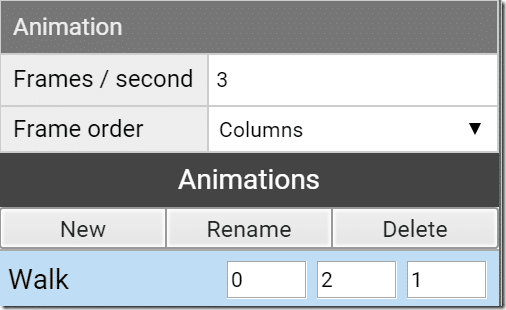
When prompted enter the number of rows (1) and columns (3) in your image, or simply enter the width and height of each frame of animation in the text boxes. Now lets create a new animation named walked. Simply click the New button under animation, name it walk. Then in the settings we set (I believe, the UI does not make it obvious), the first frame of the animation, the length and the number of frames to step by. I also set the animation speed to 3 frames/sec meaning our 3 frames on animation will play once per second.
And the end result:
Ignore the twitch, that’s just me capturing the animated gif at the wrong end point.


