
In this article (and attached video), we are going to look at installing, configuring and using vcpkg, a package manager for Windows C++ development. When starting a C++ project one of the largest pain points is installing and configuring external libraries, a problem vcpkg mostly solves and makes the typical C++ developers life a much more pleasant experience.
Before You Begin
Before you can start using vcpkg, there are a few things you need to have installed:
- git
- Visual Studio 2015 or later (including Build Tools), free/community versions are fine.
- Windows 7 or later
It should be noted that vcpkg can work with Visual Studio Code. Additionally vcpkg can be used on Linux and MacOS as well, but in this tutorial we are going to focus on Windows development.
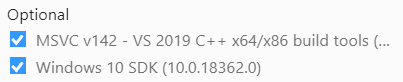
Regardless to if you choose Visual Studio or Build Tools, there are some features you need to be sure to install, specifically C++ support:

Next you are going to want to make sure that MSVC build tools and a version of the Windows 10 SDK are both installed.
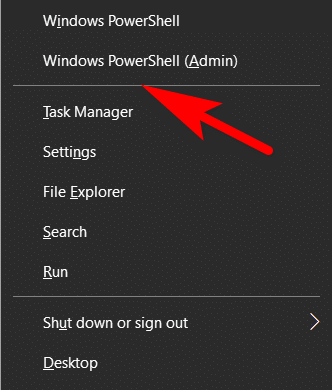
Now it’s time to install vcpkg. Start off by creating a command prompt with administrative permissions or select Windows Key + X, then select Windows PowerShell(Admin).
Next we are going to need to pick a directory to install vcpkg to. These files are going to remain installed after we are done, so pick a location you are comfortable with but one that doesn’t require special permissions such as Program Files. I chose c:\dev in this example. Run the commands:
cd c:\dev\
git clone https://github.com/microsoft/vcpkg
cd vcpkg
bootstrap-vcpkg.bat
vcpkg integrate install
That is it, we are now ready to start using vcpkg. First you need to find a package to use, of which there are @ 2000 configured in vcpkg at this point in time. Let’s start by finding the name of the package we want to work with. In this example I am going to use the excellent RayLib game library (you can learn more about RayLib 3.0 here). We locate the name of the package using the built in search functionality. Simply type:
c:\dev\vcpkg\vcpkg search raylib
The results should look something like:

Note we have two different options here, raylib and raylib[non-audio]. We are going to install the full version ‘raylib’. This is done with the command:
c:\dev\vcpkg\vcpkg install raylib
At this point vcpkg will do the magic of downloading and installing the raylib library for you. Due to the “integrate install” command we ran earlier your library is ready to go in Visual Studio, no further actions require. No need to configure the linker, simple add the appropriate #include to the top of your code and presto, you’re ready to go!
What About Visual Studio Code?
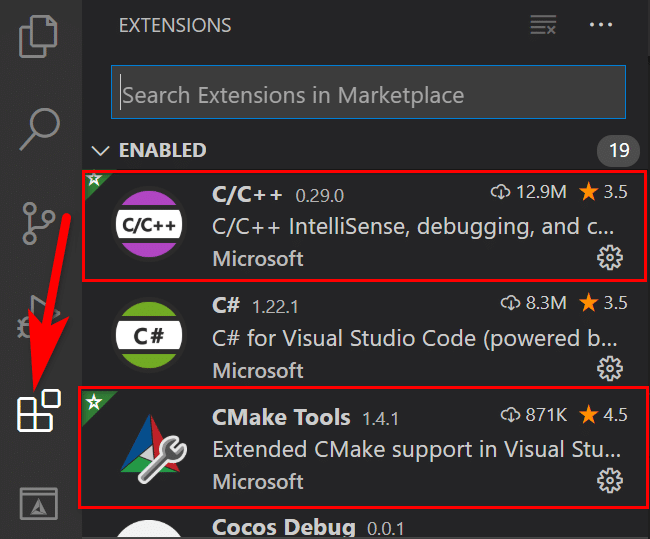
Using vcpkg can also make C++ development more enjoyable for Visual Studio Code (and CLion users too) developers, but the process is slightly different. Launch Visual Studio Code, then lets set up a pair of extensions, CMake Tools and C++:
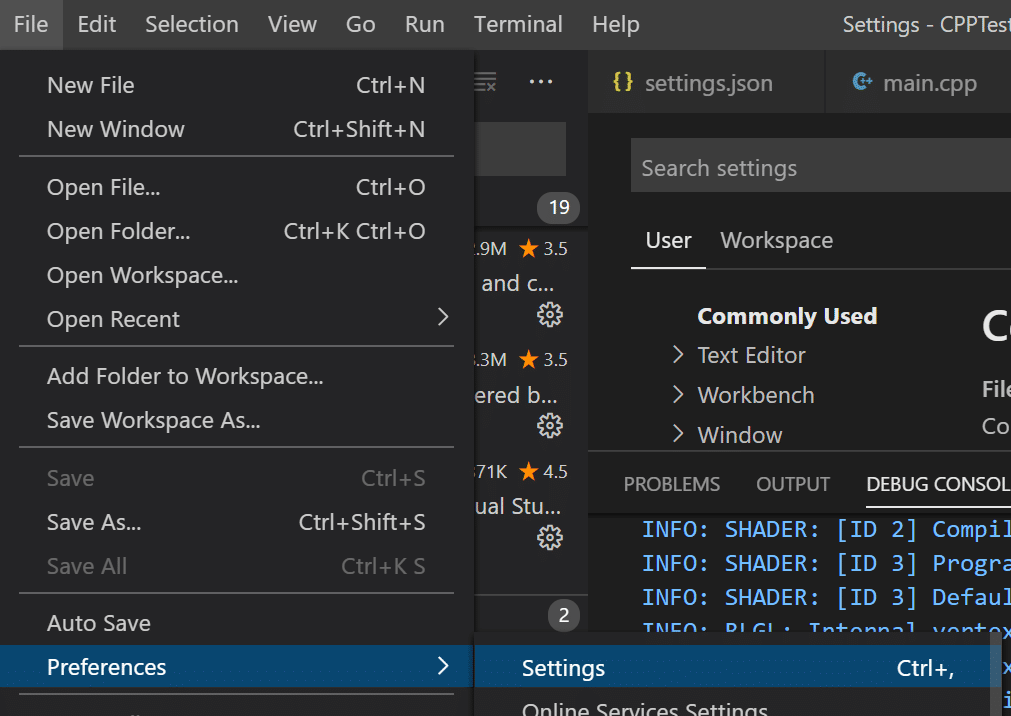
Next we need to configure Visual Studio Code to be aware of vcpkg. Open settings.json (this is a global configuration file for Visual Studio Code itself) by selecting File->Preferences->Settings or Ctrl+, (that’s a comma btw…).
Next in the newly opened editor window, click the editor button to switch to text editing mode.

Now add the following line somewhere within the settings.json file (making sure the line before it ends with a comma.
    "cmake.configureSettings": {
          "CMAKE_TOOLCHAIN_FILE": "c:/dev/vcpkg/scripts/buildsystems/vcpkg.cmake"
        }
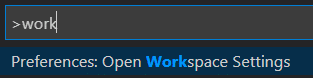
Now we can use any library we install using vcpkg without any additional setup. You can also perform this on a per project basis. Open the command palette then select Preferences Open Workspace Settings.
The process from this point on is the same process as above.
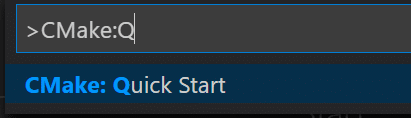
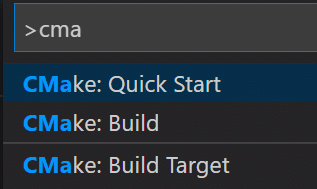
With CMake Tools installed, we can start a new CMake project easily enough. In the palette (Ctrl + SHIFT + P or F1 if you dont want finger exercise!), type CMake: then select Quick Start.
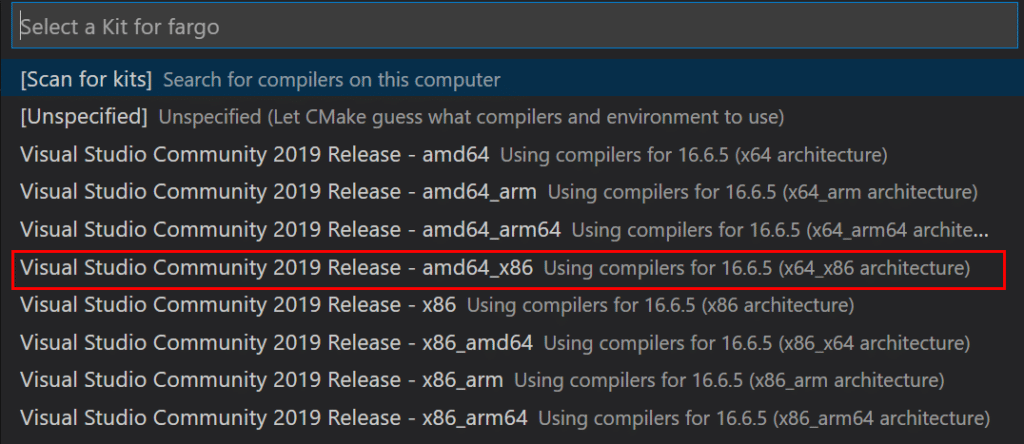
This will walk you through process of creating a basic CMake file. Start by picking your build target, I chose X64_86 personally.
Finally name your target, I called mine fargo, for no apparent reason.

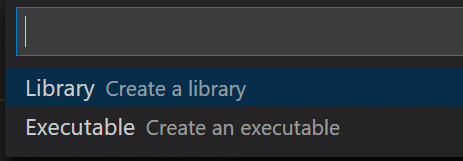
Finally we select the type of project we are creating, be it a executable or library. In my case I’m going with executable.
Now we are just about done. Time to build our code! Simply select CMake Build or hit F7.
Your code should build now and hopefully everything goes well. Take a look at the output, it will inform your of where your executable was built (in this case c:\temp\fargo\build\Debug\fargo.exe). This is useful in setting up the debug configuration.

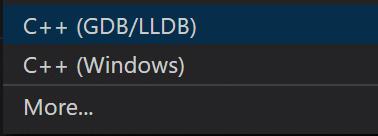
Hit F5 to run your code. Next select C++ (Windows)
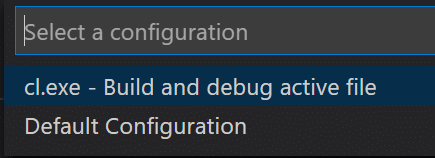
Then select Default Configuration:
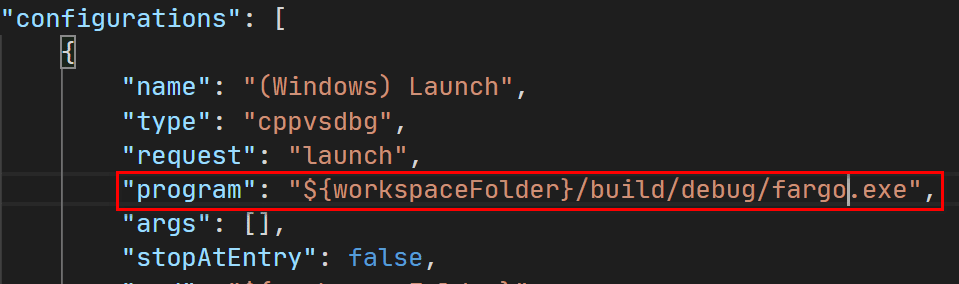
The file launch.json will now be open, edit the “program” entry to point to the location of your executable, using the detail from the output above. In my case I used “${workspaceFolder}/build/debug/fargo.exe”
Finally hit F5 to run your code. You are done, you know have a successful build environment.
Unfortunately vcpkg isn’t as seemless when working with Visual Studio Code. It works with CMake and handles package installs, but you have to do a bit of grunt work (at least for now, vcpkg integration in Visual Studio Code is improving over time). Don’t worry, it’s not a terrible process. Open up the CMakeList.txt file and edit yours similar to the following file:
cmake_minimum_required(VERSION 3.0.0)
project(main VERSION 0.1.0)
INCLUDE_DIRECTORIES(
C:/dev/vcpkg/installed/x86-windows/include
)
LINK_DIRECTORIES(
   C:/dev/vcpkg/installed/x86-windows/lib
)

add_executable(main main.cpp)
TARGET_LINK_LIBRARIES(main
SDL2 raylib
)
The key additions here are the additions of LINK_DIRECTORIES and INCLUDE_DIRECTORIES, this let’s CMake know where your packages are being installed. Finally you call TARGET_LINK_LIBRARIES and pass in all of the libraries (matching the vcpkg name you used to download them) that you want to use in your project, in this case SDL and raylib are configured. As you add more libraries to your project, make sure they are linked here.