EDIT — Paradox is now Xenko Game Engine and is available at xenko.com. Everything else should remain the same however.
In this Closer Look At we look at take a look at the Paradox Game Engine. The Closer Look At game engine series is a cross between an overview, a review and a getting started tutorial to help you decide if a game engine is the right fit for you. The Paradox game engine is a C# based, open sourced, cross platform 2d/3d game engine that runs on Windows and can target Windows platforms, iOS, Android and soon the PlayStation 4. Now let’s jump right in and see if Paradox is the right engine for you.
This review is also available in HD video right here.
First off, if you are just starting out, let me save you some time. No, Paradox is not the right engine for you. At least, not yet it isn’t. The same is true if you aren’t willing to deal with an unstable and developing API or less than great documentation. This is very much an engine under development and it shows. There is however much here to love as you will soon see.
Overview
As mentioned earlier, Paradox is a Windows based game engine capable of targeting Windows, Windows Universal, Windows Phone, plus iOS and Android using Xamarin. PlayStation 4, Mac and Linux support are listed as coming soon. Paradox provides an editor but is built primarily on interop with Visual Studio which for small teams or individuals is now thankfully free. I tested with both Visual Studio 2013 and Visual Studio 2015 without issue.
The engine itself is impressively full featured:
- Paradox Studio 3D editor
- Target Windows, Windows 10, Windows Phone, Android, iOS and coming soon PlayStation 4, Linux and MacOS
- Tight integration with Visual Studio
- Broad 2D and 3D file support, asset management
- 2D and 3D engines
- Pre-generated and dynamic font support
- 2D frame based and 3D bone/blended animation
- Full customizable rendering pipeline
- Physics via the Bullet Physics Library
- Shader support via composition with inheritance and mixin support
- Target both HLSL and GLSL
- Complete UI system with text, images, scrolling, modals, 9patch, scrolling, etc
- Layout system including canvas, grid, panel, stack panel and uniform grid controls
- music (mp3) and sound effect support with positional support
- mouse, keyboard, touch (with gestures) and gamepad input support
Paradox is currently available for free. The source code is also available on Github under the GPL license. Please note the GPL license is incredibly restrictive in what you can do using the source ( must release all changes and derived source code! ) and is by far the open source license I like the least. You do not however have to release source code if you link to the binary versions. They also negotiate source licenses if the GPL doesn’t work for you. I do believe that the source license is under review, or at least was.
Getting Started
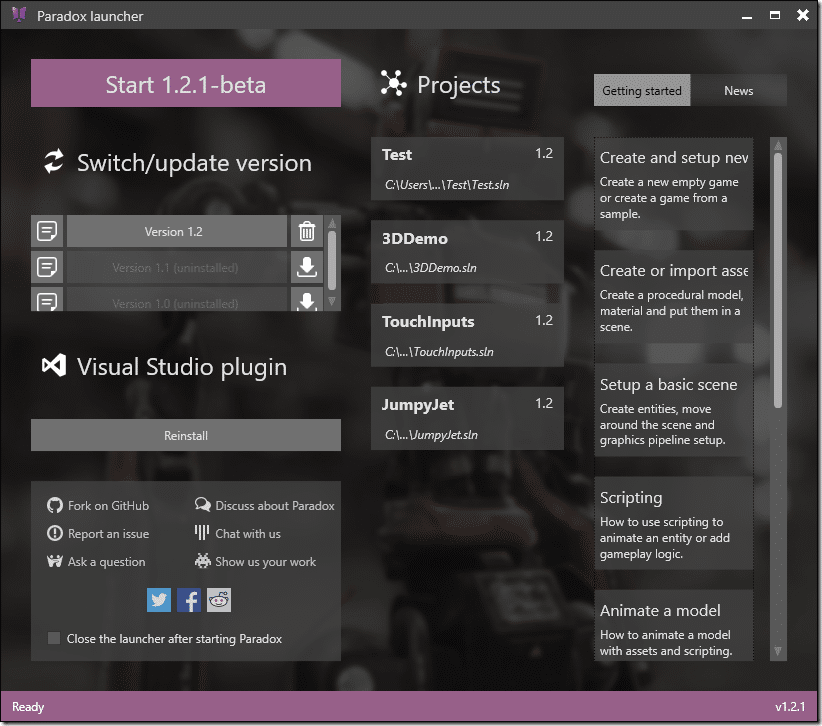
Getting started with Paradox is easy, start by downloading the installer available here. When you run the launcher it will install the newest version of the SDK as well as the Visual Studio plugin. You can update the SDK and re-install the plugin using the launcher.
Assuming you are running for the first time, click the big purple “Start” button in the top left corner. By default the launcher will be left open unless you click “Close the launcher after starting Paradox” option.
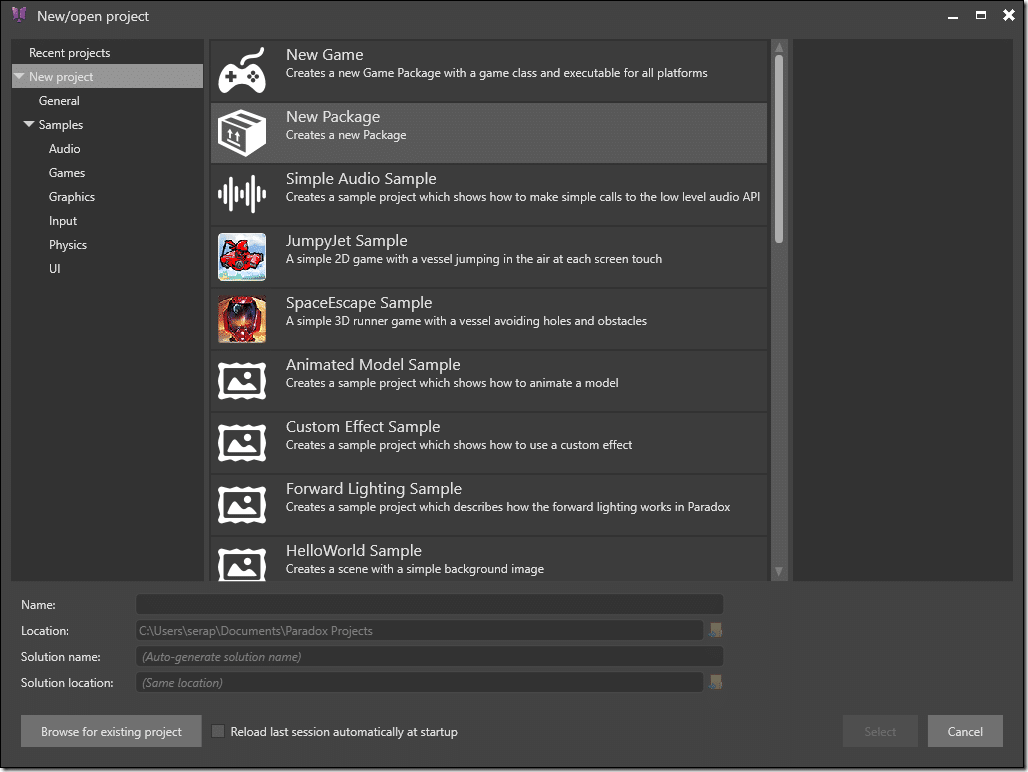
Next you will be taken to the New/Open Project dialog:
As you can see, there are a wealth of samples you can get started with, or you can create your own New Game or Package. We will be creating a new package. These samples however are absolutely critical, as they are probably the primary source of reliable/current documentation when using Paradox.
Let’s select New Game:
Fill in the relevant information and click Select
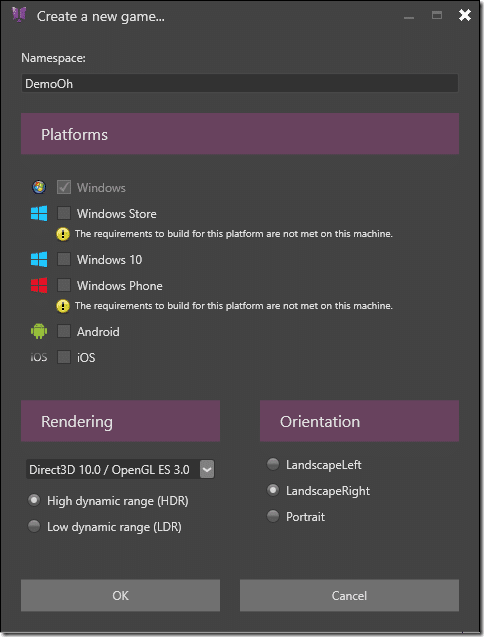
Next we select the Platforms we want to support as well as our targeted graphic fidelity and default orientation.
Your project will now be created, bringing you to Paradox Studio.
Paradox Studio
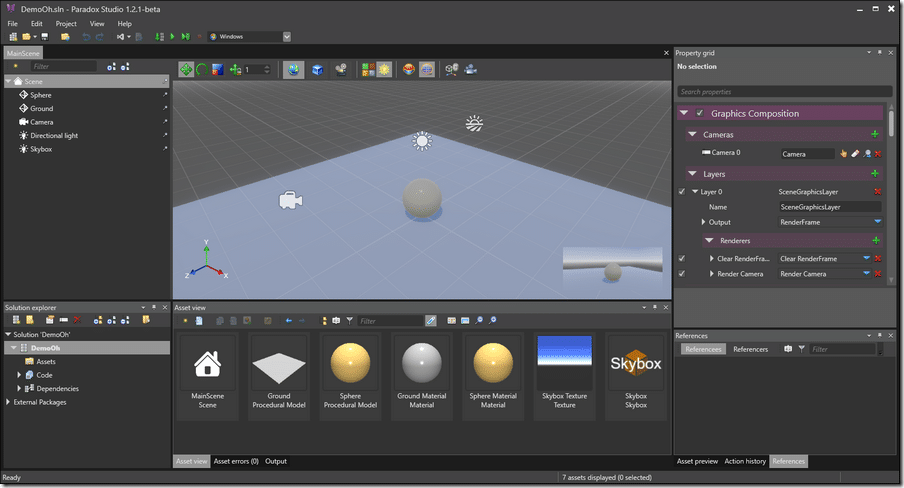
Meet Paradox Studio:
The above screenshot demostrates the default starting scene that will be generated for you when creating a new project. There are a few things to realize right away… first, none of the above is required. You could remove everything and create your game entirely in code. Of course you will generally be creating more work for yourself if you do. Let’s run our default application. Choose your application and press the play or debug icon:
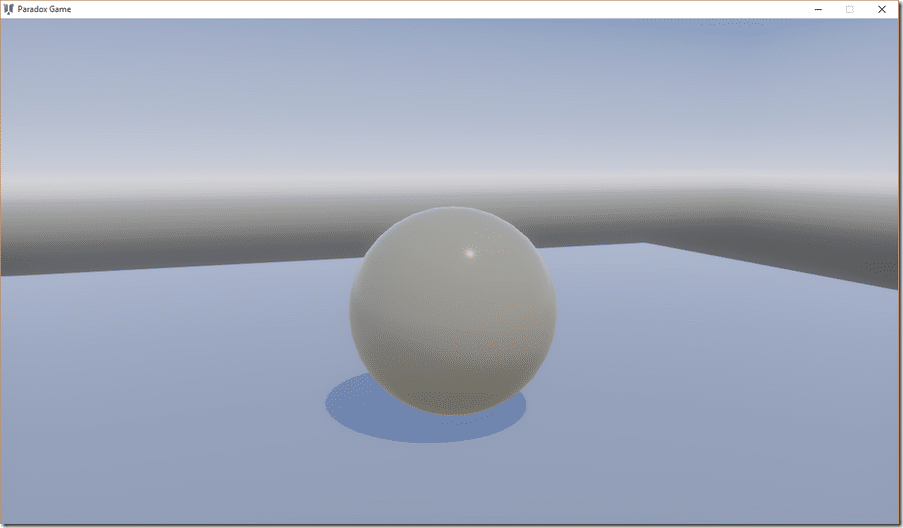
When you hit either button, Visual Studio is invoked via MSBuild and your project is compiled and run (Visual Studio does not need to be open, but it must be installed). And here is the default application running:
Now let’s take a look at the various components of Paradox Studio.
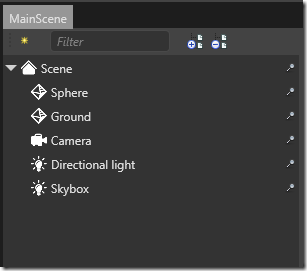
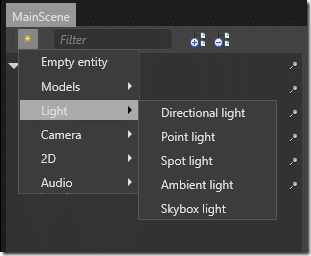
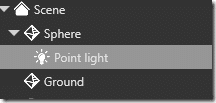
This is the scene graph of your world. Using the * icon you can instance new entities:
You can create hierarchies of entities by selecting one then creating a child using the * icon:
In Paradox all items that exist in the game’s scene graph derive from the Entity class. Paradox is a component based game engine and the entity class is basically a component container coupled with spatial information.
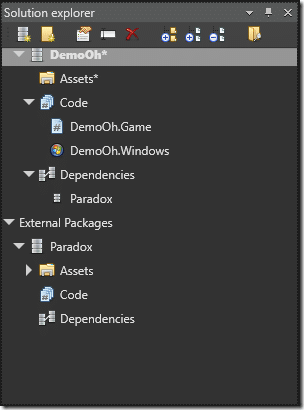
Below the Scene Graph is the Solution Explorer:
Somewhat interestingly, the Paradox game engine uses the Visual Studio Solution (sln) as their top level project format. If you look in the project folder you will see YourProj.sln, then a folder hierarchy containing your code, assets, etc. Outside of creating new packages and folders, there isn’t a ton of reason to use the Solution Explorer, at least so far as I can figure out.
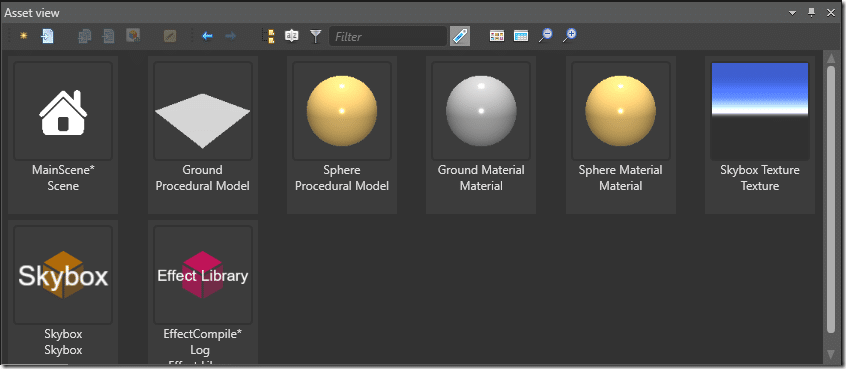
Next up is the Asset View:
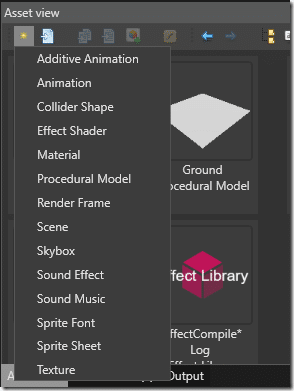
This is where you can see and select the various assets that compose your game. They can be organized into folders to keep the mess to a minimum. You can instantiate and asset by simply dragging it to the 3D view. You can also import existing assets and create new assets using this window. Creating a new asset once again involves clicking the * icon:
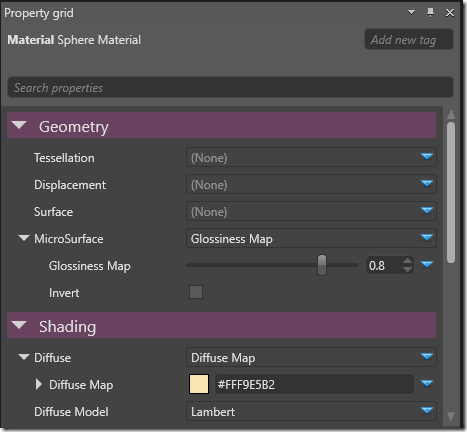
The views across the right are context sensitive. If you select an asset in the Asset View, it’s properties (if any) will be exposed in the Property Grid:
The above show a portion of the settings that can be configured for a Material.
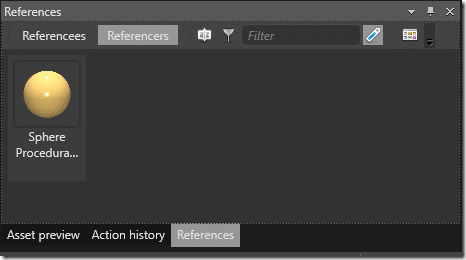
Below the Property Grid is the References/Preview/History panel. References shows you either all of the objects that reference, or are referenced by the selected object:
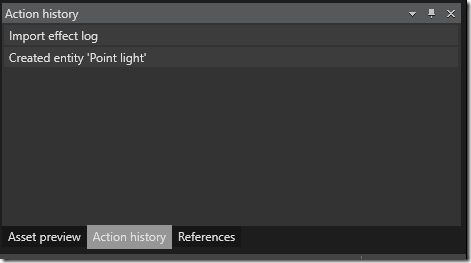
Action History is simply a recently performed task history:
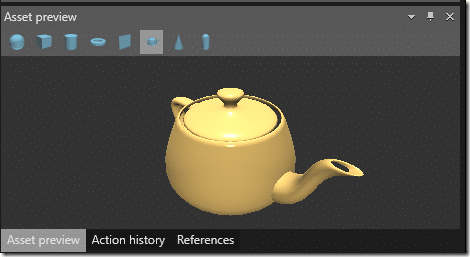
While Asset Preview enables you to see your asset in action, for example your material applied to teapot:
It’s a fully zoom/pan-able 3D view.
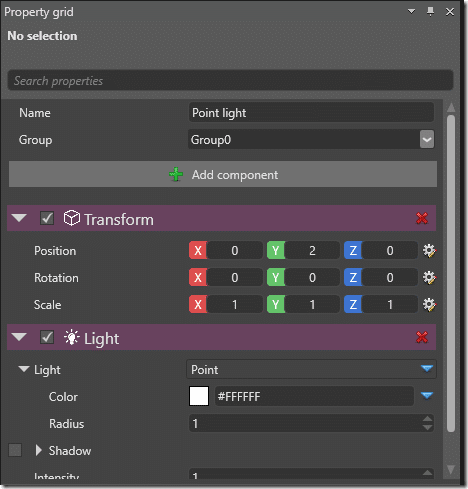
The property grid however performs double duty. When selecting an instanced object ( from either the scene graph or the 3D view ) as opposed to a template from the Asset View you will have complete different options available:
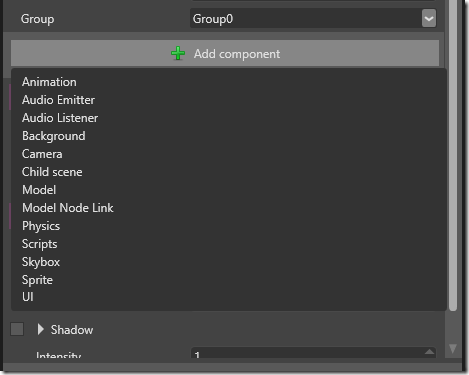
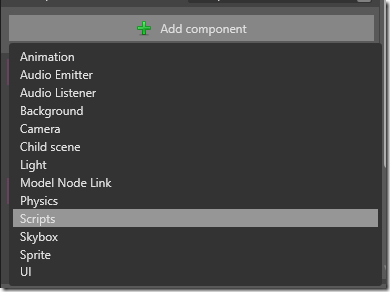
This is where you configure or add new components on your entity. Public properties of a component will have the appropriate fields available. Click Add Component to add a new component to your entity:
Keep in mind that components that were already added ( such as Light and Transform in this case ) will not be displayed.
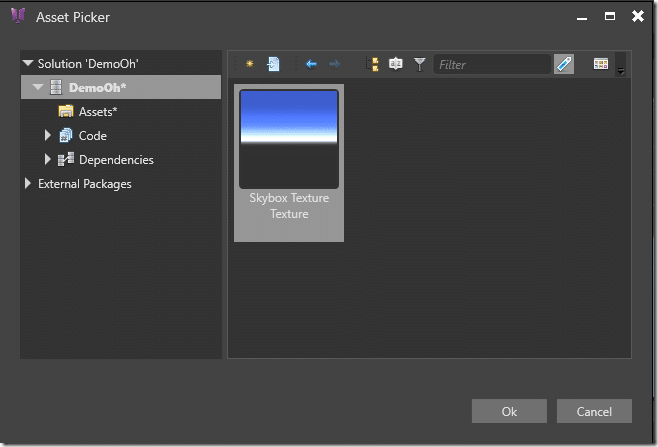
Components can in turn have Assets attached to them:
Click the hand icon and the asset chooser dialog is shown:
Finally we have the 3D View.
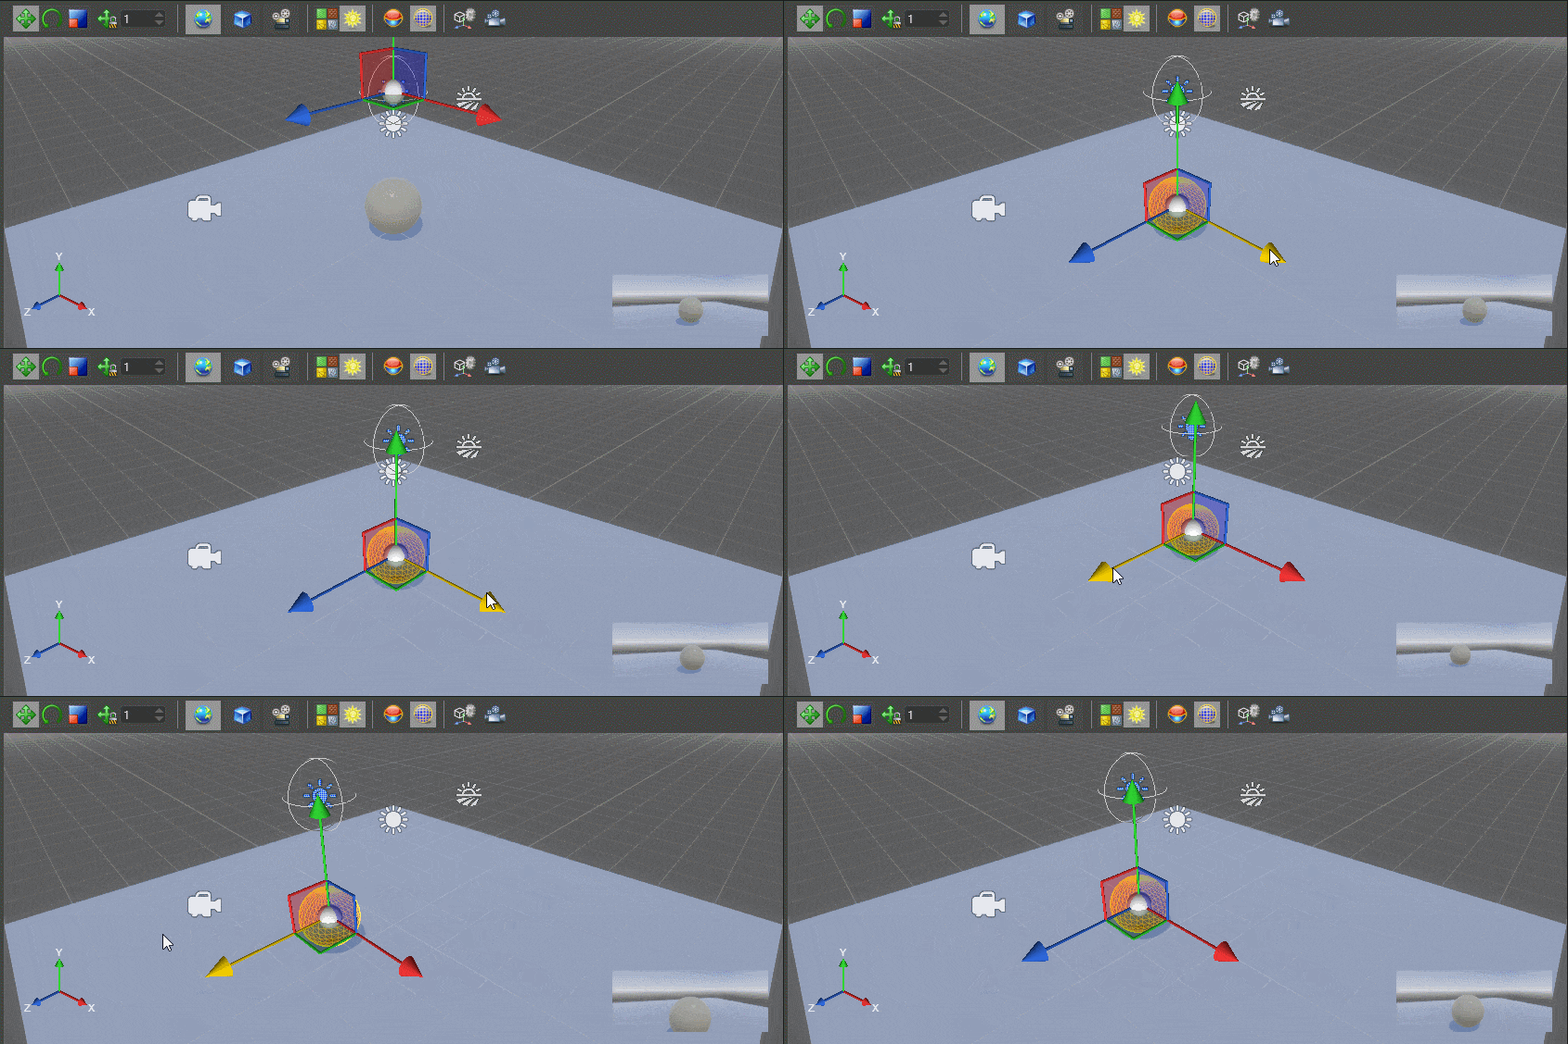
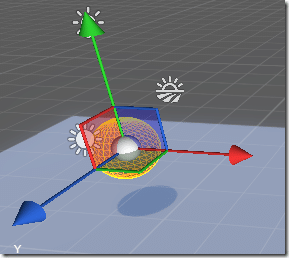
The 3D View can be used to create and position the various entities in your scene. As you can see in the image above, the 3D view provides the traditional transformation widgets from the 3D graphics world. It also uses the traditional QWERT hot keys for selection,transform, rotate and scale that Maya made famous. The view can be zoomed using the mouse wheel or Alt + RMB, panned with middle mouse button and orbited using RMB. You also have the ability to toggle between local, camera and global coordinates as well as snap to the grid.
One oddly missing component however is axis markers, making navigation a bit more difficult than it should be.
For the most part the editor does it’s job. Occasionally it can become a bit unresponsive and I’ve had to restart it a few times to sync changes between it and Visual Studio. The primary purpose of the editor is to add and manage assets in your game, to position them in space. As I mentioned earlier, usage is entirely optional. There are however a few glaringly missing features, such as the ability to see and manipulate collision volumes ( you can create them, just oddly not see them ) or the ability to create nav visibility meshes.
The Coding Experience
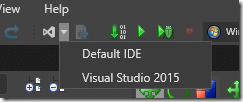
So far we’ve only seen the project creation and configuration components of Paradox3D, however it’s when you leave Paradox Studio that is either going to make you love or loathe Paradox. As I mentioned earlier, the ultimate project type of Paradox is a Visual Studio solution. Paradox is designed to work hand in hand with Visual Studio. In the main editor you should see this button:
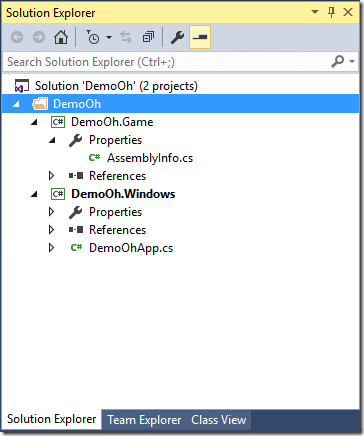
Clicking the Visual Studio logo will automatically open your project in Visual Studio, in my case Visual Studio 2015 (which is supported, along with 2013 and I believe 2010). Here is our default project:
Hmmm… not a lot of code here… in fact there is only one file, our platform specific bootstrap. Obviously there would be one such project for each platform you selected when you created your game. The code contained within is certainly not huge:
using SiliconStudio.Paradox.Engine; namespace DemoOh { class DemoOhApp { static void Main(string[] args) { using (var game = new Game()) { game.Run(); } } } }
This file implements your specific platform’s main and simply creates an instance of the Game class, then calls Run().
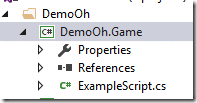
Well then, how exactly do we code our game? Well that’s where the component based nature of our game comes in. In your Game project, add a new class like I did here with ExampleScript.cs:
There are a couple choices of the type of script you can create depending on your needs. For a game object that is updated by the gameloop you have a choice between an asynchronous script using C# async functionality, or a more traditional synchronous script, which implements an update() method that is called each frame. There is also a Startup Script that is called when the engine is created but not on a frame by frame basis.
I’ll implement a simple SyncScript for this example, as it’s the most familiar if you are from another game engine.
using System; using SiliconStudio.Paradox.Engine; namespace DemoOh { public class ExampleScript : SyncScript { public override void Update() { if (Game.IsRunning) { if (Input.IsKeyDown(SiliconStudio.Paradox.Input.Keys.Left)) { this.Entity.Transform.Position.X -= 0.1f; } if (Input.IsKeyDown(SiliconStudio.Paradox.Input.Keys.Right)) { this.Entity.Transform.Position.X += 0.1f; } } } } }
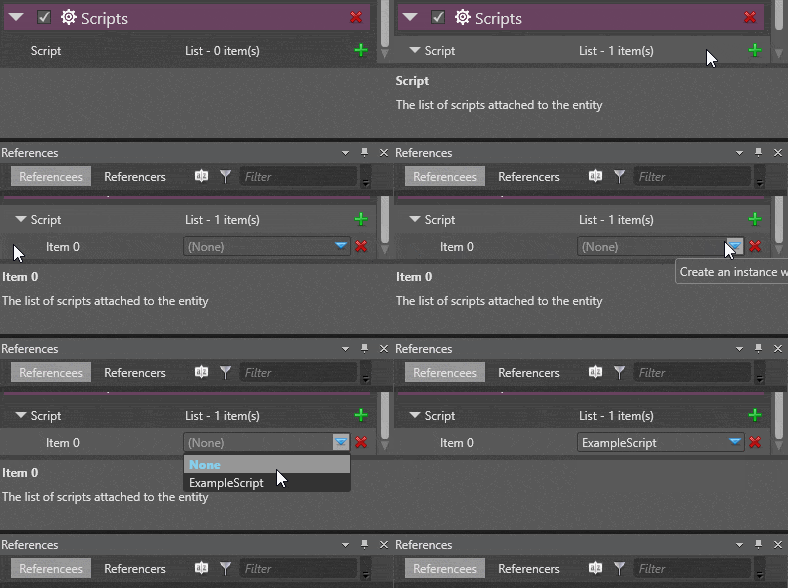
- verify it compiled successfully in Visual Studio
- if it did, then verify it’s set as public
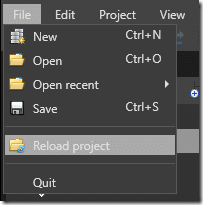
- if it is, then reload your project in Paradox:
There are enough common bugs in Paradox Studio that a Reload will fix. It’s annoying but quickly becomes second nature.
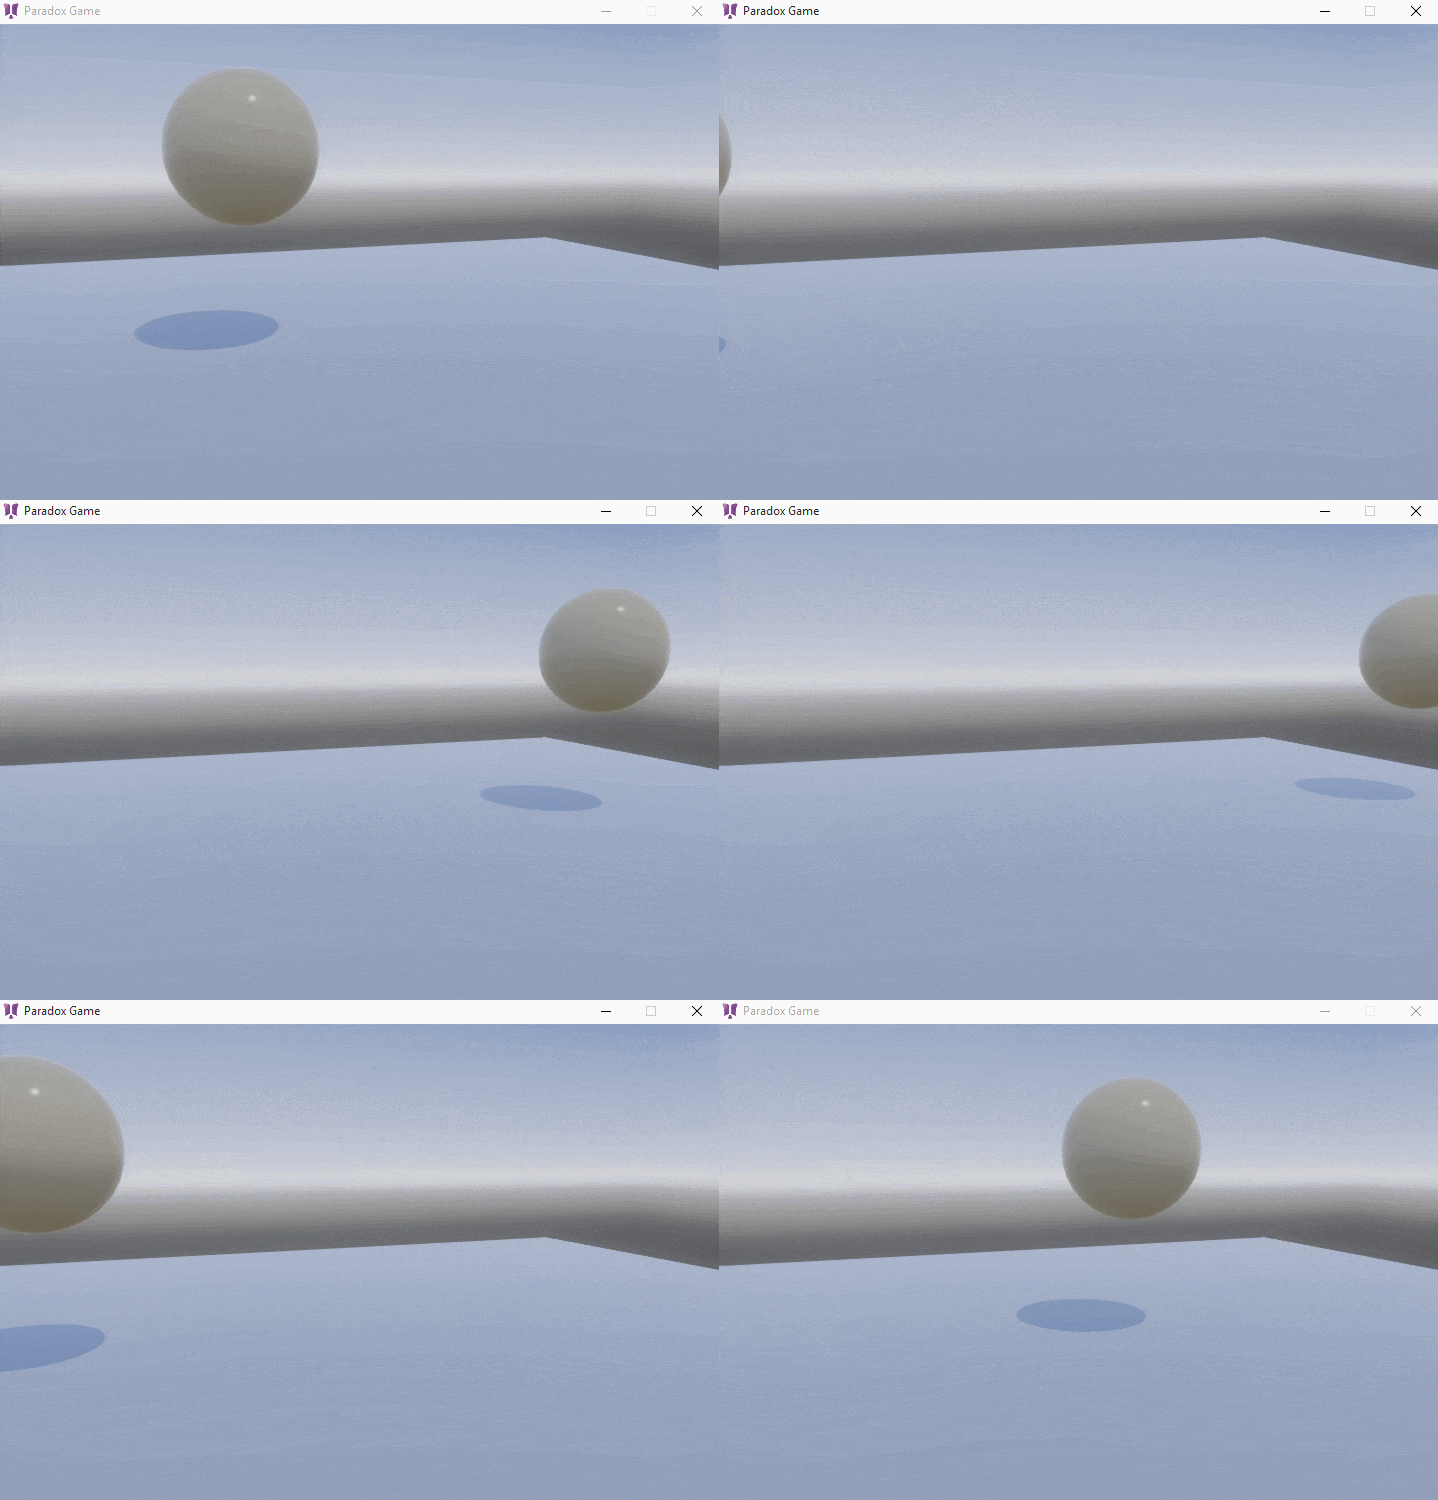
Now that your script is attached to a Script component, you can run the application and see you can now update the sphere position using the arrow keys. Also not, you don’t have to run from Paradox Studio, after you make the edits in Studio, make sure to save your project, then in you can also run in Visual Studio using F5 or by hitting the Start/Debug toolbar.
The Documentation and Community
As mentioned earlier, this is where it all starts to go a bit wrong with Paradox. There is full documentation, including getting started guides and reference materials, all available online only. There is also a forum as well as a stack overflow style answers site.
The biggest challenge is with the engine being beta and under active development, much of the documentation is simply wrong. What remains is often sparse at best. Frankly the samples are going to be your primary learning source for now. Of course the game engine is open source and available on github, just be sure to read up on the license thoroughly.
Conclusion
I think the Paradox Engine has the potential to be a great engine. It is certainly not for beginners, not by a mile. All of the functionality you require to create a game is in there, with a few glaring exceptions. The rendering engine is extremely nice and I personally liked the programming model, of course I like component based engines, so I was bound to enjoy it. The documentation however is… yeah, not good.
I did however enjoy Paradox enough that I think I am going to do a tutorial series to help others get started with it. Of course, I will suffer the same problems that Paradox do, a changing code base is going to break my work constantly. So I am going to try and focus on smaller more bite sized tutorials. Let me know if you are interested.
The Video

