Welcome to the next part in the ongoing BabylonJS Tutorial Series. In the previous tutorial we created our first simple scene which contained a simple camera. In this tutorial we are going to explore the concept of camera’s in more depth. As always there is an HD video version of this tutorial available here.
In the previous example we created a Free Camera. A Free Camera is a camera that can be moved around using the mouse and keyboard. Often of course you are going to want to be able to customize which keys are used to move the camera. Here is an example that configured the camera to respond to the WASD keys.
var canvas = document.getElementById('canvas'); var engine = new BABYLON.Engine(canvas, true); var createScene = function(){ var scene = new BABYLON.Scene(engine); scene.clearColor = new BABYLON.Color3.White(); var camera = new BABYLON.FreeCamera('camera1', new BABYLON.Vector3(0, 0,-10), scene); camera.setTarget(BABYLON.Vector3.Zero()); camera.attachControl(canvas,true); camera.keysUp.push(87); //W camera.keysDown.push(83) //D camera.keysLeft.push(65); //A camera.keysRight.push(68); //S var box = BABYLON.Mesh.CreateBox("Box",4.0,scene); return scene; } var scene = createScene(); engine.runRenderLoop(function(){ scene.render(); });
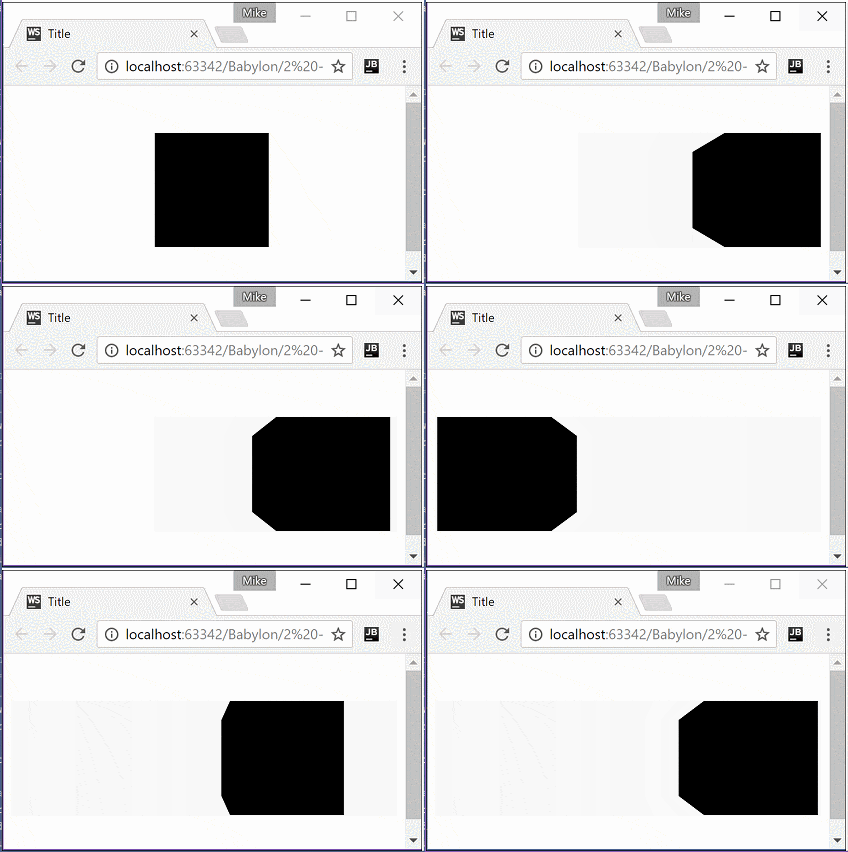
This code running:
When we create the camera, we pass it’s initial location within our scene. In this case the position is (0,0,-10) or –10 down the Z axis. Of course we also pass the scene the camera belongs to into the constructor as well. Next we set the target of the camera, in this case the origin (or a Zero vector). Finally we need the camera to actually receive input controls from the canvas. This is simply done by calling attachControl. This will result in input (such as mouse and keyboard) being passed to the camera for processing. There is a member of the camera for keys representing up, down, left and right movement. To each we pass the appropriate key scancode for the each key in the WASD combination. When you run this code, you can now navigate around the scene using the WASD and free look using the mouse.
Another common camera type is a camera that orbits an object. That is the camera revolves around the target in a circular orbit. This is accomplished using an ArcRotateCamera. Keep in mind however, you could also implement this camera in any other camera object available in Babylon, it would however be your responsibility to implement the functionality. The follow is the code to create an ArcRotateCamera:
var createScene = function(){ var scene = new BABYLON.Scene(engine); scene.clearColor = new BABYLON.Color3.White(); var box = BABYLON.Mesh.CreateBox("Box",4.0,scene); var camera = new BABYLON.ArcRotateCamera("arcCam", BABYLON.Tools.ToRadians(45), BABYLON.Tools.ToRadians(45), 10.0,box.position,scene); camera.attachControl(canvas,true); return scene; }
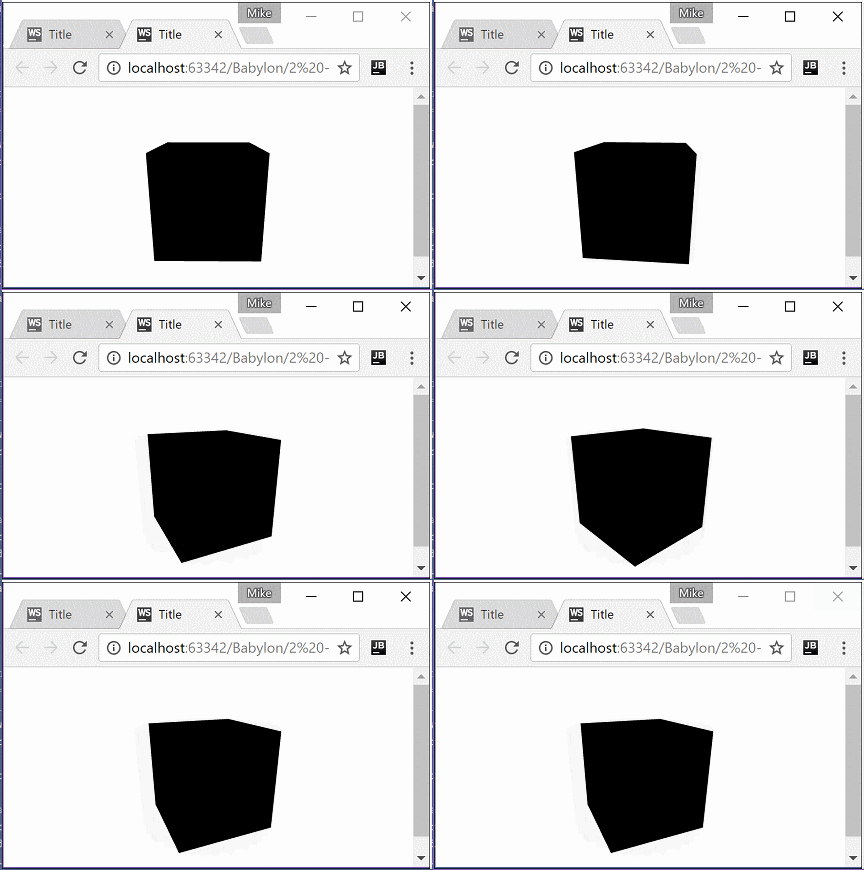
This code running:
The three major parameters to the ArcRotateCamera are the alpha, beta and radius. Radius is straight forward, this is the distance to orbit the target. Think of the target as the mid point of a circle. The radius then defines the size of the circle the camera will follow. Alpha is the rotation angle around the X axis, while beta is the rotation angle around the Y axis. Note that both take their parameter in radians instead of degrees, so we have to convert using the ToRadians() helper method.
The final kind of camera we are going to look at is the FollowCamera. This camera does exactly what you’d expect, it follows a given target. Let’s look at some code:
var canvas = document.getElementById('canvas'); var engine = new BABYLON.Engine(canvas, true); var createScene = function(){ var scene = new BABYLON.Scene(engine); scene.clearColor = new BABYLON.Color3.White(); var box = BABYLON.Mesh.CreateBox("Box",4.0,scene); // Create a second object so we can actually witness the movement // Make this one wireframe to distiguish the difference. var box2 = BABYLON.Mesh.CreateBox("Box2",4.0,scene); var material = new BABYLON.StandardMaterial("material1",scene); material.wireframe = true; box2.material = material; box2.position = new BABYLON.Vector3(0,5,0); var camera = new BABYLON.FollowCamera("followCam",BABYLON.Vector3. Zero(),scene); camera.target = box; camera.radius = 100; camera.heightOffset = 0; camera.attachControl(canvas,true); scene.activeCamera = camera; return scene; } var scene = createScene(); engine.runRenderLoop(function(){ scene.getMeshByName("Box").position.y += 0.1; scene.getMeshByName("Box").position.x += 0.1; scene.render(); });
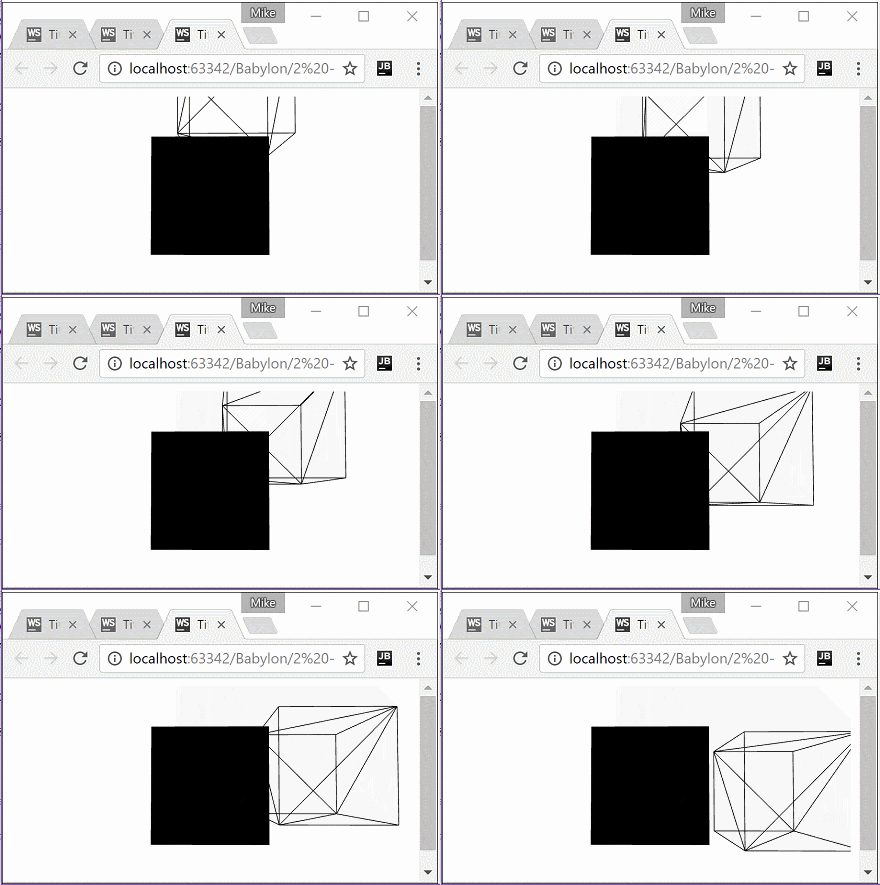
This code running:
This code contains two rendered cubes, the second a box with a wireframe material attached. This was done so you could actually detect movement! We will cover the specifics of materials shortly so don’t sweat the details. Notice in the creation of the FollowCamera we pass in a target to follow (box), how far away we should follow from (radius) and there is also a control for how height the camera should be relative to the target.
It should be noted these are only a few of the possible cameras implemented in BabylonJS. There are a good dozen other cameras available out of the box with features like touch or gamepad control, VR rendering and more. The basic principals remain the same regardless to camera type.
The Video


