Welcome to the second Blender how to ( here is the first ), a series of quick step by step tutorials showing you how to accomplish a specific task using Blender. Today we will look at a way of quickly modeling a high rise building. It assumes you know the basics of using Blender. If you don’t, no worries, I have tutorials for that!
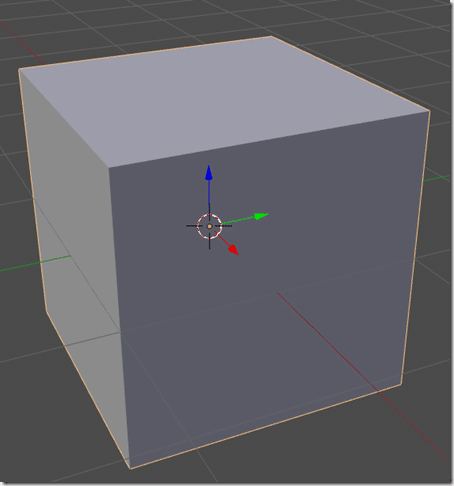
First, start with the default cube, like so:
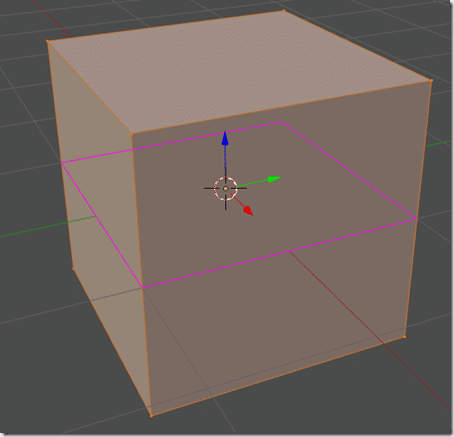
Now enter edit mode(TAB) and loop cut (CTRL + R) it about the center, like so:
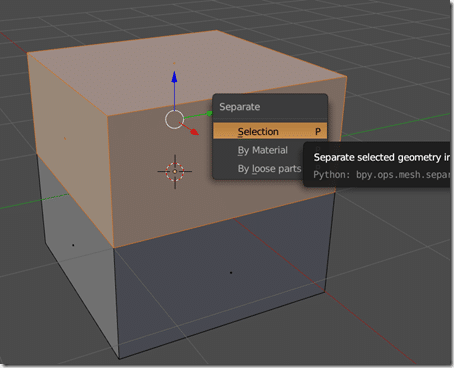
Select all the faces of the top half and separate them (P->Selection)
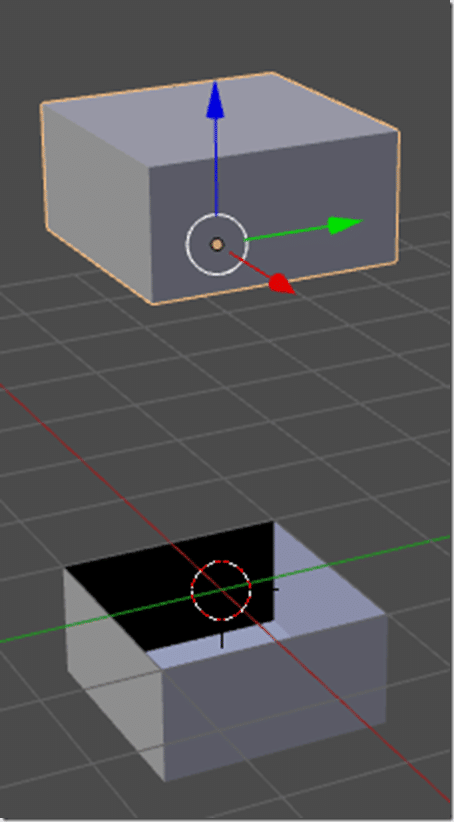
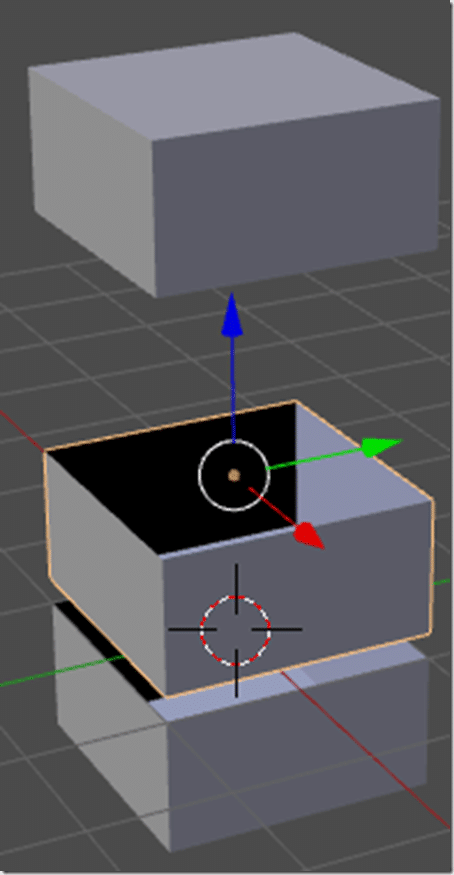
In object mode move the newly separated top portion up along the Z axis (G + Z + mouse)
Select the bottom box, make a copy (SHIFT + D), then move it up along the Z axis.
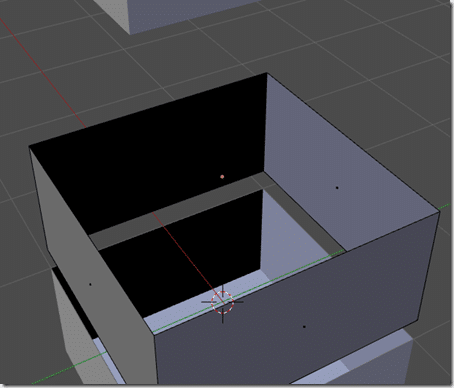
Select the middle piece, switch to edit mode, select the bottom face and delete it (x –> faces), like so:
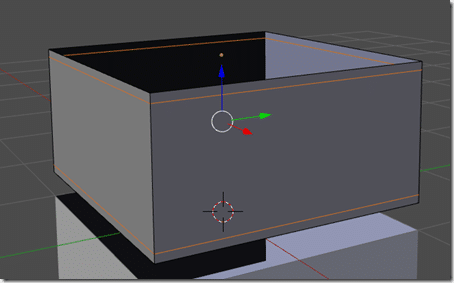
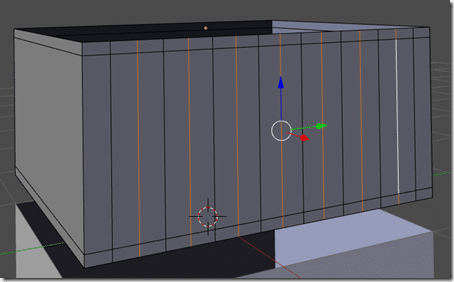
This face is going to represent the various floors of your building. Keep the top and bottom edges the same size as the top/bottom box and start carving it up to match your floor. I generally start by doing a pair of loop cuts along the entire length, like so:
This can be accomplished by doing a loop cut (Ctrl + R), then before clicking to commit, scroll button once to perform multiple evenly spaced cuts at once. Next I move them up and down the mesh simultaneously by simply scaling along the Z axis (S, Z, mouse move)
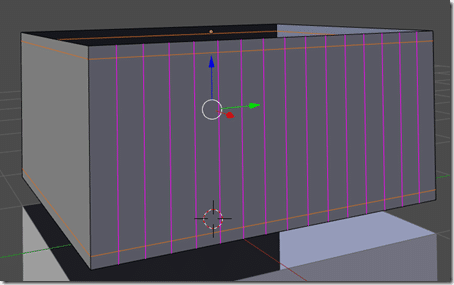
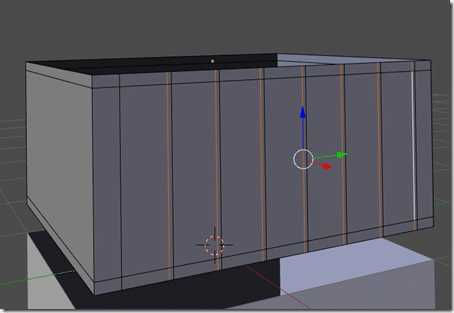
Now lets do several more loop cuts for windows using the same process (Ctrl + R, Mouse wheel multiple times):
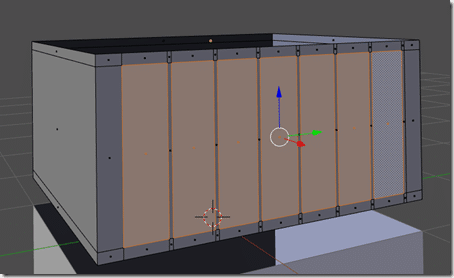
Next select every other edge created (alt + shift click to select multiple) like so:
We now want to edge slide the selected edges (G,G)
Now select the inner faces like so:
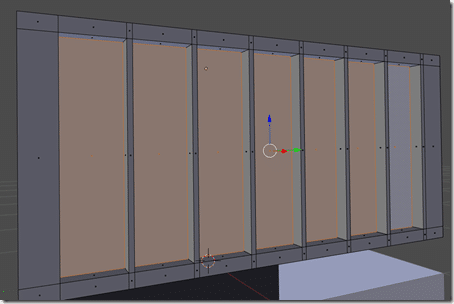
Then hit E to extrude them
Repeat the similar process on all 4 sides to define your building. Obviously you would arrange as you saw fit.
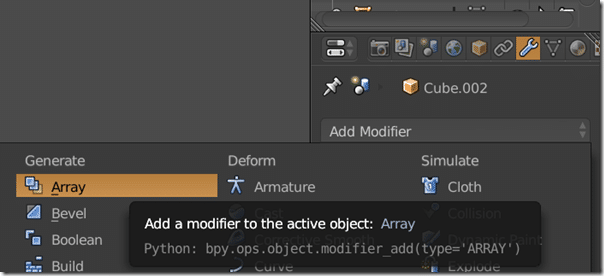
Now that we have our floor defined, it’s time to make a lot of them. Switch to object mode then go to the modifiers tab and select Array:
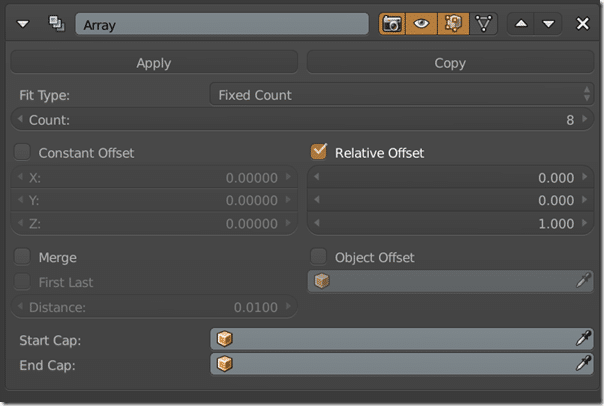
Now we need to make sure we set the axis to array along ( set Z to 1 in the relative offset area ) and the number of times to duplicate under the count section.
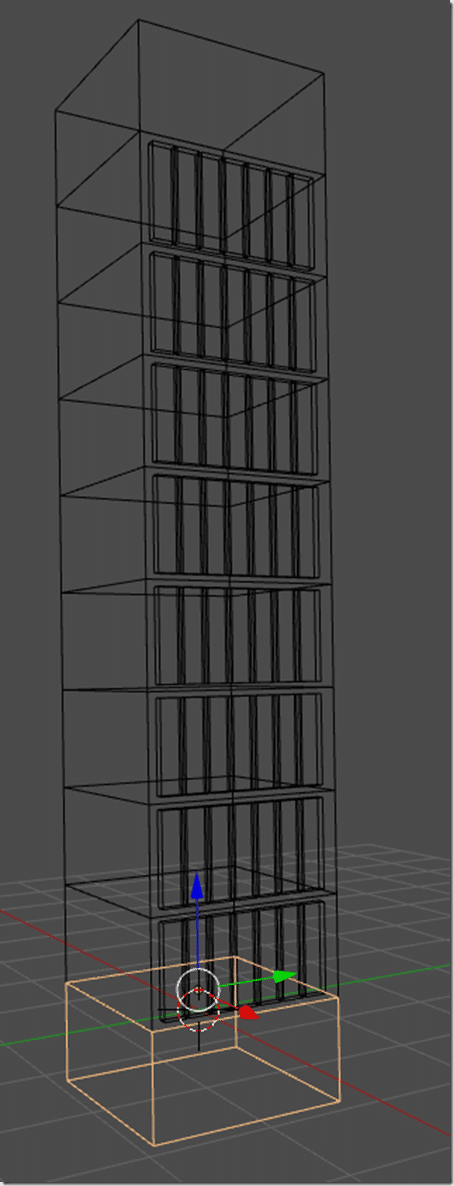
When satisfied, click the Apply button. Finally move your top and bottom pieces so they cap the building on each end, like so:
Select all 3 shapes and merge them together (Ctrl + J) like so:
Now we just need to weld our objects together. Box select (B) the overlap area between the bottom and middle boxes in edit mode, like so:
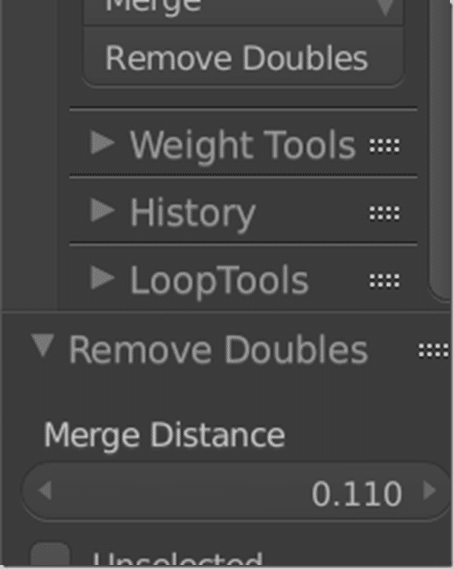
Now select Remove Doubles in the Tool menu(T), then manipulate the Merge distance
Until you see

Repeat for the top portion.
TADA, a building in Blender. An ugly building mind you, but a building none the less.

