Creating the Game Scene
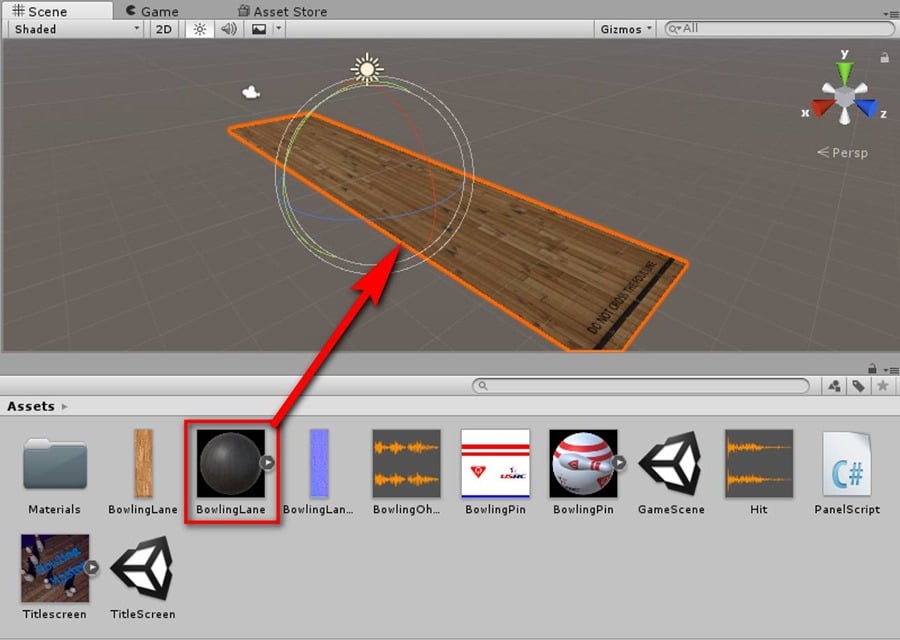
Now it’s time to get to work on creating the game itself. Start off by dragging BowlingLane into the scene.
Now move the lane so it’s at position (0,0,0) in the Inspector under the Transform component.
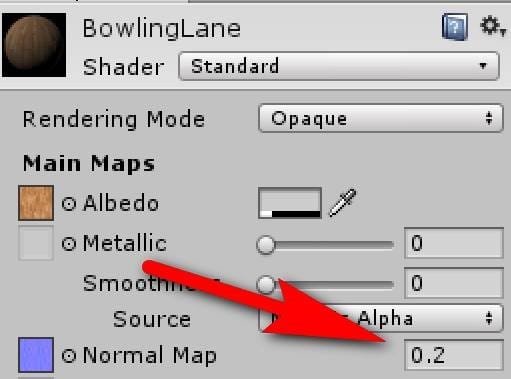
One thing I noticed is the Normal map is way too strong. Select the Bowling Lane material (either in the Materials panel, or drill down to it). Dial back the Normal Map strength from 1.0 to 0.2.
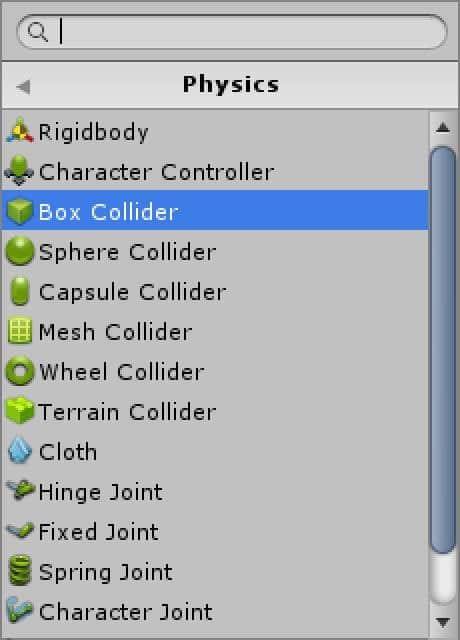
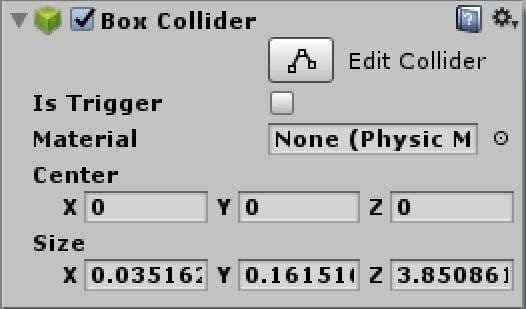
We are almost done with our bowling lane. The final thing we need to do is add a Collision Shape to it, so the rest of the stuff in our game world will interact with it properly. With the BowlingLane selected, click Add Component->Physics->Box Collider
The nice thing with Unity is, it will automatically shrink wrap the collider geometry to match your mesh, so you should have to do no additional work!
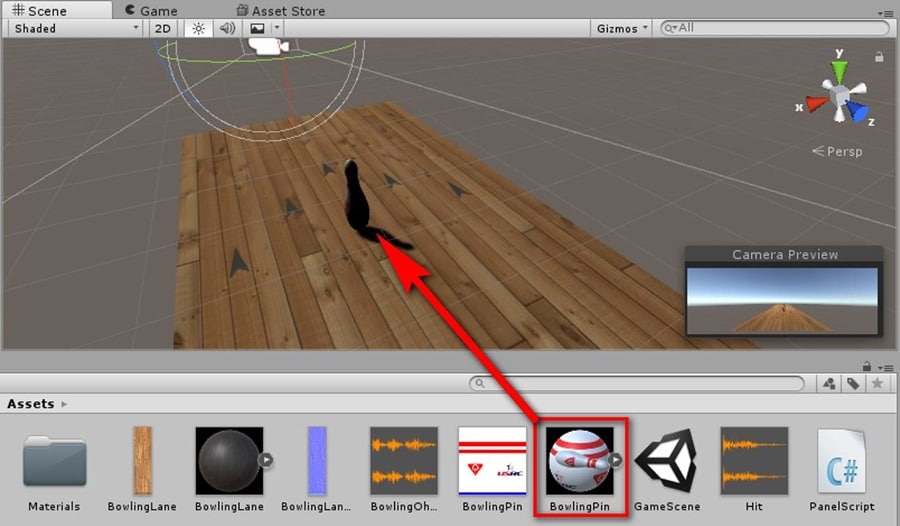
So, that’s it for the lane, now time to create the Bowling pins. Simply drag the Bowling Pin into the scene:
Hmmmm… pretty dark. What’s going on here? Well, right now we are getting our lighting from the Directional Light in our scene.
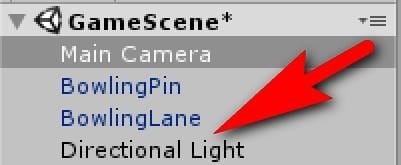
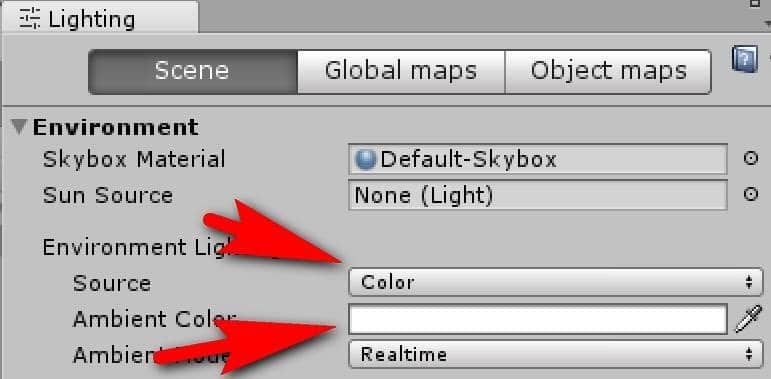
We don’t want to mess around with advanced lighting, so instead right click and get rid of it. Now lets set up Ambient lighting instead. Select Window->Lighting->Settings
Change Environment Lighting->Light Source to Color, then select the Ambient Color as white:
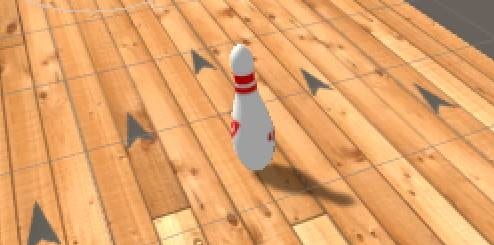
Now our scene will have universal consistent lighting:
Now it’s time to add some physics to our pin. Once again we have to make a collision object component, but we also need to create a RigidBody component. Add a Box collider just like before. Then add another Component and select Physics->Rigidbody
The default settings are about right, so there is nothing else we need to do here.
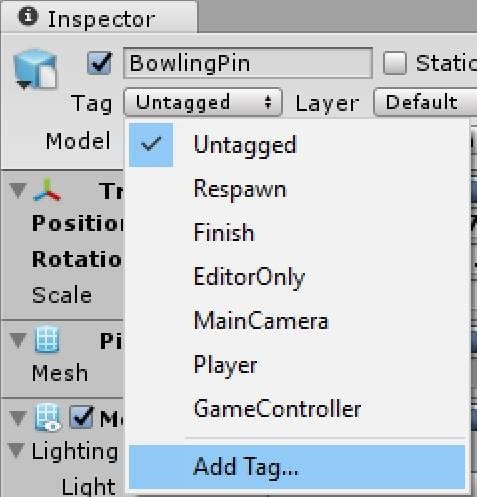
The final thing we need to do with our pin is apply a tag to it so we can locate it using code later. With the Pin selected, in the Inspector at the top drop down the Tag drop down and select Add Tag…
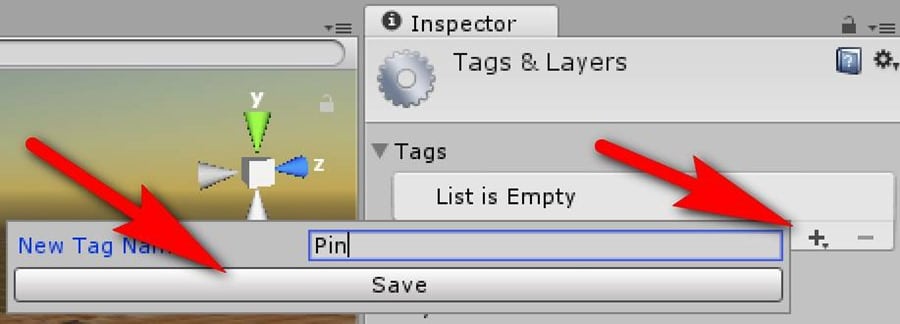
Click the + Icon, then in the resulting text box enter “Pin” then Save.
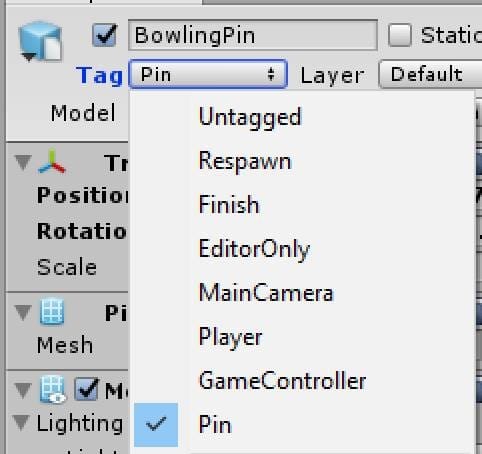
Now select the Pin again, and in the Tags list, select Pin which should now be an option.
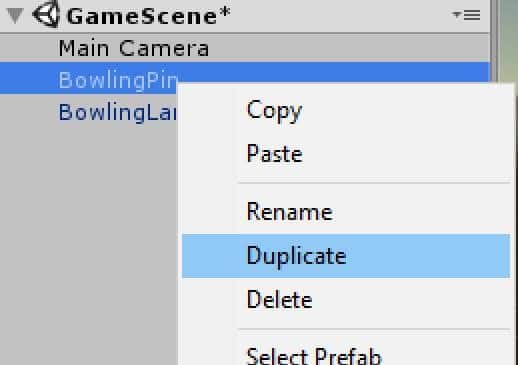
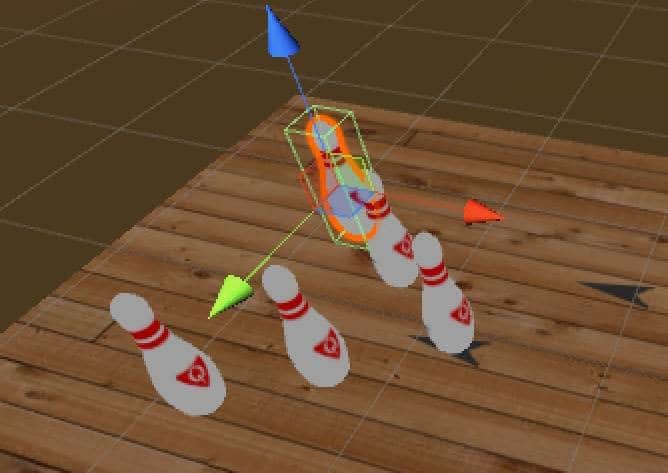
Now we simply need to create 4 ( or 9… depending your bowling preferences ) clones of our pin. Select the BowlingPin in the scene graph, right click and select Duplicate. This will create a copy with all of the settings and components defined.
After duplicating, position the pin and repeat the process until you have enough pins.
Click here to continue to part three.

