
Following on our earlier tutorials on exporting 3D models and scenes from Unreal and Unity engines, today we are looking at how to export from the Godot game engine using glTF. Before we start it’s extremely important to understand that glTF exporting is only supported using the Godot 4 development branch, which is unstable. There has been no indication that glTF exporting will be backported to Godot 3.x.
To get started then you will need to build Godot from source. If you are using the Windows operating system, we have a step by step video guide available here. If you do not want to build Godot yourself, you can also download an “unofficial” nightly build here.
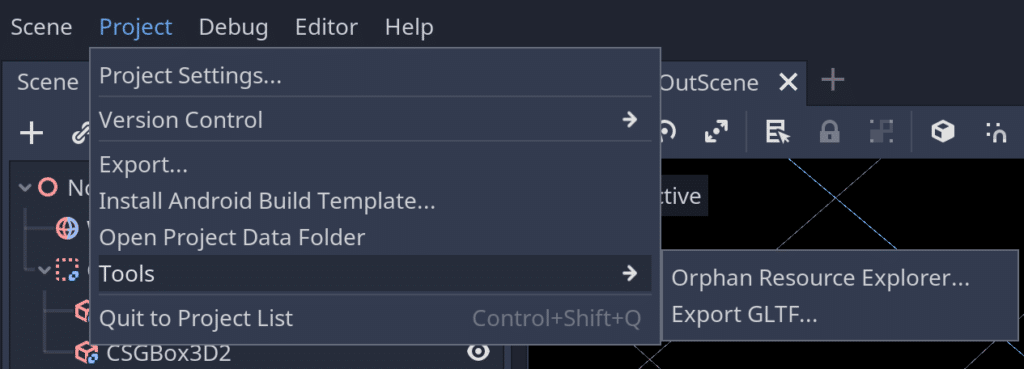
Once you have Godot 4 installed, the rest of the process is exceedingly simple. You create your scene as usual in Godot. With the scene you want to export currently open in the editor, simply select the menu Project->Tools->Export GLTF…
Finally you simply need to name and choose a location for the generated gltf file and you are done. There are currently some limitations to the glTF exporter:
- No support for exporting particles since their implementation varies across engines.
- ShaderMaterials cannot be exported.
- No support for exporting 2D scenes.
- Only supported in editor builds (
tools=yes).
You can read more about the new glTF exporter here on the Godot blog. You can also learn more and see how to export a CSG mocked up level from Godot to Blender using the new glTF exporter in the video below.