In Part One of our level creation in Blender tutorial series, we created a skybox to define the boundaries of our game level. In this tutorial we are going to create the terrain for our level. You will probably be surprised by just how much we can accomplish with almost zero effort.
Creating a Height Map
First we need a height map. A height map is a remarkably simple concept that has been around for ages. Essentially you are defining the height of a grid of terrain using a simple gray scale image. You can create this image a couple of different ways. First you can simply fire up any image editor, even MS Paint, and draw the texture. The blacker the pixels, the lower the corresponding terrain, while a white pixel is as high as possible. In addition to painting by hand there are several applications free and commercial that are capable of exporting a height map for you. Examples include Terragen, Bryce and Geovox although there are many more.
For this example I’m simply going to use Paint.Net, but any image editing program would work fine. Create a new image, while not a requirement, power of 2 ( 512×512, 1024×512, etc ) textures generally perform best. Next set the base colour to 128/128/128 RBG, like so:
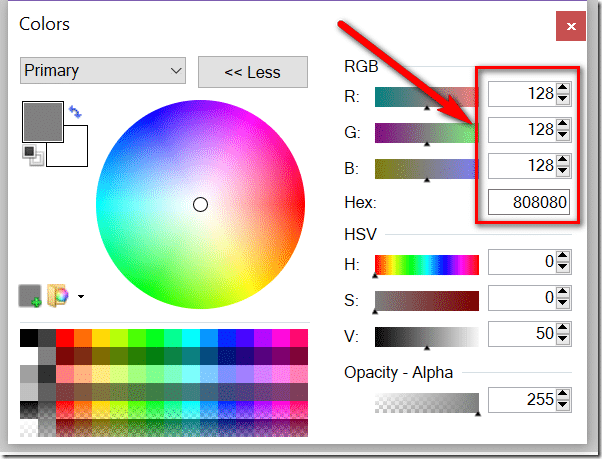
Use the bucket fill tool to fill the entire image with this color. This will be the neutral value, the resulting terrain will neither be elevated nor depressed.
You can then vary the grayscale by either raising/lowering all RGB values ( aka 43,43,43 or 250,250,250 ) or by sliding the V slider under HSV. Remember, darker the colour, lower the terrain, lighter the colour, higher the terrain.
In the end, I painted this rather simplistic height map.
This will result in a high border around a pit of utter and complete dispair… muhahahaha.
Displacement in Blender
Now that we have a height map, it’s time to put it to use. The good news is, this process is remarkably simple. First we need something to apply the height map. A height map needs an underlying mesh to apply to and if there aren’t sufficient vertices to be displaced by the height map, your results aren’t going to be very good. This means we need a large flat surface with a decent amount of detail… We need a plane.
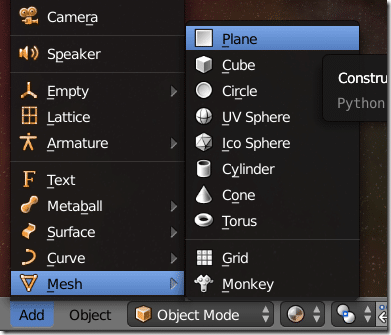
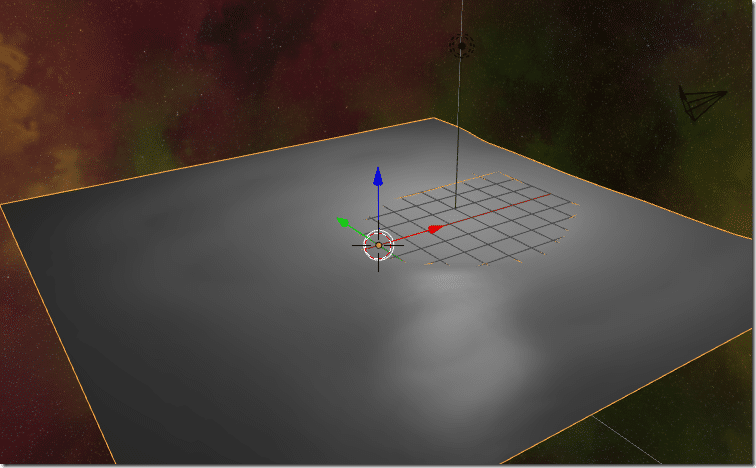
I’m building on our scene from Part 1. Set the 3d cursor to the origin, then create a new Plane via Add->Mesh->Plane.
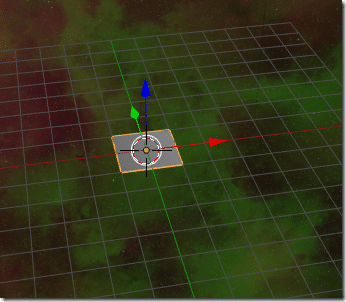
Your scene should now look something like this:
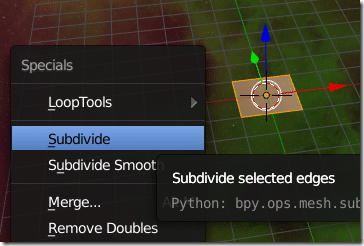
Now we simply want to scale the Plane to the appropriate size, which is going to be entirely dependent on your skybox dimensions. I personally scaled by a factor of 10. After scaling it, we need to add details. To do so, in edit mode, simply apply a subdivision (W->Subdivide)
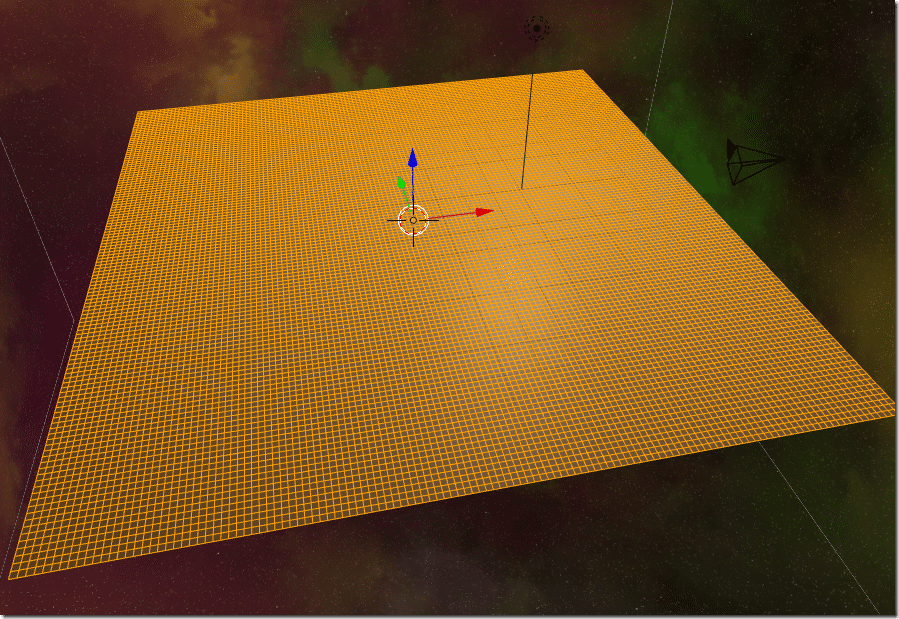
Each time you perform this, you will double the mesh density. I preformed it about a half a dozen times, resulting in a mesh with 32K triangles, which seems about appropriate.
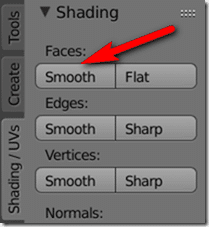
While you are here you might as well UV unwrap your plane (U->U). Also switch to Smooth shading:
Or your terrain is going to look VERY edgy and not at all organic.
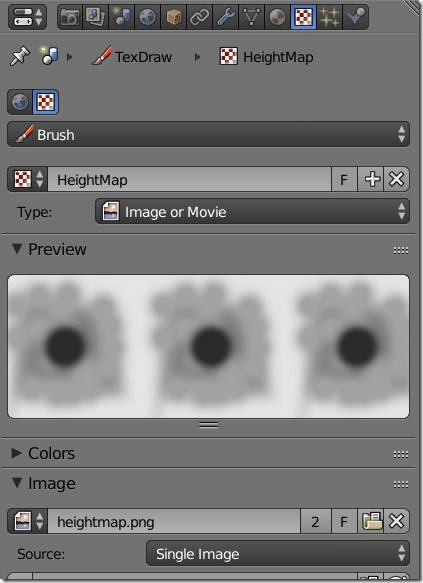
Ok, now that we have our plane to deform, we need to load in our height map. It doesn’t really matter where you add the texture, but I will go ahead and attach it to our plane. Switch over to the textures tab, add a new image texture and load our heightmap. It might make sense to rename it heightmap so it doesn’t get confusing, but you don’t have to:
Don’t bother setting UV coordinates, we aren’t going to be displaying this texture.
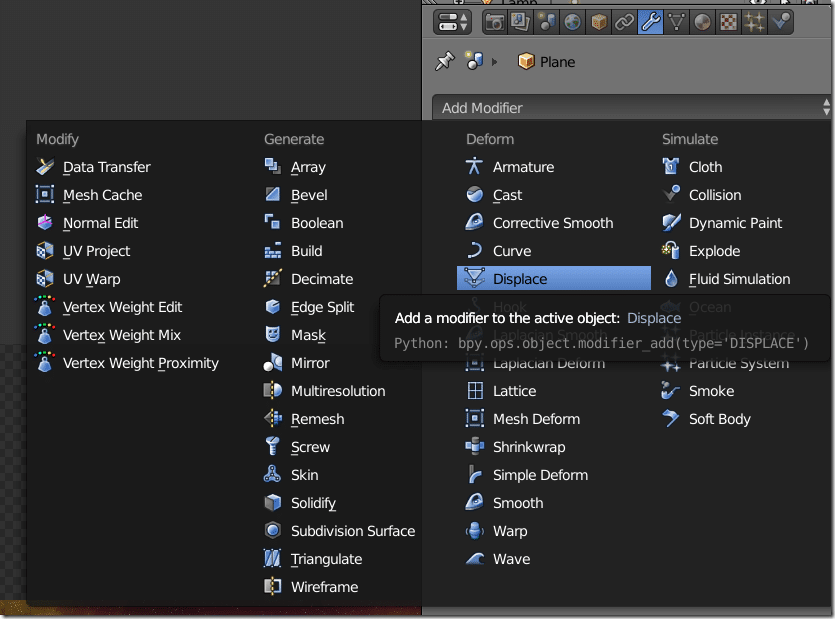
Now, in Object mode, with your Plane selected add a Displace modifier:
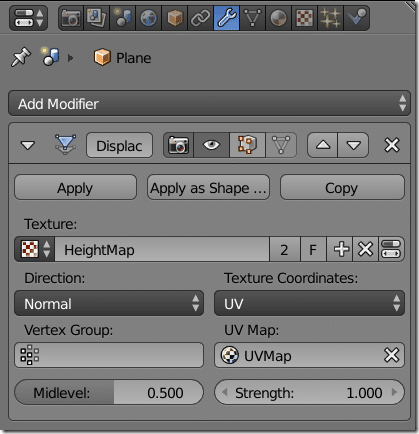
Now select your image in the texture field, change Texture Coordinates to UV, then select the UVMap. If you don’t have the option, you didn’t UV Unwrap earlier!
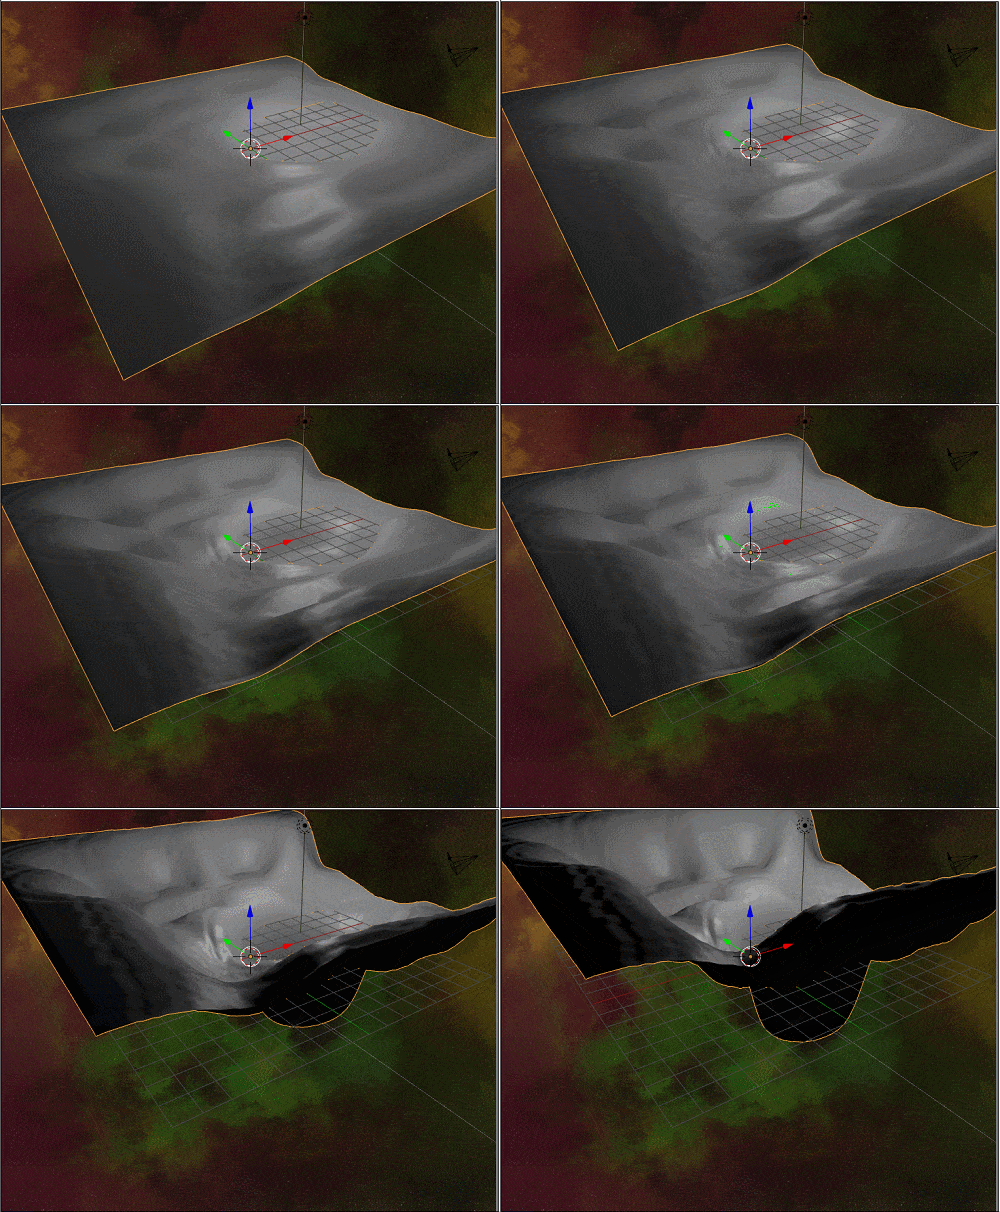
Our height map will now be applied to our terrain:
Now we can use the Strength value of the Displace modifier to determine the strength of the height map on the displacement:
The Video
Back To Part One || On To Part Three
Art Design

