As I mentioned yesterday when talking about how to generate character sprites supporting dynamic inventory, the very first step would be to actually figure out how to do 3D in LibGDX.
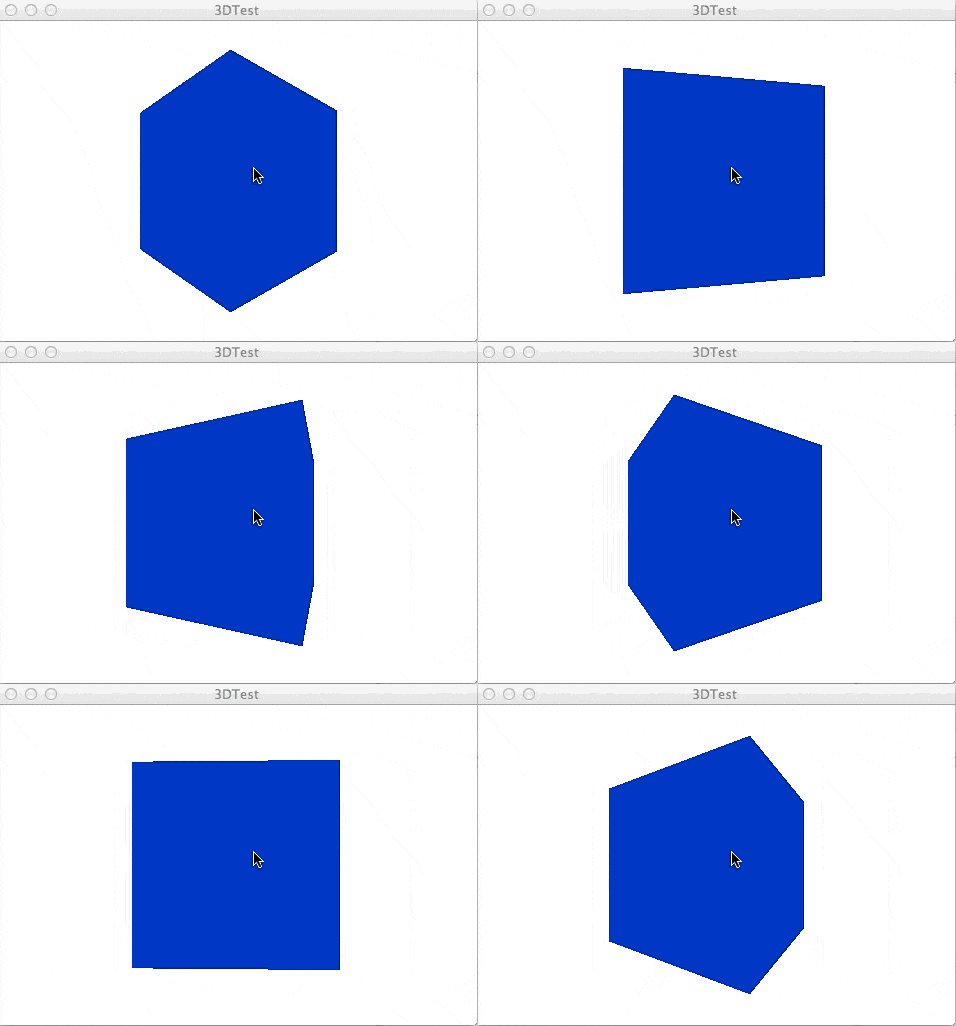
Well, I did, and thankfully it’s pretty simple. This isn’t a tutorial by any stretch of the means, but what follows is basically the “minimum” 3D application you can create in LibGDX. It simple creates a blue cube and rotates the camera around it. While it isn’t a tutorial, it is heavily documented, so you should be able to figure things out with ease, especially if you’ve already done my LibGDX tutorial series.
package com.gamefromscratch;
import com.badlogic.gdx.ApplicationListener;
import com.badlogic.gdx.Gdx;
import com.badlogic.gdx.graphics.Color;
import com.badlogic.gdx.graphics.GL10;
import com.badlogic.gdx.graphics.PerspectiveCamera;
import com.badlogic.gdx.graphics.VertexAttributes.Usage;
import com.badlogic.gdx.graphics.g3d.Environment;
import com.badlogic.gdx.graphics.g3d.Material;
import com.badlogic.gdx.graphics.g3d.Model;
import com.badlogic.gdx.graphics.g3d.ModelBatch;
import com.badlogic.gdx.graphics.g3d.ModelInstance;
import com.badlogic.gdx.graphics.g3d.attributes.ColorAttribute;
import com.badlogic.gdx.graphics.g3d.utils.ModelBuilder;
import com.badlogic.gdx.math.Vector3;
public class TestApp implements ApplicationListener {
private PerspectiveCamera camera;
private ModelBatch modelBatch;
private Model box;
private ModelInstance boxInstance;
private Environment environment;
@Override
public void create() {
// Create camera sized to screens width/height with Field of View of 75 degrees
camera = new PerspectiveCamera(
75,
Gdx.graphics.getWidth(),
Gdx.graphics.getHeight());
// Move the camera 3 units back along the z-axis and look at the origin
camera.position.set(0f,0f,3f);
camera.lookAt(0f,0f,0f);
// Near and Far (plane) repesent the minimum and maximum ranges of the camera in, um, units
camera.near = 0.1f;
camera.far = 300.0f;
// A ModelBatch is like a SpriteBatch, just for models. Use it to batch up geometry for OpenGL
modelBatch = new ModelBatch();
// A ModelBuilder can be used to build meshes by hand
ModelBuilder modelBuilder = new ModelBuilder();
// It also has the handy ability to make certain premade shapes, like a Cube
// We pass in a ColorAttribute, making our cubes diffuse ( aka, color ) red.
// And let openGL know we are interested in the Position and Normal channels
box = modelBuilder.createBox(2f, 2f, 2f,
new Material(ColorAttribute.createDiffuse(Color.BLUE)),
Usage.Position | Usage.Normal
);
// A model holds all of the information about an, um, model, such as vertex data and texture info
// However, you need an instance to actually render it. The instance contains all the
// positioning information ( and more ). Remember Model==heavy ModelInstance==Light
boxInstance = new ModelInstance(box,0,0,0);
// Finally we want some light, or we wont see our color. The environment gets passed in during
// the rendering process. Create one, then create an Ambient ( non-positioned, non-directional ) light.
environment = new Environment();
environment.set(new ColorAttribute(ColorAttribute.AmbientLight, 0.8f, 0.8f, 0.8f, 1.0f));
}
@Override
public void dispose() {
modelBatch.dispose();
box.dispose();
}
@Override
public void render() {
// You’ve seen all this before, just be sure to clear the GL_DEPTH_BUFFER_BIT when working in 3D
Gdx.gl.glViewport(0, 0, Gdx.graphics.getWidth(), Gdx.graphics.getHeight());
Gdx.gl.glClearColor(1, 1, 1, 1);
Gdx.gl.glClear(GL10.GL_COLOR_BUFFER_BIT | GL10.GL_DEPTH_BUFFER_BIT);
// For some flavor, lets spin our camera around the Y axis by 1 degree each time render is called
camera.rotateAround(Vector3.Zero, new Vector3(0,1,0),1f);
// When you change the camera details, you need to call update();
// Also note, you need to call update() at least once.
camera.update();
// Like spriteBatch, just with models! pass in the box Instance and the environment
modelBatch.begin(camera);
modelBatch.render(boxInstance, environment);
modelBatch.end();
}
@Override
public void resize(int width, int height) {
}
@Override
public void pause() {
}
@Override
public void resume() {
}
}
And when you run it you should see:
Next up, loading a 3D model from Blender and playing the animations.
By the way, although this isn’t a tutorial, if you have a question about something I did feel free to use the comments and I will do my best to answer!

