After spending so many years as a Windows/Visual Studio developer, Intellisense is a simple must have in my arsenal. In fact, I believe my repeated use of Intellisense actually severed
As I’ve been doing a lot of JavaScript development recently ( between Node.js and now Cocos2D ), I needed to recreate the Visual Studio experience. I am an avid Notepad++ fan, but I never did get autocomplete working to my liking. Then I discovered JetBrain’s WebStorm IDE and everything was right with the world. If you want a full blown IDE for HTML and JavaScript development, you really can’t beat WebStorm ( it is however, not free software ). Working with Node, auto-competition worked right out of the box. With Cocos2D-html, there is a bit more work to do.
Here, we are going to cover that configuration process. This process actually applies to configuring any JavaScript library to work with WebStorm, not just Cocos2D.
First things first, we need a project. I am going to create one out of the code I created in the second Cocos2d tutorial. A WebStorm project is simply a directory full of code. Let’s create one now.
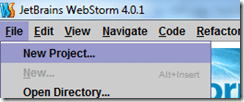
Load up WebStorm ( I’m using 4.0.1 ). Select File->New Project:
In the Create New Project dialog, under the location select the folder containing your project’s code, then in the Project name field enter your app directory name. You may have to fight a bit with the UI to get it to work right, it really wants to create a new directory. If you are creating a completely new project, you can ignore this bit.
Now it will prompt you:
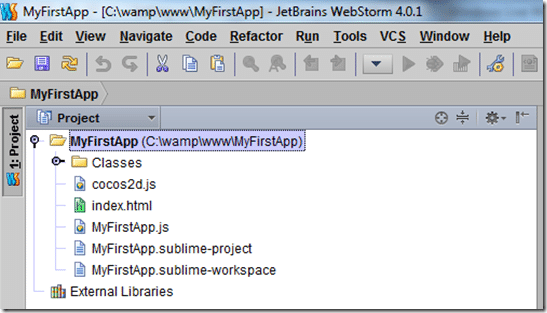
This is what we want, click yes. This will simply create a .idea folder within your directory with the project data. If all went well, you should now have a project like this:
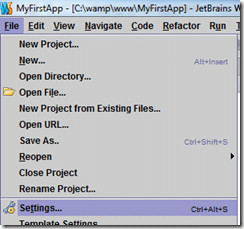
Now the we have a working project, we can adjust the settings on it. In the menu, select File->Settings:
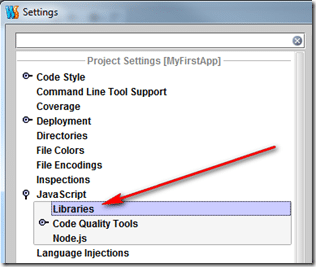
Now scroll down and expand JavaScript and select Libraries:
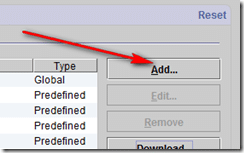
On the right had side of the screen, locate and click the Add button:
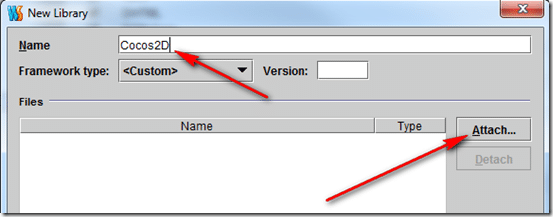
Name it Cocos2D and click the Attach button:
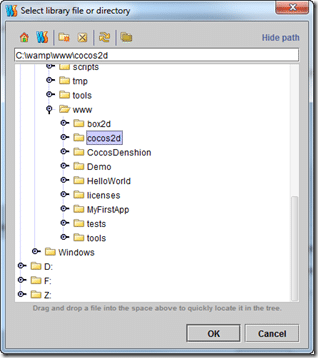
Navigate to and select the Cocos2d folder, then click OK:
You may want to repeat the process for box2d and CocosDenshion ( audio library ) if you wish to use them as well. Click OK when done.
Back in the settings menu, Click the Apply then OK button.
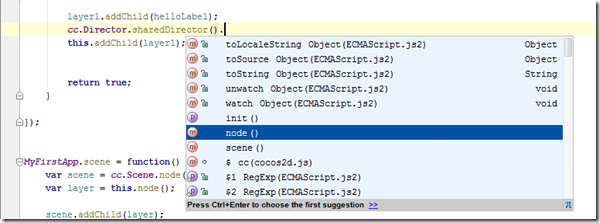
Now, when you are editing your JavaScript code, you will now have complete auto-completion data for the entire Cocos2D library:
Ahhhh, just like being back in Visual Studio with full Intellisense support. My brain can happily go back to forgetting all about functions and member variables!
If you are looking for a solid JavaSript IDE, you really should check out WebStorm. If you are looking for a great HTML5 based game library, you should check out Cocos2d-html. As you can see, they work well together.
The eagle-eyed viewer may have noticed the Sublime text project files. This is another great IDE (sorta) option that is worth checking out. I switch back and forth between the two.
General

