In this “A Closer Look at”, we will be taking an in-depth look at the Stencyl game engine. The Closer Look At series is a cross between a preview, review and getting started guide and should help you determine if a game engine is right for you. Stencyl is a cross platform 2D game engine with tools that run on Windows, Mac and Linux and capable of targeting all of those, plus Flash, Android and iOS. Stencyl is free to use for the Flash target with additional platforms coming with a fee. Stencyl provides a high level Lego block type programming experience but coders need not fear, you can drop into code easily if you want. Amazingly enough, you may find you do not actually want to!
There is an HD video version of this guide available here.
The Editor
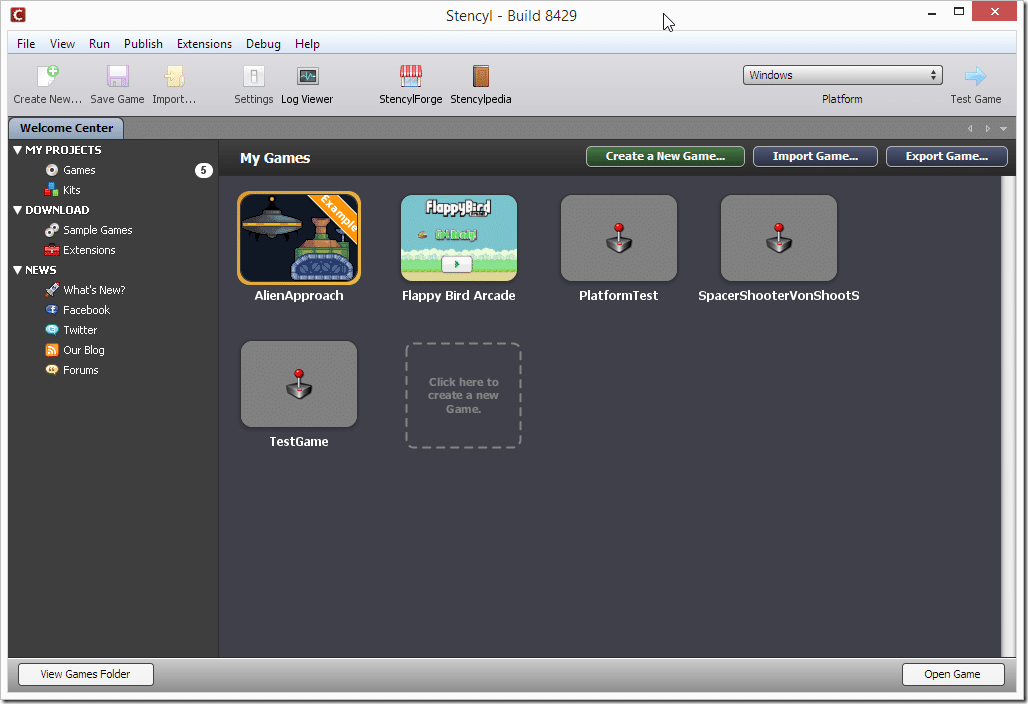
Stencyl is a relatively self contained providing almost all of the tooling you need in a single editor. When you first launch Stencyl this is your initial view of the editor:
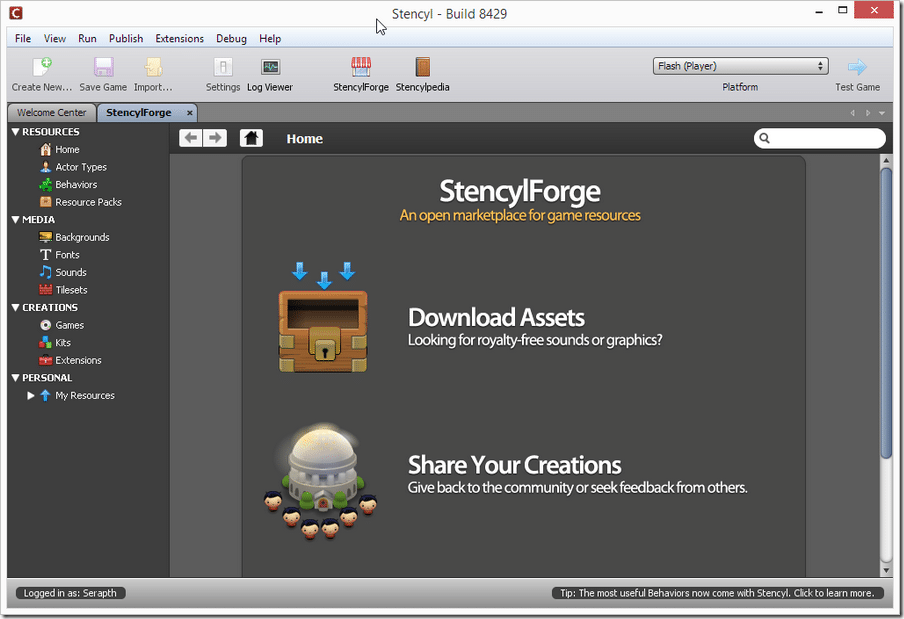
It comes with a sample game included and one nice feature of Stencyl is the ability to seamlessly download additional assets from their website including additional examples and editor extensions. Once you’ve actually created a project you’ve got even better integration with their online store ( misnomer, as everything currently is free ).
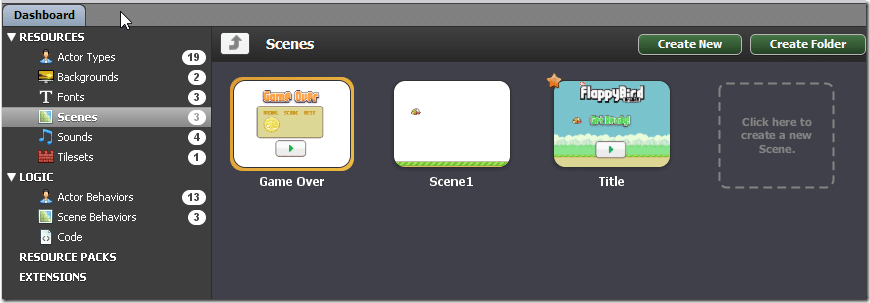
The Dashboard is the home page of your game. The game itself is broken up into Scenes and scenes are composed of Actors, Backgrounds, Fonts, Sounds and Tilesets. Created resources are available across all scenes.
Scene/Level Editor
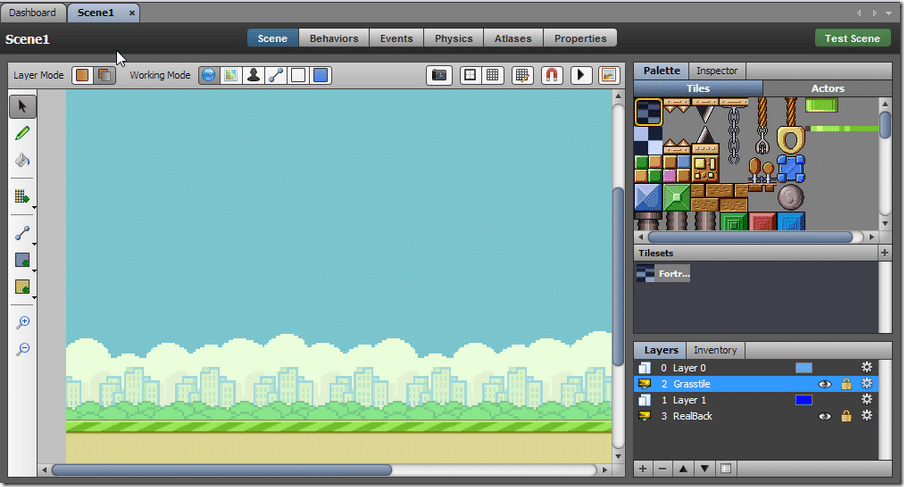
Loading a Scene brings up the scene editor
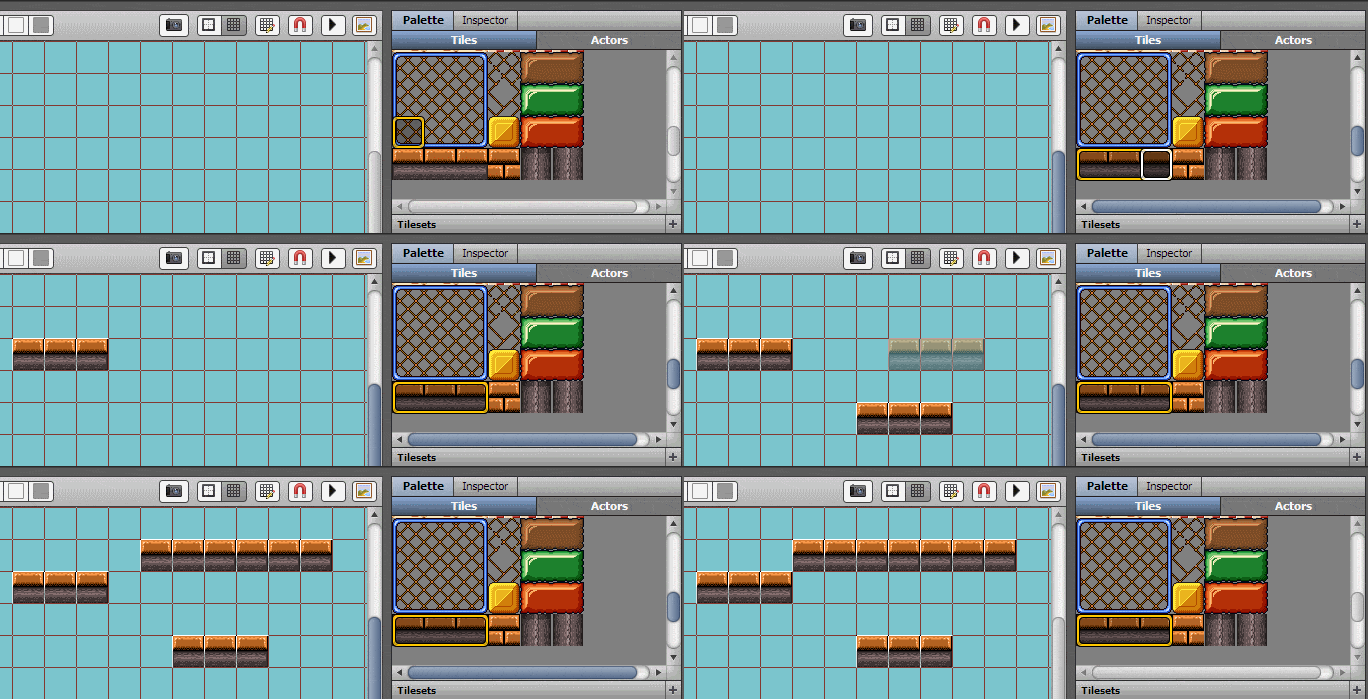
The editor has several modes available across the top (Scene, Behaviors, Events, Physics, Atlases and Properties). The Scene editor (shown above) enables you to paint scenes using tiles for a tileset, or to place your various actors within the world. The editor supports multiple layers of tiles with various blending modes available. The tile placement experience is very smooth with functionality you would expect like snapping, flood filling (painting an entire region with a single tile) and grids. There is also support for defining regions, placing physics joints, adding rows and columns of tiles all at once and more. The ability to paint with multiple textures is also present:
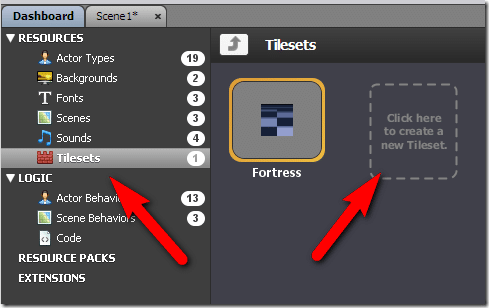
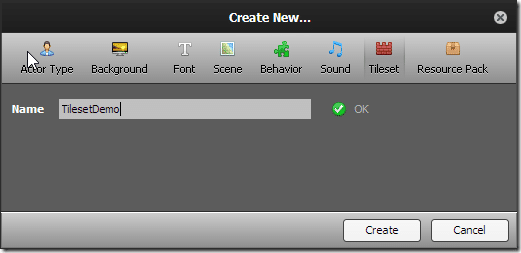
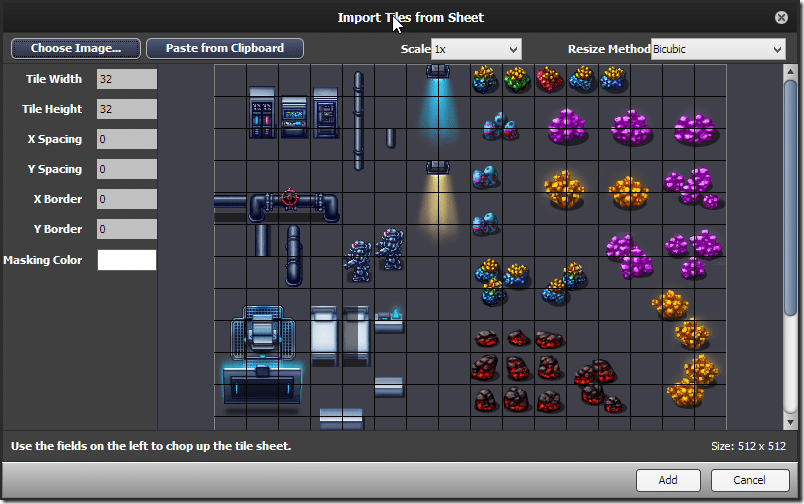
The Tilesets themselves are created as a Tileset resource at the dashboard:
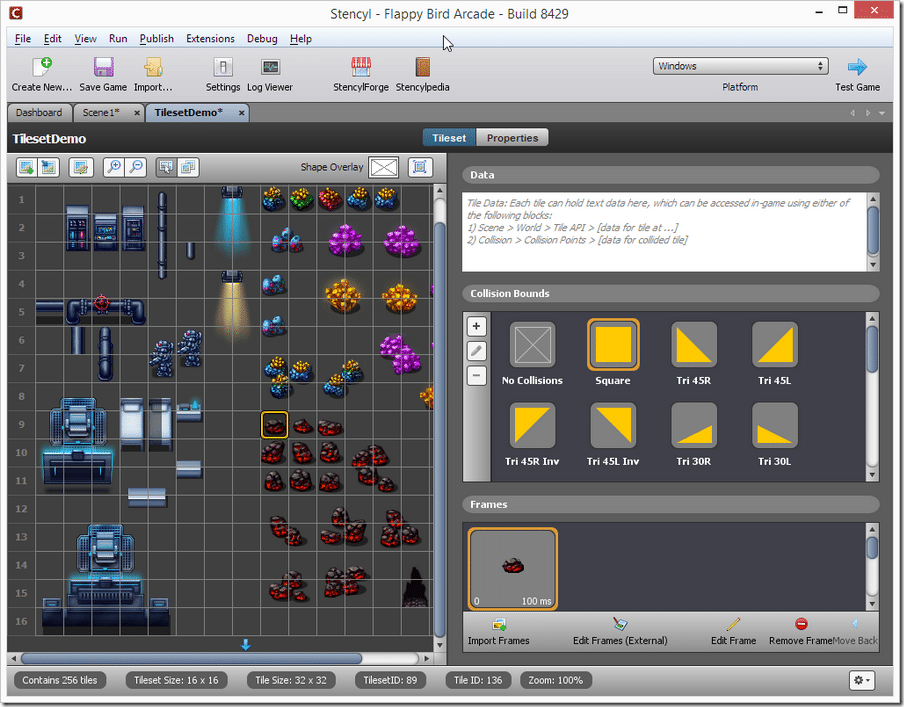
You can then edit each tile in the tileset:
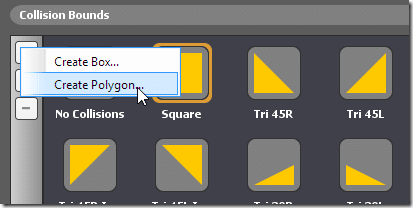
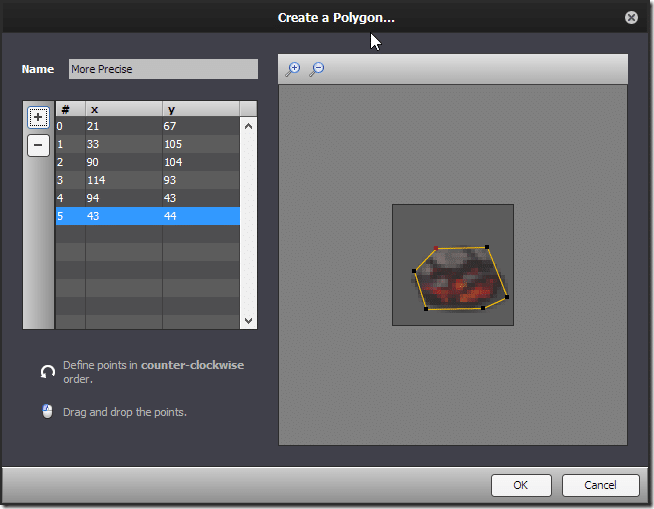
Three things can be set for each tile, a custom piece of metadata that can be access by code (perhaps a text description of the tile), the collision shape for the bounds of the triangle, using either a default shape or defining your own, and finally the frames of animation for animated tiles. Should you require more precise collisions than the default shapes, you can define your own Collision Bounds:
The Create A Polygon tool is a bit clunky but gets the job done:
Back to the Scene editor, you will notice the next two tabs after Scene are Behaviors and Events:
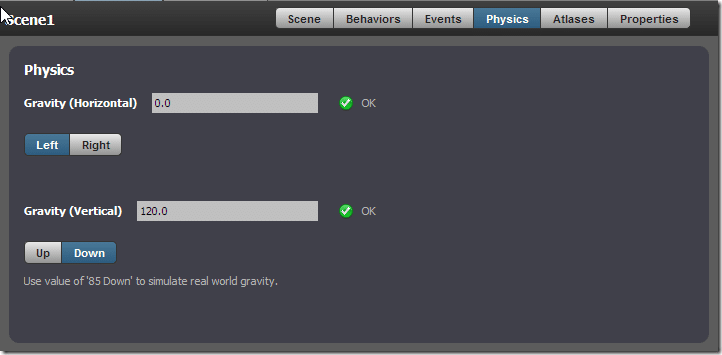
These are basically the way you “program” your Stencyl game and we will revisit both shortly. Just remember them for now. Physics enables you to configure some global level physics properties for you scene:
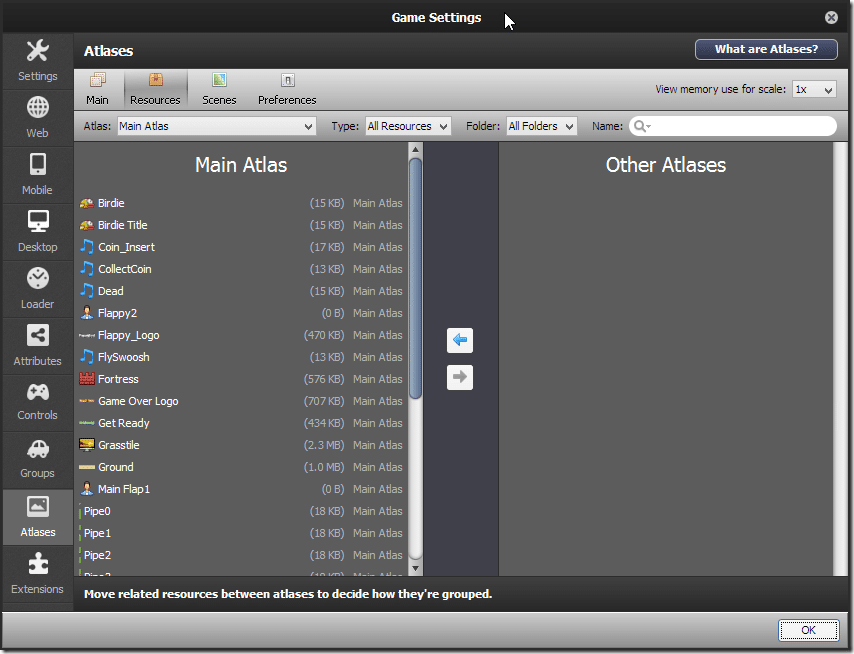
Atlases are akin to spritesheets in other game engines. It enables you to bundle like minded resources into a single file to improve performance. This is more of an implementation detail, so we wont cover it in depth.
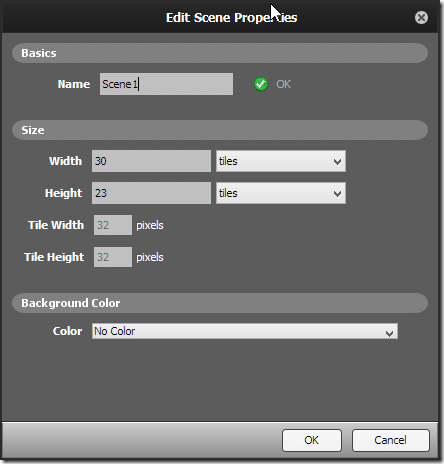
Finally Properties enables you to set some critical details of the scene that you otherwise set during creation.
Basically Scene is your game level and Stencyl provides a complete and comprehensive level editor with most of the required tools for placement, physics, etc. You will notice at this point that Stencyl is highly configured for creation of 2D tile based games and if your game doesn’t fit this description, Stencyl becomes less and less useful.
Actors
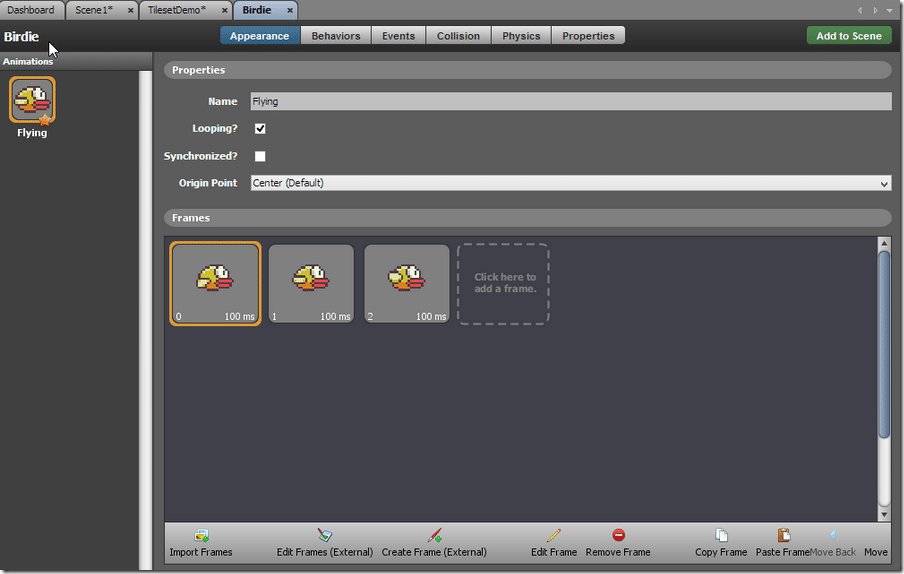
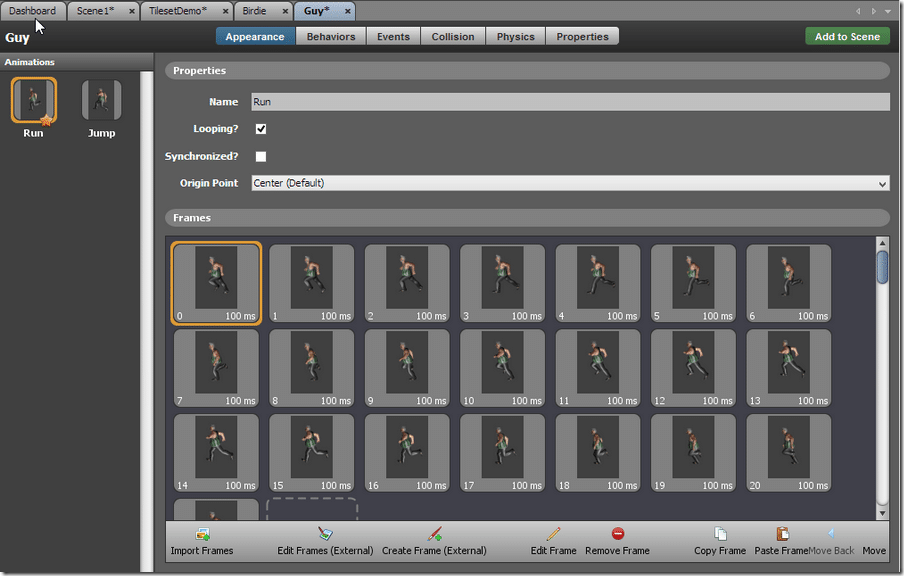
Next let’s take a look at the Actors interface. An Actor is basically any game entity that isn’t a tile. So your main character, your main menu, a high score widget and enemy sprites may all be actors. As you will see, the interface for actors is remarkably similar to Scenes:
An actor can contain multiple animations, each of which is composed of frames of animation. You can define as many animations as you desire and each animation you can control the order of frames and the duration that each one lasts. Animation frames use the same interface as loading a tileset.
You may notice across the top there are several editor options for Actors available as well.
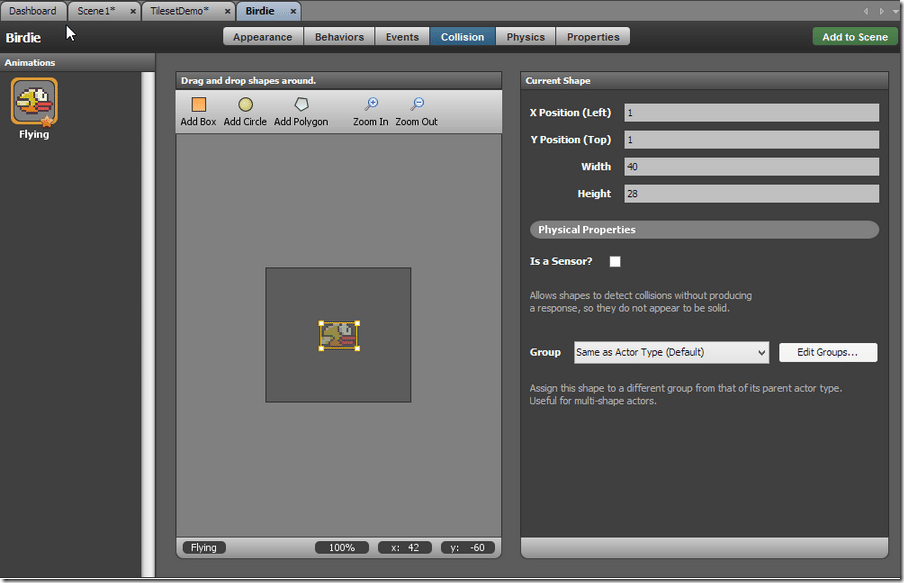
Appearance is the editor you see in the above screenshot were you specify the animations of your Actor. Behaviors and Events are the programming interface and once again, we will cover those shortly. Collision enables you to define the collision properties of your Actor:
One unfortunately missing feature is the ability to define a collision shape per frame of your animation. This means if the collision volume changes massively as your Actor is animated you will either need to split it into separate animation groups or settle for less than accurate collisions. Hopefully this functionality is added in the future.
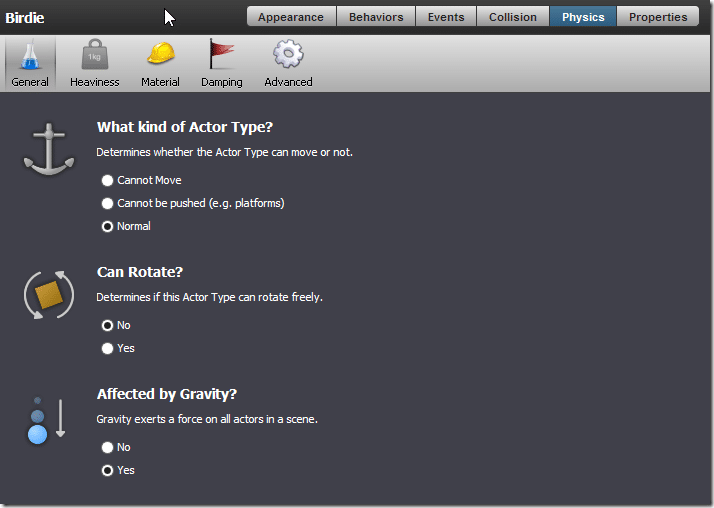
The Physics tab enables you to set the Physics properties of your actor:
Note the various sub settings you can set:
This is perhaps the most accessible and least confusing physics integration I have ever seen in a 2D game engine. Physics properties are often cryptic and simply figuring out what a particular setting does is an exercise in frustration, especially for new game developers. So bravo for making a complicated subject dead simple.
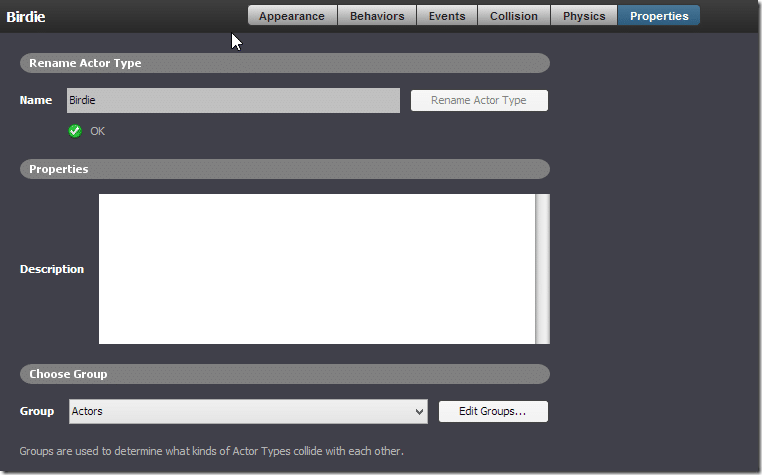
Finally there is the properties section:
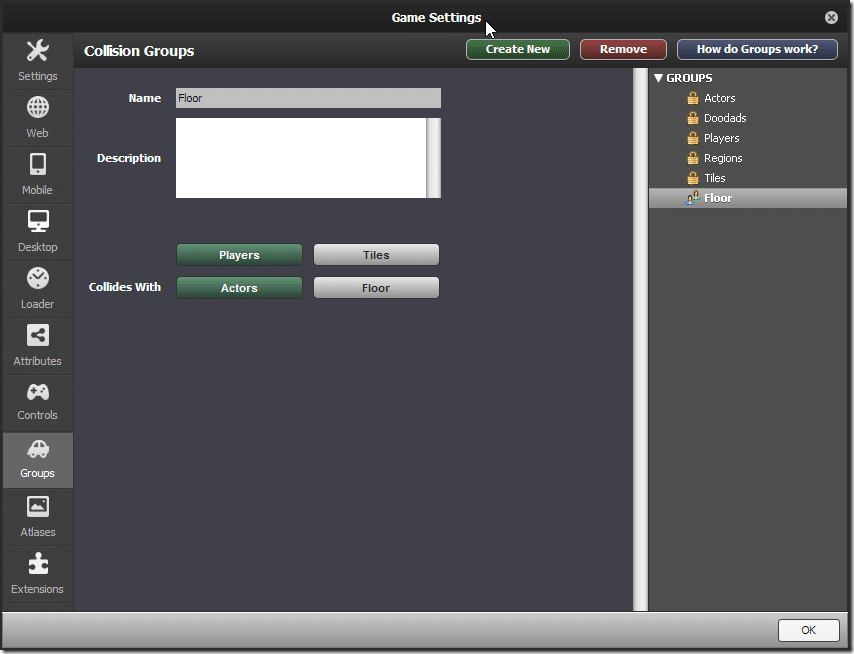
Which contains the button for launching the Collision Group interface:
Collision groups are handy for determining how various groups interface with each other. For example, a Bullet may collide with Actors, but not other bullets. One nice feature with Stencyl is the link to help on each topic:
If the purpose of an editor isn’t obvious to you, you can click the How do ____ work button and be brought to a well written help web page. This should keep newer developers from getting overly lost and encourages exploration.
Programming in Stencyl
As I mentioned earlier in both the Scene and Actor sections, programming is done via Behaviors and Events in Stencyl. Behaviors can be added to both scenes and actors and each is a distinct thing. The same is true for events. If you are coming from another game engine or programming language, Behaviors are analogous to methods or functions and can be re-used ( a scene behavior can be used on several scenes, while an actor behavior can be used across multiple actors ). There is also a variable type named an Attribute, which can be though of the same way you would consider a property. If that made no sense think of it this way… a Behavior makes a scene or actor do stuff, while an Event tells a scene or actor that stuff happened while an attribute stores information about stuff.
Programming itself can be accomplished either by using predefined behaviors or by defining your own using a building block type programming interface. Let’s take a look.
We can create a simple actor like this one:
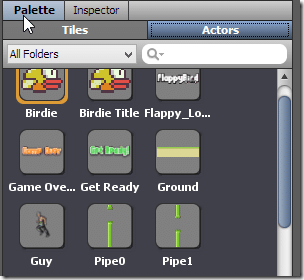
We can easily add an instance to our Scene using the Add to Scene button, or by going to the Actors panel in the Scene editor:
Now let’s add some logic to our Actor. In the Dashboard, select your Actor and choose edit. Now select Behaviors and you will be greeted with:
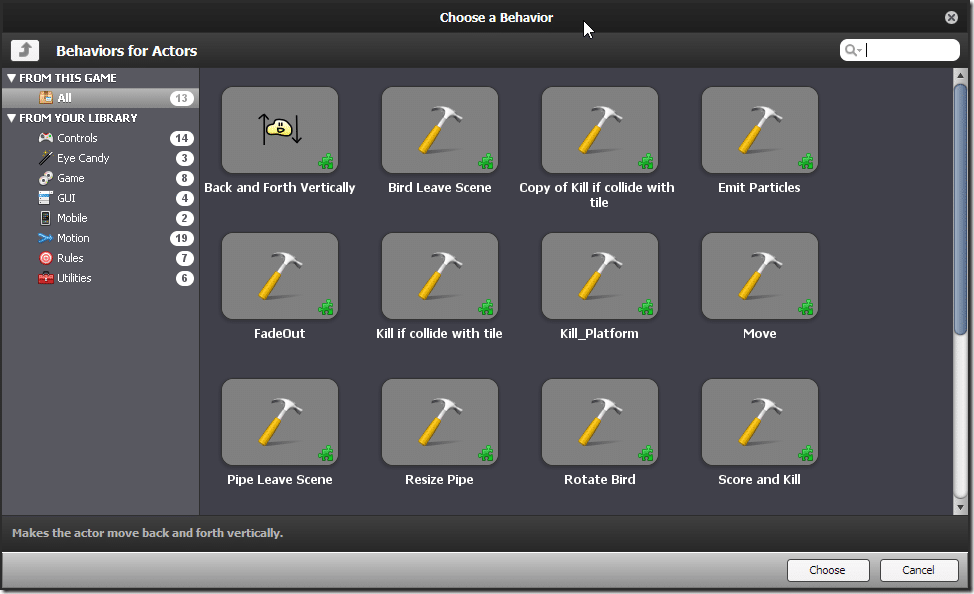
Clicking it allows you to select a pre-created Behavior or one you have already defined for your game:
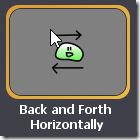
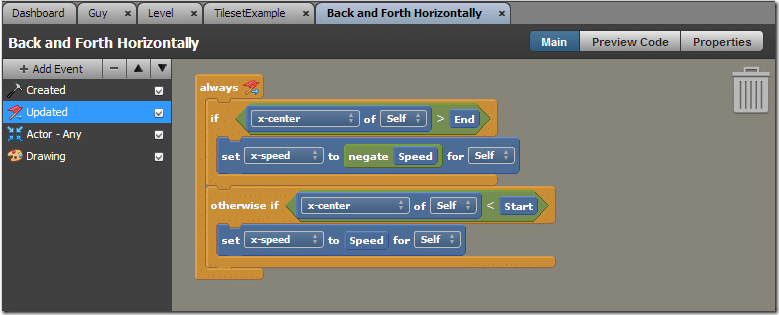
There are several pre-defined behaviors and more you can download from StencylForge. Let’s add a simple behavior to our Actor. We simply want to move left and right automatically. Select Motion->Back and Forth Horizontally
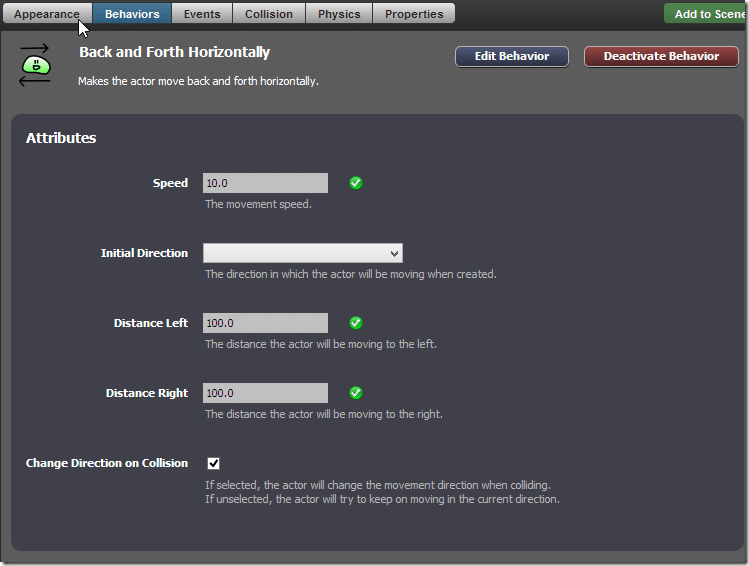
You can then set configurable attributes of that behavior:
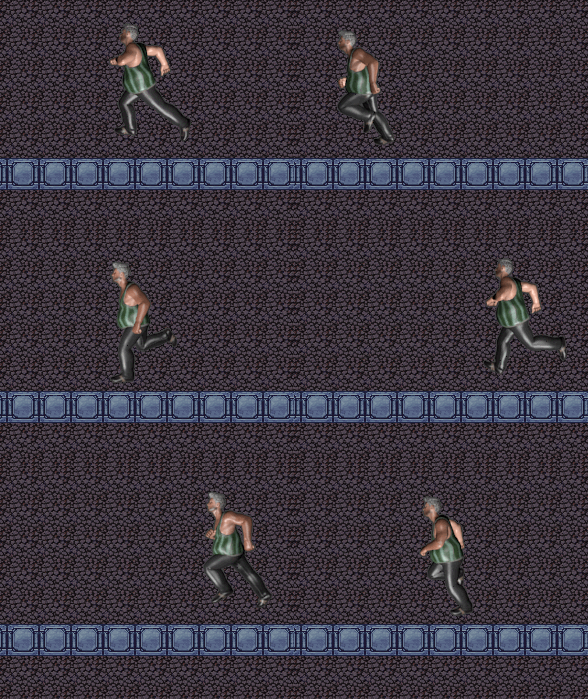
Now run your game by hitting Test Game and your actor will move left and right 100 pixels:
So you can add functionality to an Actor as simply as adding a behavior to it and an instance of that actor in your Scene. Obviously in this case our animation isn’t ideal as it only makes sense when traveling to the left.
Let’s now flip the character if he’s going right. This means our first programming experience. We can do this either in the scene or in the character itself, in this case we do it in the Scene. Edit the Scene, select Events then add a new Event.
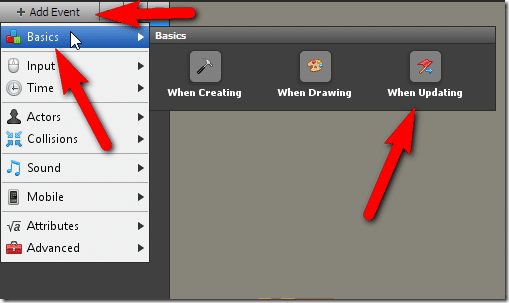
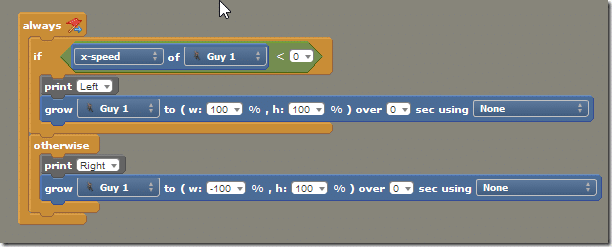
First click Add Event, then Basics->When Updating. These are the three lifecycle stages. This will create a brick named always that we can then drop other bricks in to program the behavior of our game. Create the following structure:
This brick will be called every frame. We check to see if the user is going left (negative) or right(positive), in the case of positive, we scale –100% in width, which is the same as flipping. Now running the code we see:
You can also bundle together functionality it re-usable components using virtually the same manner with Behaviors
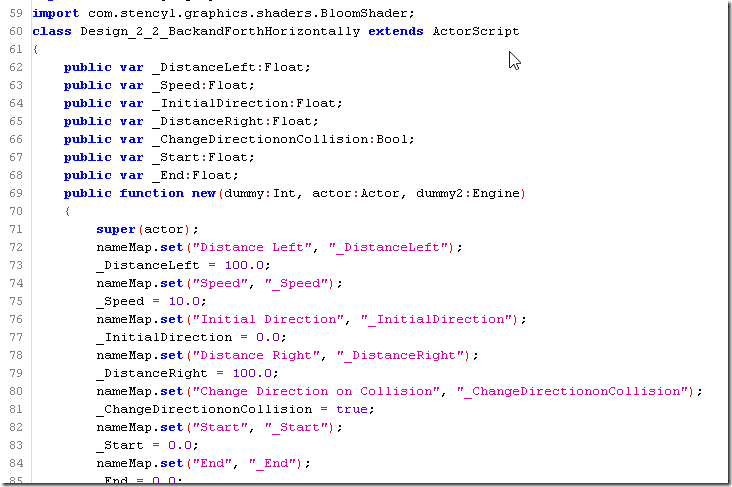
Now one of the coolest features of Stencyl, all this visual programming you’ve been doing… it’s ultimately just a code generator using the Haxe programming language. Click Preview Code and you can see the code generated behind the scenes:
You can even edit the code using an external editor like Flash Develop or IntelliJ, the process of which I describe here. This turns Stencyl into a rapid development Haxe/OpenFL code generator and you can define the remaining game logic using a traditional programming interface if you prefer. You can also extend the Stencyl editor itself (using Java), as well as create new blocks completely, using Haxe. It’s a good thing this functionality exists too, as it helps make up for one of Stencyl’s biggest flaws… there is no debugger. You can do Print style output to the log which can be viewed in the Log Viewer, but there is very little debugging functionality (breakpoints, watches, etc ) built in. You can however debug your code in an external IDE if you are comfortable working in the Haxe language.
Documentation and Community
One of the impressive features of Stencyl is it’s documentation. Almost none of it is local however, so if you do not have an internet connection you are in trouble. The Stencylpedia is your starting point for help.
There is also a class reference for Haxe programmers, as well as guides for programming extensions and more. The quality of the documentation is quite solid, especially the more entry level materials.
In addition to the Stencylpedia there is StencylForge, a built-in (free) store for downloading behaviors, actors, scenes, sounds and even complete games.
There are a few existing books on Stencyl including Stencyl Essentials and Learning Stencyl 3.1.
There is also an active community forum available here.
The Flaws
Of course no tool is perfect and there are a few negatives to Stencyl. The first and biggest limitation is it is limited mostly to 2D games with a tileset approach to level design. If you aren’t creating this style of game Stencyl is probably not the right tool for you. Perhaps the most glaring flaw with Stencyl is a memory leak that seems to be present. I often received a message “You have reached 90% of memory usage, please restart”, sometimes quite almost right after loading Stencyl, other times after several hours had passed (it can be fixed though). There have been a few other times where I wasn’t getting the behavior I expected and had to restart to fix things. Saving changes is also quite slow and seems to be an all or nothing prospect. Finally the debugging support is extremely weak.
The Verdict
I came into Stencyl expecting one thing and discovered something much different. I had fairly low expectations, a simple click and build type experience that while accessible and easy to use, it would ultimately prove to be quite limited. I was wrong. Stencyl is certainly accessible, and provides a simple drag and drop visual style of programming experience. What I was shocked at was the flexibility, wealth of tools included and advanced coding options. Stencyl is not for everyone; if your game isn’t 2D tile/scene based for example. However if you are just starting out or even if you are an experienced developer creating a relatively simple game, Stencyl might be the perfect tool for you.
In fact, Stencyl maybe just maybe became my primary recommendation for new developers looking to get started in game development. It’s an approachable well documented game engine that has a long runway to explore as your skills improve.
The Video

