CastleDB is a light weight database written in Haxe with data composed of sheets. It makes storing structured data extremely simple, much like working with an Excel spreadsheet and much simpler than a traditional database. The resulting data is stored in JSON making it easily used in almost any game engine or programming language. Most interestingly you can treat 2D game levels just like any other data using the newly built in level editor.
There is an HD video version of this guide available here. It covers mostly the same details as this tutorial but goes into a bit more depth of using the level editor.
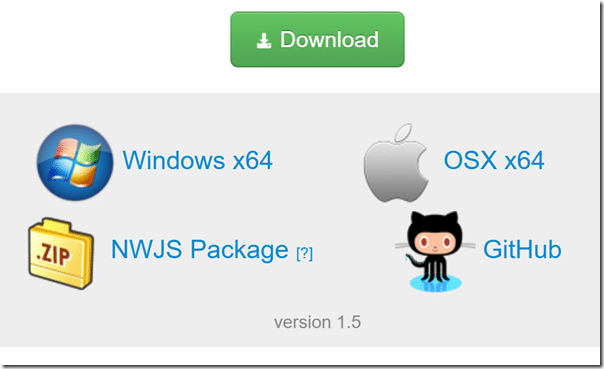
Let’s first take a look at the database side of things. Even without the level editing abilities, games are often in need of simple database services. Simply download and extract the archive for your appropriate platform:
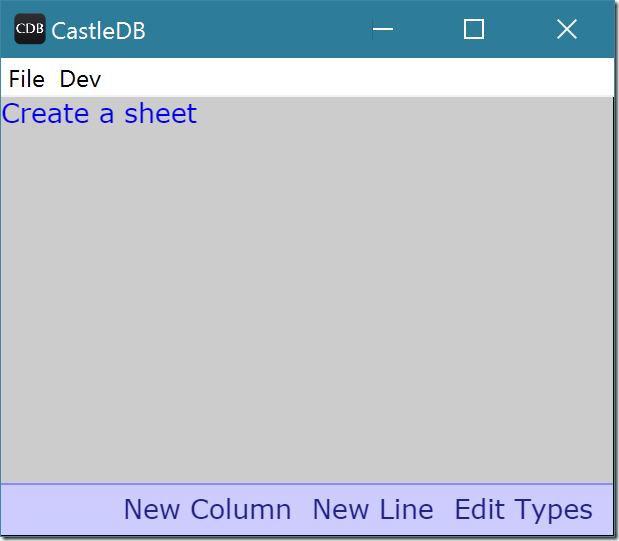
Then run cdb.exe. The interface looks like this:
Start by creating a new sheet by clicking Create a sheet. This is comparable to creating a new table in a database.
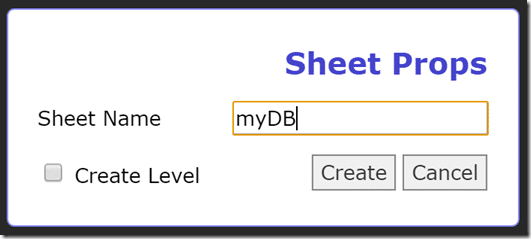
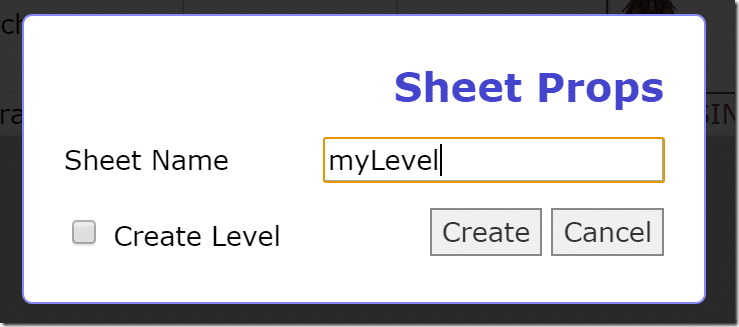
Simply name your sheet and click Create.
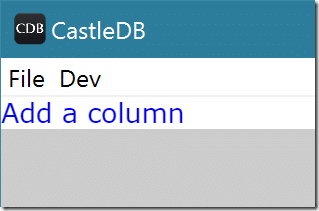
Next we add some columns to our newly created sheet, same basic process.
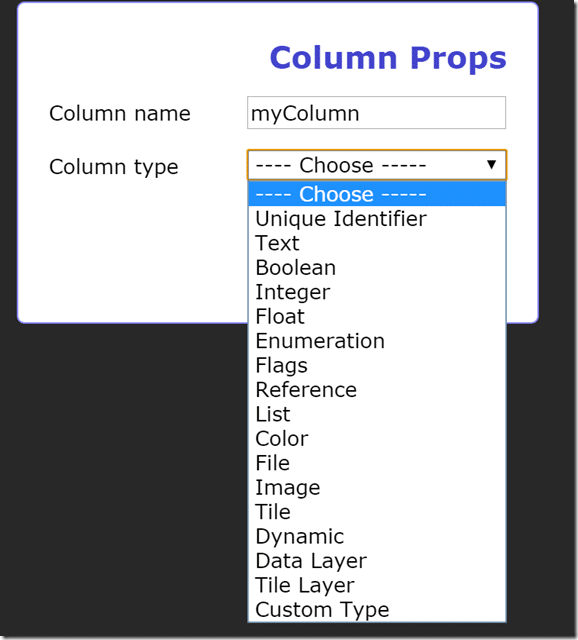
Next pick the column type.
Optionally tick Required if the field cant be left empty.
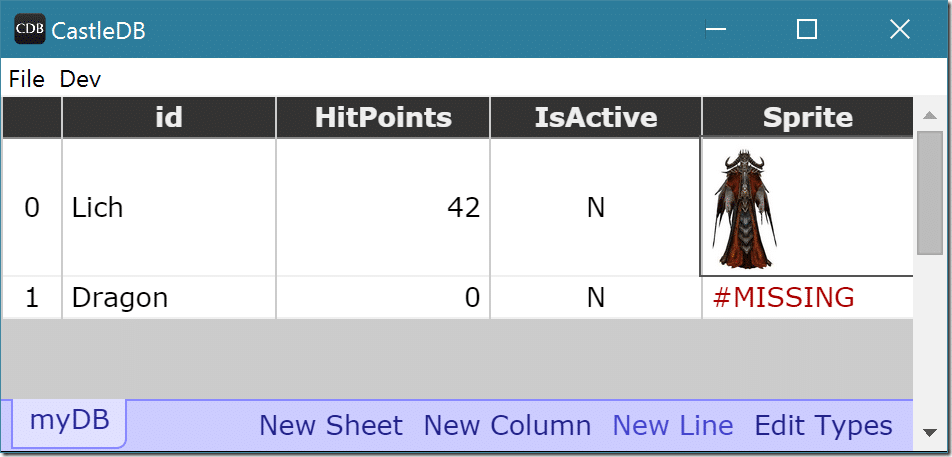
You could select List and link to another database creating complex relationships. Now we can populate a a database using the “New Line” command. Select a type like Sprite (Image) and the appropriate dialog is displayed.
Now save the cdb file somewhere and you can access the data with code relatively easily. First create a source file with the following contents, the black magic that links your cdb file to haxe code.
package com.gamefromscratch.castledemo.db; private typedef Init = haxe.macro.MacroType < [cdb.Module.build("new.cdb")] > ;
And now you can consume it like:
package com.gamefromscratch.castledemo; import flash.display.StageAlign; import flash.display.StageScaleMode; import flash.Lib; import haxe.Resource; import com.gamefromscratch.castledemo.db.MyData; class Main { static function main() { #if js MyData.load(null); #else MyData.load(haxe.Resource.getString("new.cdb")); #end trace(MyData.myDB.get(Lich).HitPoints); } }
Pretty simple over all. Now what was that about a level editor?
Well… remember back when you created the first sheet? You may remember a little checkbox “Create Level”.
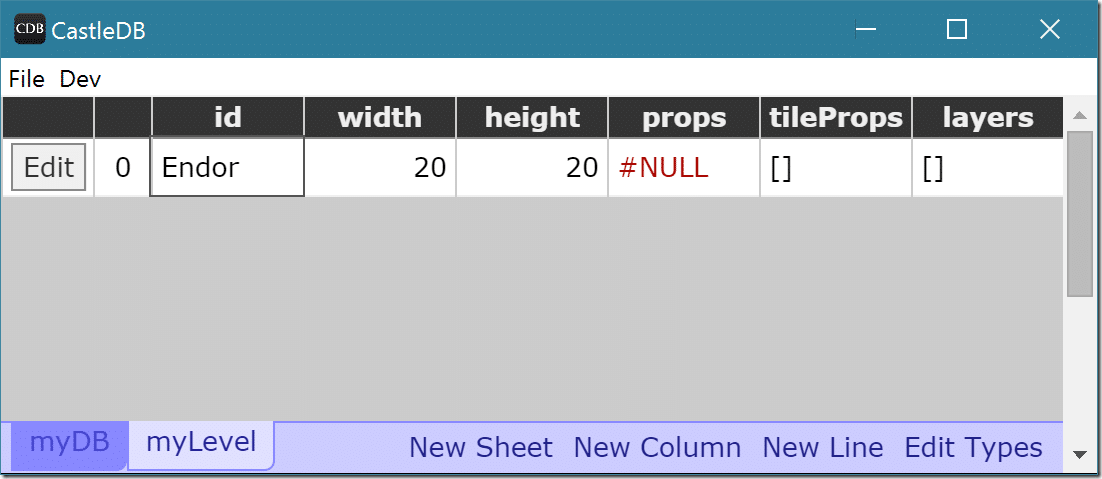
Well this creates a table just like any other with some prepopulated values:
Width and Height are the number of cells that compose your level, the rest will be populated shortly. Notice the Edit button that appears now? Click it.
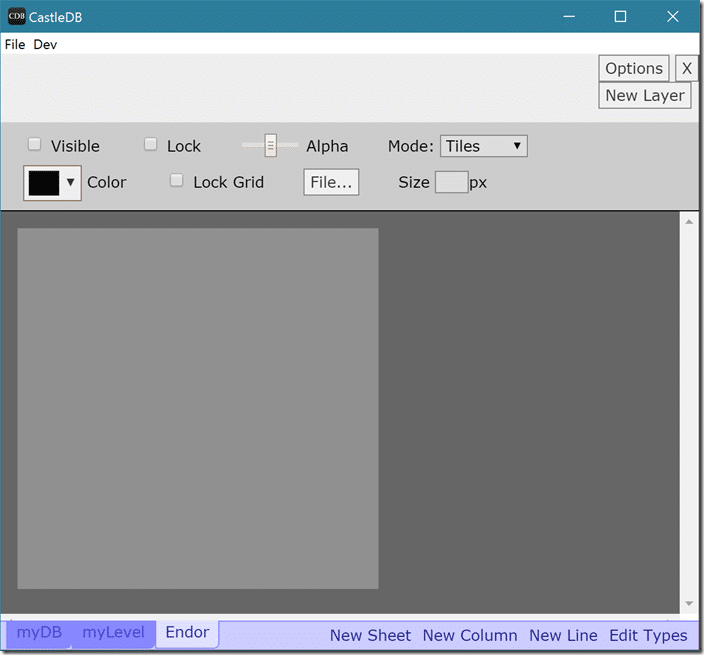
TADA! Level editor.
The level editor can work in tiles or objects, let’s start with a single object layer for our background image. Click the New Layer button at the top right.
Name it then click create. Now click the File… button and we will select our background tiles.
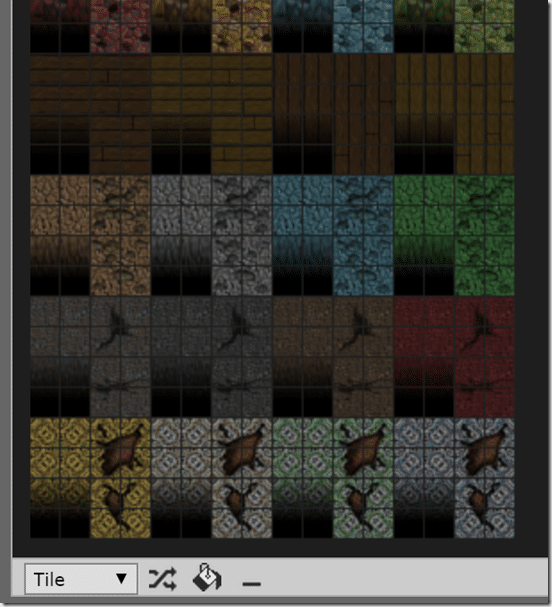
Your image will now appear ready for painting, like so:
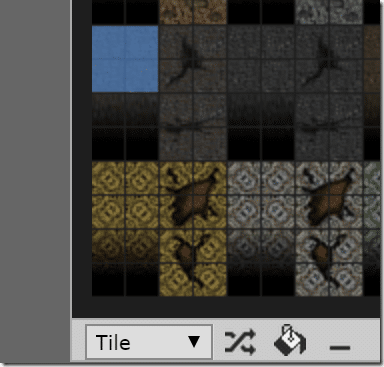
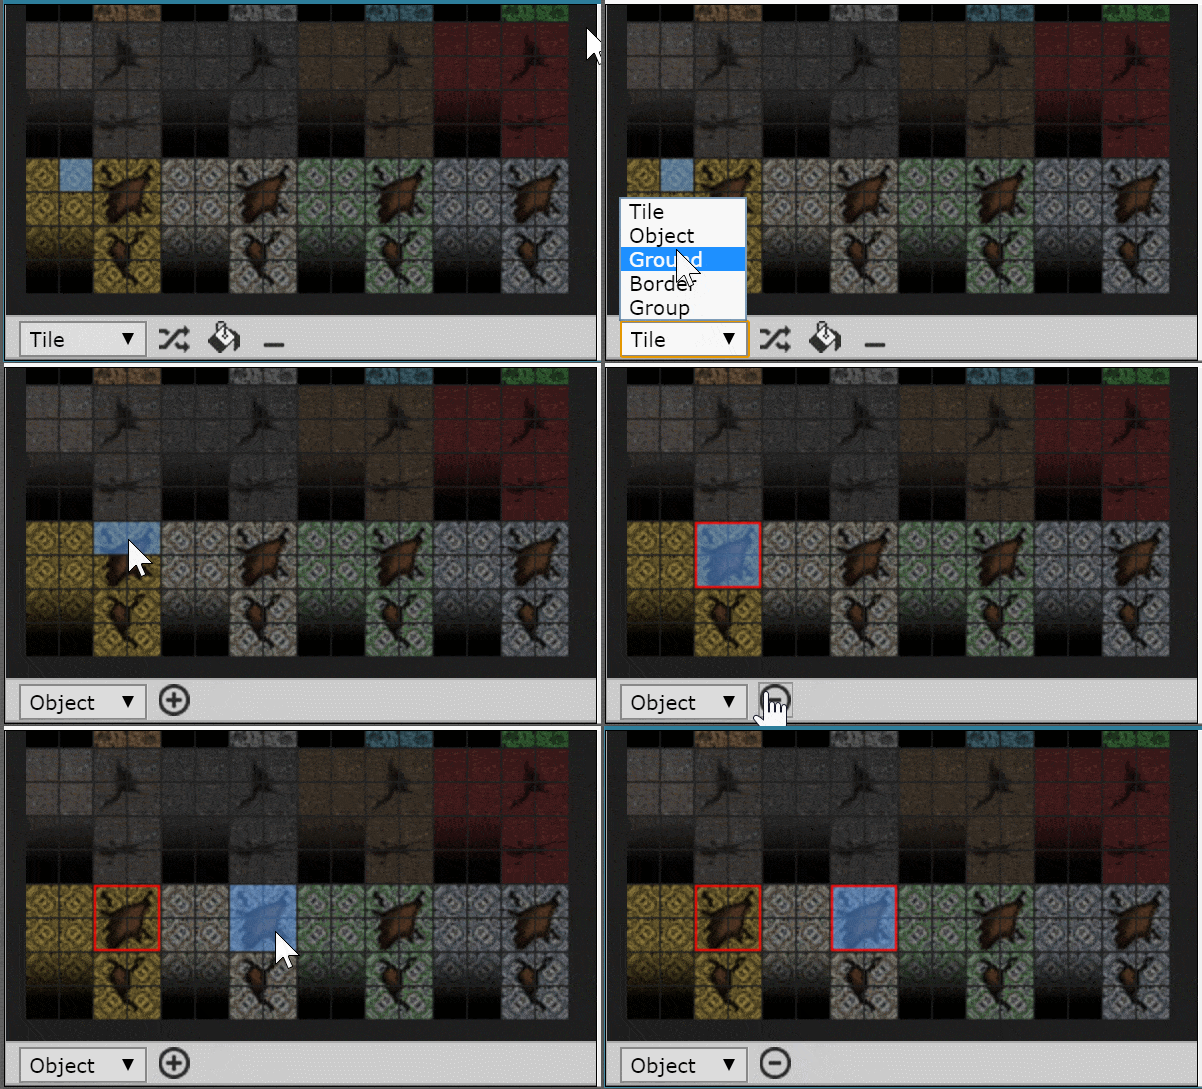
In Tile mode, simply select the tile, or tiles you wish to paint with like so:
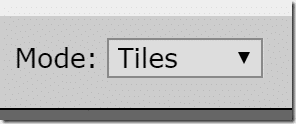
Now back on your layer make sure you are in Tiles mode:
And paint away:
You can also work in object mode, which allows you to place sets of tiles without being confined to the grid. First, define a set of tiles as an object:
Now you can switch your level to object mode and draw using the created objects instead.
Now perhaps coolest of all, you can also instance data easily enough. For example, we could add and place NPCs on our map, first we extend the map sheet to have an addition field, a List called npc, like so:
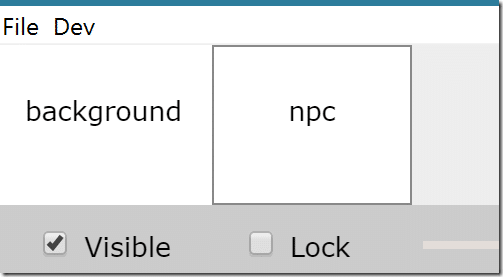
The List contains a reference to our monster table for example, x,y coordinates and an id. Now if you head back to your map, you will see you’ve got an additional layer created:
Which you can now use to place NPCs or other data in your world. You could do the same thing for collision data, whatever you wish.
This is only scratching the surface of what the level editor can do, there is even auto-tiling support built in. Be sure to watch the video version for a more in-depth idea of the level editors capabilities. Then when you are all done, it’s ultimately just data that you’ve been working with.
Now the downside is, there is no level loader when you are done. So whatever engine or game you are importing the result into, it’s still just data. It’s going to be your responsibility to display it all on screen.
The Video

