Now we are going to start the process of texturing ( drawing an image on the surface of ) our jet.
This first step may not need to be performed. We need to verify that our model has a material applied. By default one will be created for you, but if you are following along using my Blend file, for some reason in the past I deleted it. ( I had applied a quickly wireframe material to make a beauty shot earlier ) No matter, its a simple enough process to create a material.
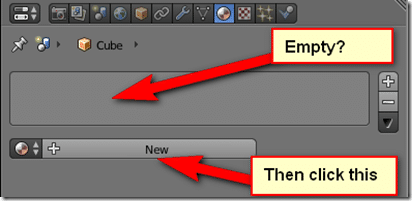
In 3D View, make sure your jet is selected. In the Properties window locate the Materials tab:
Check to see if there are any materials applied, if there aren’t, create one:
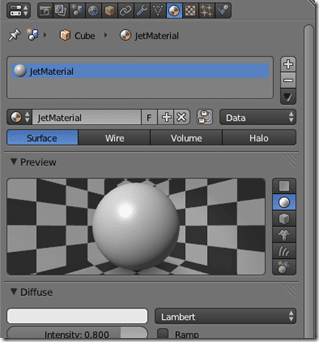
When done, it should look like this:
If it already looks like that, you don’t have to do any of this.
Texturing
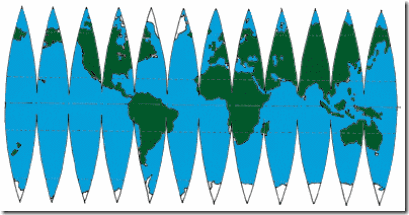
Before getting too far into this you need to understand the concept of a texture. Simply put, this is a 2D image that is pasted on a 3D object. We have many cases of textured object in the real world, such as wallpaper or a globe. Here for example is the image that would be glued on a sphere to create a globe:
This 2D imaged, combined with the 3D sphere would go together to create a globe. This process can be handled in Blender using something called Spherical Projection. On the other hand, when you have an arbitrary shape like your model, your mapping gets a great deal more tricky… and a map is required.
UV Unwrapping
So what exactly is UV mapping? It’s actually very simple. Meshes are 3D objects and textures are 2D images, so how then are you supposed to put a texture on a mesh? That’s where UV coordinates come in. There is nothing special to UV values, they are just numeric values describing the position of a texture on a face, just like normal XY values… except of course the values X and Y were taken, thus U and V.
Now that works wonderfully if your mesh is a single flat quad, but obviously that isn’t all that common. Enter the UV Map, which is exactly what it’s name implies, its a mapping of UV coordinates to positions on a 3D model. So how exactly do you pull this trick off? Well simply put, you squash your 3D object into 2D.
Imagine that your 3D model was made out of construction paper and to paint it, you wanted to flatten it. This is basically exactly what we are about to do. We tell Blender where you would make scissor cuts in your model to enable it to flatten and Blender takes care of the rest.
You define these cuts ( or in Blender terms “Seams” ) in EDIT mode in 3D View. Then they show up in the UV/Image panel. UV coordinates are component based, so you apply them at the vertex/edge/face level. To see them in the UV window, they need to be selected in the 3D view.
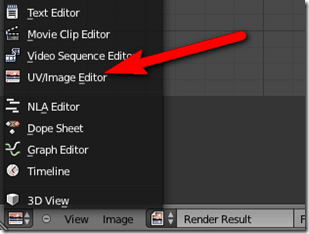
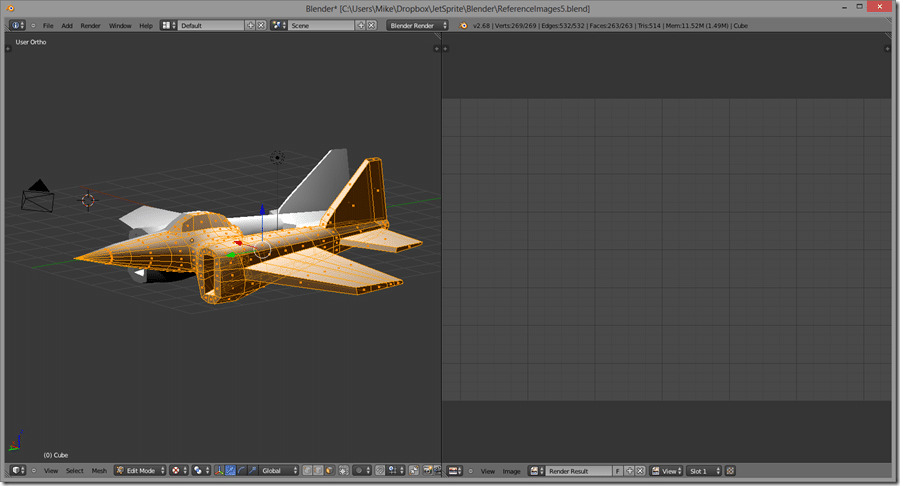
I am going to set up my Blender for UV editing. What I generally do is set up a 3D view on one side of the screen and a UV/Image Editor pane on the other.
Like this:
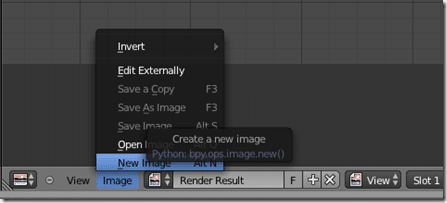
Let’s start off creating a texture to help us with UV mapping. At the bottom of the UV panel, select Image->New Image. Note the contents of that menu may be slightly different, its dynamically populated based on context.
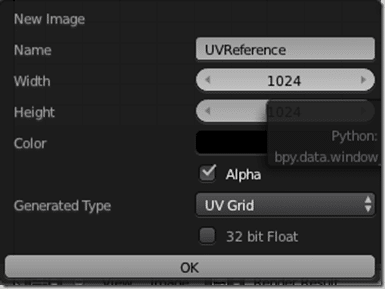
In the resulting dialog, give it a name so you can find it later ( we will be deleting this texture later ) and under Generated Type set it to UV Grid, like so:
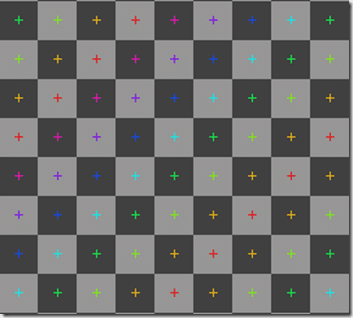
Now in your UV panel you should see:
Congratulations, you’ve just created your first texture! This grid pattern is handy for seeing if your UV unwrapping job needs work or not, you will understand shortly.
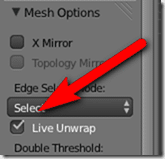
Now, let’s set up Blender to show unwrapping Live. In the 3D View, open the tools (T) panel, locate and select Live Unwrap.
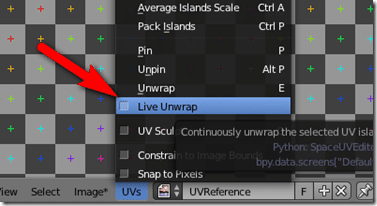
Now Blender will automatically unwrap for you as you mark seams. You need to also enable Live Unwrap in the UV panel. Select the UV menu and click Live Unwrap.
You don’t need to do this step, instead you need to manually unwrap ( using U then Unwrap ) with every change you make otherwise. It’s your call.
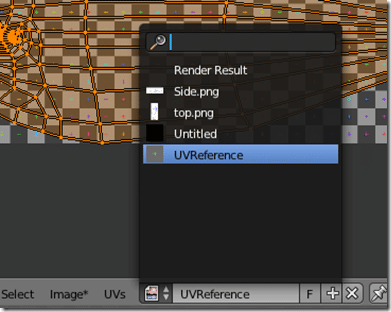
Now let’s apply the grid texture to your jet. In 3D View, in edit mode, select All ( A ). Then in UV view, select the image:
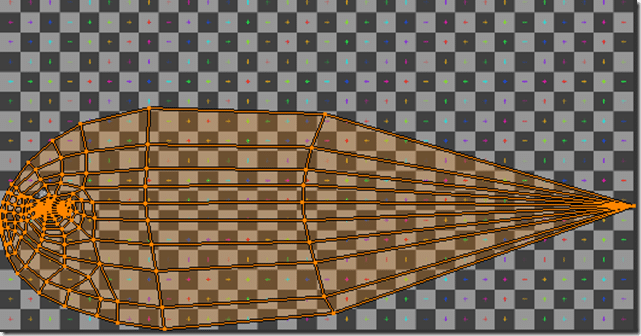
Now in the UV view, you will see the UV map over the grid texture:
If you don’t see the wireframe, you probably don’t have anything selected in the 3D UV. This view updates based on the selections in 3D View. That is what your model looks like flattened. Don’t worry, we will make it a bit more logical soon.
You will find the UV window uses almost the identical keys as the 3D view. You can pan and zoom the exact same way, you can use box selection, G to move, R to rotate etc. So, while Blender may have had a nasty user curve at first, it’s very consistent once you know it.
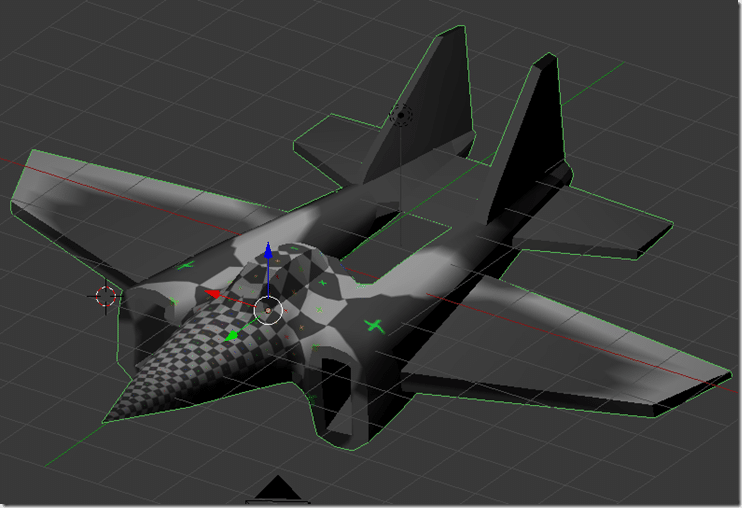
As you can see in the 3D viewport ( as long as you are in textured ), our texture layout isn’t exactly ideal! With a good layout, the checker pattern will flow much more cleanly across the model.
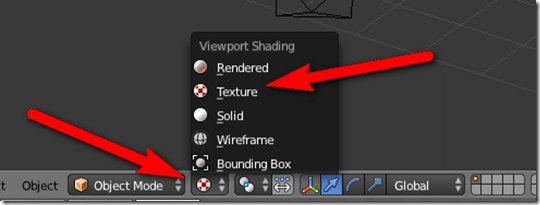
If you don’t see the texture mapping, its probably your settings. You can toggle between showing textures and not in the 3D view using the Viewport Shading selection:
Set it to Textured. Rendered mode wont work, as the grid texture hasn’t actually been applied to our model ( this will make sense later when actually apply a texture ).
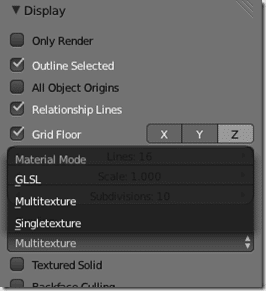
If your model still isn’t showing up with the grid texture, there is one other setting you have to configure. In the 3D View, open up the properties ( N ) panel.
GLSL can show some more details than other modes, but it also has some limitations. Most of the time I personally have mine set to Multitexture.
OK, this got pretty long so I will break it into another section. Coming up we will start cutting up and laying out or UVmap into something a bit more useful!


