Now we are going to export our texture so we can edit it in an external image editor.
First in the image editor, make sure Mode is set to View. ( We changed it to paint in the last section ).
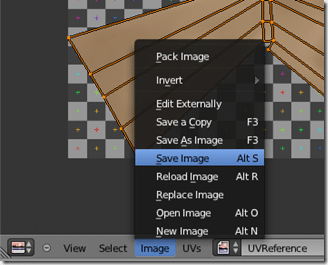
In UV Window, Select Image-> Save As Image
Pick a filename and location and then click Save As Image:
Now we can export the UV layout to help us with the painting.
In 3D View, switch to edit mode and select All ( A ).
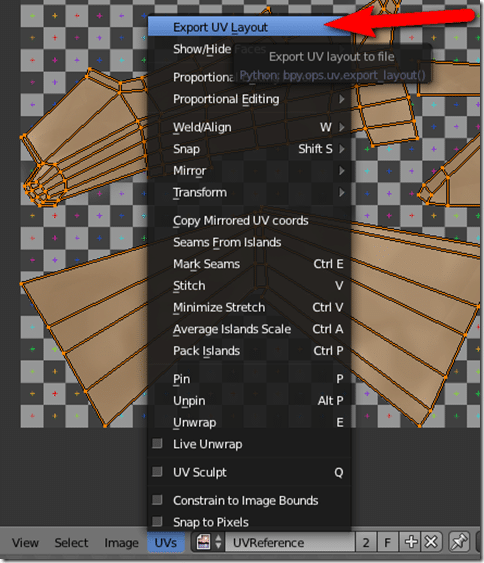
In the UV window select the UV menu, then Export UV Layout:
Once again, pick a directory and location for the saved image file. I personally went with ReferenceImages5UVLayout.png.
Now load your exported texture file in your image editor of choice. You have the option of registering a program that will be opened by Blender automatically if you prefer, then you can simply select Image->Edit Externally. For now we will simply open it manually.
In this case I am going to use the GIMP as the editor. The GIMP is a freely available 2D graphics package.
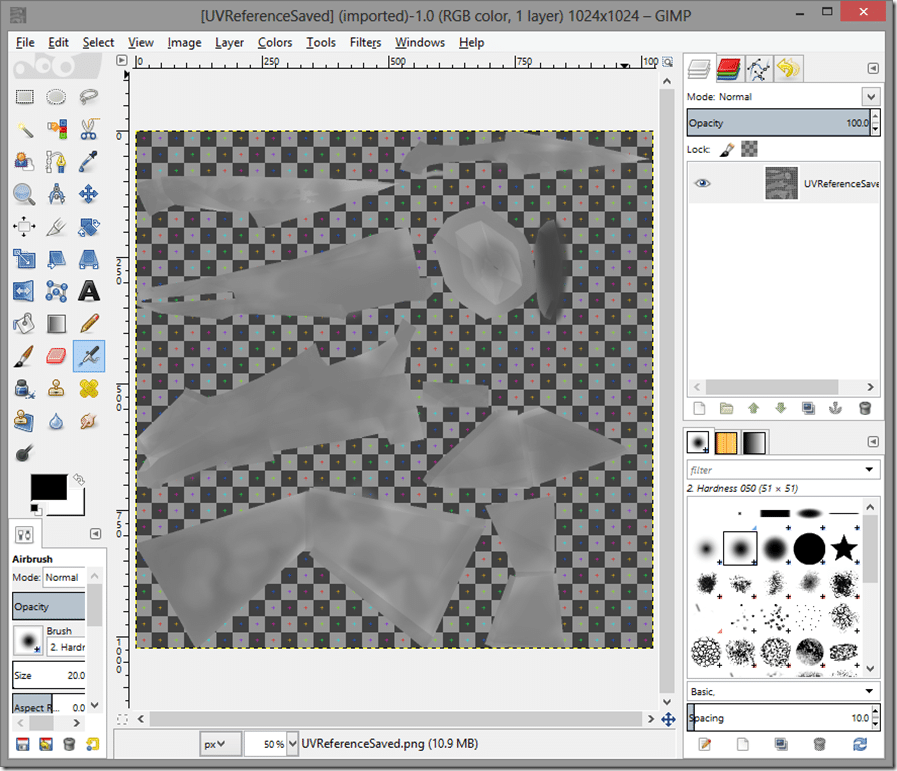
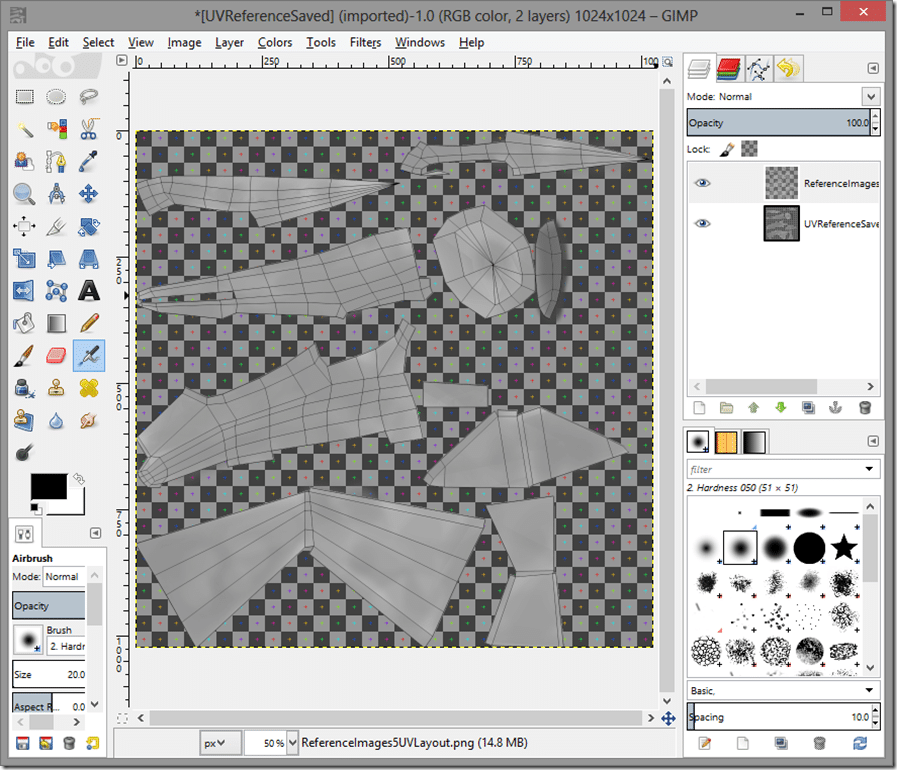
Here is our texture loaded in GIMP.
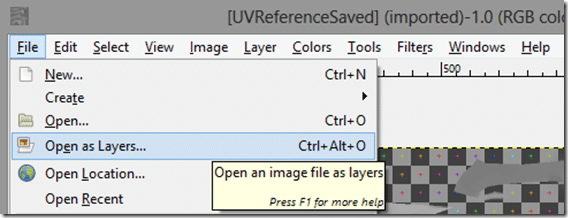
Now let’s load the UV Layout. In the GIMP select File->Open As Layers
Select the file you saved the UV layout to. Now it should appear like so in GIMP:
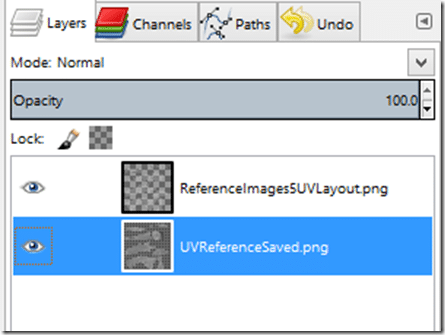
Now we draw the additional texture details on our texture. Just be certain you have the right layer selected when you edit:
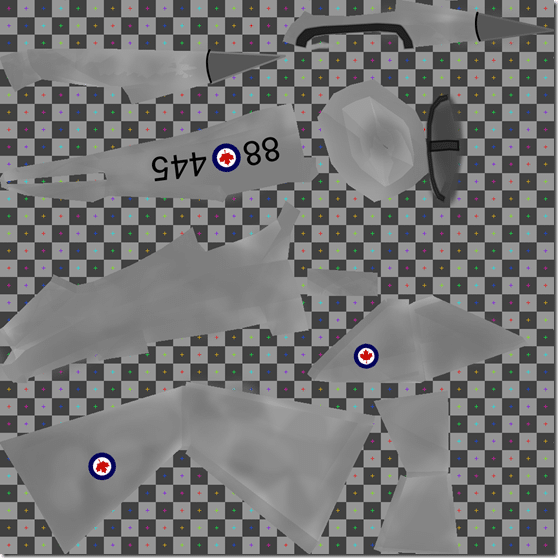
Drawing textures is an art in and of itself that I can’t cover here. Frankly, I am not very good at it either. Now I add some graphical details to the image and end up with something like this:
… yeah, I’m no artist! Don’t worry though, in sprite sheet form it will look just fine. Just make sure when you export the image from your image editor, the reference layer ( the wireframe ) isn’t visible.
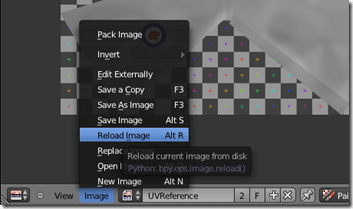
Once you are done editing your texture, assuming you didn’t change the location or filename, in the UV/Image Editor window, simply select Image->Reload Image or press Alt + R. If you did change the file name, instead select Image->Replace. Keep in mind you also have to change the texture name in the Texture panel if you renamed it.
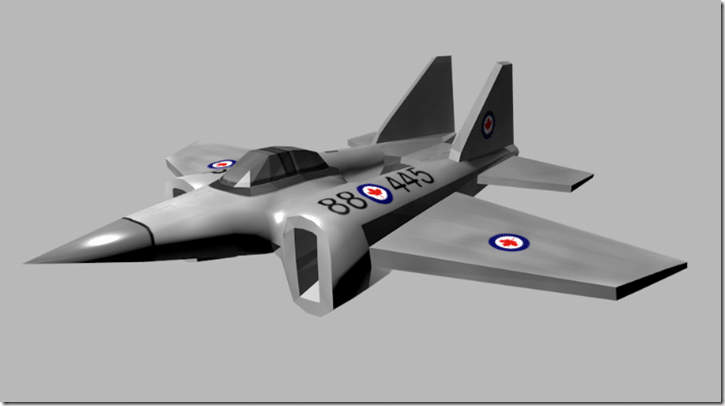
As a 3D model though, it could certainly use a bit of work. It’s a matter of adding more details to the texture, as well as implementing normal maps to give it some depth, something we will hopefully talk about later. You can also greatly improve rendering with various texturing modes ( specular, bump, etc ) which only will work within Blender. ( Wont work when exported to a game engine ). This is also something we will hopefully talk about in more detail later. Texturing adds a hell of a lot to your models quality, so it’s certainly a skill you should take some time to develop ( unlike me! )
Tips
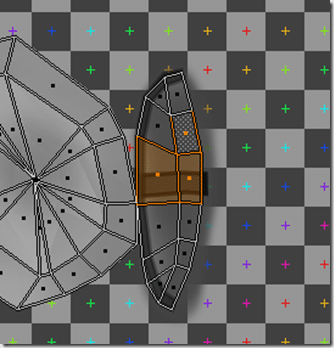
Often you will find yourself working in the UV Window and wanting to figure out just what @#[email protected]$#ing Polygons you are working on. Fortunately there is an easy way to do this. In the UV window, make sure you are in View ( as opposed to Paint ) mode. Then click the Keep UV and edit mode mesh selection in sync icon:
Now you can select stuff in the UV window:
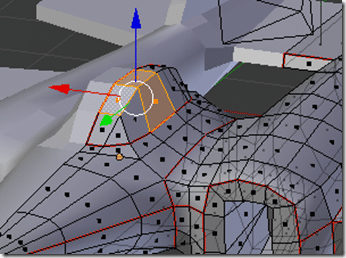
And in the 3D View, the corresponding items will be selected.
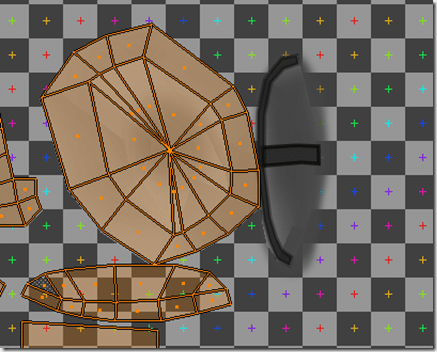
Another thing you might have noticed is how incredibly annoying the layout is to paint on. The UVs are set how Blender thinks they fit best, not necisarrily how you think they should be arranged to paint on. You can however move the UVs however you want. Unfortunately every single time you Unwrap again, the UV layout changes you have made will be reset.
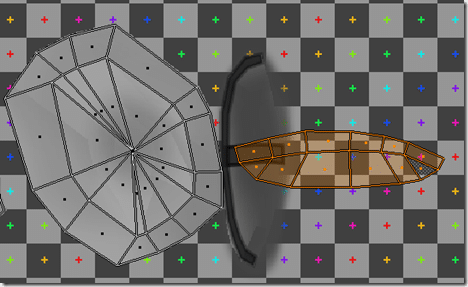
Say for example we want to paint our cockpit in it’s natural direction. We could then move the cockpit UVs into a position that is more appropriate to painting ( using G(rab), R(otate) and S(cale) like normal 3D editing ). Like I’ve done here by moving them to the right and rotating 90 degrees:
This will be a great deal easier to paint. Unfortunately if we go to 3D View and choose Unwrap:
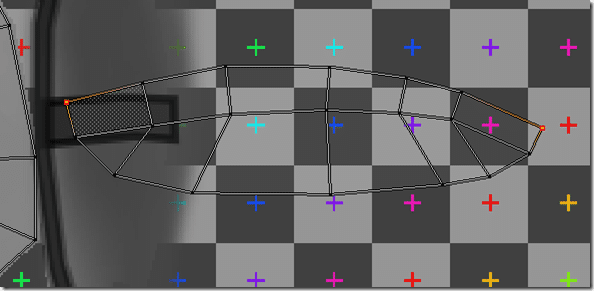
Well, that’s annoying! Fortunately there is a solution. If you want to have a custom UV layout, you need to “Pin” them in place. Then when the model is Unwrapped again, Blender knows where to put it.
Select the outermost two vertices and press P to pin them in place. The selected value will turn red(ish) when selected, like so:
Now the next time you Unwrap the texture, these UVs will be pinned in place. Of course, you could just select and Pin all vertices in place, but you are greatly handicapping Blender’s ability to deal with UV map changes. Keep in mind too that adding a Seam will automatically cause an Unwrap.
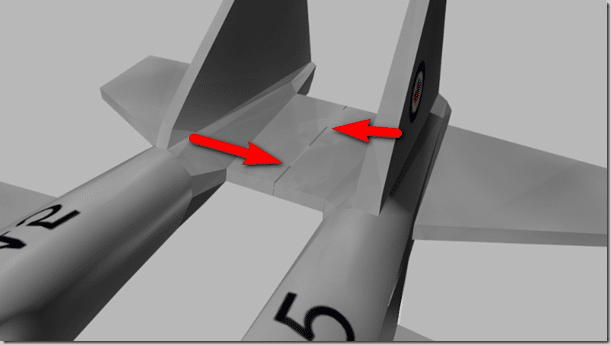
Final tip. Notice the ugly line across the tail of the plane?
What causes this? It’s the texture seem. Basically make sure the edges of your textures where you cut a seam have a matching seamless colouring on both sides, or you will end up with an ugly artefact like this. A few seconds with a Blur brush would solve this problem.
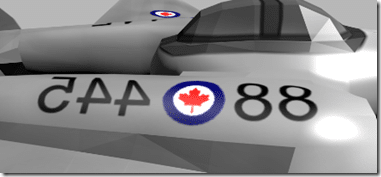
The astute eyed may also notice that the text is mirrored on the mirrored half of the model:
This is a side effect of using the mirrored modifier. You’ve got a few options here. 1 – apply the modifier, to form a single mesh and texture each side manually ( nah! ). 2- Switch to a symmetric number like 808 3- live with it. I’ve chosen 3.
Next up we will look at animation.
Click here for the Next Part

