There is an entire area of 3D modelling known as architectural visualization, or ArchViz for short, that have long been used by architects to help design buildings and help customers visualize the end result. Many major CAD packages have archviz functionality built in, but Blender is not one of them, or at least wasn’t. With the upcoming Blender 2.78 release, there is a plugin called Archimesh that brings much of this capability to Blender. So… why should you care as a game developer? As you will see shortly, this can also be used to help rapidly prototype 3D game levels as well. So without further ado, let’s jump right in.
There is a video version of this tutorial available here and embedded below.
Getting Started
As of writing, the Archimesh plugin isn’t available in the normal Blender distribution. If by the time you are reading this you are using Blender 2.78 or later you should be good to go. If not, you will need to download the most recent test release available here.
Next you need to enable the plugin. With Blender loaded select File->User Preferences or hit Ctrl Alt U.
Select the Add-Ons tab
In the search field type arc
Click the checkbox beside Add Mesh: Archimesh.
If you dont want to do this every time be sure to Save User Settings before closing the preferences window:
We are now ready to make use of Archimesh. Feel free to close the settings window.
Designing A Room
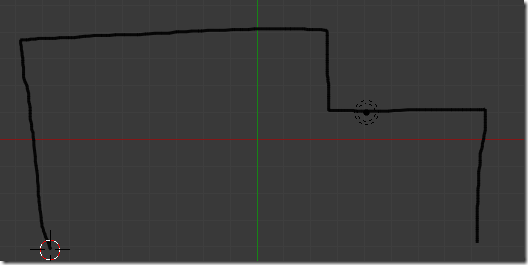
Now that we have the plugin enabled, let’s get started. First let’s get started by drawing some walls. This is done easily enough using the grease pencil. In the 3d view (I’m using top view), draw the room outline. ( D + LMB + Draw ), like so:
Now in the Tools ( T hotkey ) menu, locate the Archimesh tab:
Scroll to the bottom of the tab and locate the Room from Draw button.
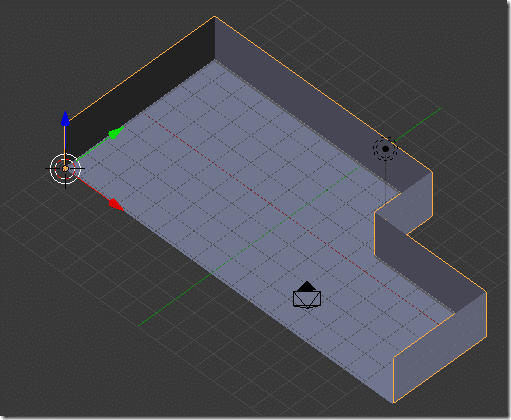
You’ve also got the option to have it generate a Ceiling, Floor and to close the room in ( close any gap in your drawing with a wall ) or not. I selected Floor then clicked the button. Here is the result:
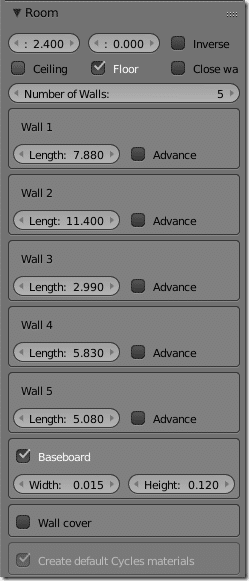
Now in the properties (N) panel you can make tweaks to your generated room.
Here you can set the thickness of generated walls and you can also add or remove the floor and ceiling after the fact. Here i’ve set the wall thickness to 0.120. This is required so we can add doors and windows later.
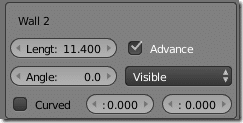
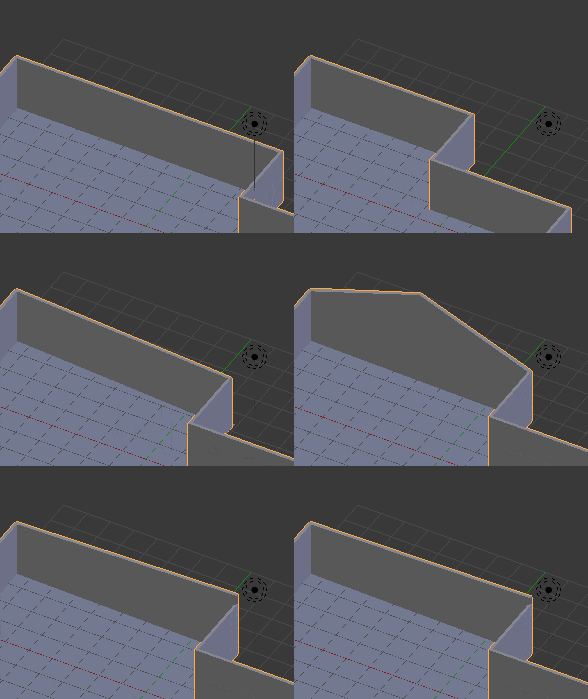
You can modify each individual wall, including curving it, raising it to a peak, changing the length, etc.
And the results of these various settings:
Creating your room is that simple. Now we can refine our room.
Adding Detail
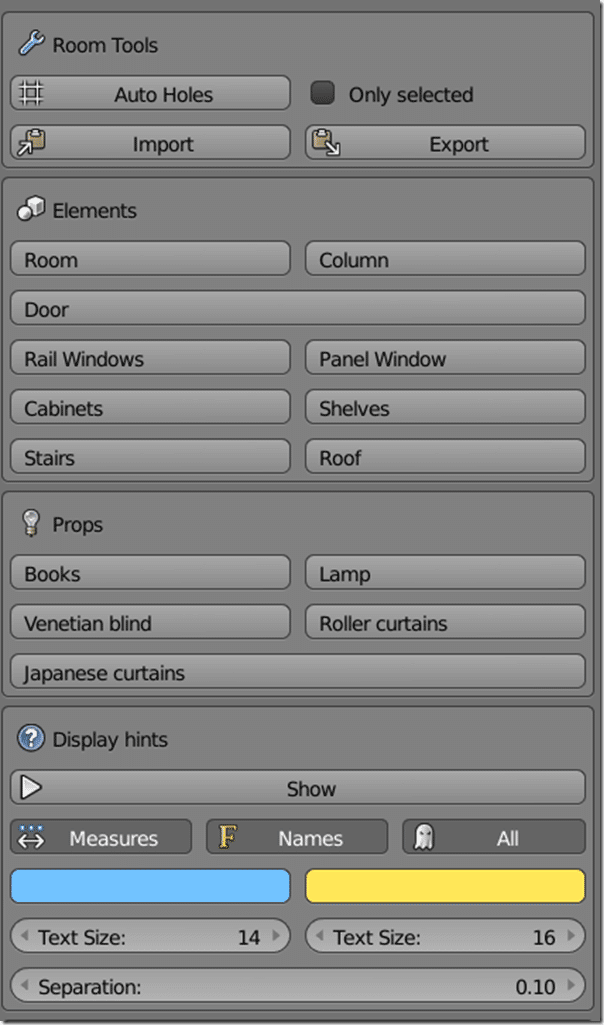
So rapidly creating walls and floors is certainly nice, but a little dull no? Well don’t worry, that’s not the extent of Archimesh’s functionality. If you take a look in the tools panel you will notice several other options.
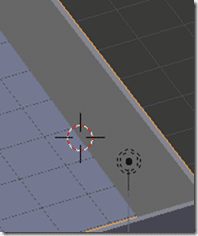
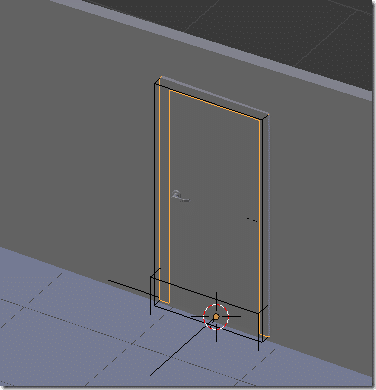
Let’s go ahead and add a door. Place the cursor where you want the door to be created. This pivot point is relative to the bottom of the door, so place it low near the floor and along a wall, like so:
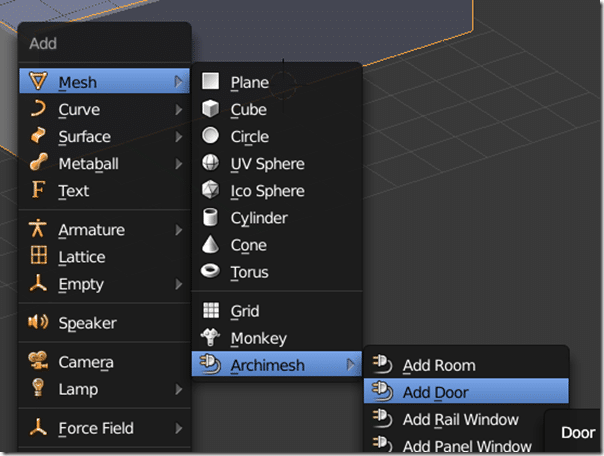
Now you can either add the door using the button in the Tool menu, or via the Shift + A hotkey, then Mesh->Archimesh->Door:
Tada, a door.
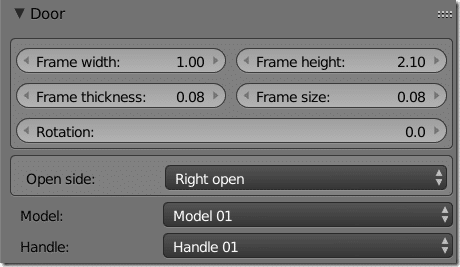
You will notice there are several options and styles to choose from in the Properties panel:
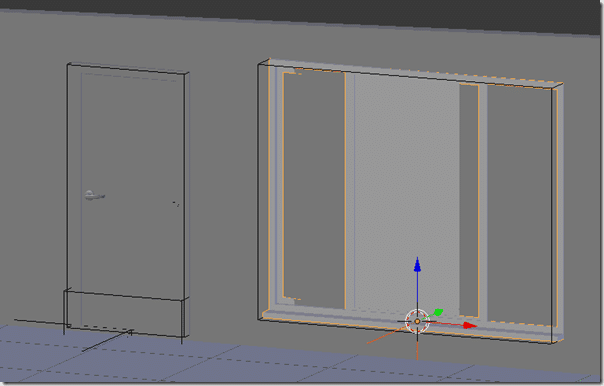
These settings appear to only be available on creation however, so be sure you have the door configured in a way you like before moving or modifying it. Windows can be created using the exact same process.
Once you are done however there is one last step to perform. You basically have to “Cut” the window and door from the room. Don’t worry, it’s easy. In the Tools panel, with the Room selected, select the Auto Holes button.
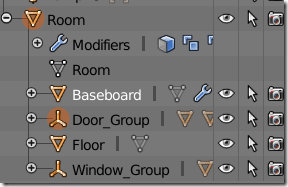
Now the appropriate holes will be cut into the wall. You will also notice that the mesh hierarchy has changed as well:
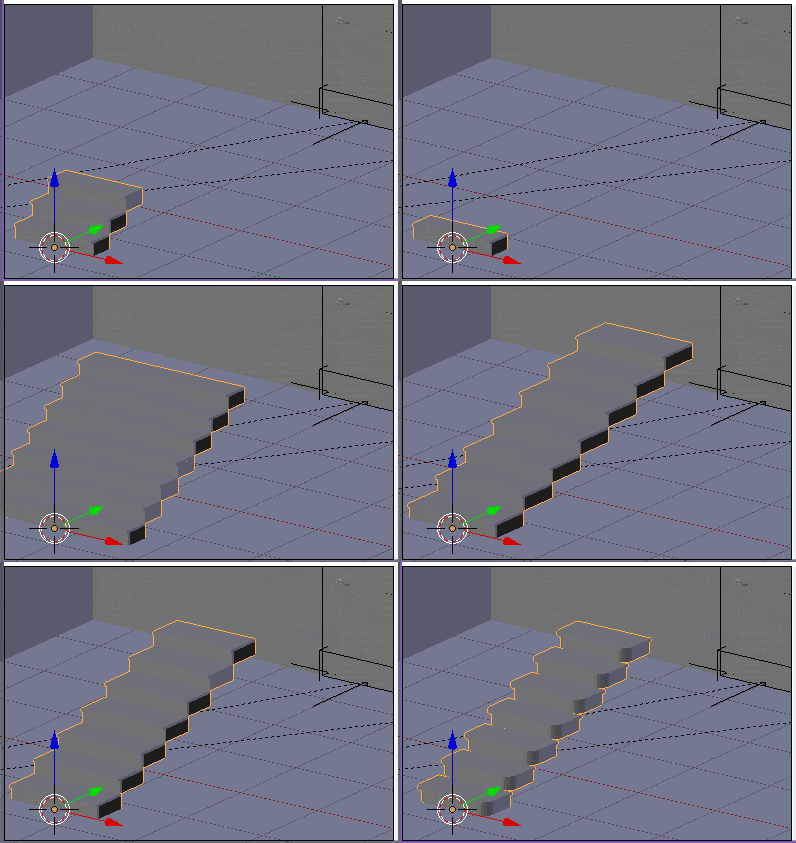
And essentially that’s the process in a nutshell. There are other very cool features in here, such as Stair creation:
There is also the option to show detailed measurements, automatically create roofs, built in props like lamps and book shelves and more.
At the end of the way, it’s just creating mesh objects for you too, so you can quickly jump in adding details using traditional techniques like extruding. There are some missing features. Ways to link multiple rooms together easily, the ability to create interior walls automatically, but these are easily worked around.
The Video
Art Design


